Vegan Baked Macaroni and Cheese

I really really love Mac and Cheese. I love Amy’s new vegan rice mac and Daiya cheeze. I love my own vegan bacon mac and cheese. I love that whole foods squash casserole mac and cheese that I make with the stuffing topping. I mean I love anything even Mac and Cheese related. It is such a wonderful comfort food that I think anyone can relate. When I was detoxing off omnivore food after my surgery I remember crying in a CVS full of exiting hormones telling my husband I needed the instant mac and cheese in the cup and I was probably going to have a melt down if I didn’t get some. Yea it was dramatic. And no he didn’t leave me, he just ushered me out. I remember thinking I am acting like a pregnant woman with these hormones. Well thankfully I am no longer going through the detox period of becoming vegan and I also can make mac and cheese (vegan) anytime I want. This recipe is how I feel I would best be able to mimic the baked macaroni and cheese I made back when I was not vegan. This is not your 1980’s blue box macaroni and cheese. This is the real stuff. I think this is the best way to think of “homestyle” or “comfort” food recipes. These are not meant to be the most healthy but are generally far healthier than their omnivore predecessors. I hope you love the ooey, gooey yumminess as much as I did.

IMG_2561

_____________________________________________________________________________________________________________________________________

Baked Macaroni and Cheese

Ingredients for Sauce:

  • (1) block Daiya Cheddar   IMG_2528
  • (1) cup Soy Creamer   IMG_2531
  • (1) stick Earth Balance Buttery Sticks   IMG_2532   IMG_2533
  • 1/4 cup Nutritional Yeast (”nooch”)   IMG_2529
  • 1/4 tsp Turmeric powder   IMG_2539
  • 1/2 teaspoon Yellow Mustard   IMG_2537
  • 1 tablespoon Thyme   IMG_2534
  • 4 tablespoons salt
  • 1 teaspoon granulated garlic   IMG_2535
  • 1/2 cup all purpose flour

Ingredients for Bake:

  • 2lbs of elbow macaroni (I use whole wheat)   IMG_2536
  • 1 bag Daiya Cheddar Style Shreds   IMG_2548
  • 1 cup or more of Panko Flakes (breadcrumbs)   IMG_2549

Prepare Sauce and Macaroni:

Preheat oven to 350 degrees.

In a large pot bring salted water to a boil. Add elbows and cook until al dente. Drain and Set aside.   IMG_2540

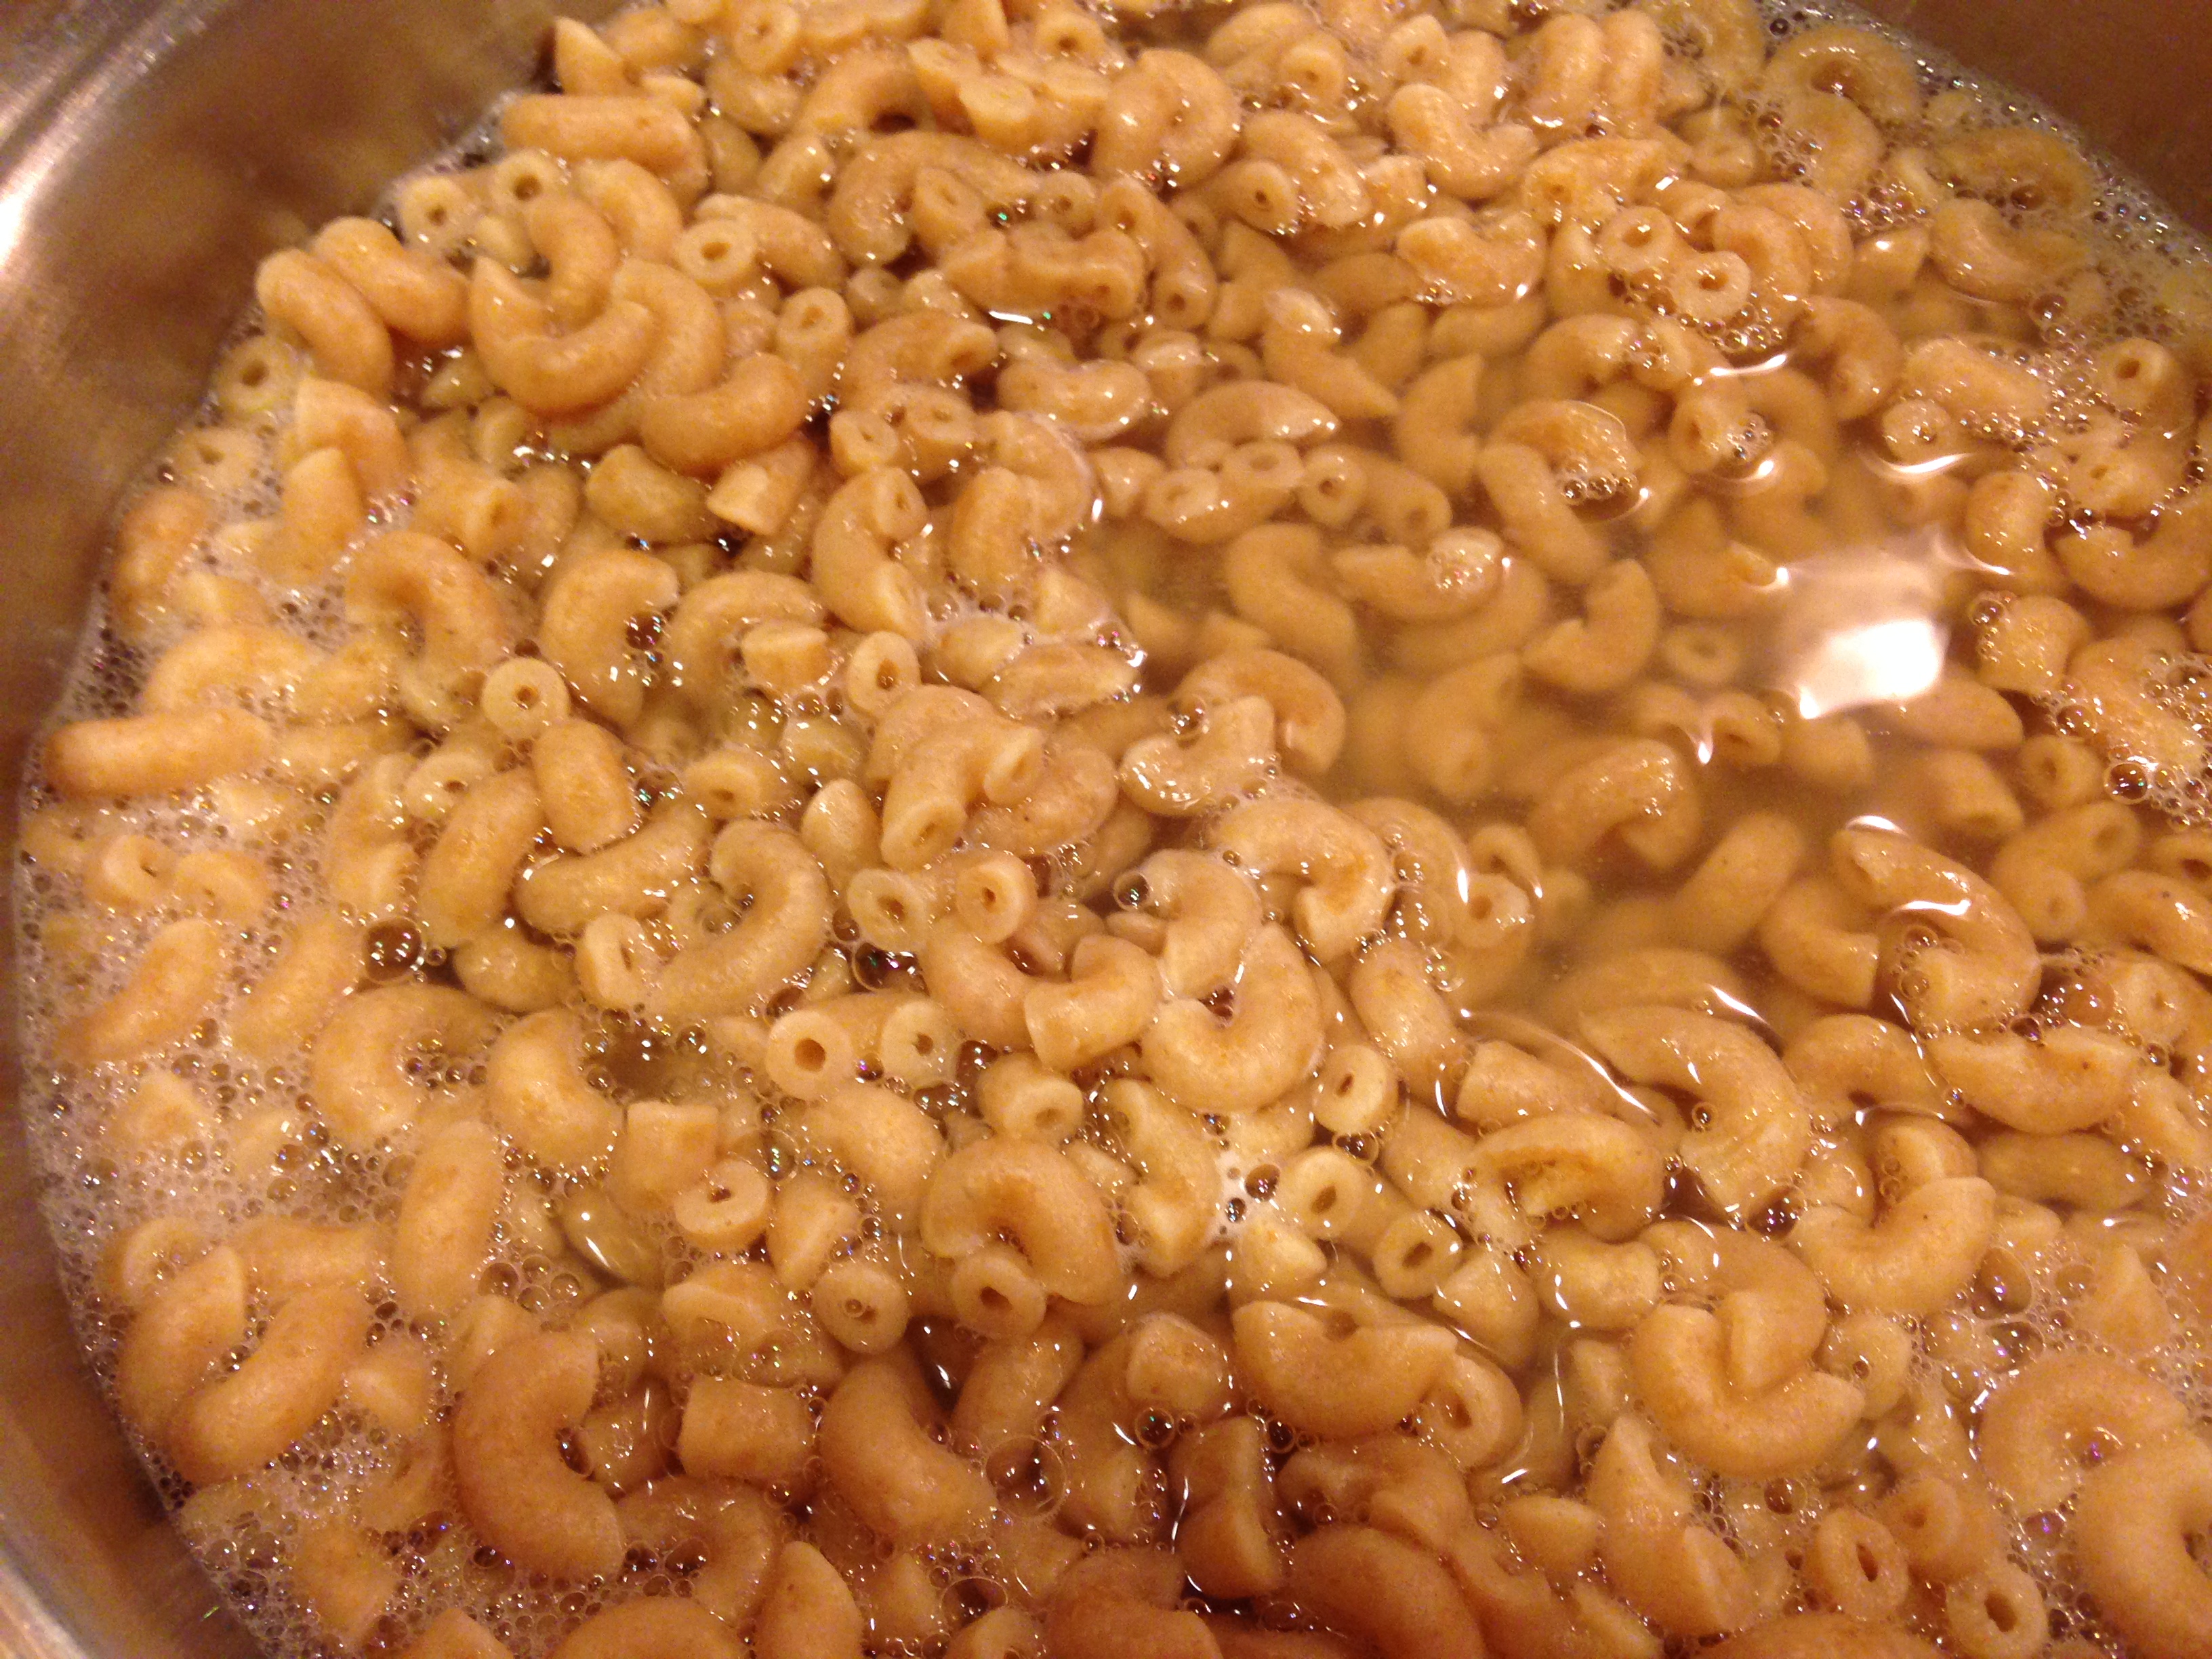
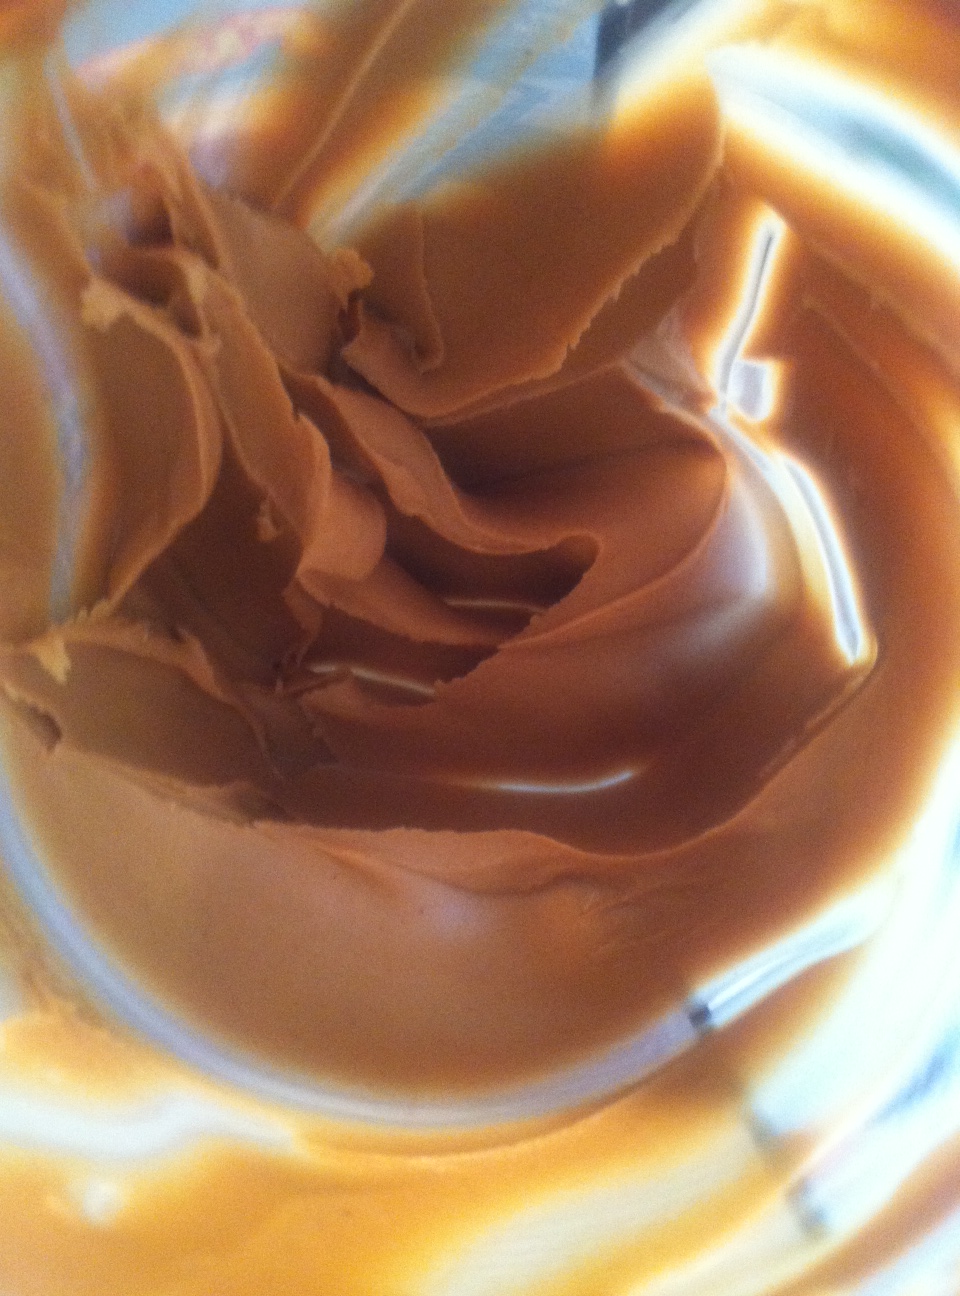
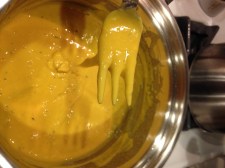
In a sauce pan place all sauce ingredients except flour in a pot and stir until well combined and a little thick. It will be salty but this is good because you will need that to season the pasta.   IMG_2538      IMG_2541

Add flour last. The sauce should be pretty thick but pourable at this point.  IMG_2543   IMG_2545

Baking:

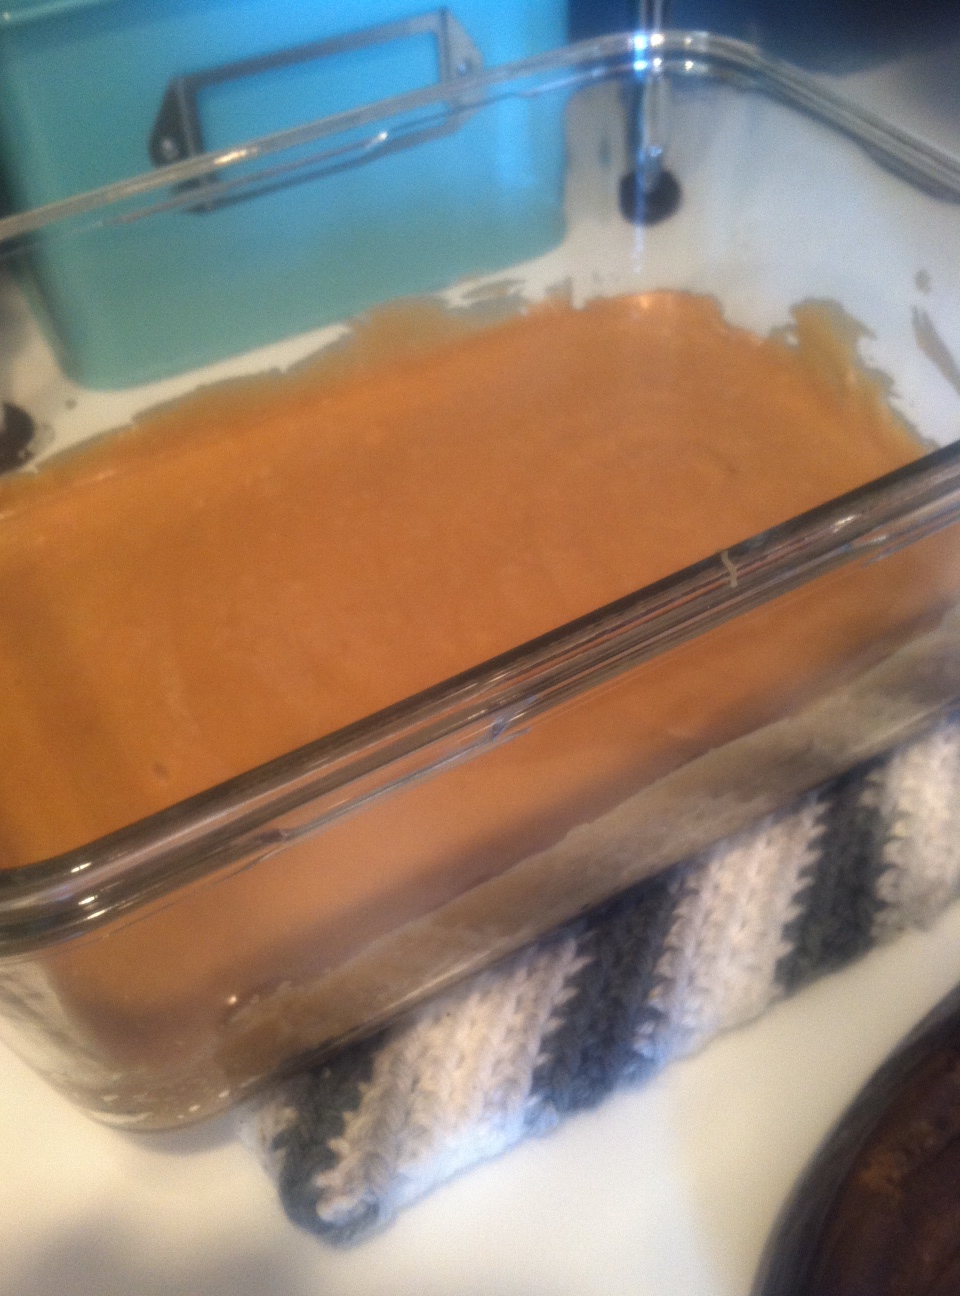
Spray a casserole pot with oil and then add macaroni.

Pour sauce over macaroni and mix until well infused.

Add Daiya Shred and mix in until well incorporated. They will melt during baking.   IMG_2547   IMG_2546

Next top with panko and a few pinches of salt if you want (I even give a few quick sprays of oil to ensure browning).   IMG_2557   IMG_2556

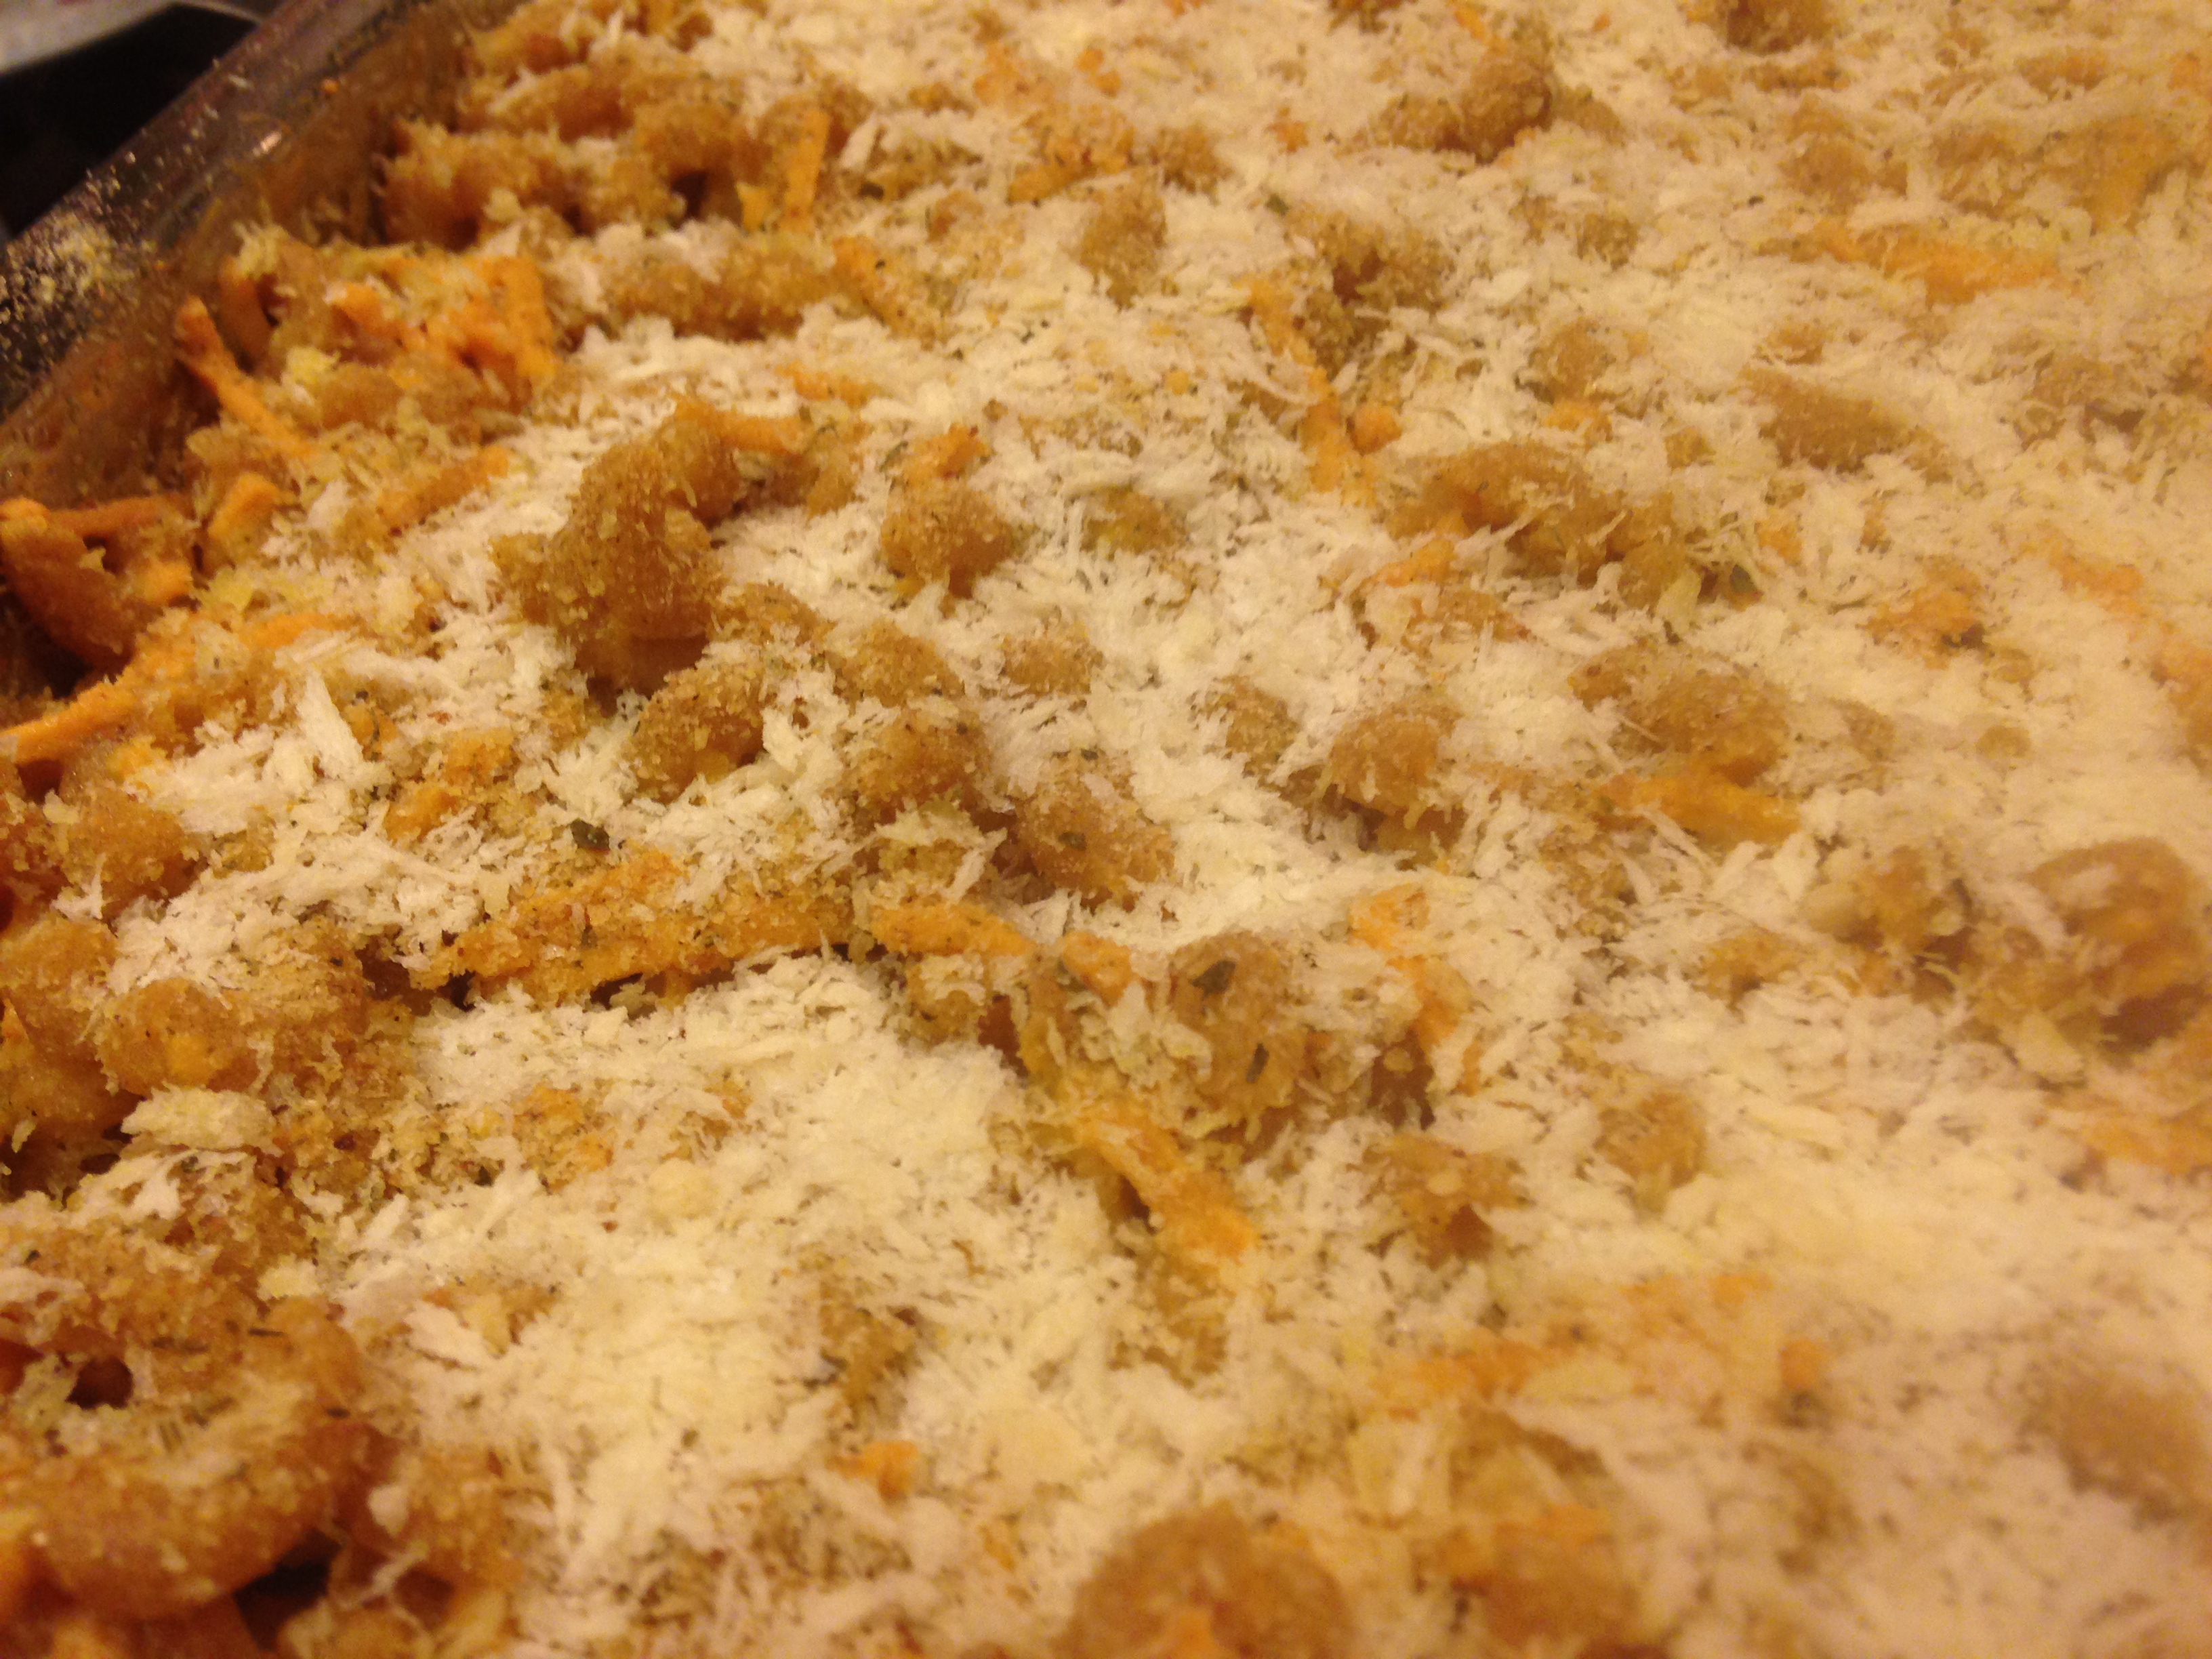
Cook for 10-15 minutes. If you want it more brown cook 30 minutes but double the sauce recipe in order for the recipe not to dry out.  IMG_2555

Let Cool 5-10 minutes. Serve hot and Enjoy!   IMG_2550       IMG_2560   IMG_2562 IMG_2563

Serves 10-12.

Side Note: When reheating this dish from leftovers always place some water in the bottom of the bowl. This will ensure the pasta does not dry out in the microwave and the cheese can remelt. You can also add more cheese with the water. I do the Daiya Havarti to add some spice!

WW Points: 11pts for 15 servings. 14 for 12 servings.
________________________________________________________________________________________________________________________________________

Food is Love.

The Hippie Gypsy.

Pistachio Vegan Creme Brulee

When I was a kid we would go to this little Tavern down the street from my house. It was called the North Pond House back then. It was next to North Pond and boasted karaoke and traditional english pub fare. I ate a lot of fish and chips there and regrettably sang a lot of karaoke as a child (which everyone clapped but I am sure it was funnier than it was actually entertaining). For dessert however they had this ice cream called Spumoni which was an Italian layered slice of heaven as far as I was concerned as a kid (I also think this was an 80s dessert because I never see it anymore). I loved the green layer of pistachio. Pistachio ice cream was a luxury that was not in my fridge at home often. We did popsicles at home. So I loved these visits where I could indulge in my pistachio layer of ice cream. It seemed so fancy back then. So when I was testing creme brulee recipes I remembered my fall visits to the pub with the smell of fireplaces and pumpkins and haystacks in front of the doors of the neighborhood near the pond which was cirlced in orange and red leaves. Pistachio creme brulee would be amazing. I said to myself this weekend “Let’s see if we can make it work”. And I did. Enjoy!

142


__________________________________________________________________________________________________________________________

Pistachio Creme Brulee

Ingredients:

  • 1/2cup raw cashews
  • 1/2cup pistachios
  • 1 avocado (skin and seed removed)
  • 1/4cup raw agave
  • 1/3cup sugar
  • 1 1/2teaspoon agar agar powder (this is vegan gelatin powder found in the asian section of the grocery store)
  • 1teaspoon arrowroot powder/starch (don’t use cornstarch due to the high heat, arrowroot is better)
  • 1 1/4cups Soy Creamer
  • 1 heaping tablespoon of Tofutti Better than Cream Cheese
  • Pinch of Salt
  • 1teaspoon allspice
  • 1/4teaspoon of Vanilla Extract (I use Penzey’s) (or use almond extract)

_______________________________________________________________________________________________________________________

Preparation

Place all ingredients in a high powered blender or food processor and mix until smooth. This batter will be quite thick. Consider stirring it with a spatula if needed.

074   075

If you do not have a high powered mixer soak cashews  and pistachios for at least 4 hours or overnight so that the batter will not be grainy. Also, place half the nuts in at first and the second half after most ingredients have liquified.

100   098   099   077

Cook

Preheat oven to 375degrees.

105   102   108

Fill a casserole dish with water to go halfway the height of the  jars you in tend on placing the brulee mixture in. I have used both mason jars and square ramekins before and both come out well. Then sprinkle each jar bottom with extra pistachios. It’s a fun surprise on the bottom. Also remove metal presses from the jars. They will be so redhot it is better to pop them off now.

109   110   111

Pour batter into each jar allowing a little space so that they do not spill over as the casserole dish will be heavy with all the water in it. You need to be careful not to allow water into the jars.

124   125   113

Cook for at least 30 minutes or until the batter is wiggly but not liquidy and slightly firm on top.

126

Chill

Take jars out of the water with tongs and place on a towel on a drying rack. Let cool 15 minutes and then transfer into the refrigerator for 2-4hours.

Brulee

After the creme is completely firm and chilled through and you are ready to serve. …Take sugar, sprinkle a good layer on each creme top, and brulee with a hand torch until the sugar bubbles, browns, and quickly hardens.

140      143

Serve Immediatly.

Serves 6. WW Points 6.

(PS Any of these can be simply custard without the brulee if you do not have a torch)

____________________________________________________________________________________________________________________________________

XOXOX,

The Hippie Gypsy

Four Ingredient Fast Fudge

cooled fudge

So this was the weekend of leftovers. We have moved into a new house in the past 2 weeks and we have all of this half eaten food moving from our rented townhouse to our shiny new big house. I new I had some plain soy creamer that was about to expire at the middle of this month and I also realized during this move that my husband has a peanut butter issue. By issue I mean he eats 3/4 of a jar and then opens a new one. We had multiple jars of half eaten peanut butter all over the townhouse. So when I cleaned and organized the new kitchen with my mom, I got to work on finding something fast to do with the peanut butter. It was either peanut tofu a recipe from my coworker or this quick 15minute fudge with only 4 ingredients. I had a sweet tooth and a headache so fudge it would be! I didn’t have the patience for overthinking tofu at the time. However I did make a delicious lasagna with it later. Recipe is on the way.

So enjoy this recipe it is like 15minutes and done, which is nice. At the same time it will make a great holiday gift, potluck item, and you can take it with you anywhere. I am a big advocate of bringing my own food places so this is perfect. I can bring it to a picnic, on a roadtrip, or to a party.  Also it is omni approved by my husband! Love it! Hope you do too!

quarter jar peanut butter

______________________________________________

Four Ingredient Peanut Butter Fudge

2 cups Vegan Sugar

1/2 cup Soy Creamer

3/4 cup Peanut Butter

1 tsp Vanilla

vanilla and PB

____________________________________

In a medium saucepan of medium low heat bring cream and sugar to a boil stirring constantly. it only needs to boil for a minute or two. Then take off the heat.

boiling sugar and cream

Please note if you do not take it off the heat before adding vanilla it will explode a little. I did this. It is a hot sticky mess. Do not repeat my dumb mistake 🙂 .

Moving on, after the saucepan is off the heat add vanilla and peanut butter and stir until it is well combined and melted down completely.

pouring fudge

Then pour into a heat safe container while still hot. Do this quickly so it doesnt start to cool and come out grainy. Preferably add parchment to the bowl so that you can pull out the fudge. I placed it in a heat safe glass container and regretted not using parchment later.

freshly poured fudge

Allow to cool on a countertop until solid (about an hour or two). Cut and serve!

fudge cooling

xoxox, The Hippie Gypsy