
This is certainly a must to reblog. It looks tasty and beautiful for spring. I would need to make a few alterations due to the change in country but seems easy enough to alter! It also has Tofutti as a main ingredient which is a favorite of mine! I would even consider topping with sliced fruit. Enjoy… Chocolate Chip Cheesecake.
Category Archives: Meatless Monday Desserts
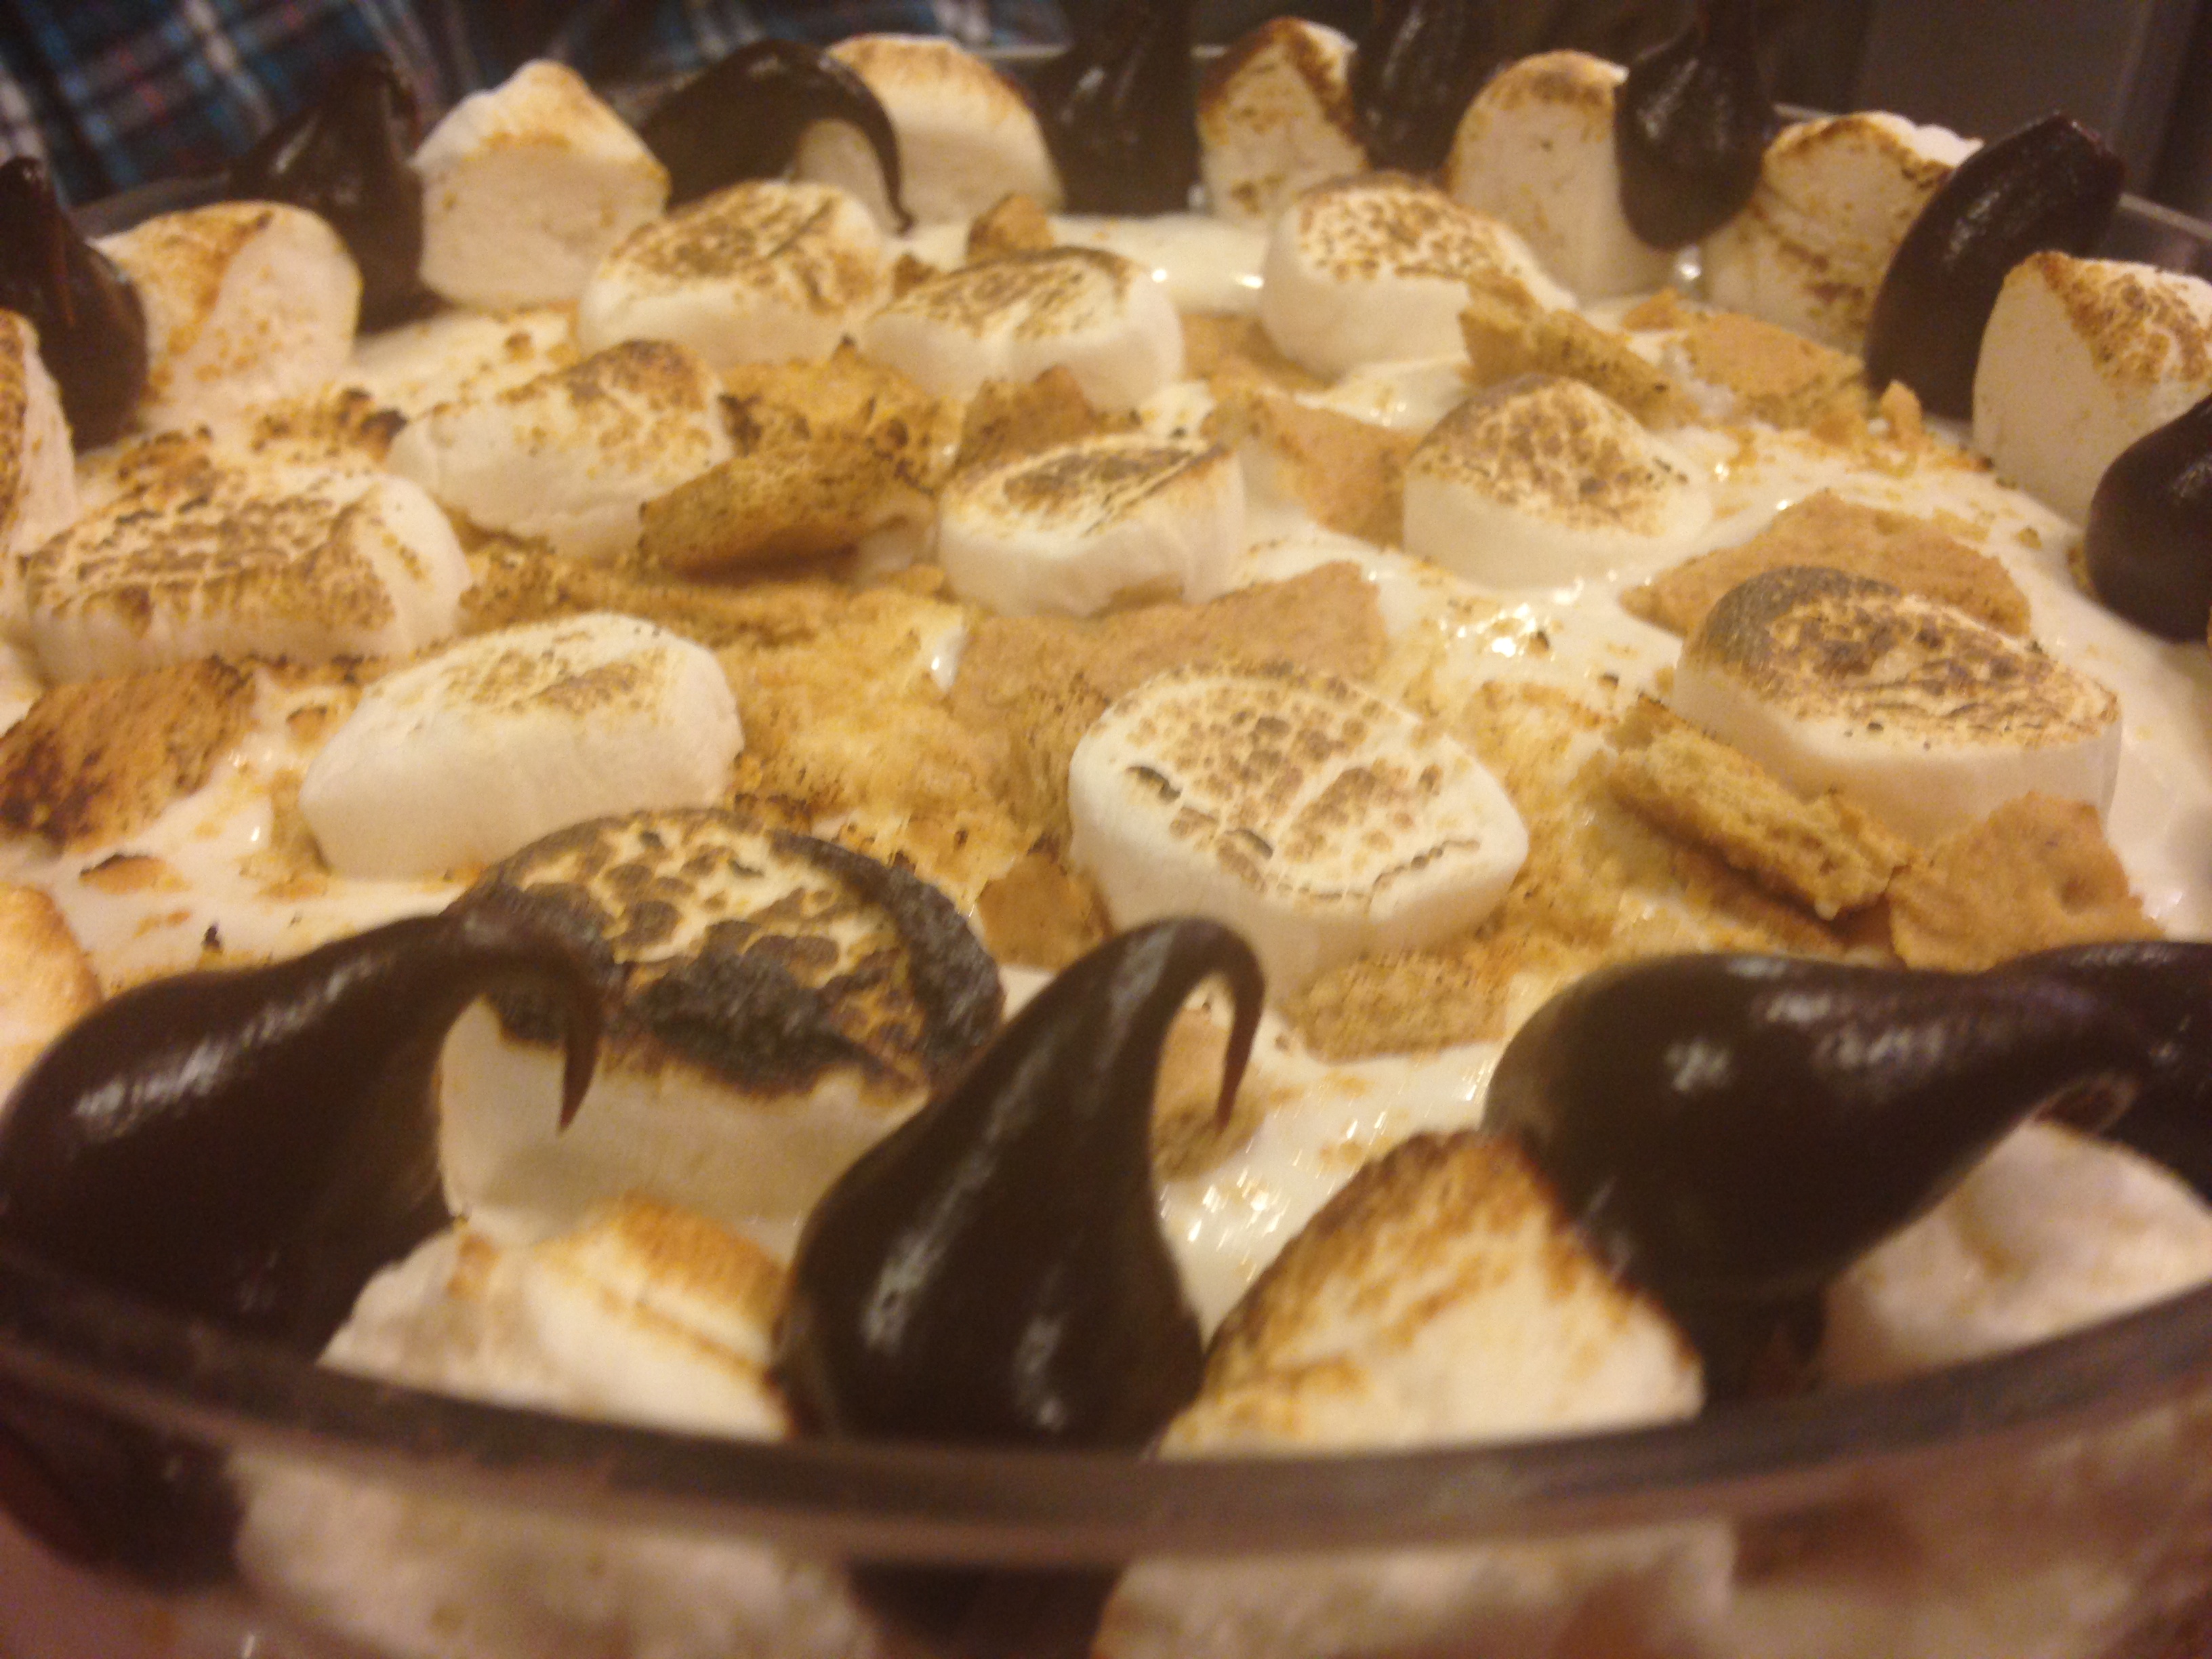
Ooey Gooey Vegan S’mores Cheesecake Trifle
I joined the Wellness Committee at my work a few months back. I thought it was important to have a truly opposite opinion to the mainstream ideas of health in such a group. One that focused not on conventional “healthy” recipes and ways of being “well” but one that is a little more alternative. I am obviously a vegan but I am also a bit of a hippie and very interested in how wellness is also about being mentally well and taking care of the earth to result in healthy food and a healthy planet. This holiday season we had a Christmas/Holiday/Seasonal get together/luncheon at work. The Wellness Group sponsored it and although it was healthi-er I think we have a long way to go. I must say that I did prepare a not so perfectly healthy trifle for the baking contest so I am as much at fault as anyone on the healthiness of this luncheon. To me this recipe is far from healthy but for the group, I think they will find it the healthiest option on the table with all things considered. Take a look and Happy Holidays! (PS I won the contest!)
______________________________________________________________________________________________________
S’mores Cheesecake Trifle
Ingredients:
- 2 packages Vegan Marshmallows
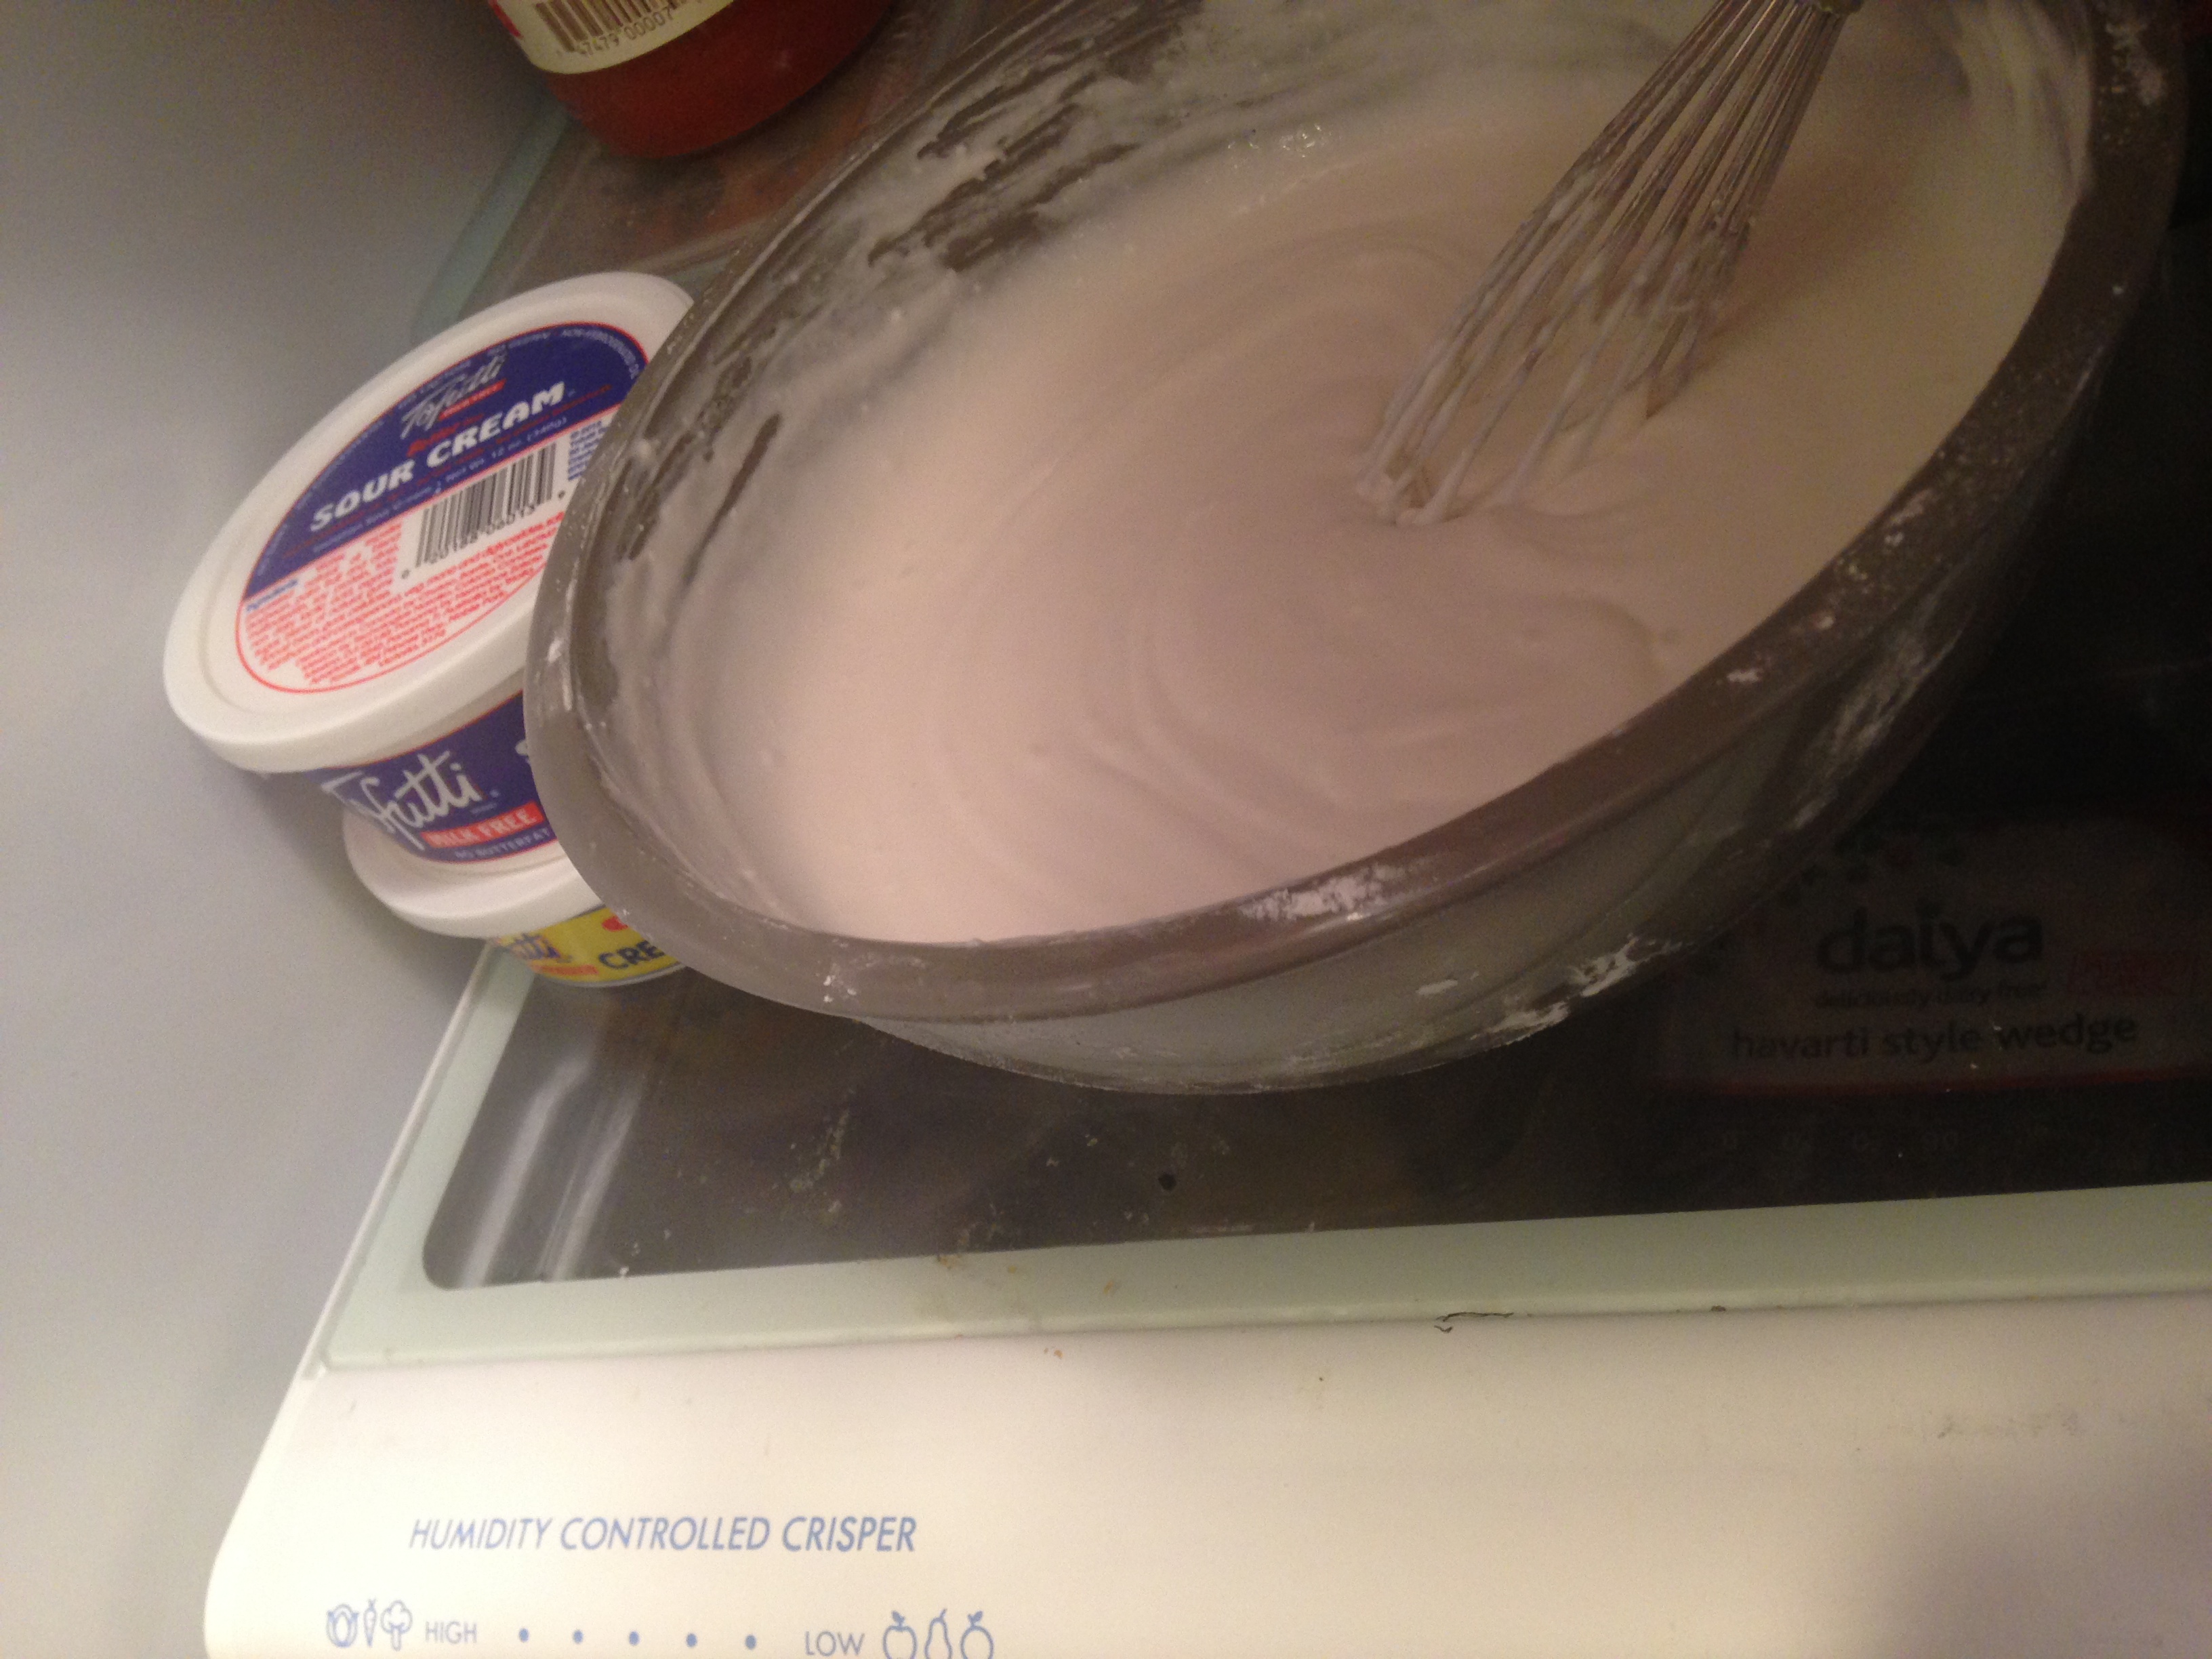
- 2 containers Tofutti Better than Cream Cheese
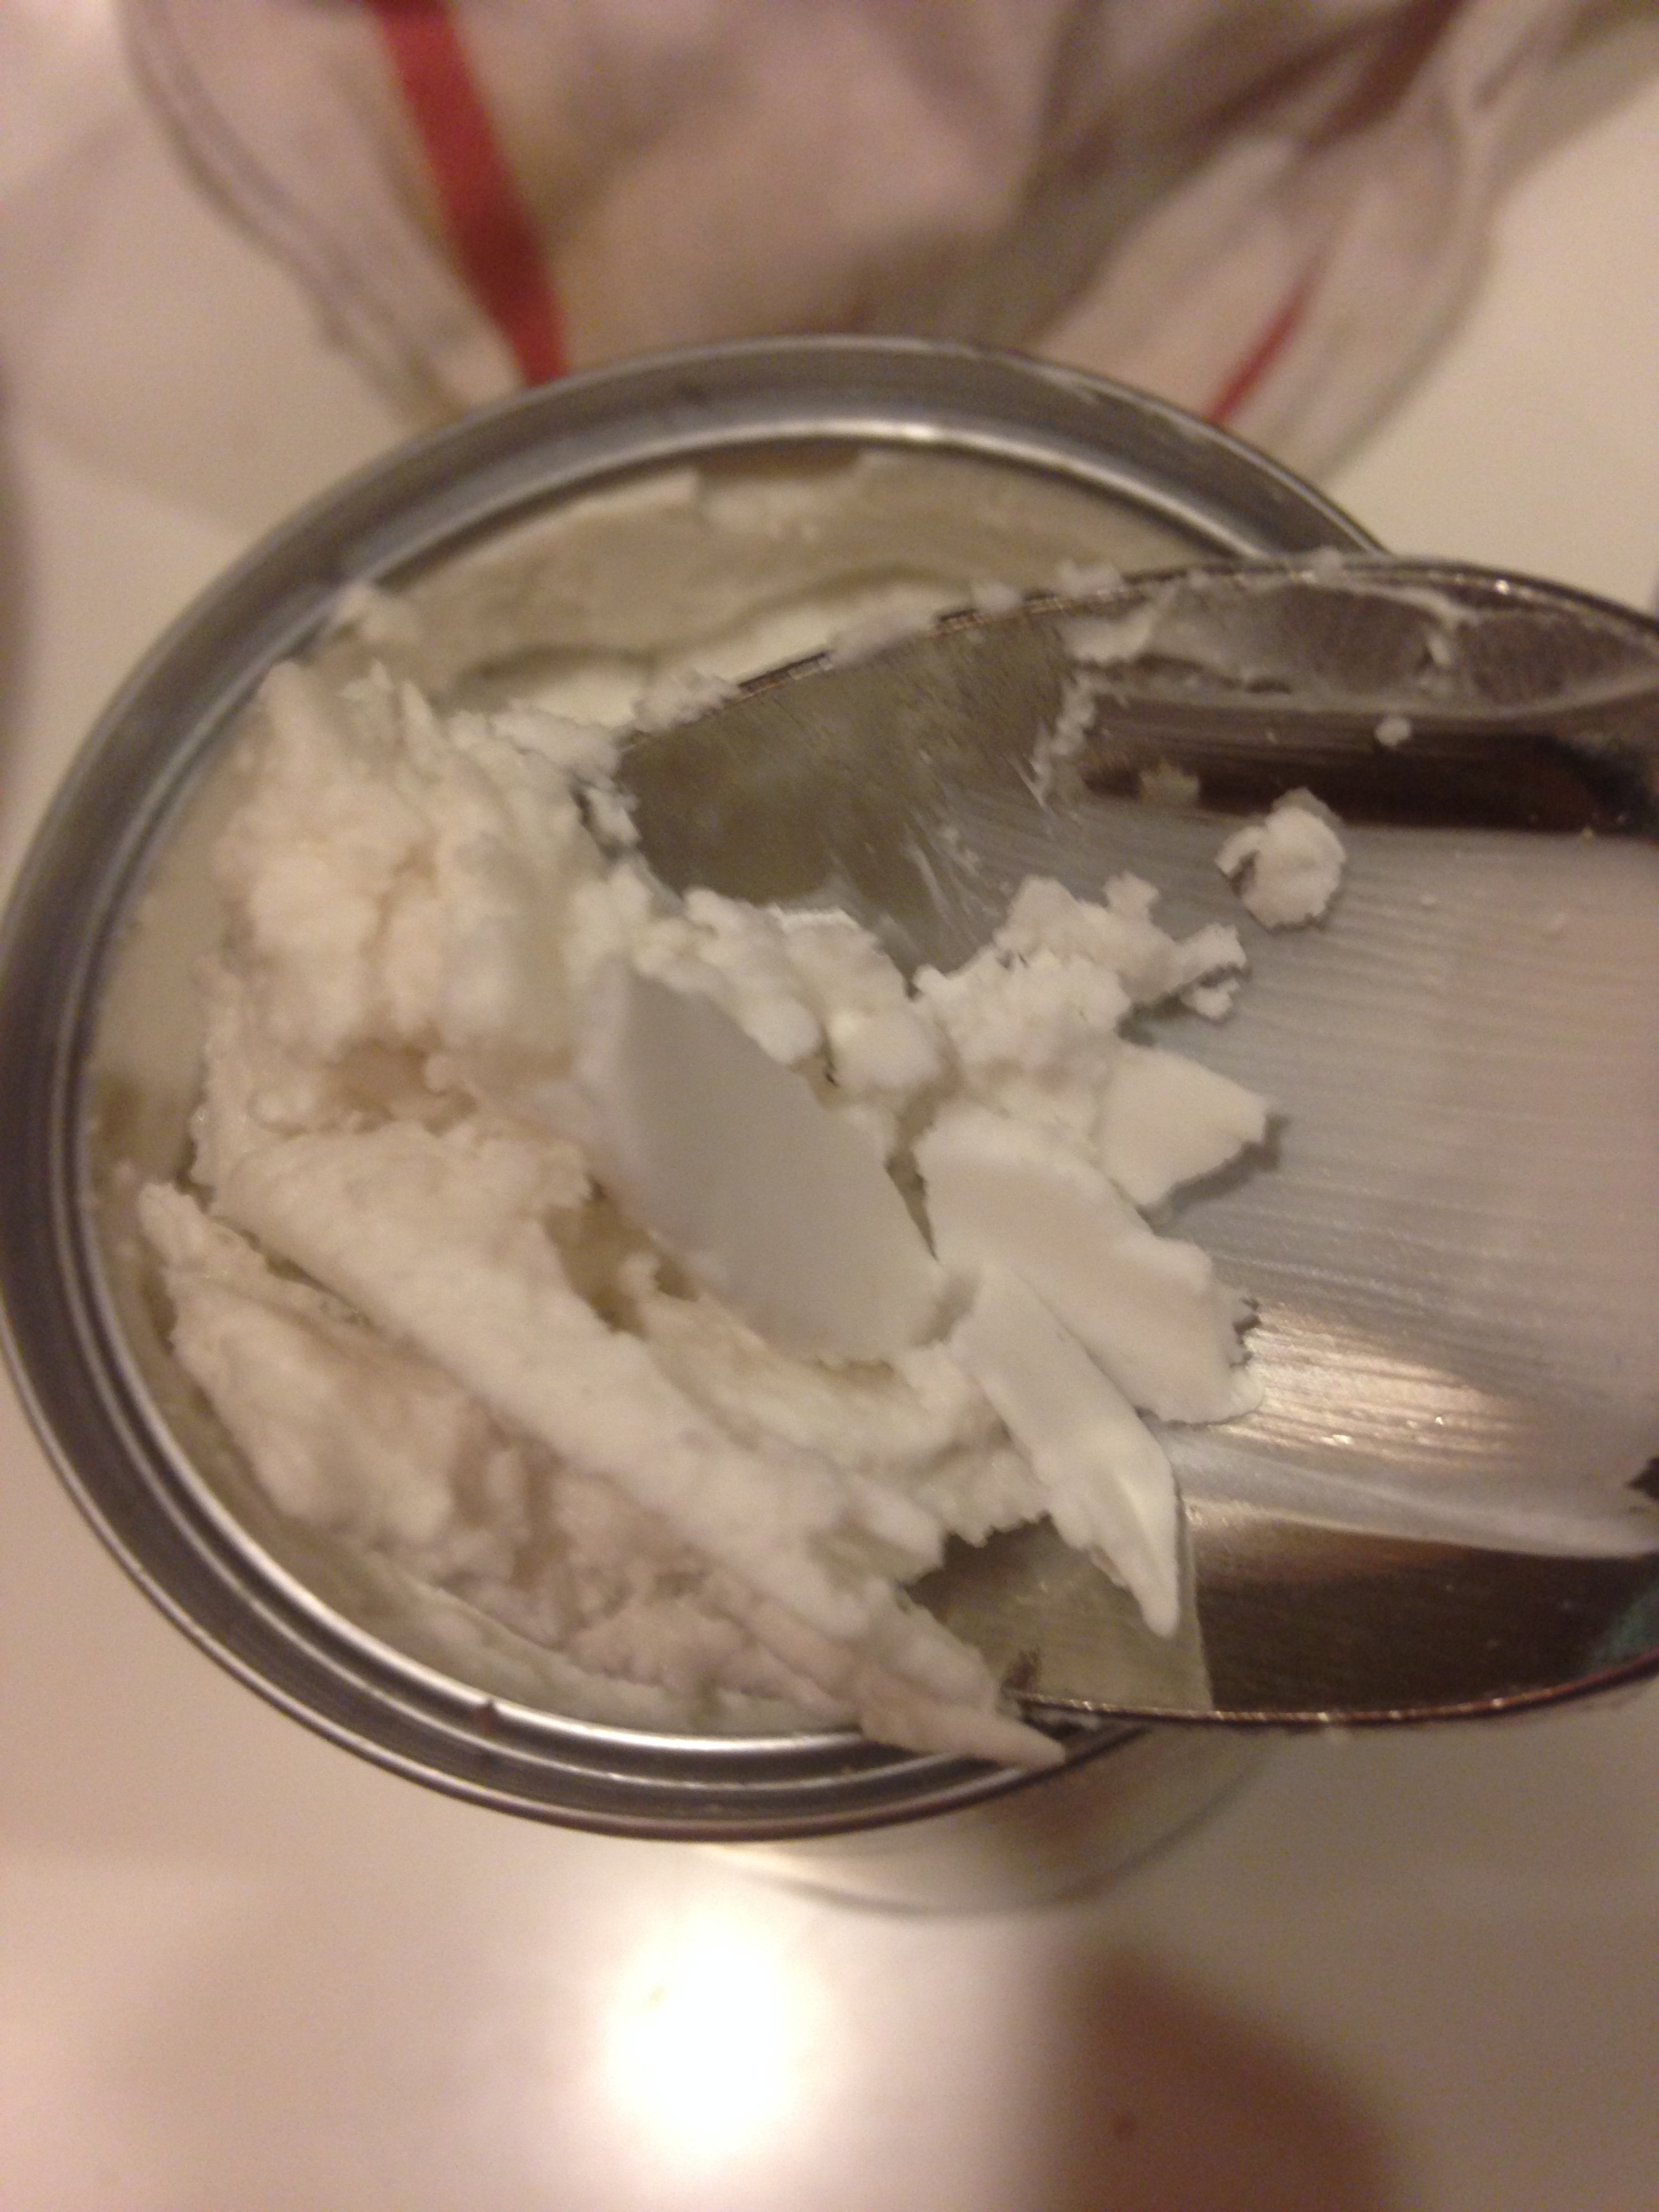
- 2 cans of Coconut Milk (refrigerated overnight or longer to separate)
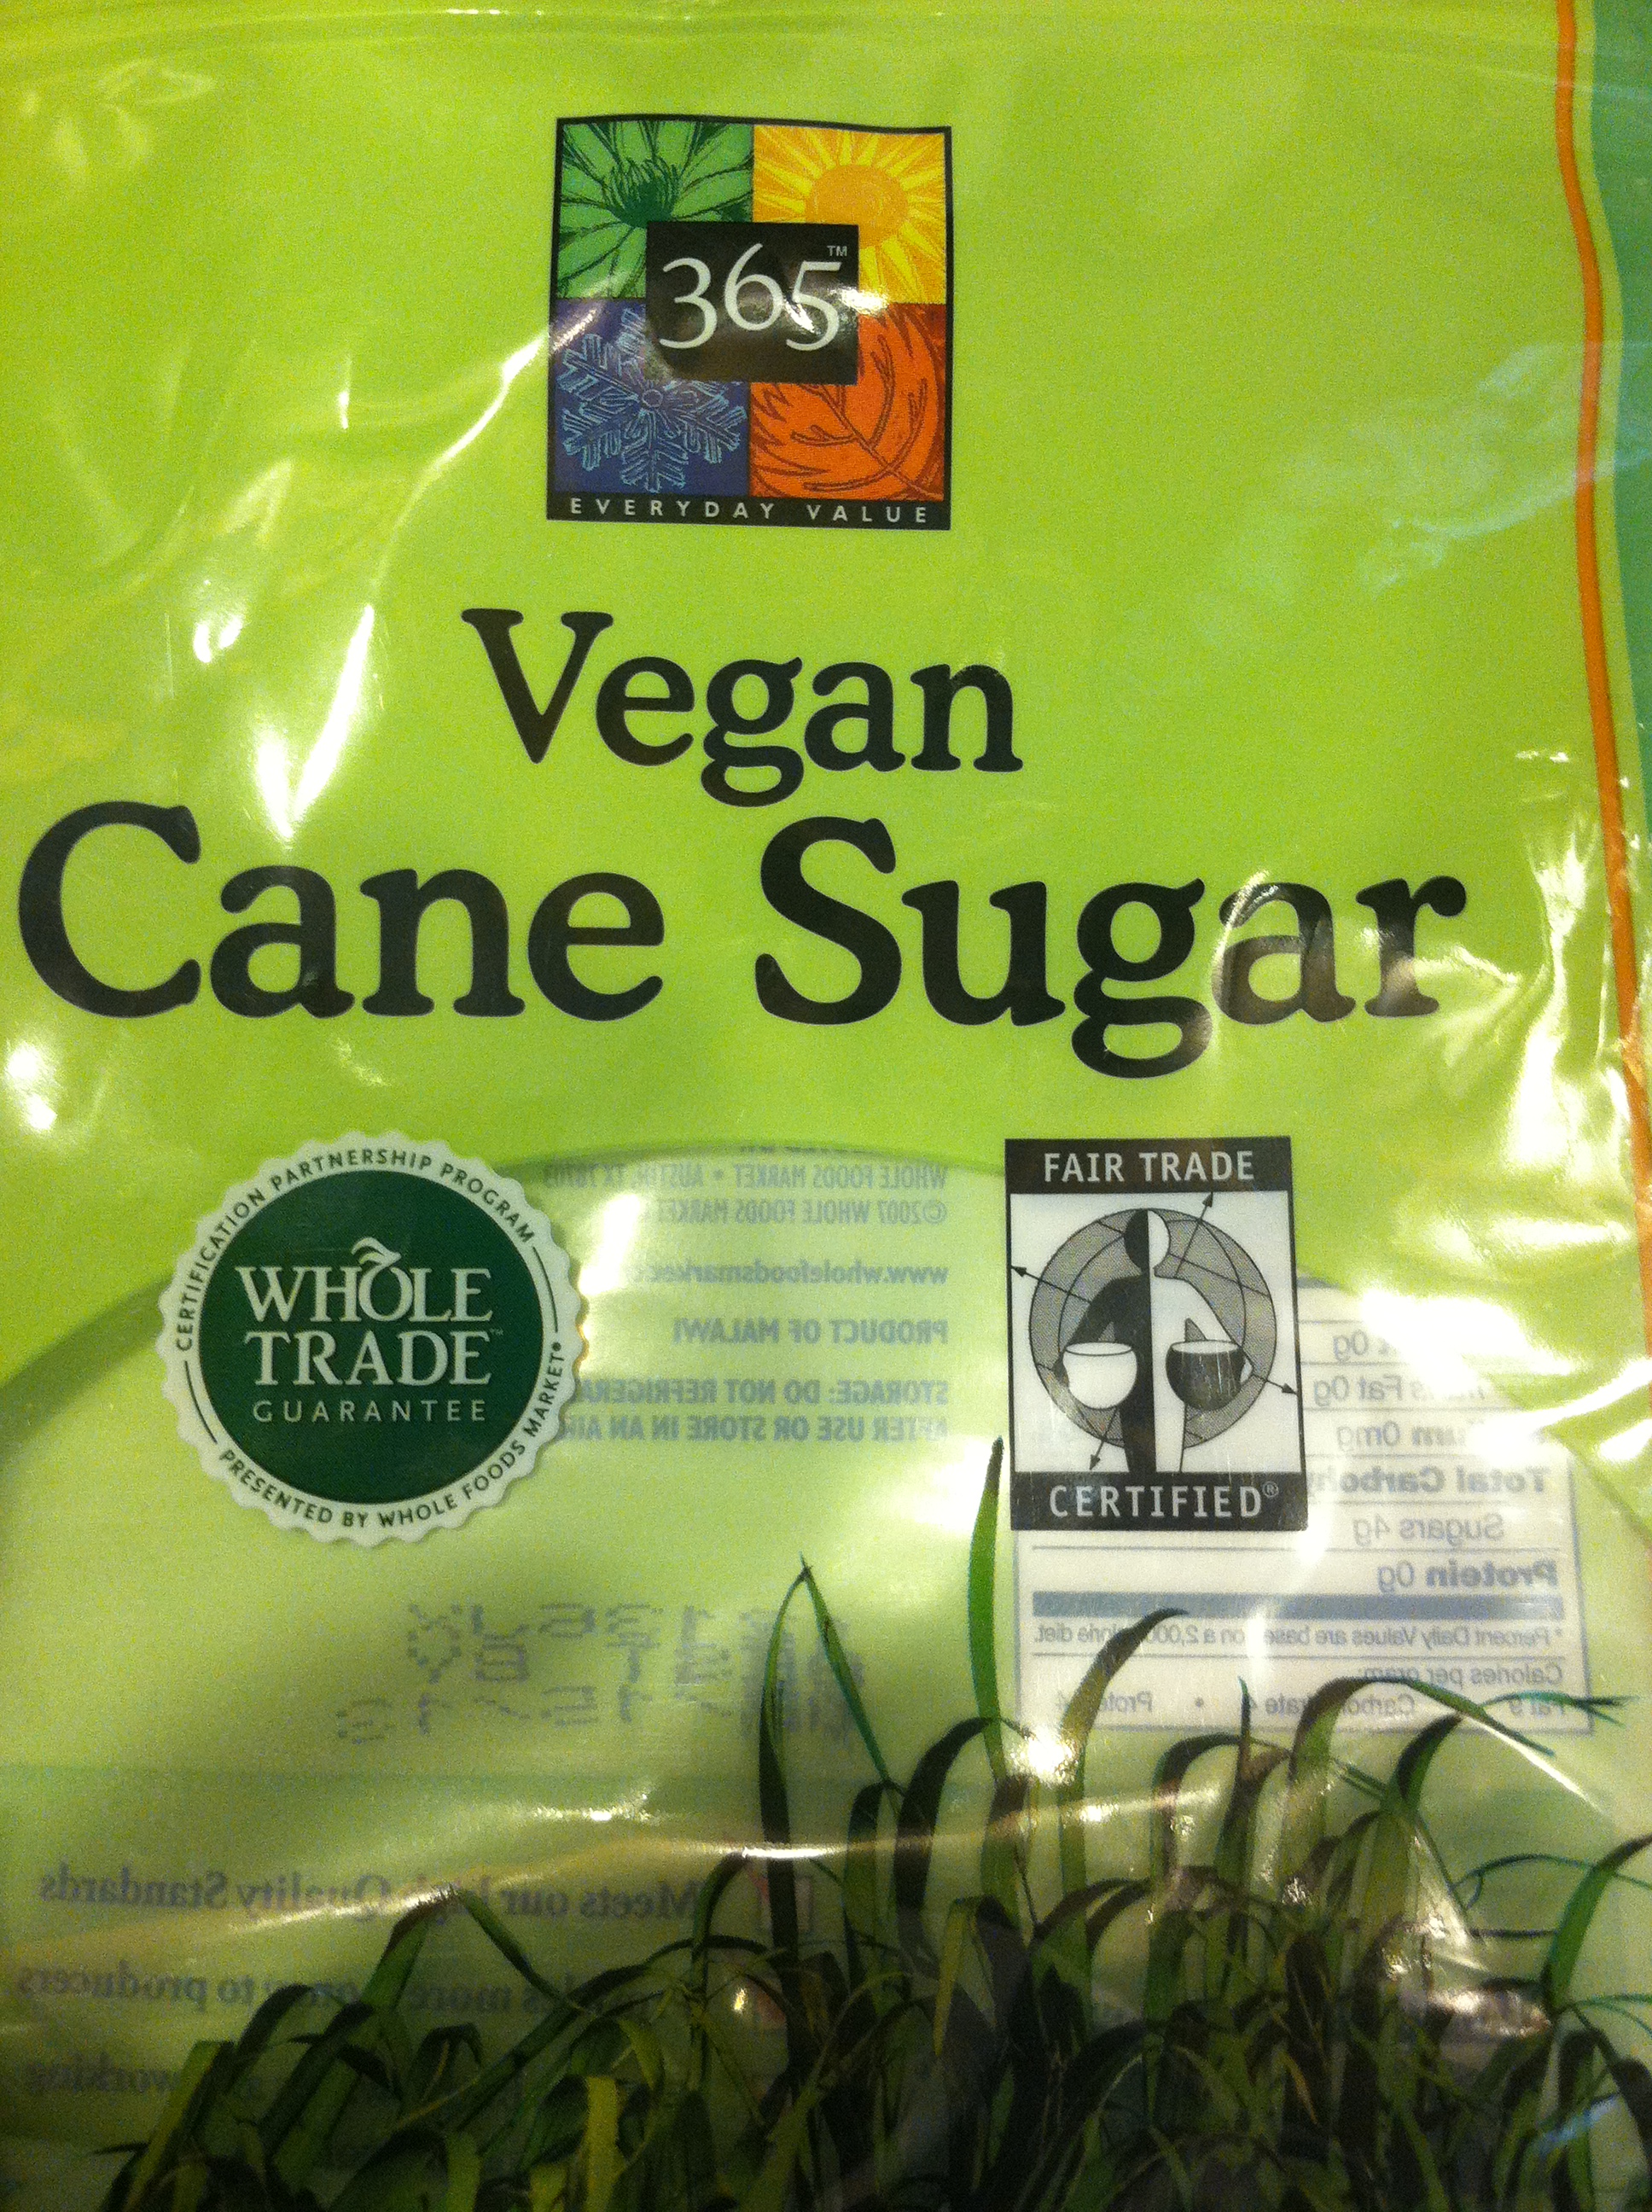
- 1 cup powdered organic vegan sugar
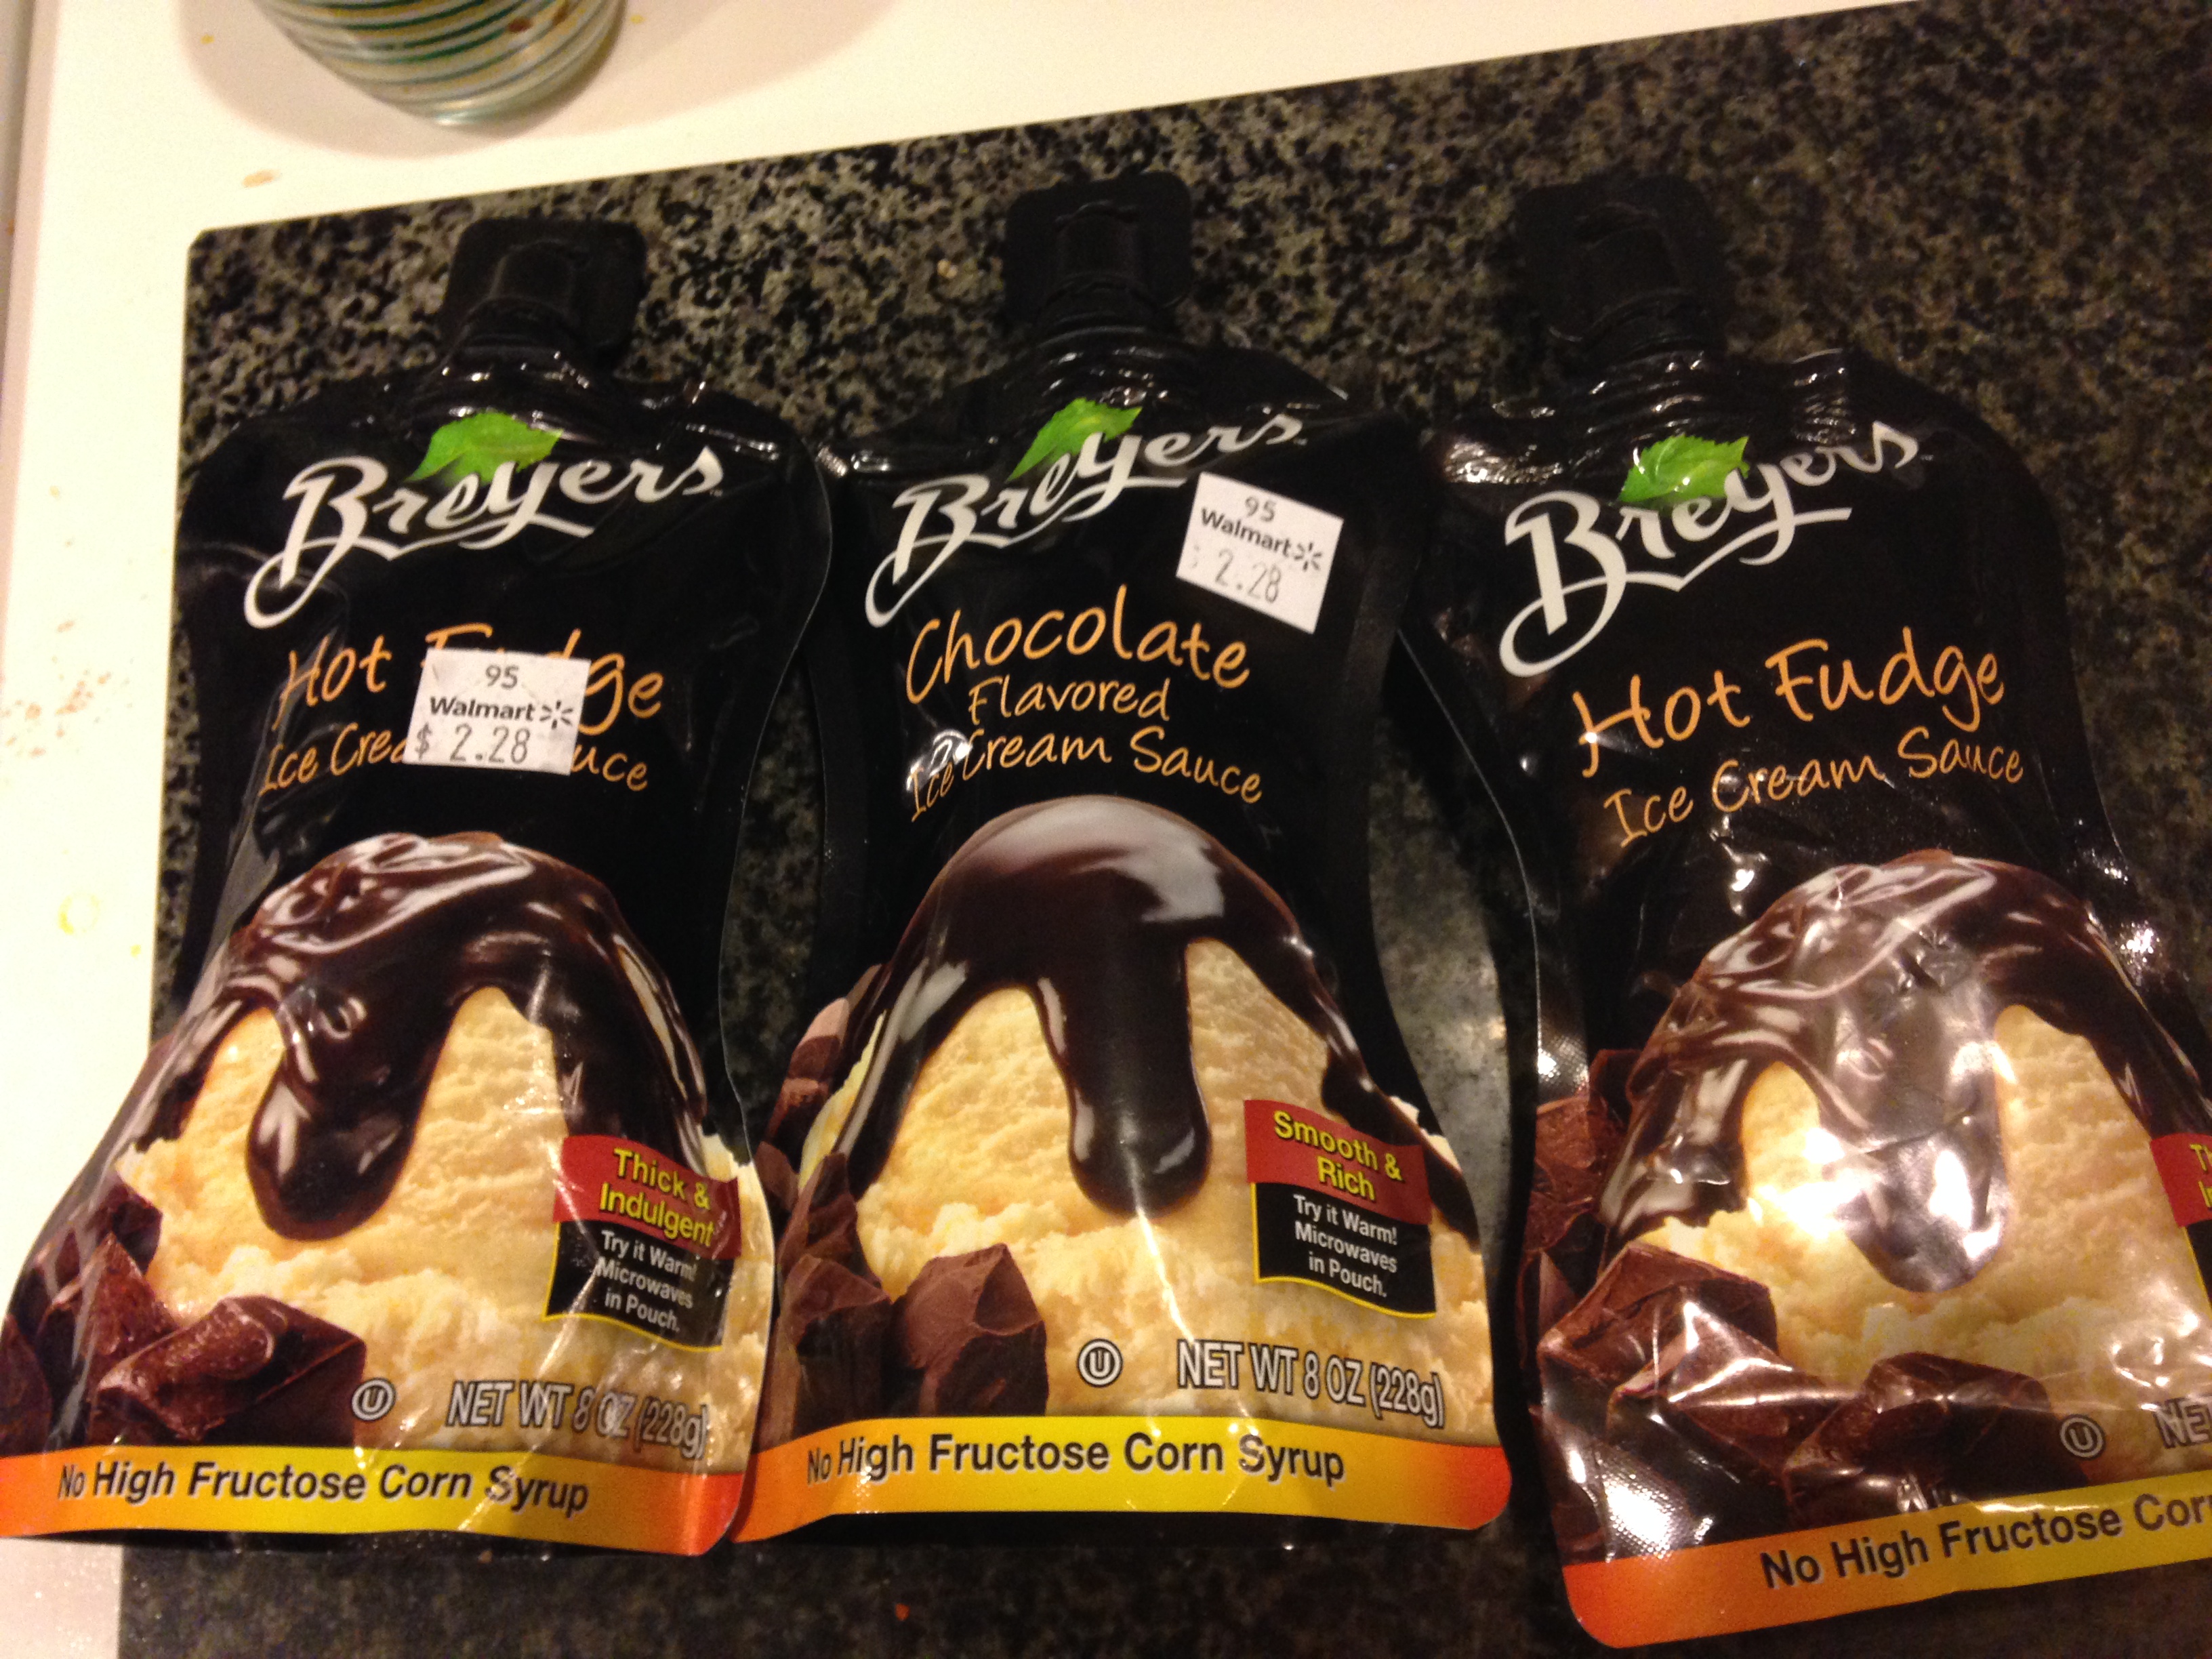
- 1 squeeze bottle of Breyer’s Hot Fudge Sauce (vegan and sold at Walmart)
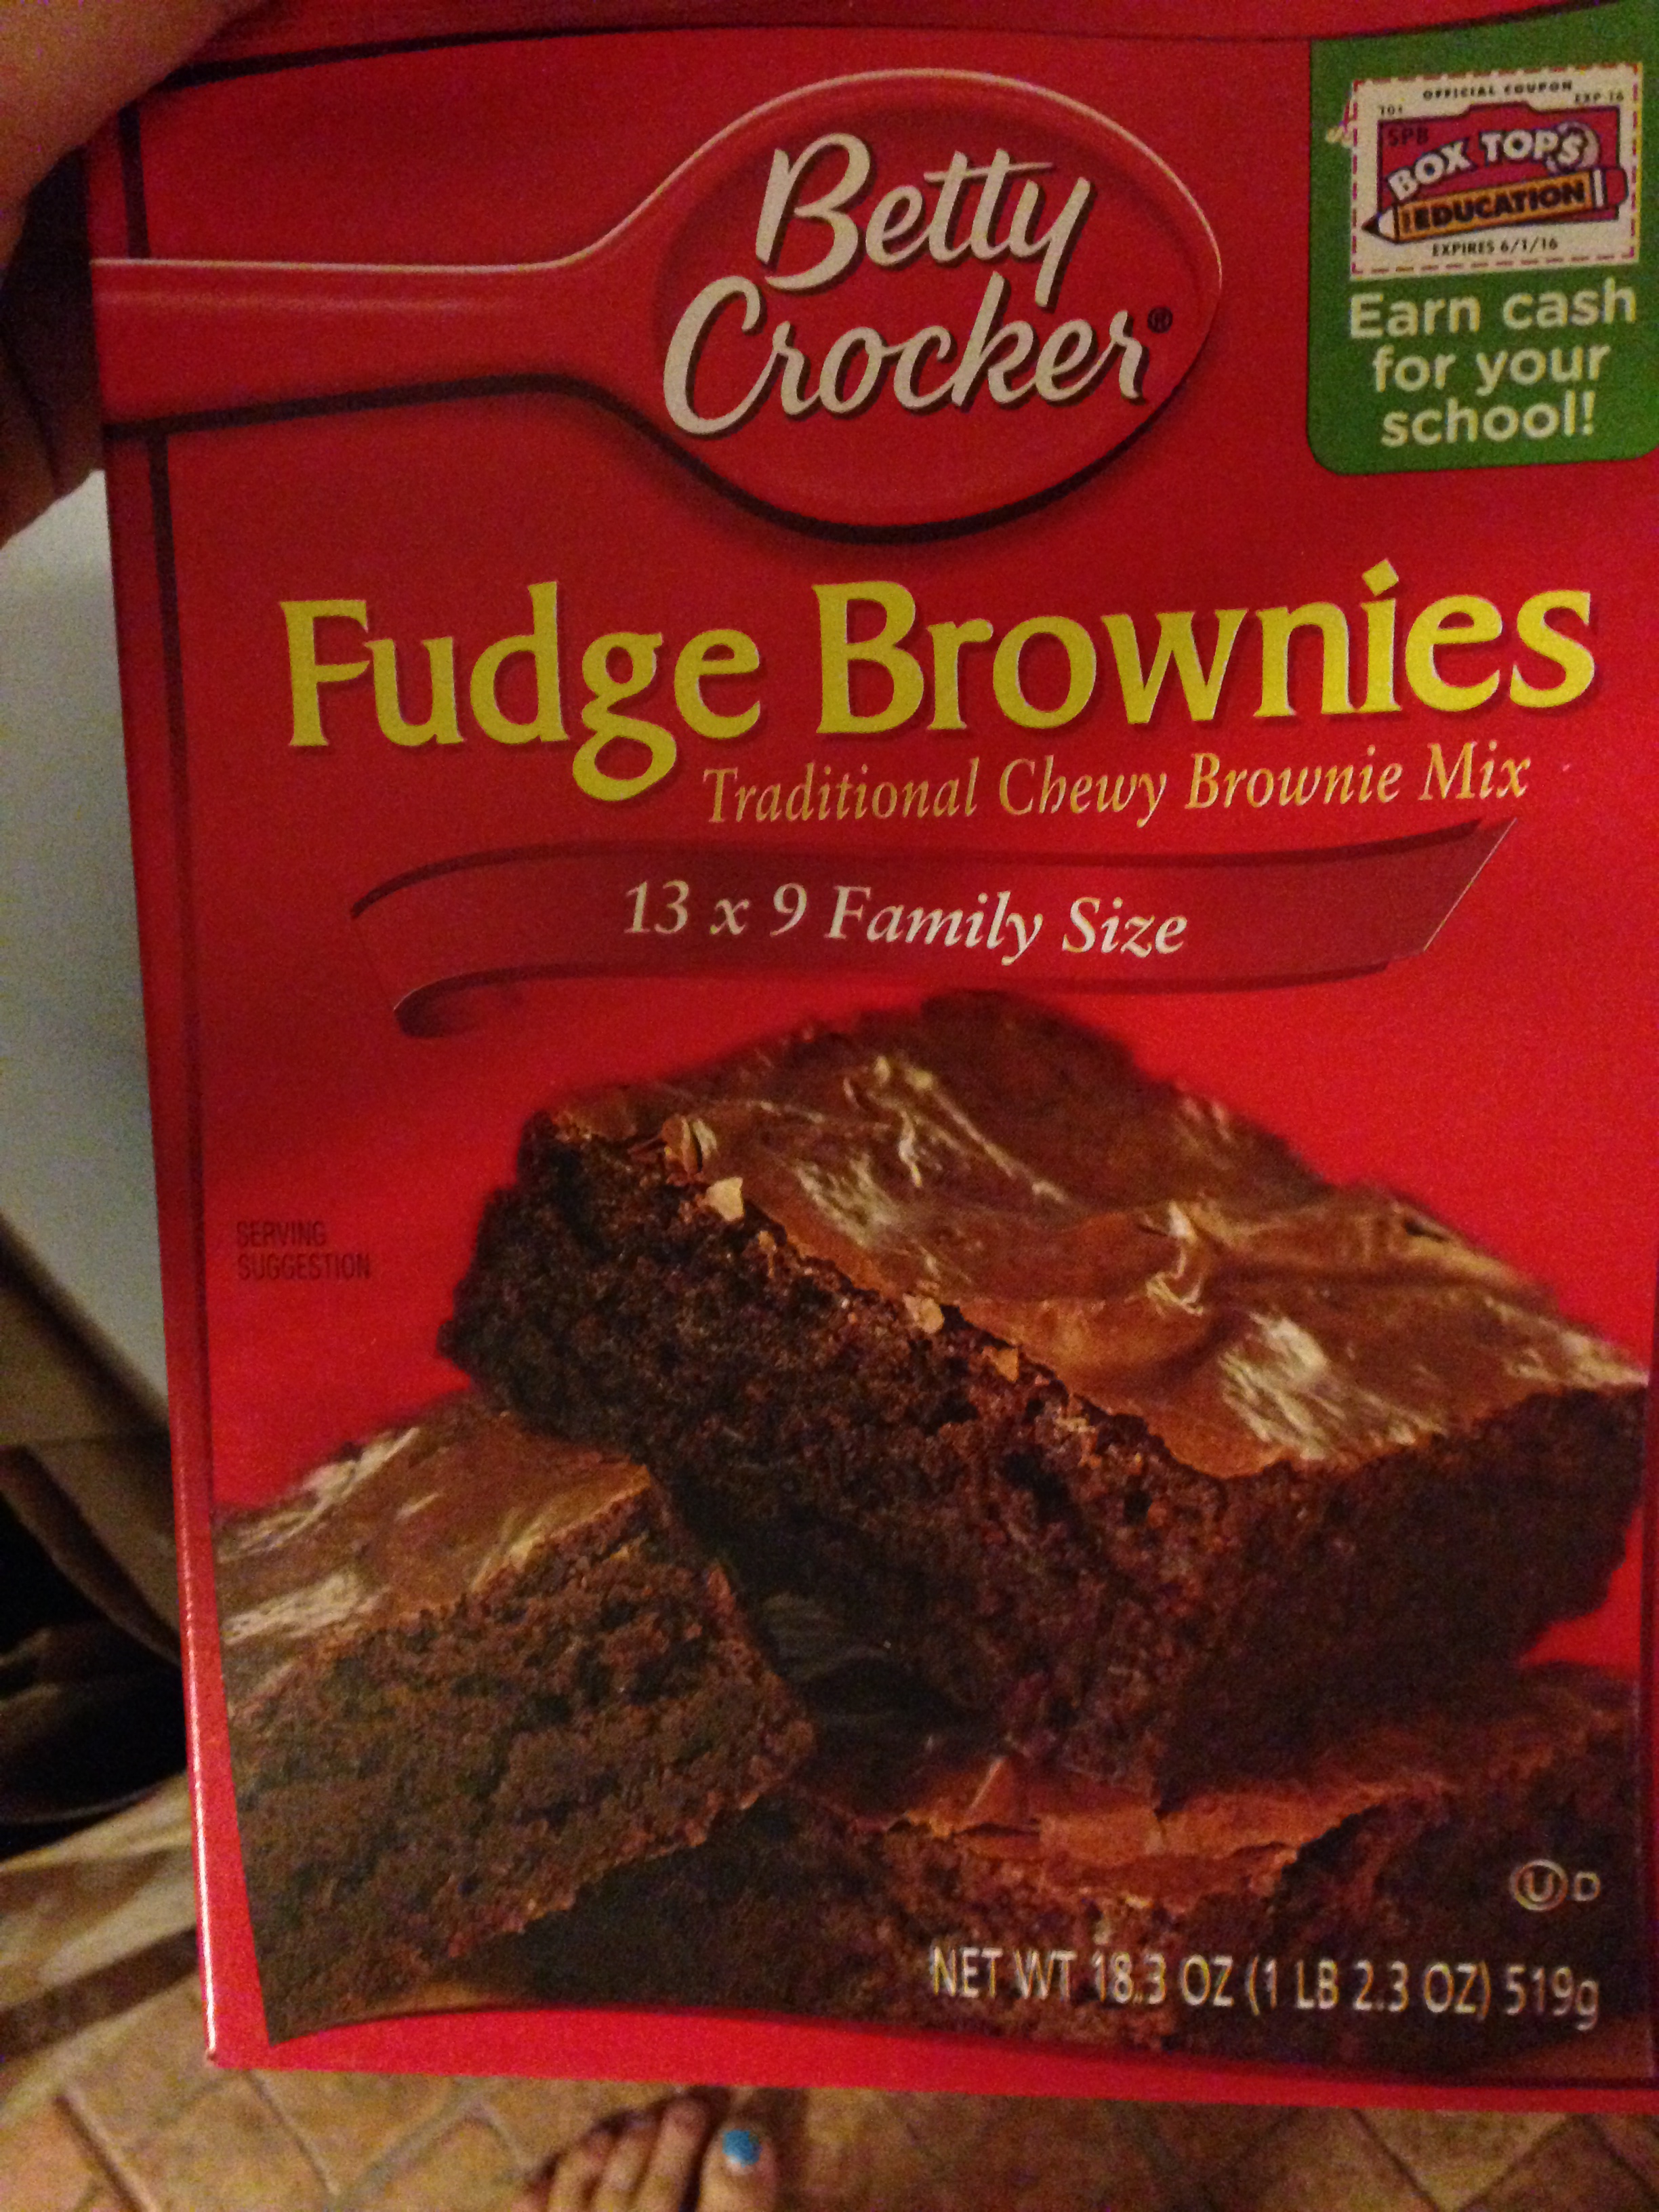
- 1 box of Fudge Brownie Mix (Betty Crocker is vegan)
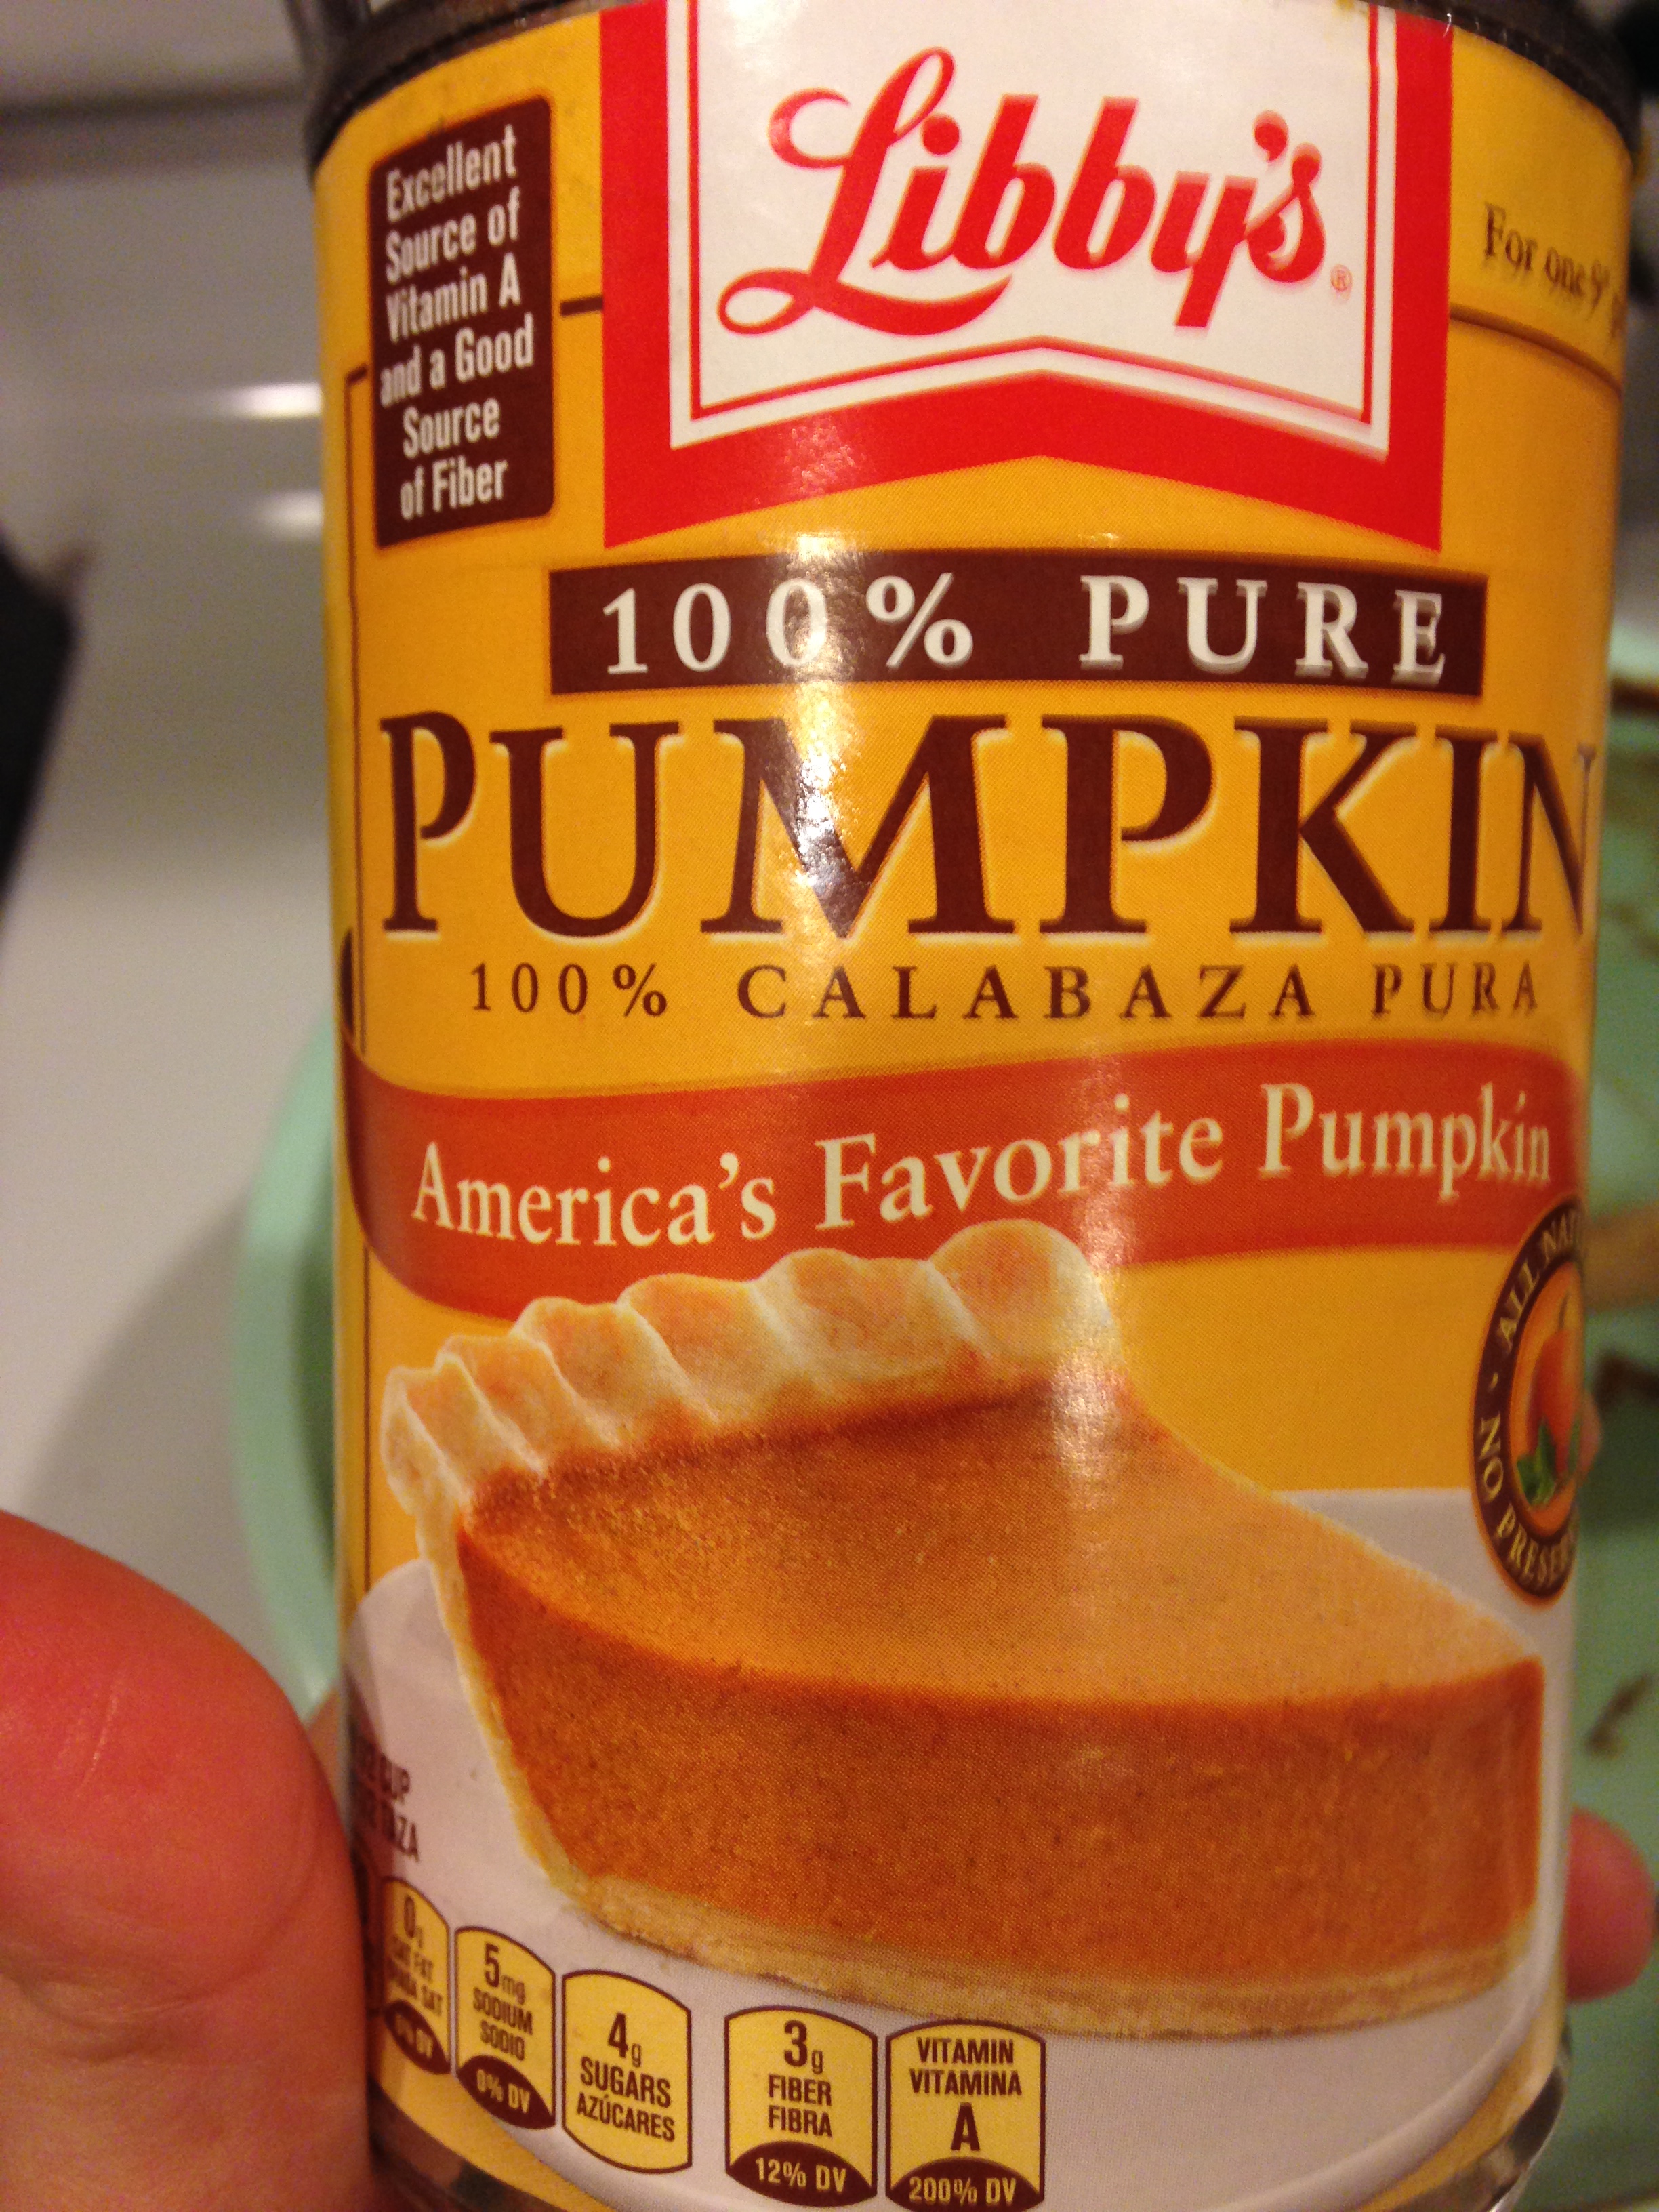
- 2 cans of pureed pumpkin
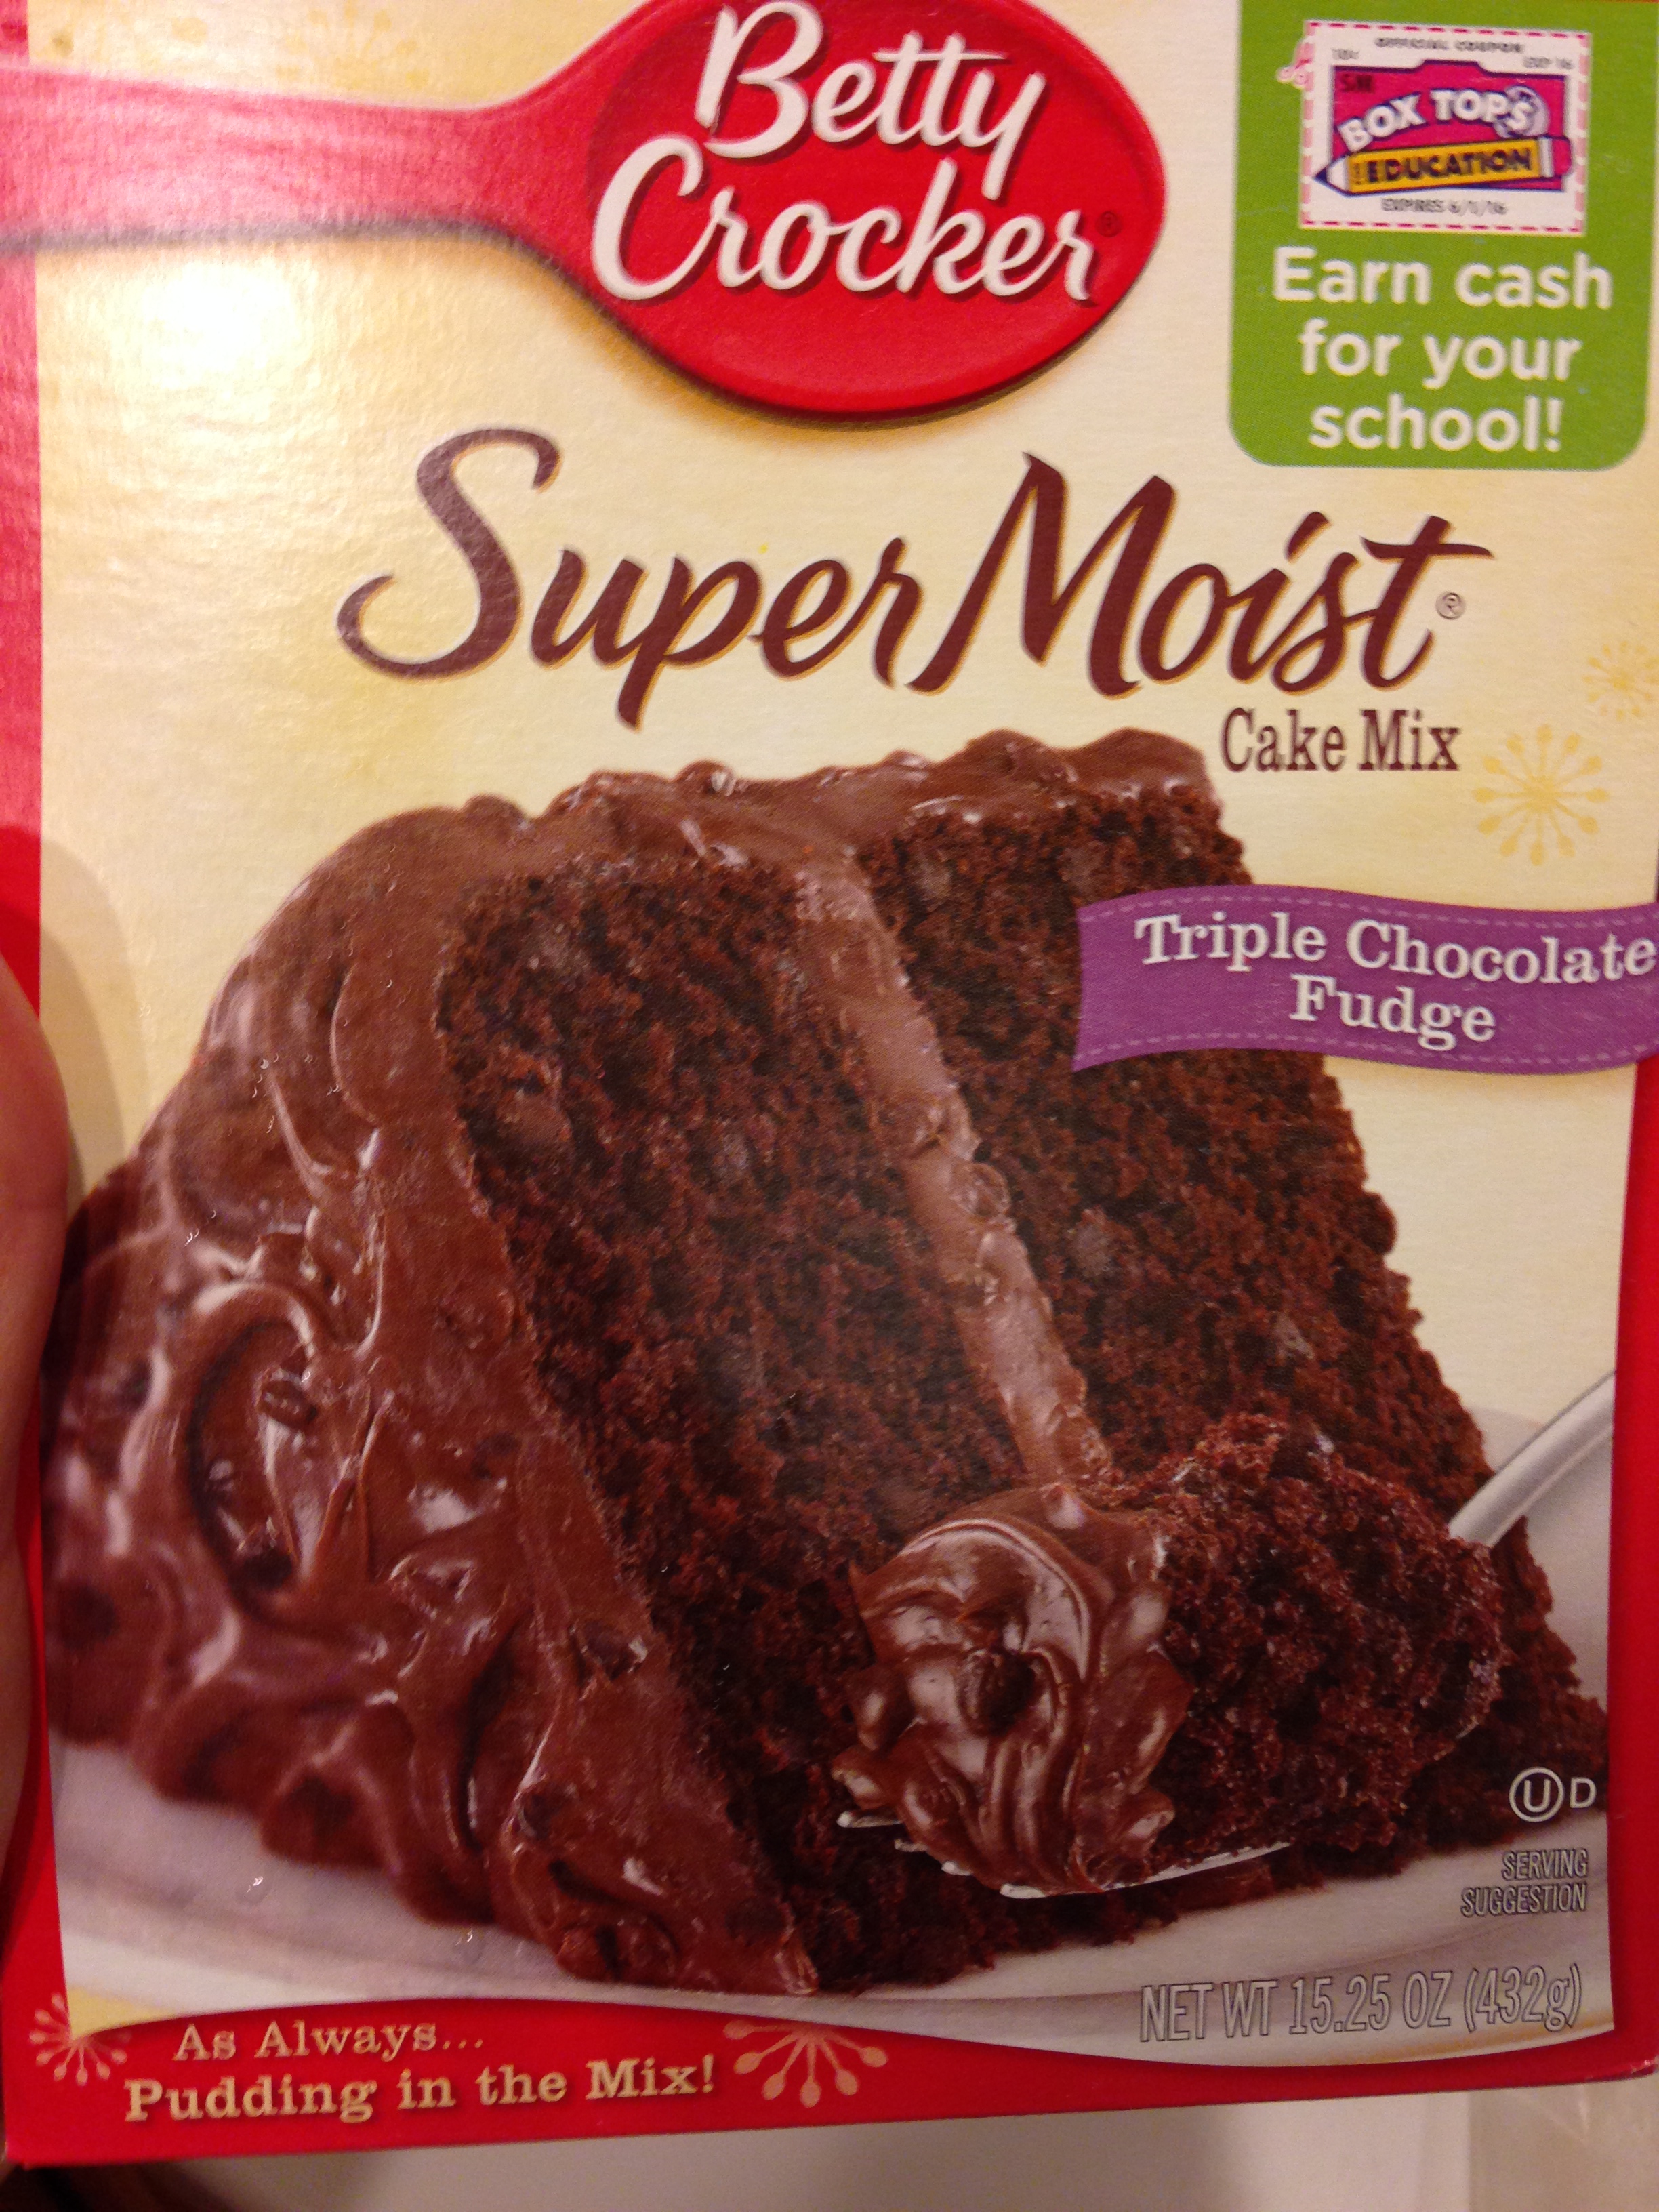
- 1 box Chocolate Cake Mix (many vegan varieties are available)
- 1 package of graham crackers
______________________________________________________________________________________________________
Preparation:
- Preheat your oven to 350 degrees.

- Get out (2) medium mixing bowls.
- Get 1 smaller pie pan and 1 regular sized cake pan.
- Get out your trifle container.

- Spray cake and pie pan with Coconut Oil spray or some Pam-type equivalent of canola oil.
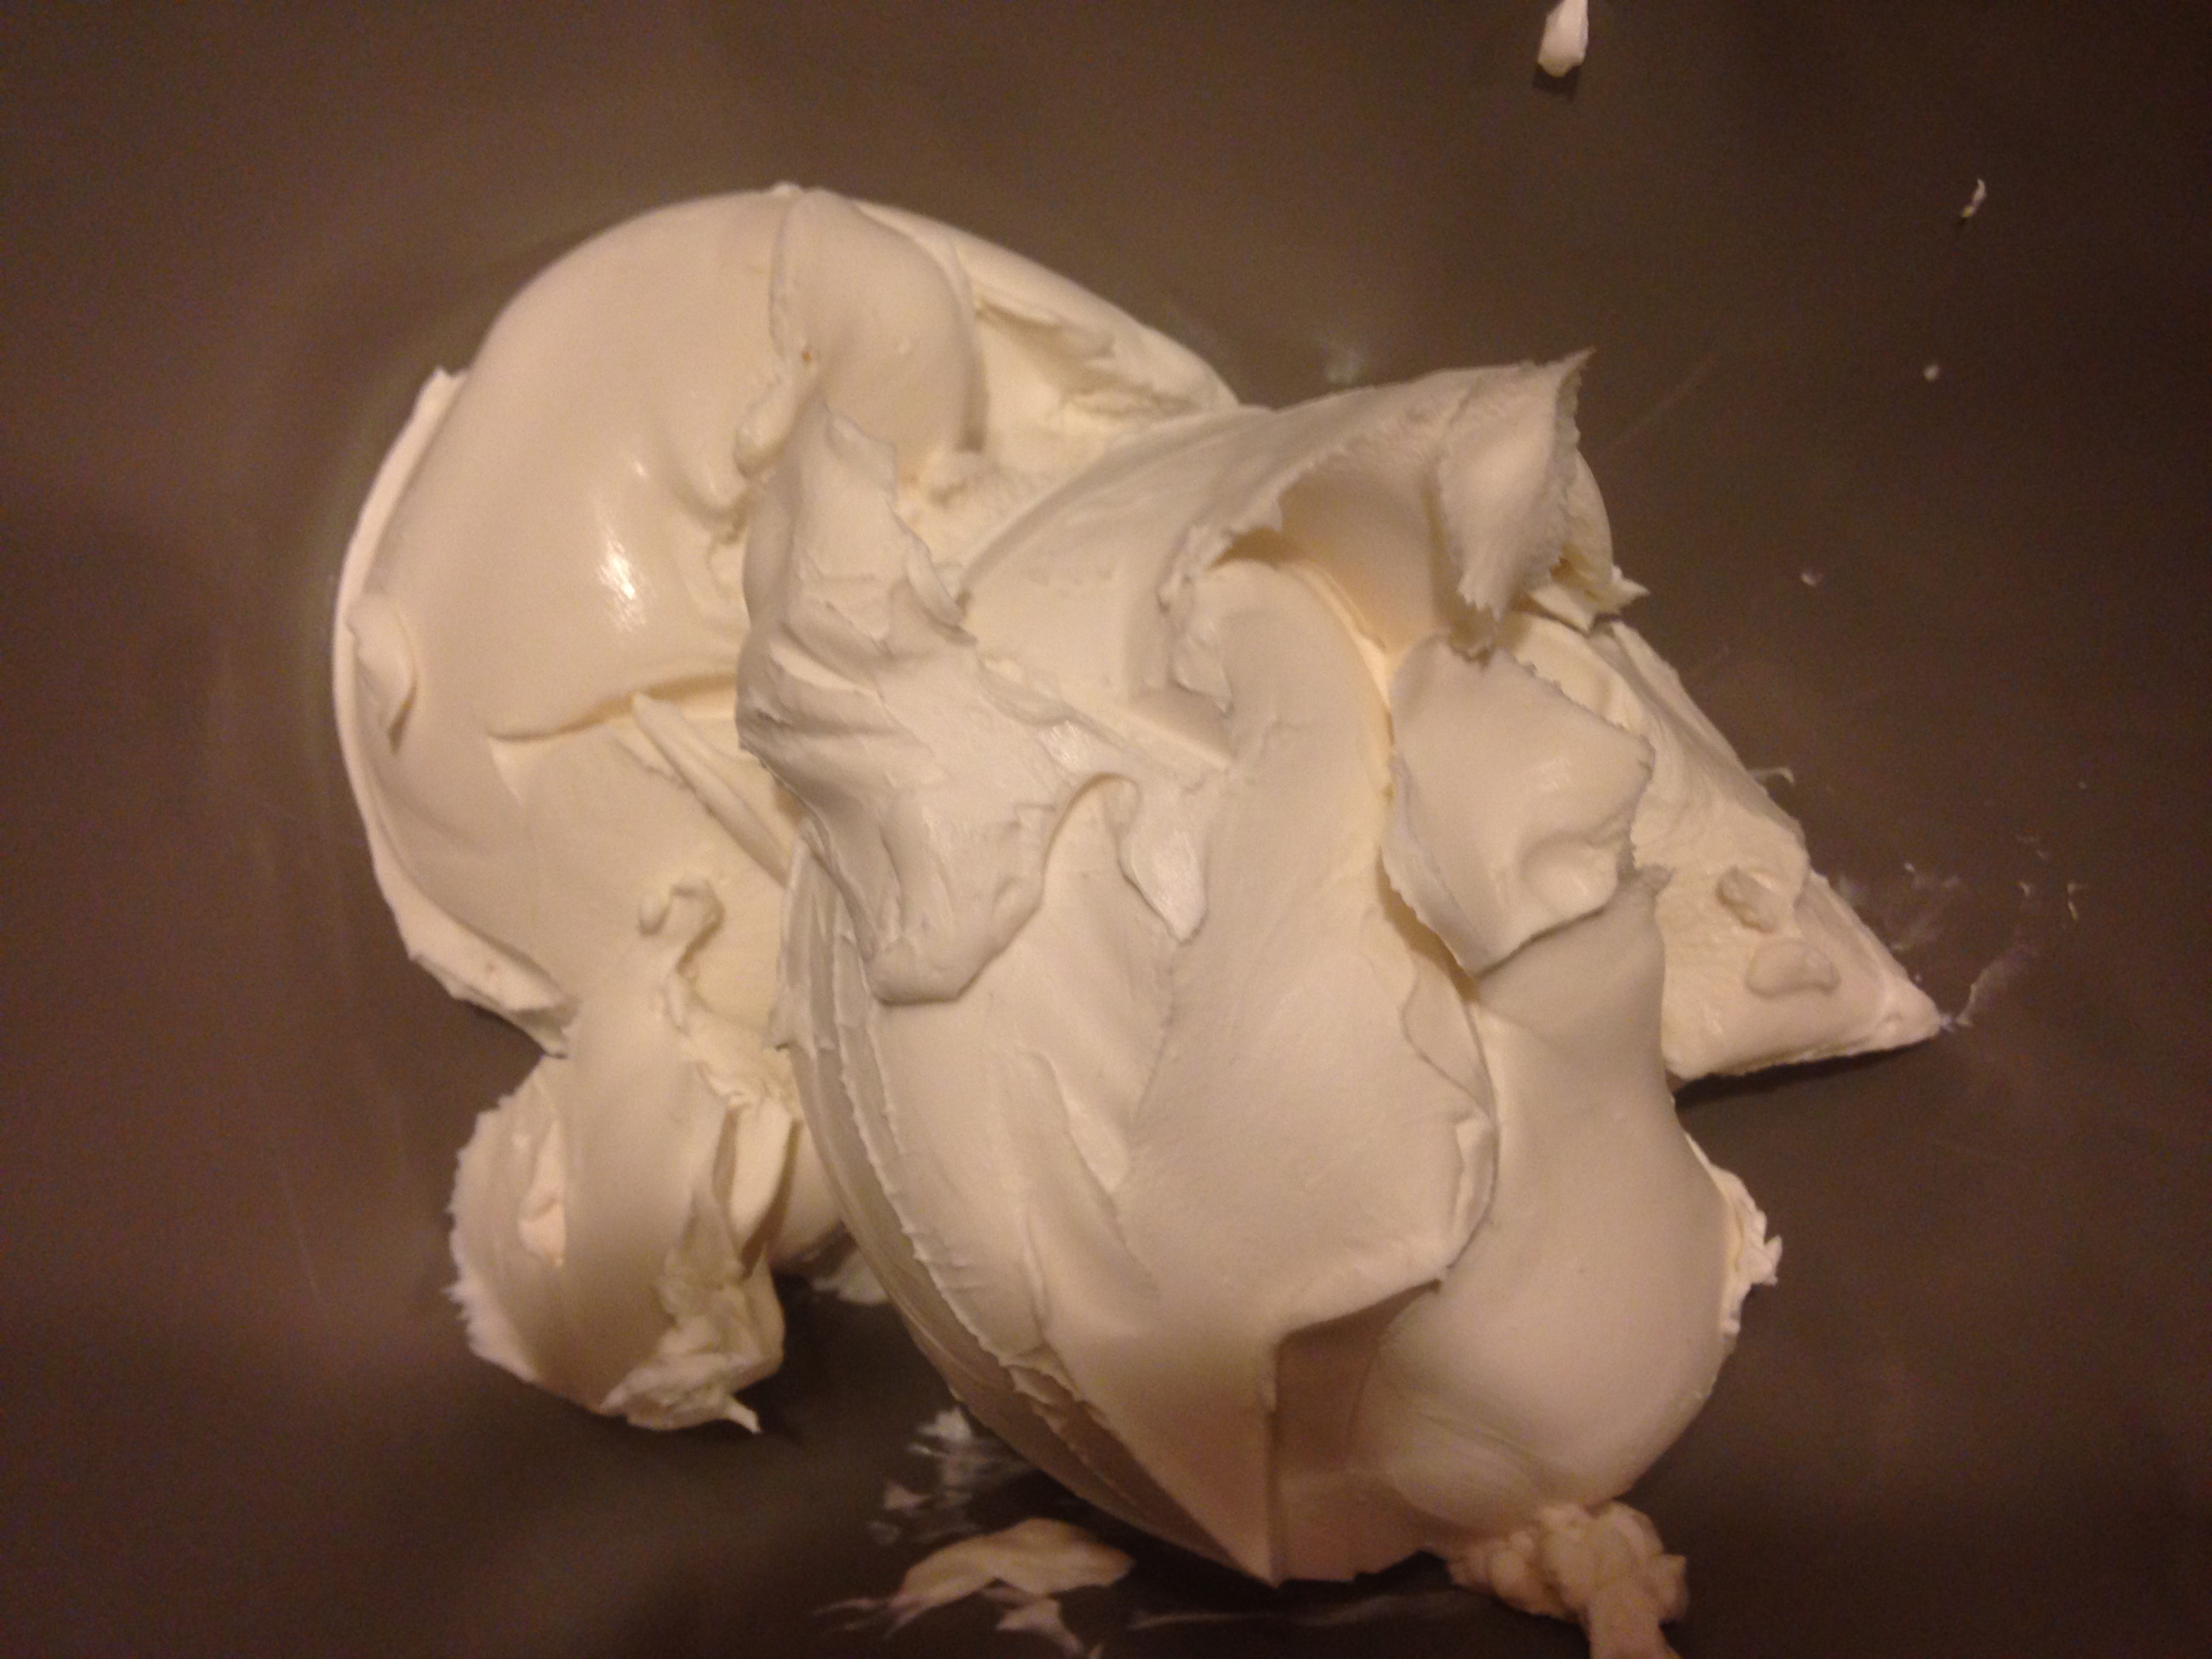
- Open cans of coconut milk and slowly remove top layer of coconut milk fat and leave coconut water at the bottom. Try to remove as little wet material as possible. Place in one mixing bowl with cream cheese. Mix until combined well. Sift in powdered sugar with a sieve or squeeze sifter. I use a plastic $1.99 sieve I got at the Chinese grocery store and it works great. No need for anything fancy! Place bowl of cream in refrigerator.


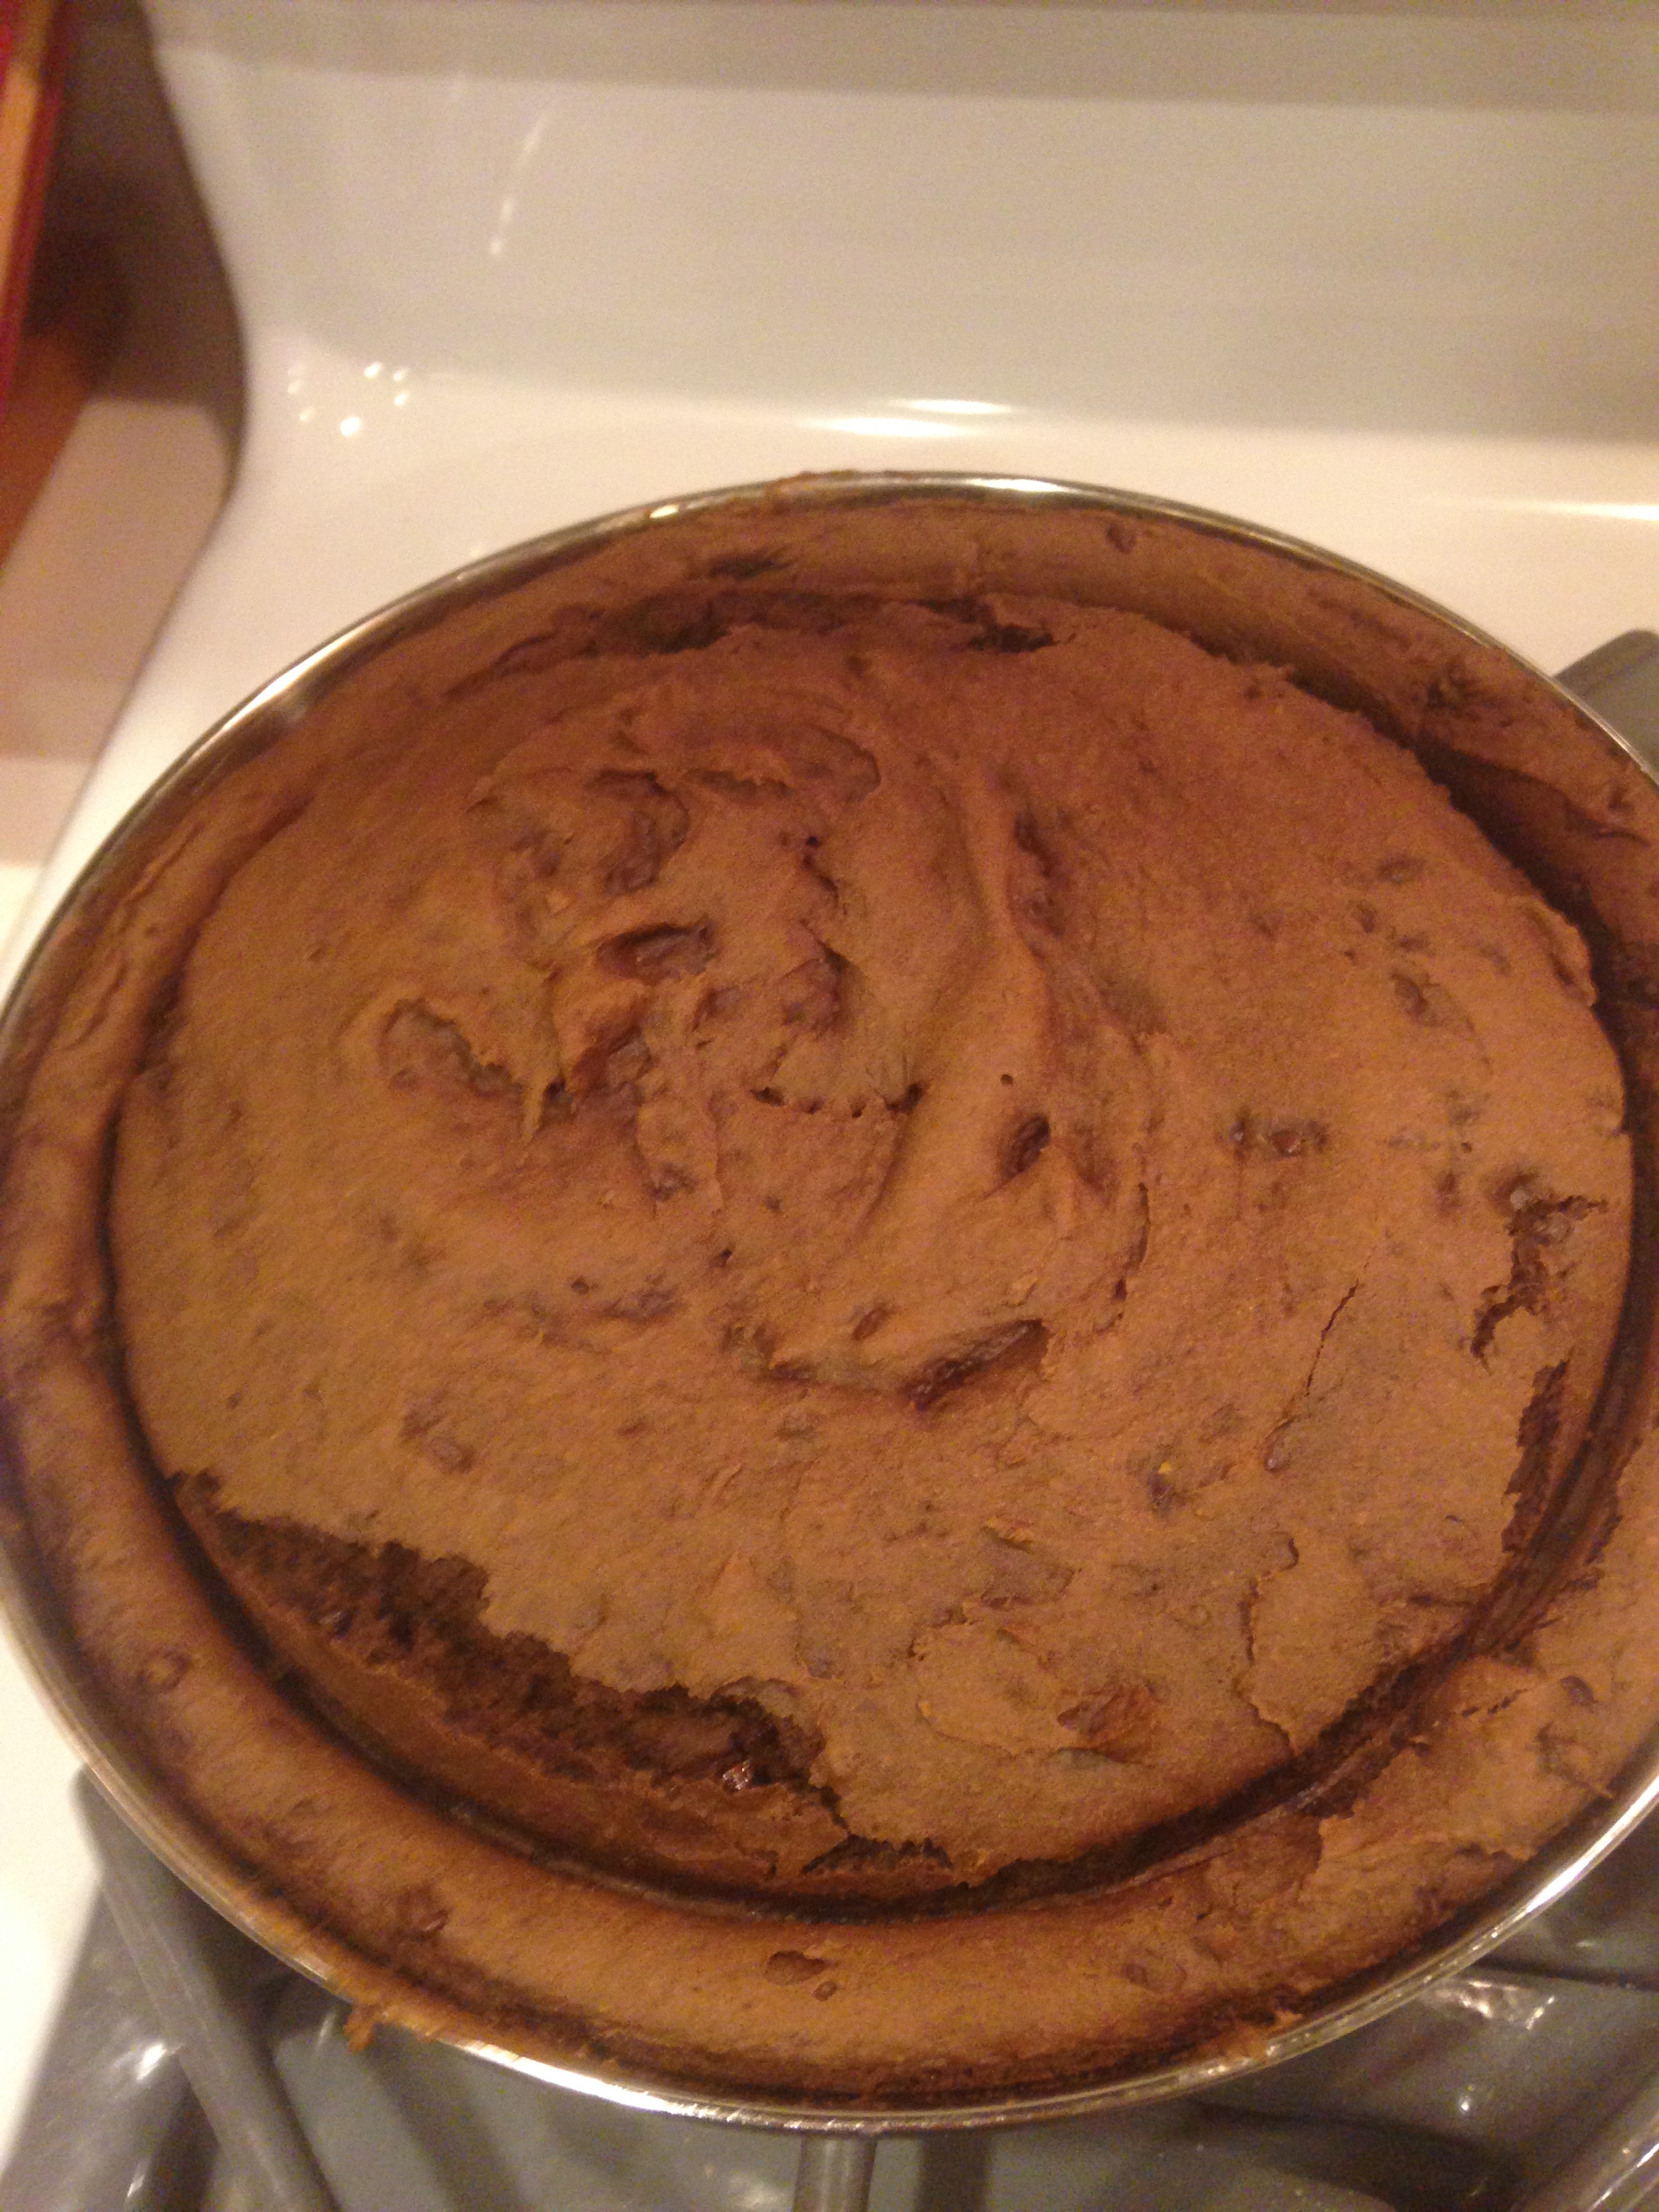
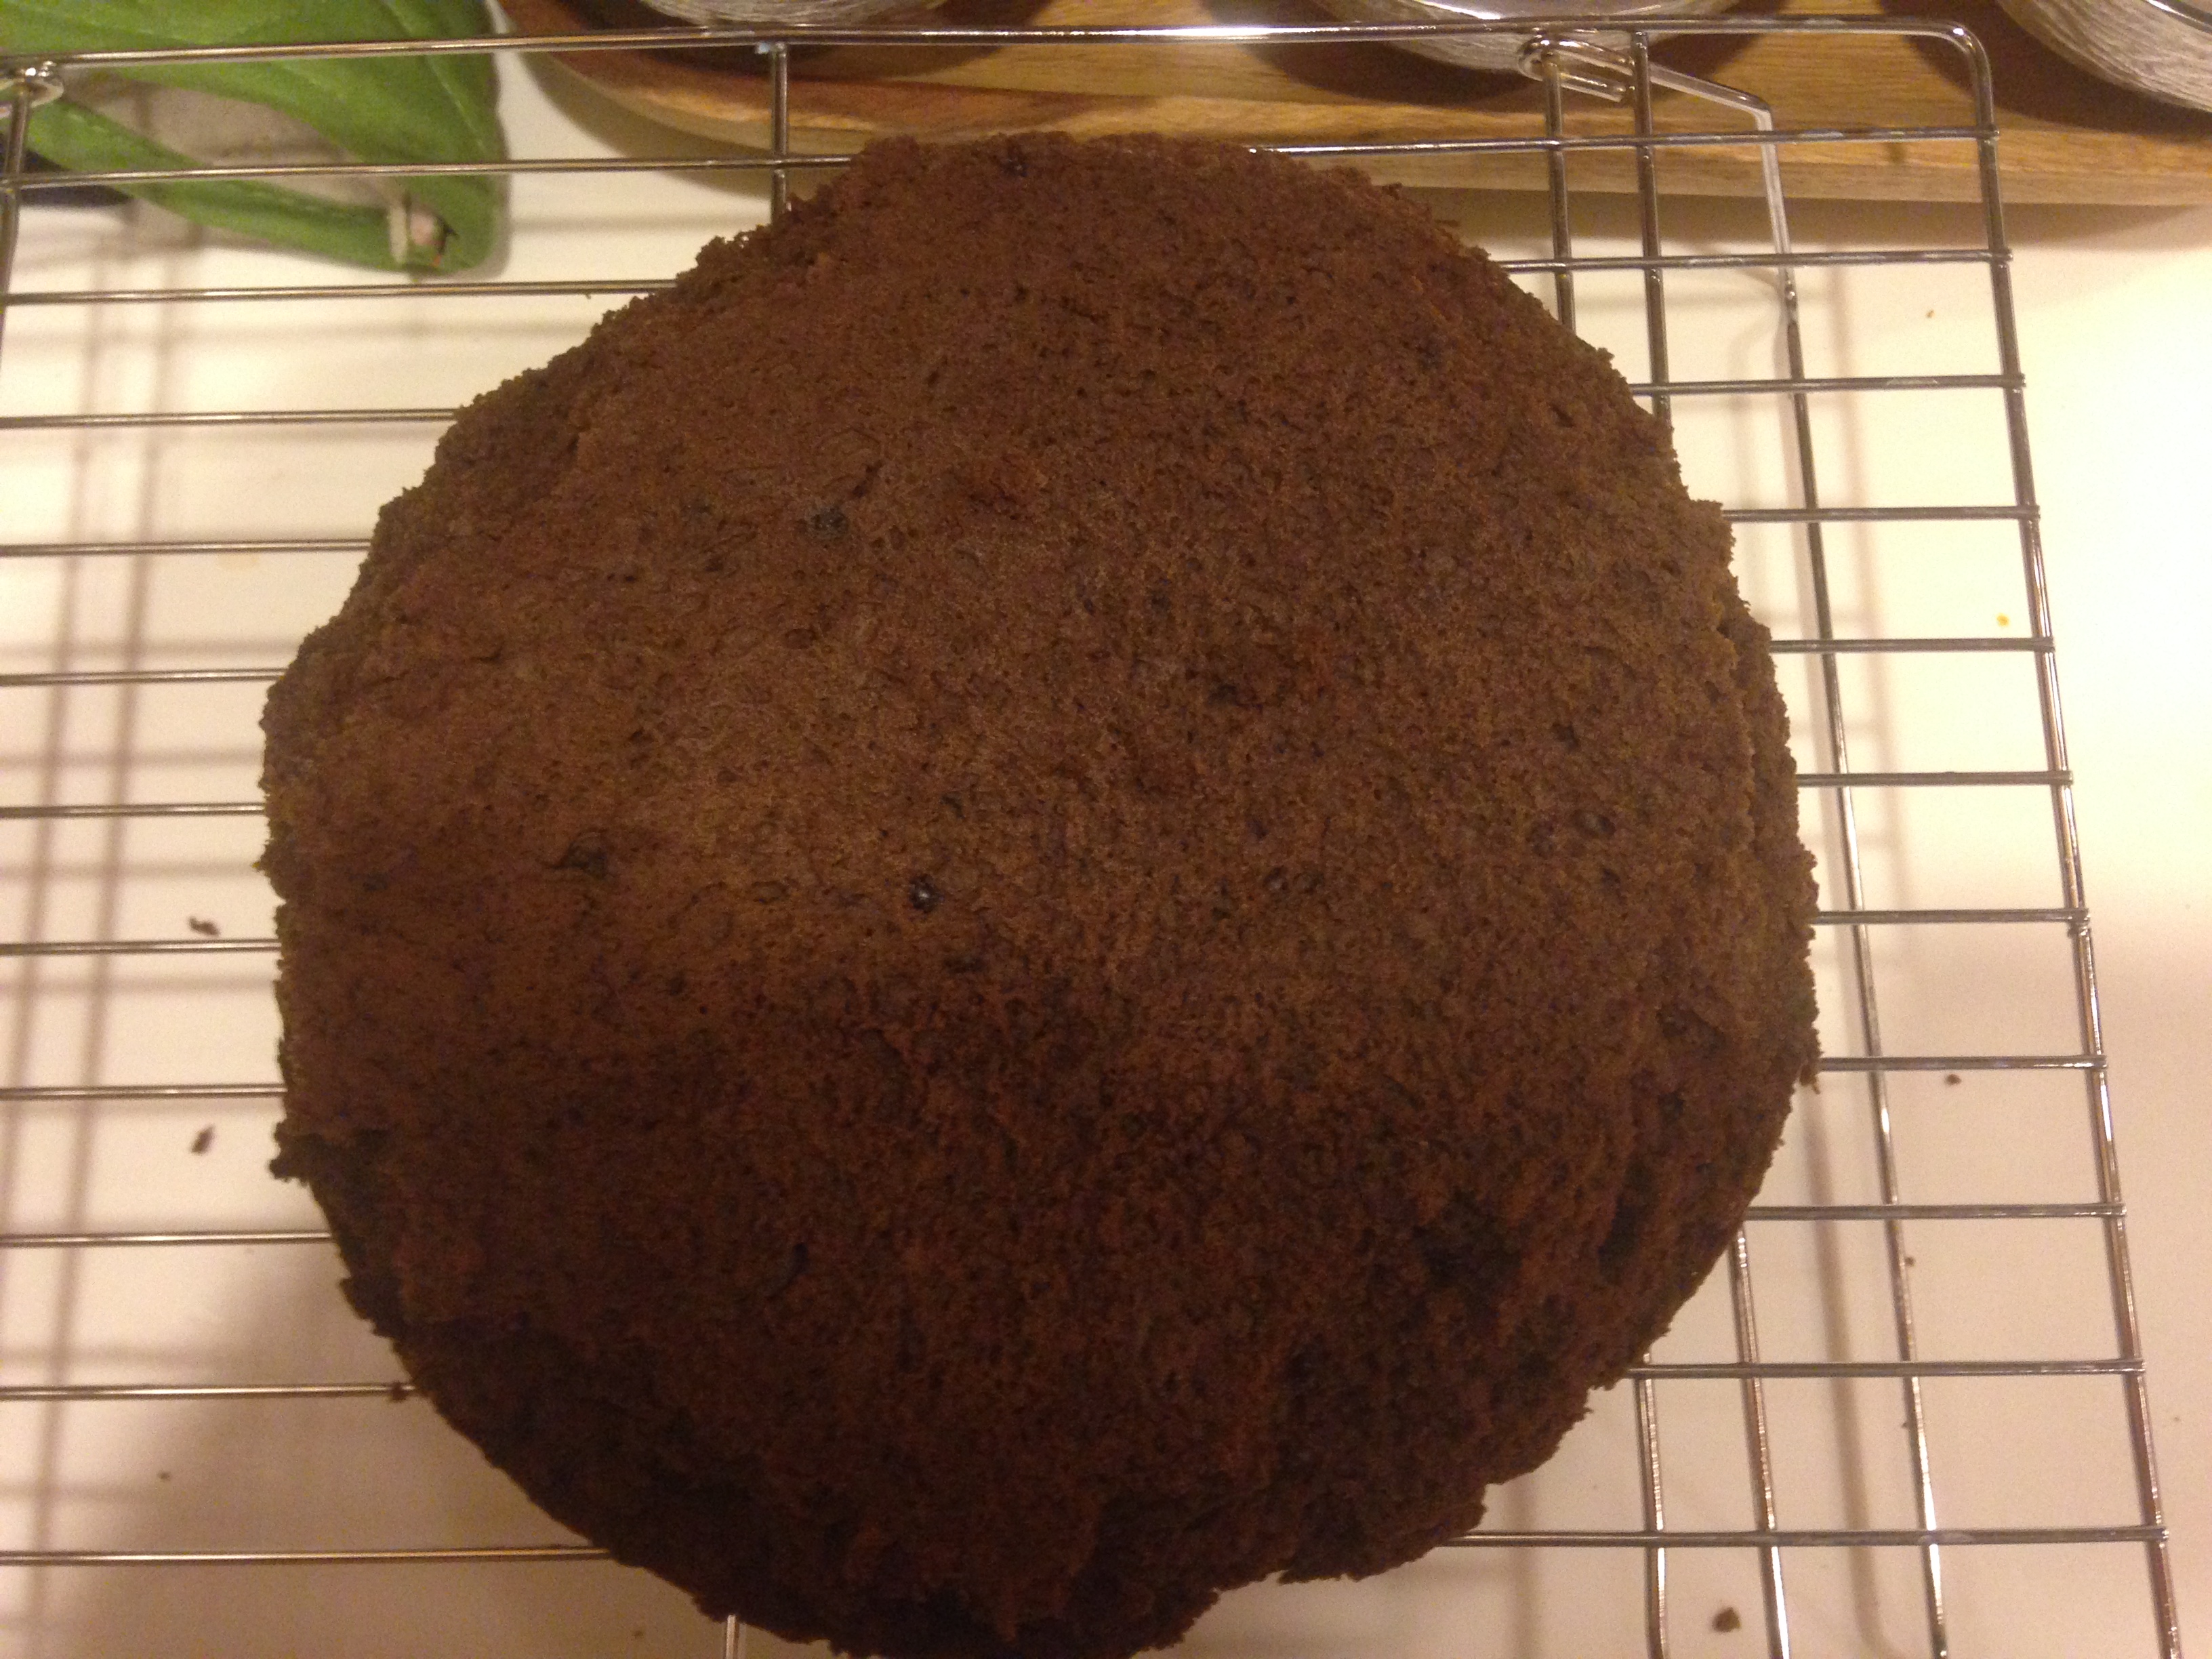
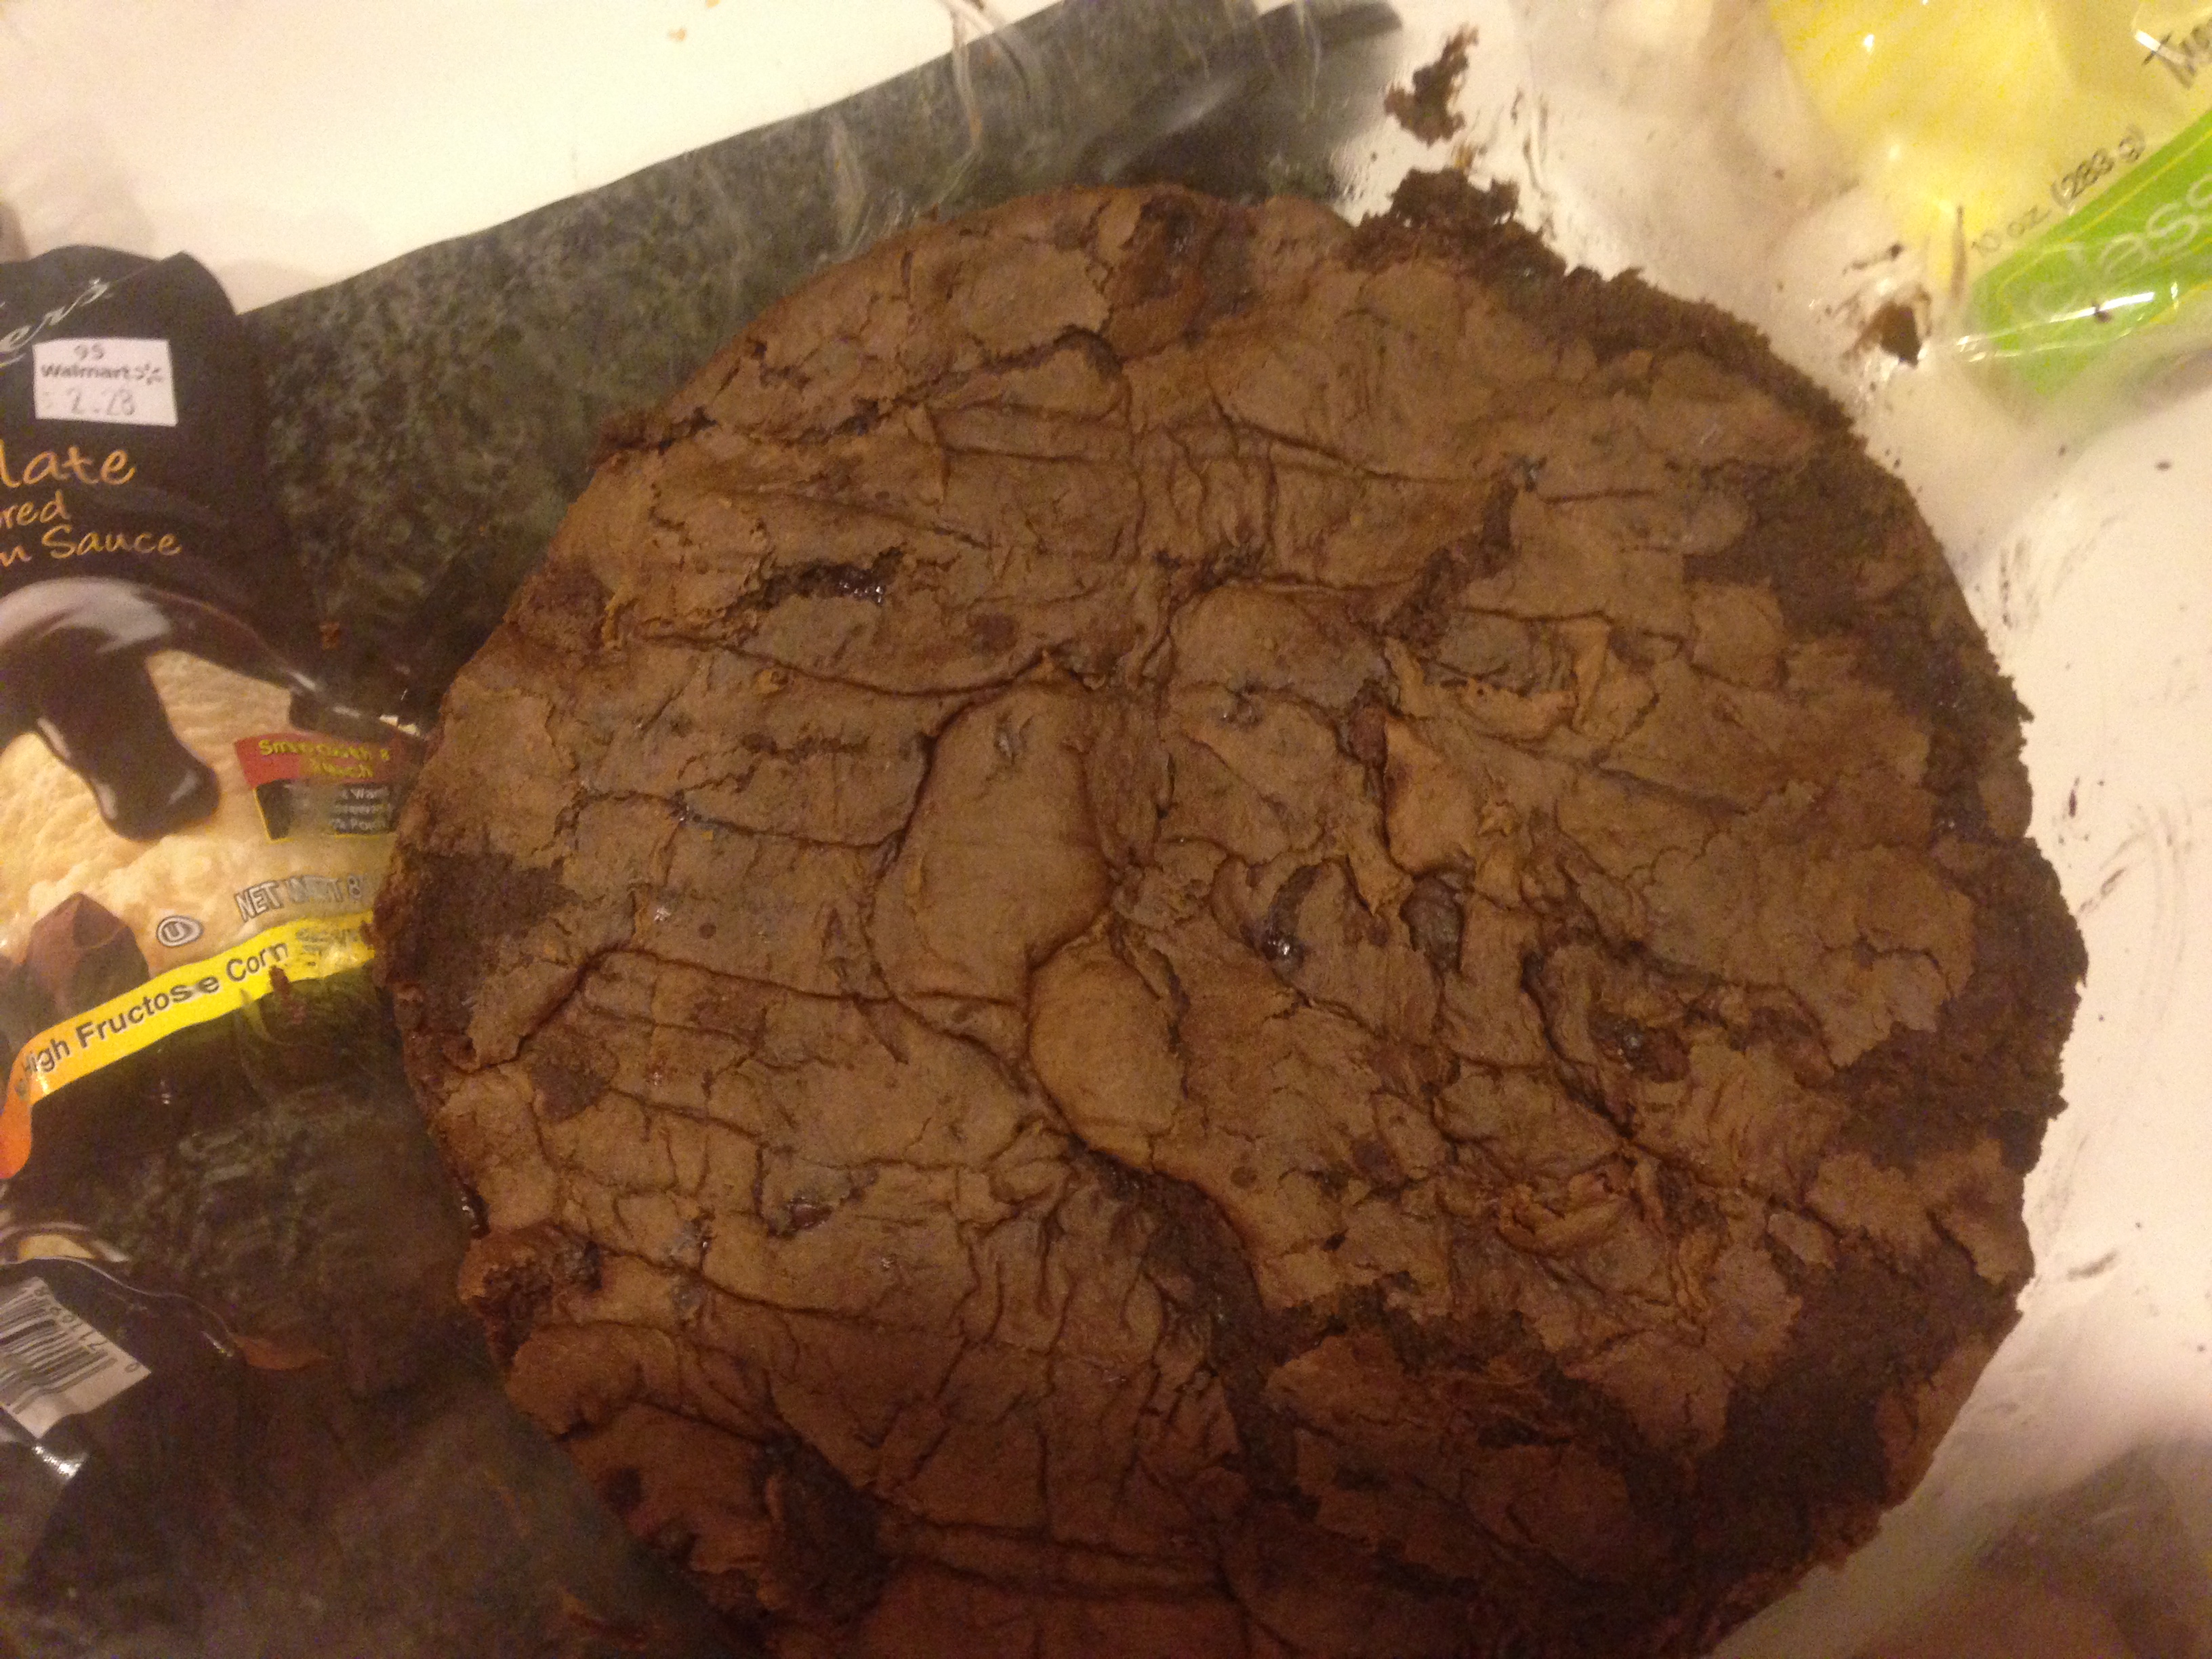
- In second bowl prepare brownie mix with one can of pureed pumpkin. Combine the two until smooth. Place in Pie Pan.


- In the second bowl (do not wipe) add cake mix and 2nd can of pureed pumpkin. Combine well until smooth and place batter in cake pan.


Cooking:
- Place both batters into oven. The cake will take approximately 30 minutes and the brownies will take approximately 50-55 minutes.

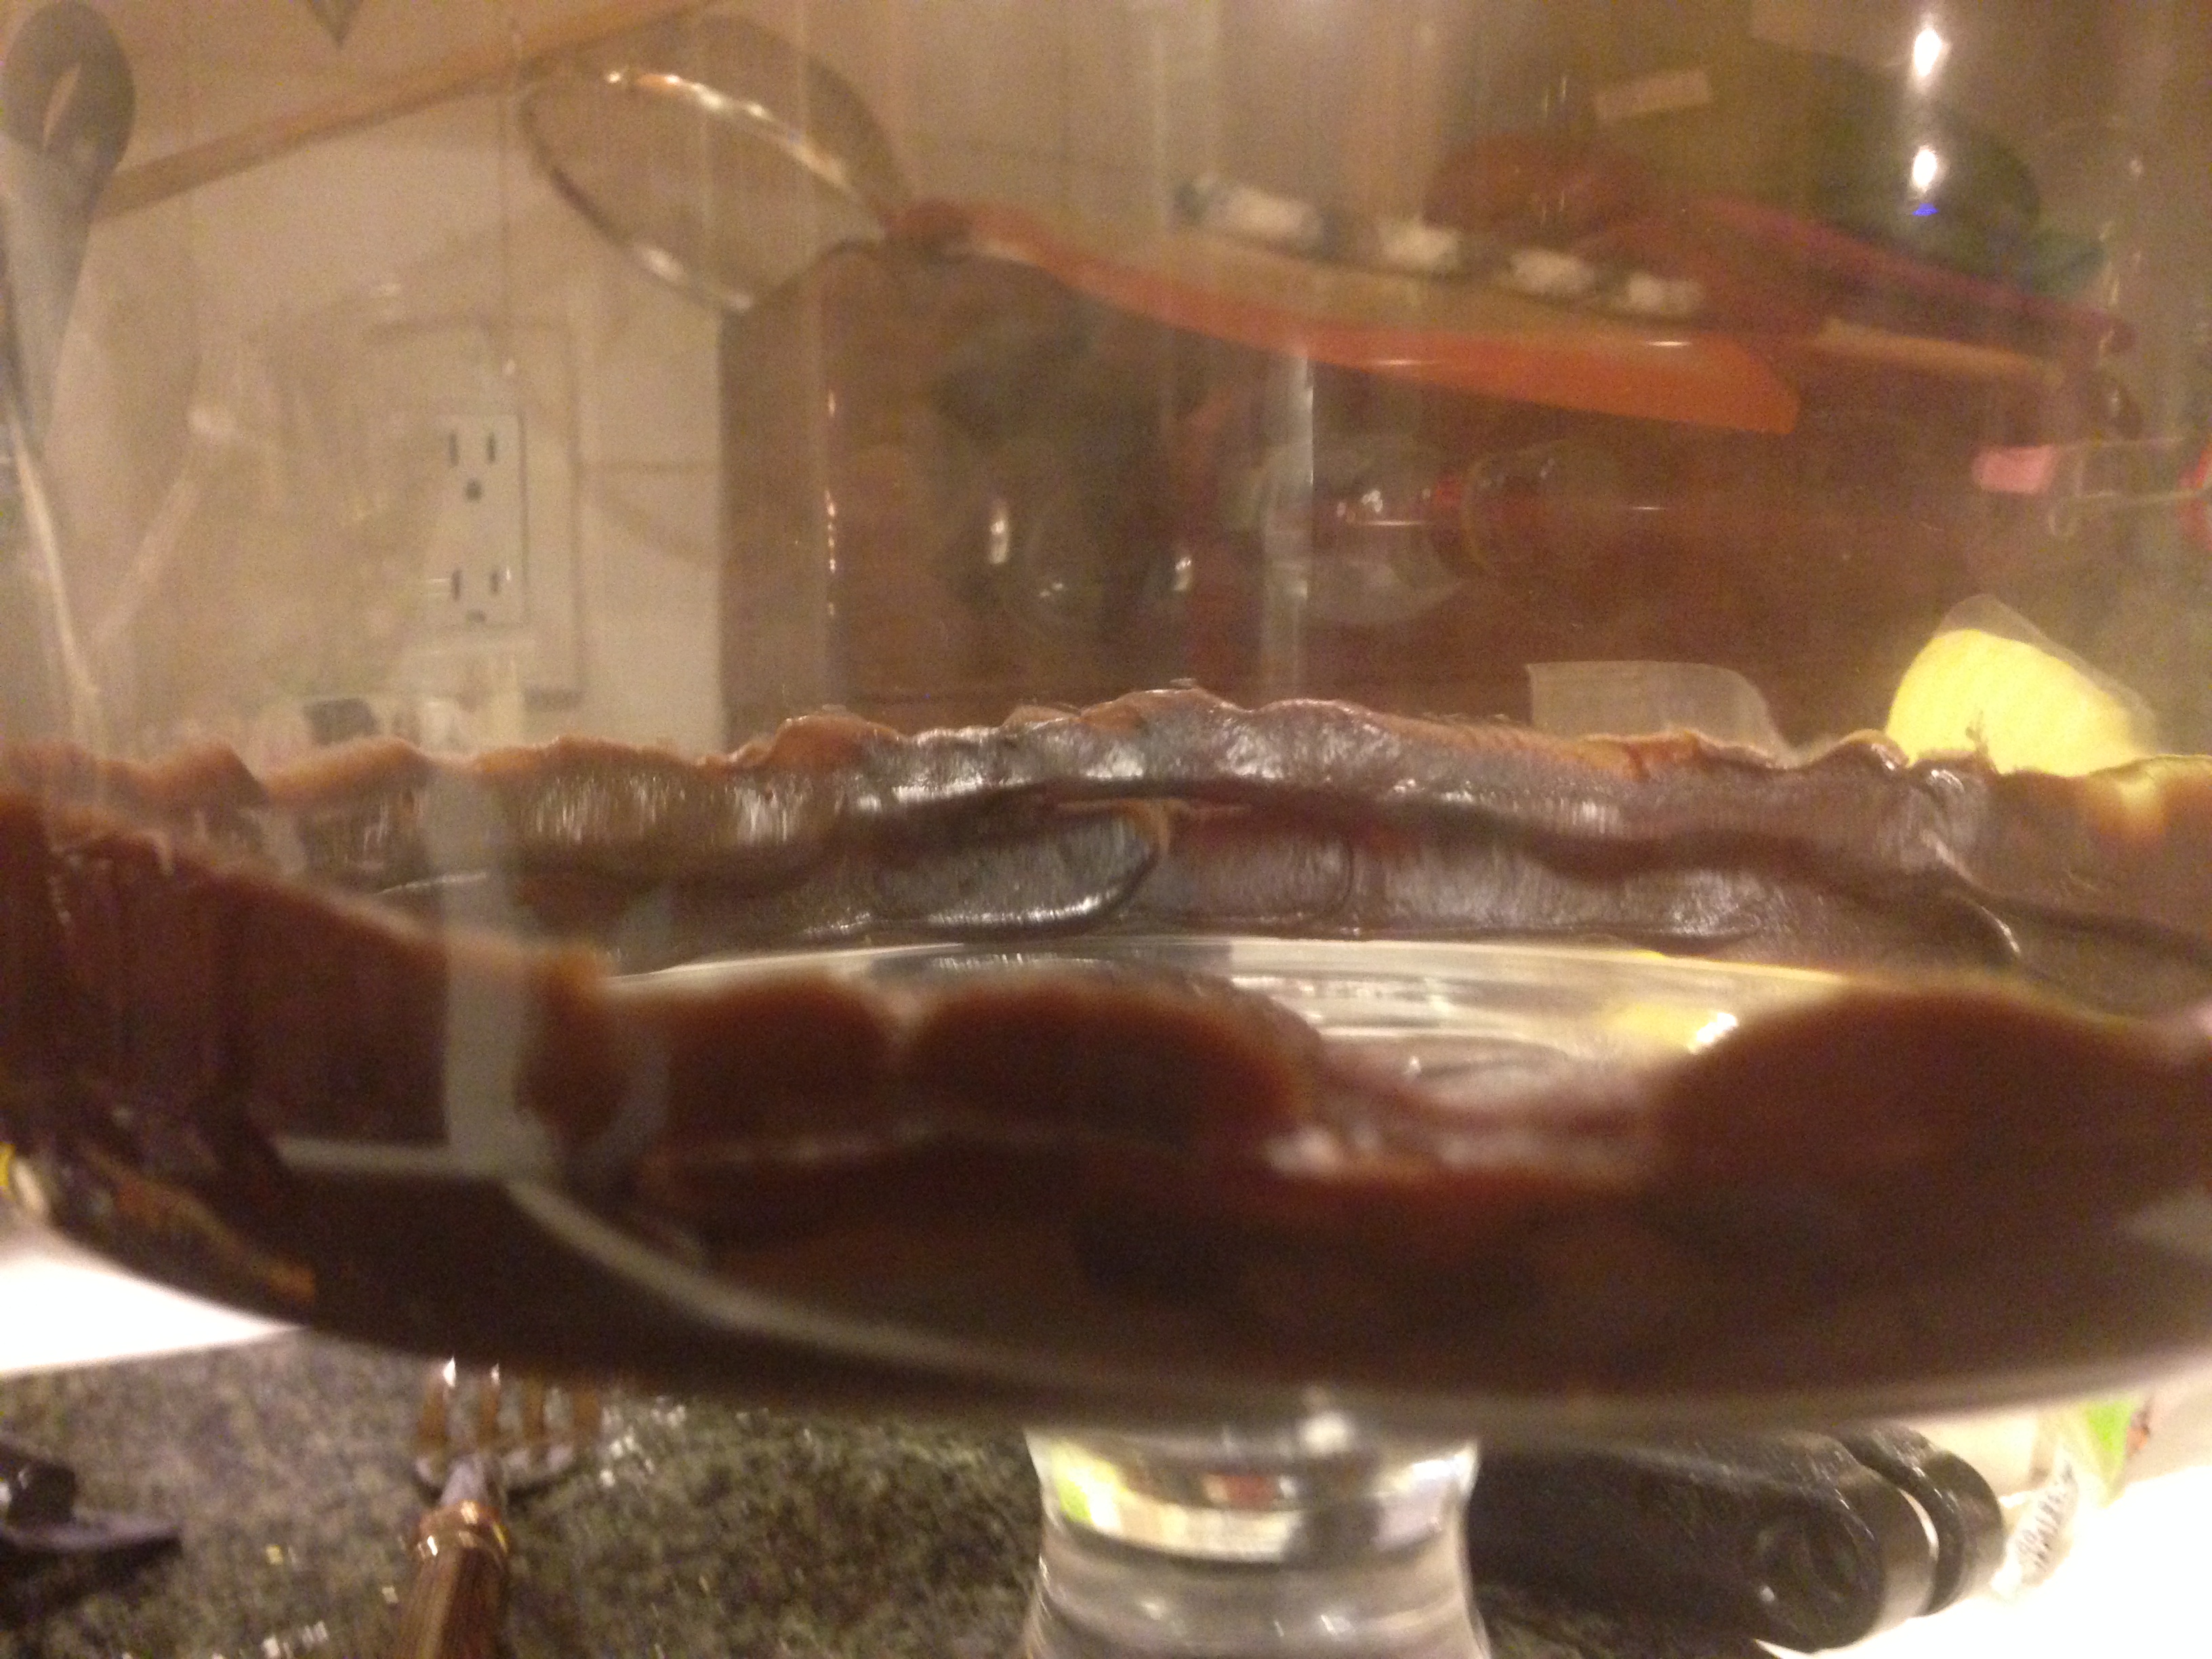
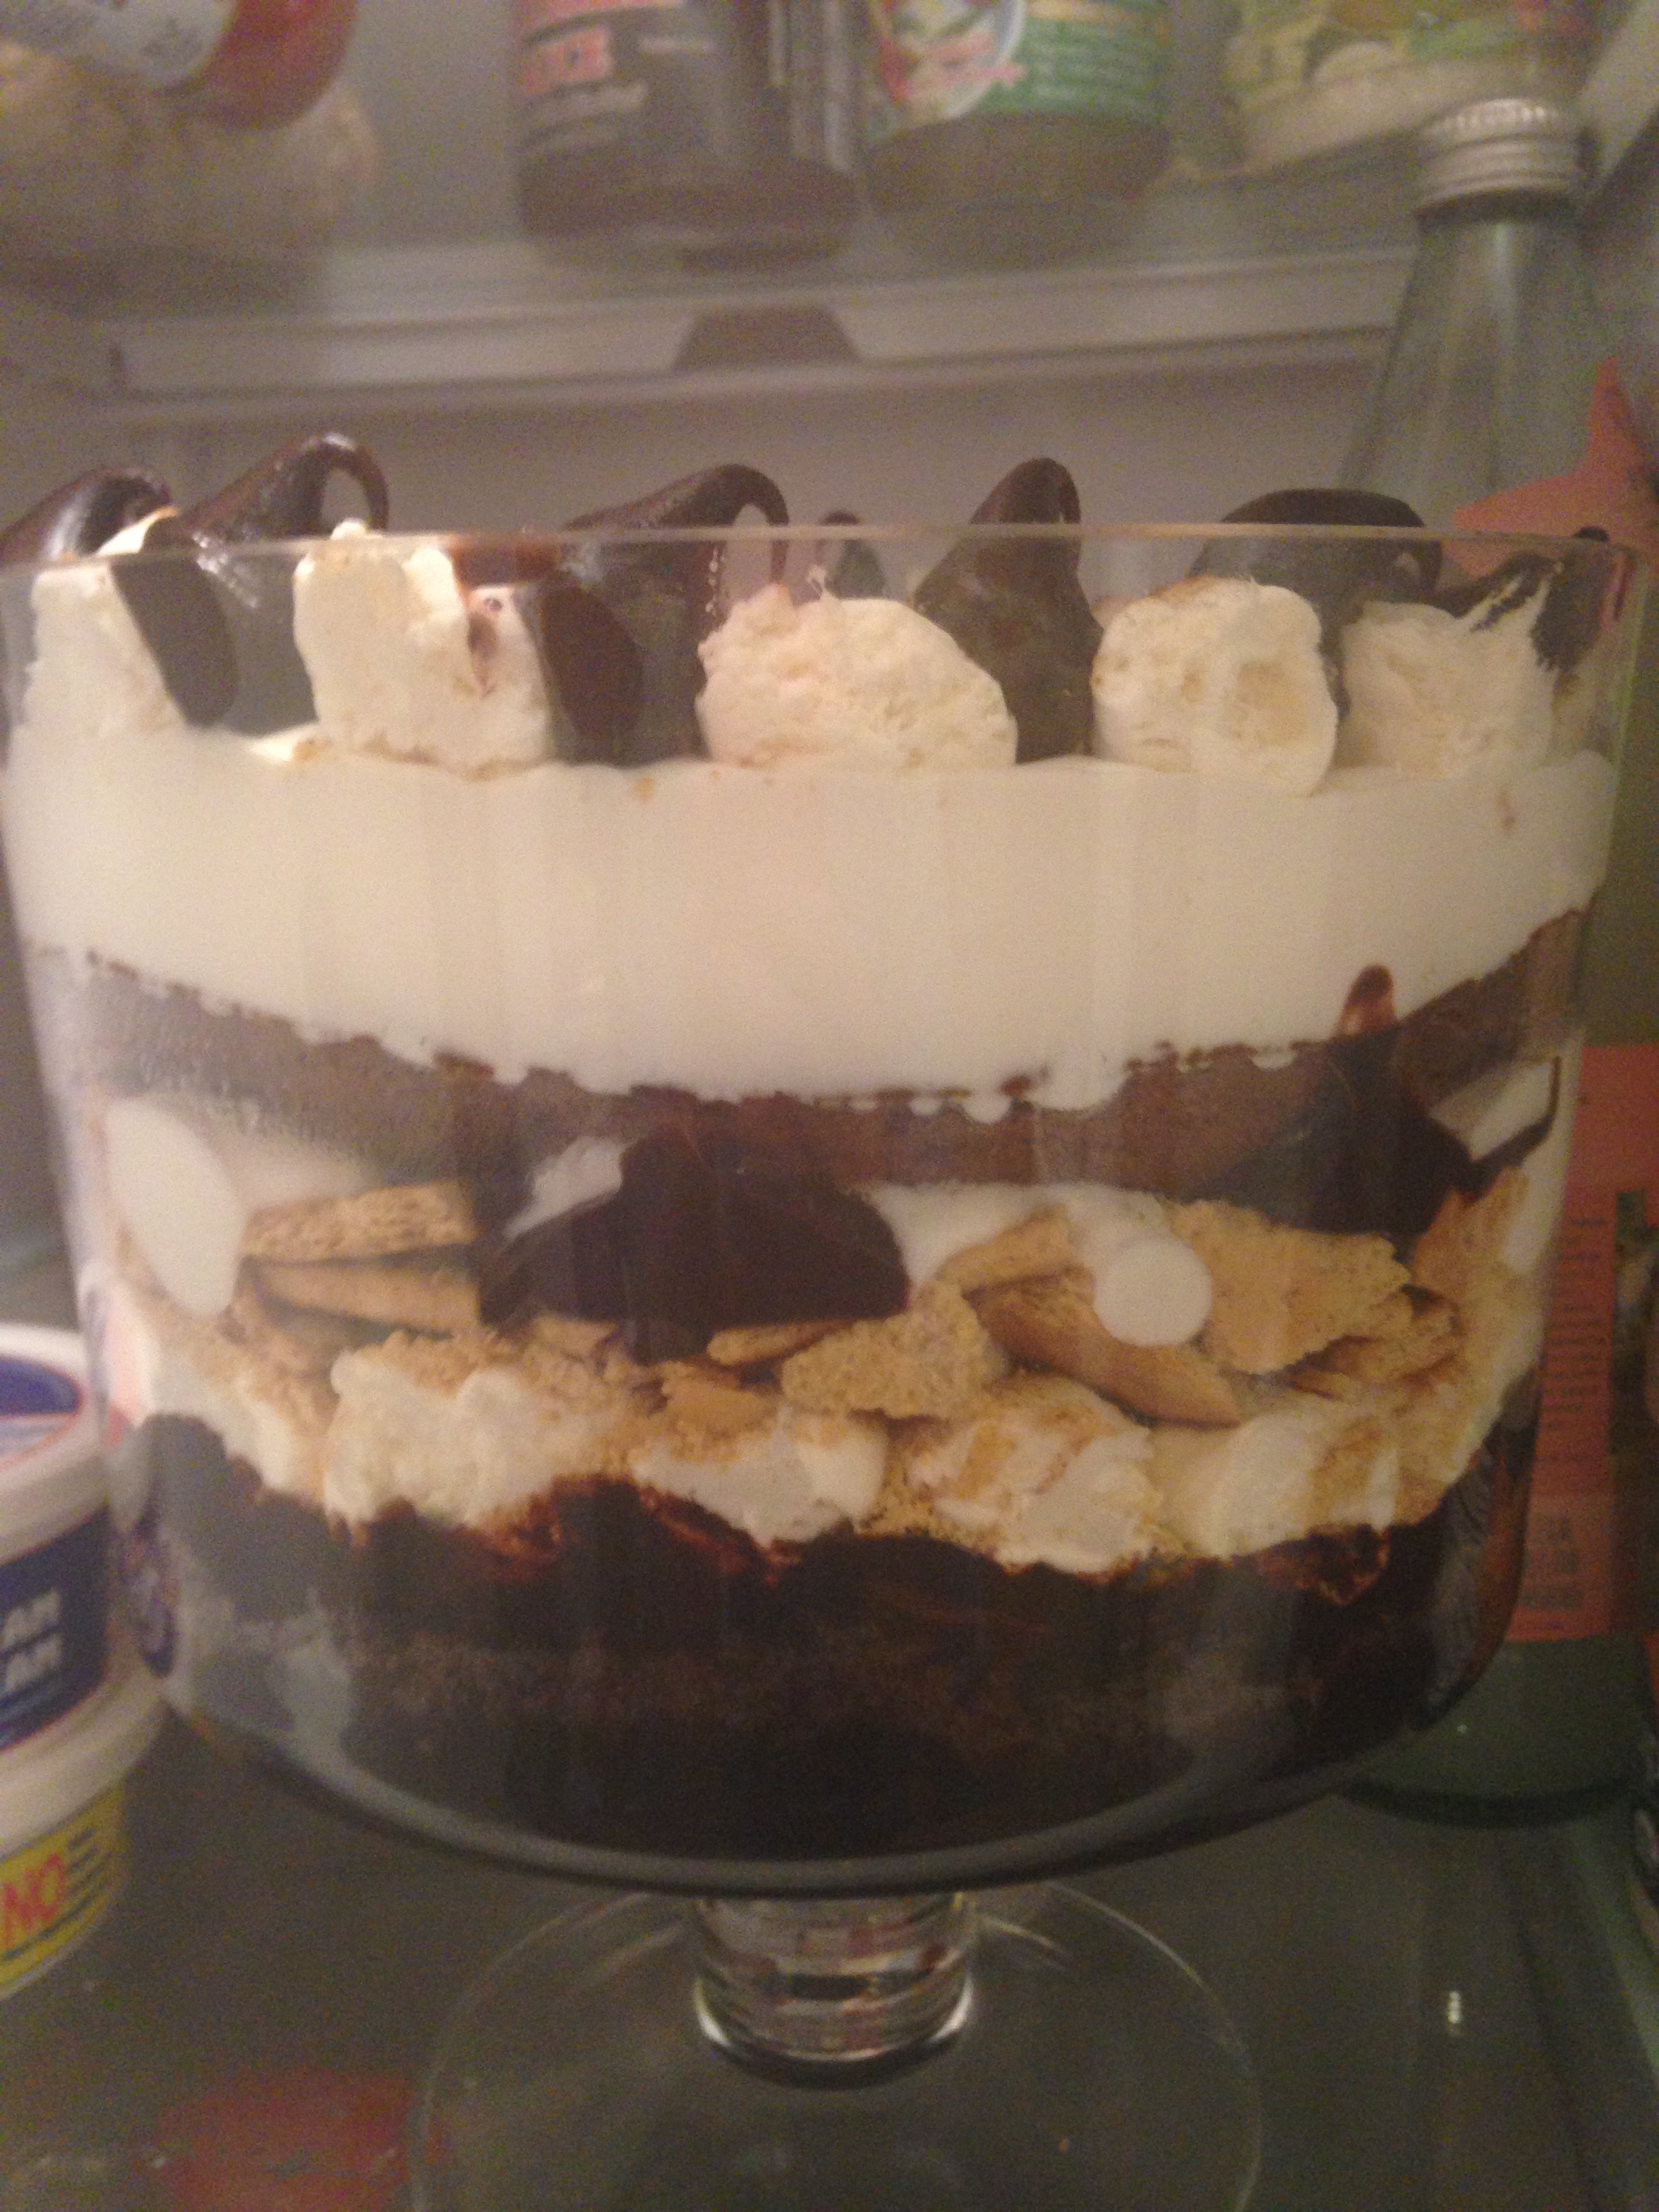
- Take squeeze fudge and line the bottom of the trifle bowl. The cake will be going in the bottom and tends to be crumbly. This will give the appearance on the exterior glass of a neat chocolate line while also keeping the moisture of the cake in.


- Next, cut or tear marshmallows in half. This will allow for them to be stuck to the glass and cake when layering.
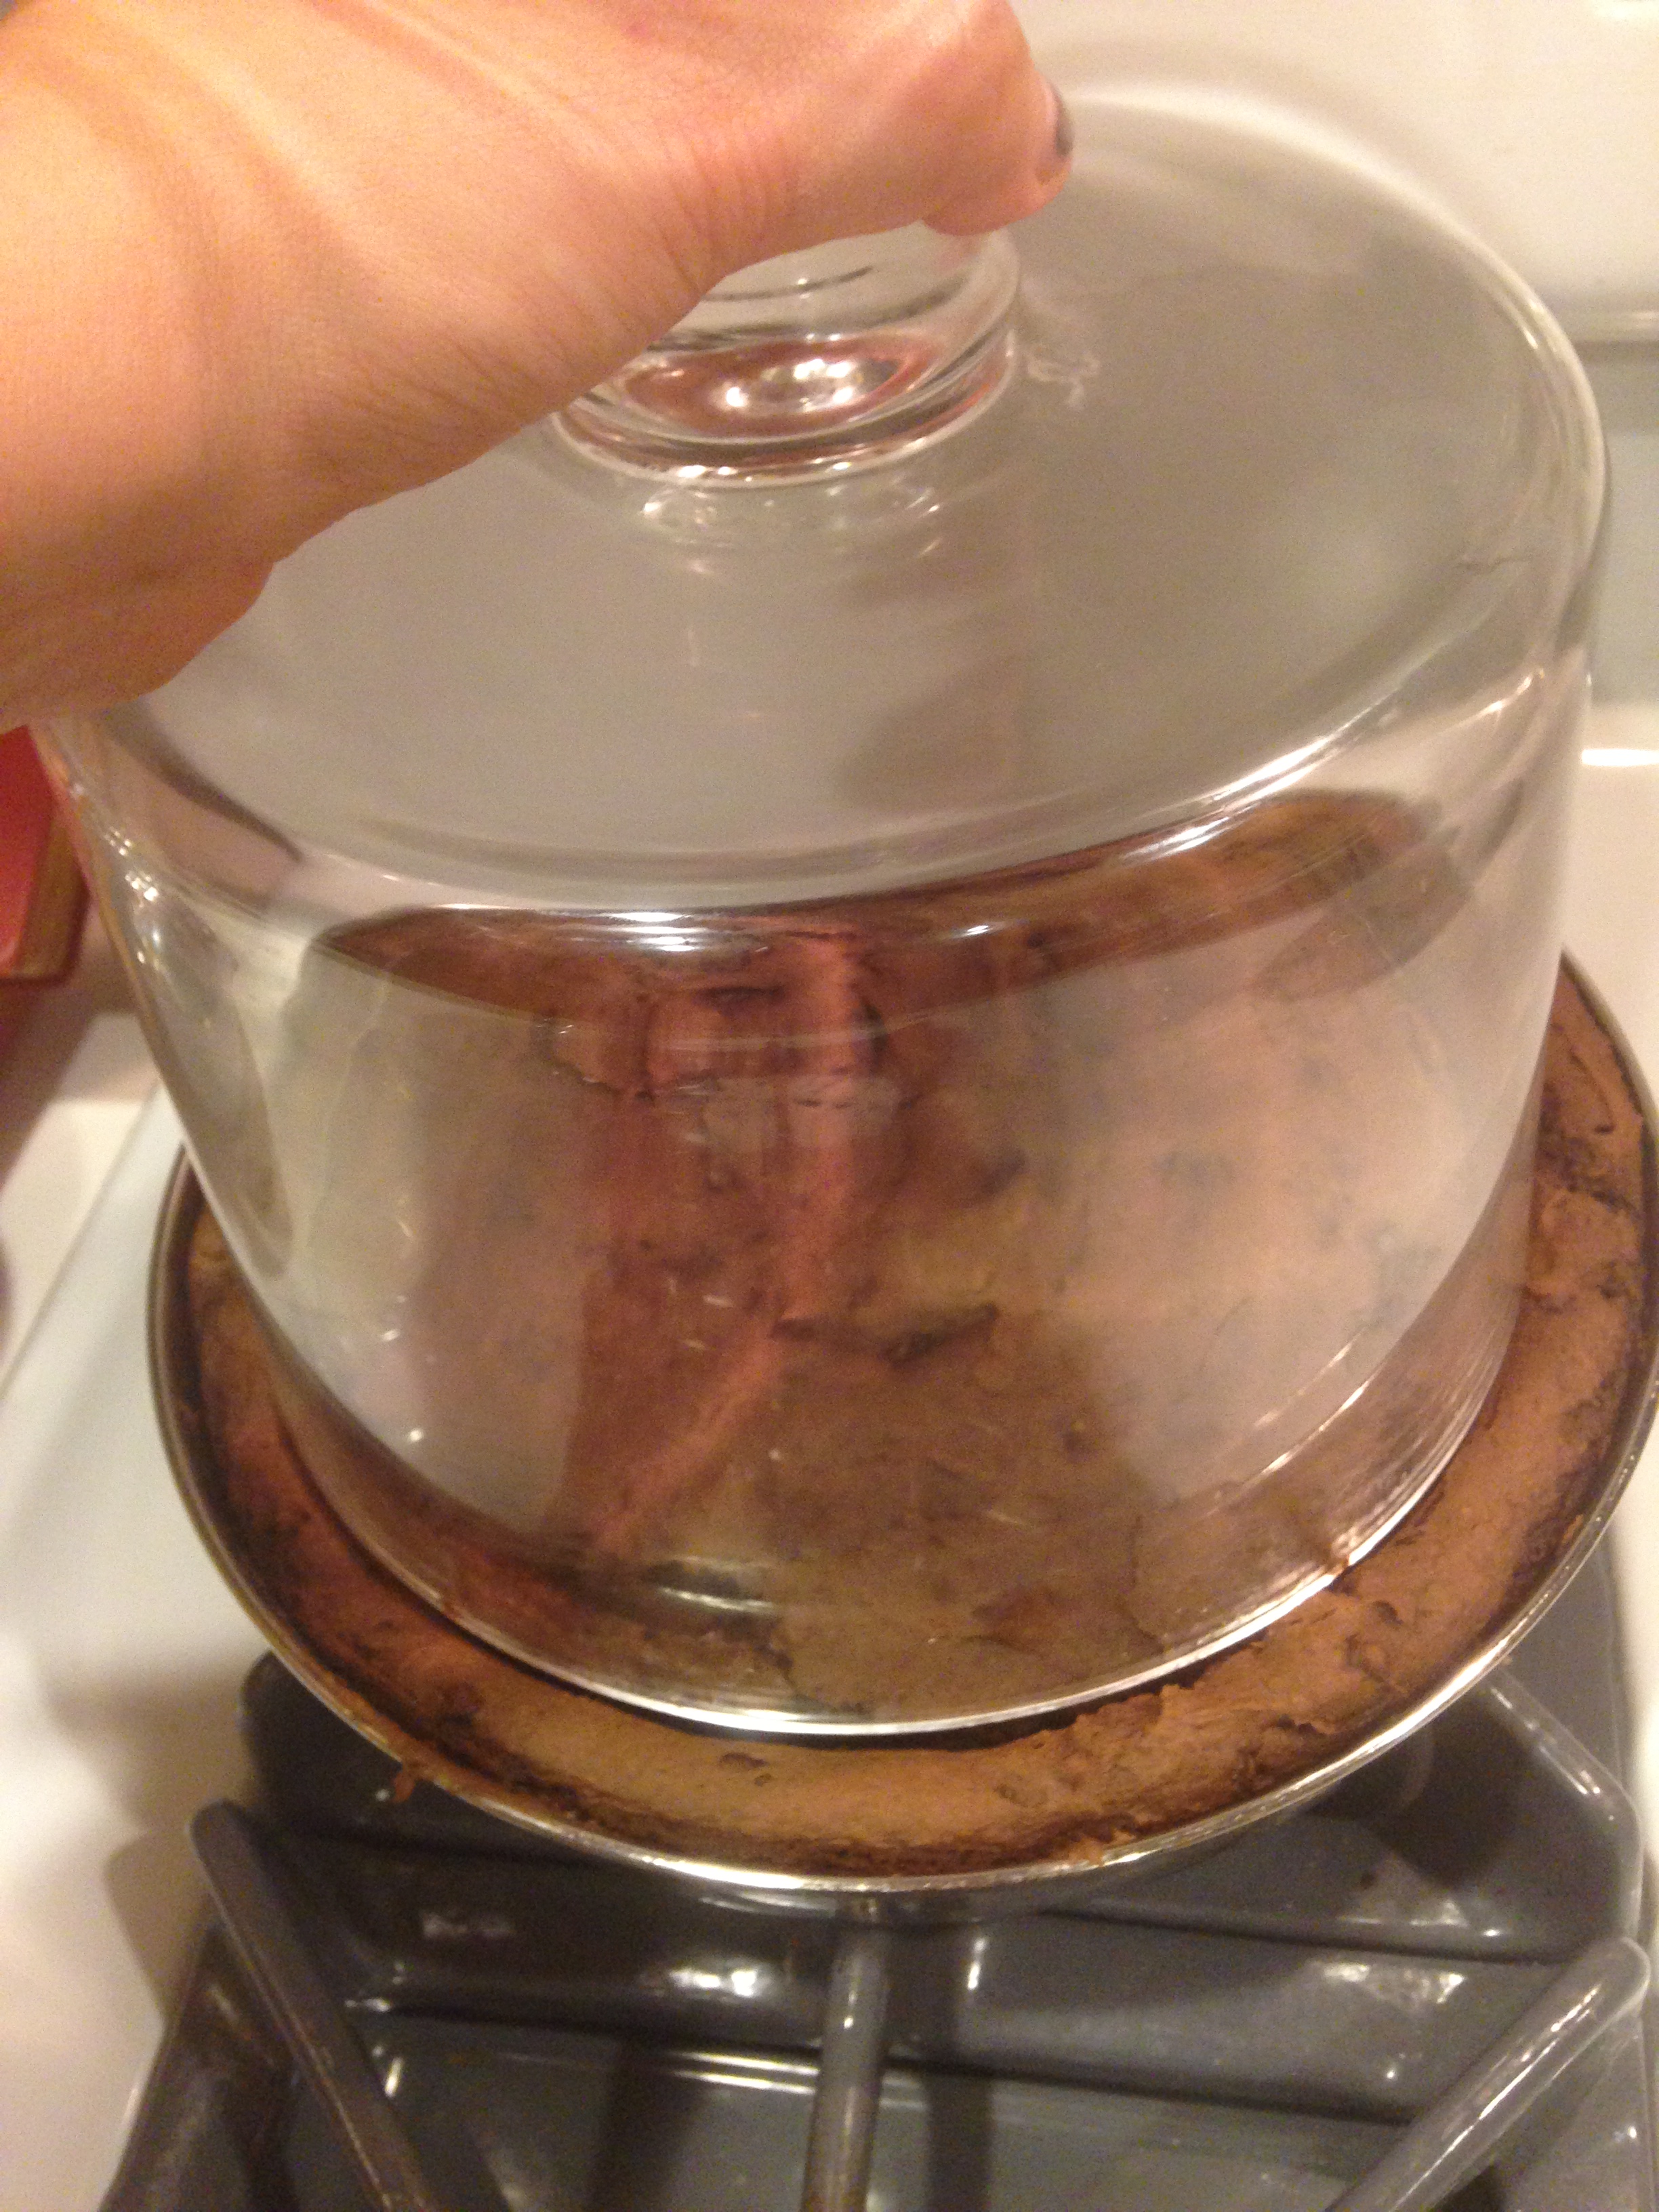
- When the cake comes out. Take the trifle bowl and press through to the bottom of the pan. This will create a circular indent. Most trifle bowls are smaller on the bottom than the top. That is why you place the cake and not brownie in the bottom. Cake will squish down and together so it will fit despite the slight size difference.
-


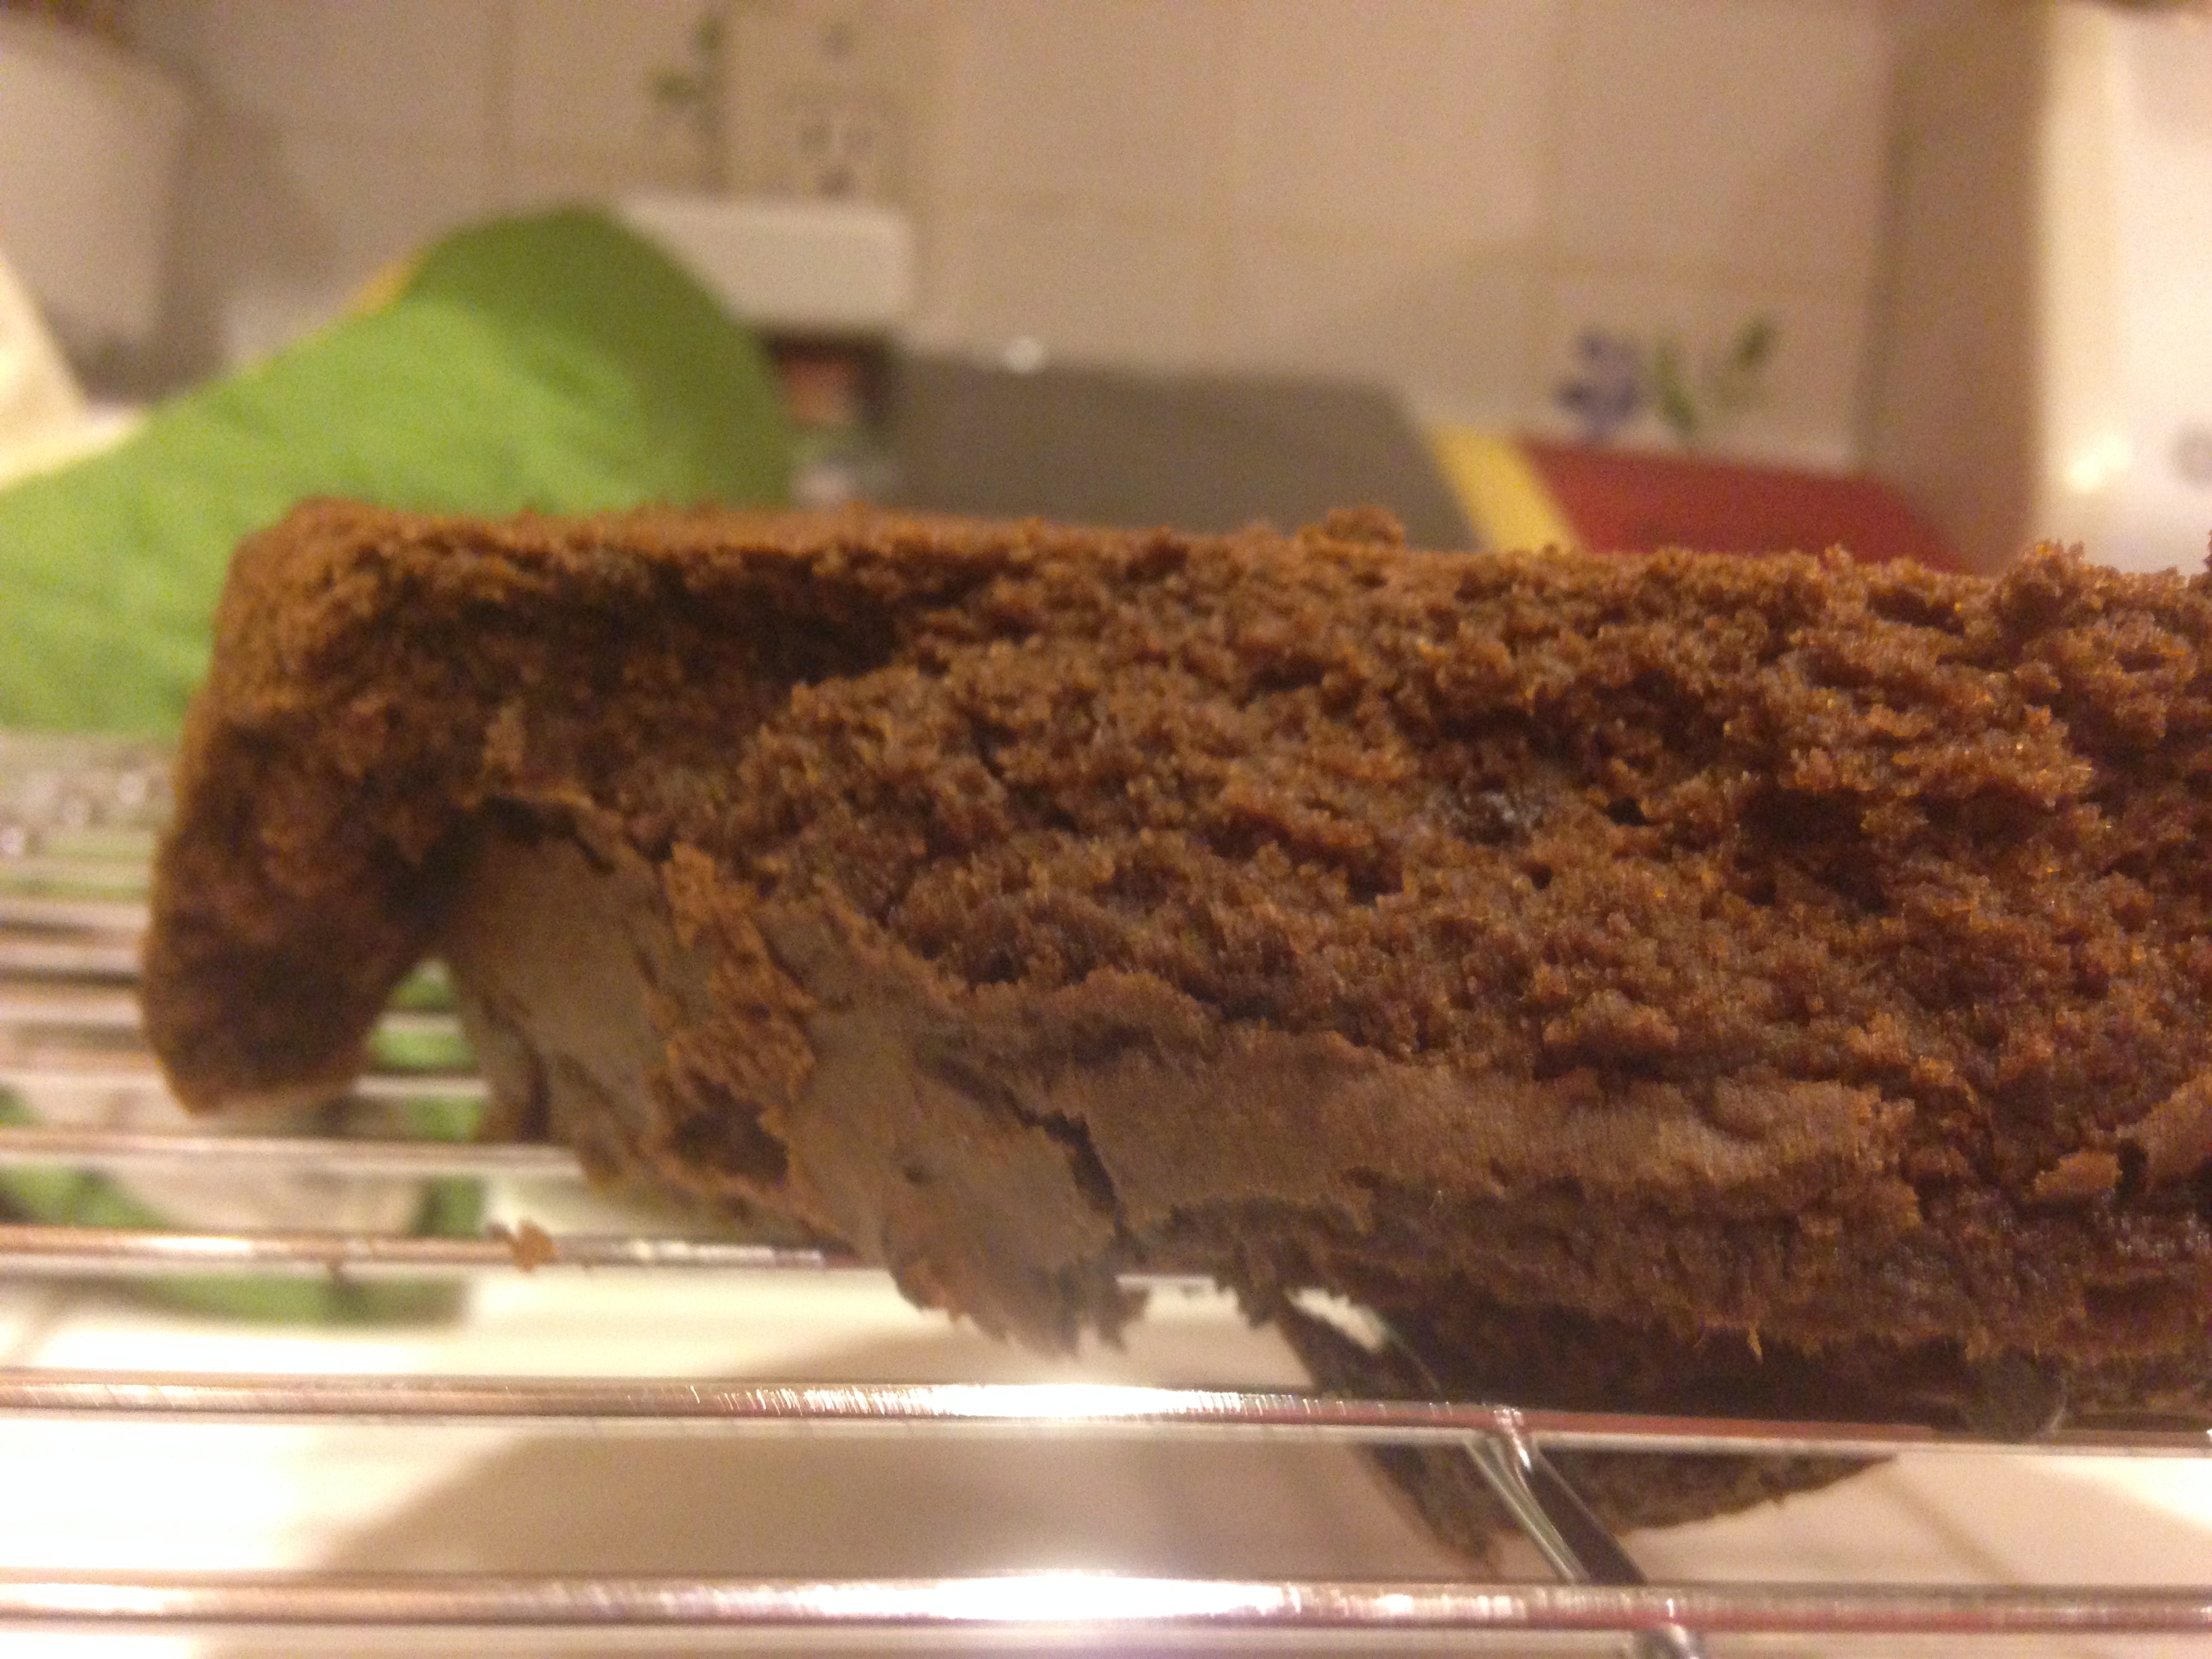
- Flip the pan over on a wire rack to unlodge from pan and cool.

- Once cool, tear away edges from the circular imprint and press down into the trifle bowl.
-


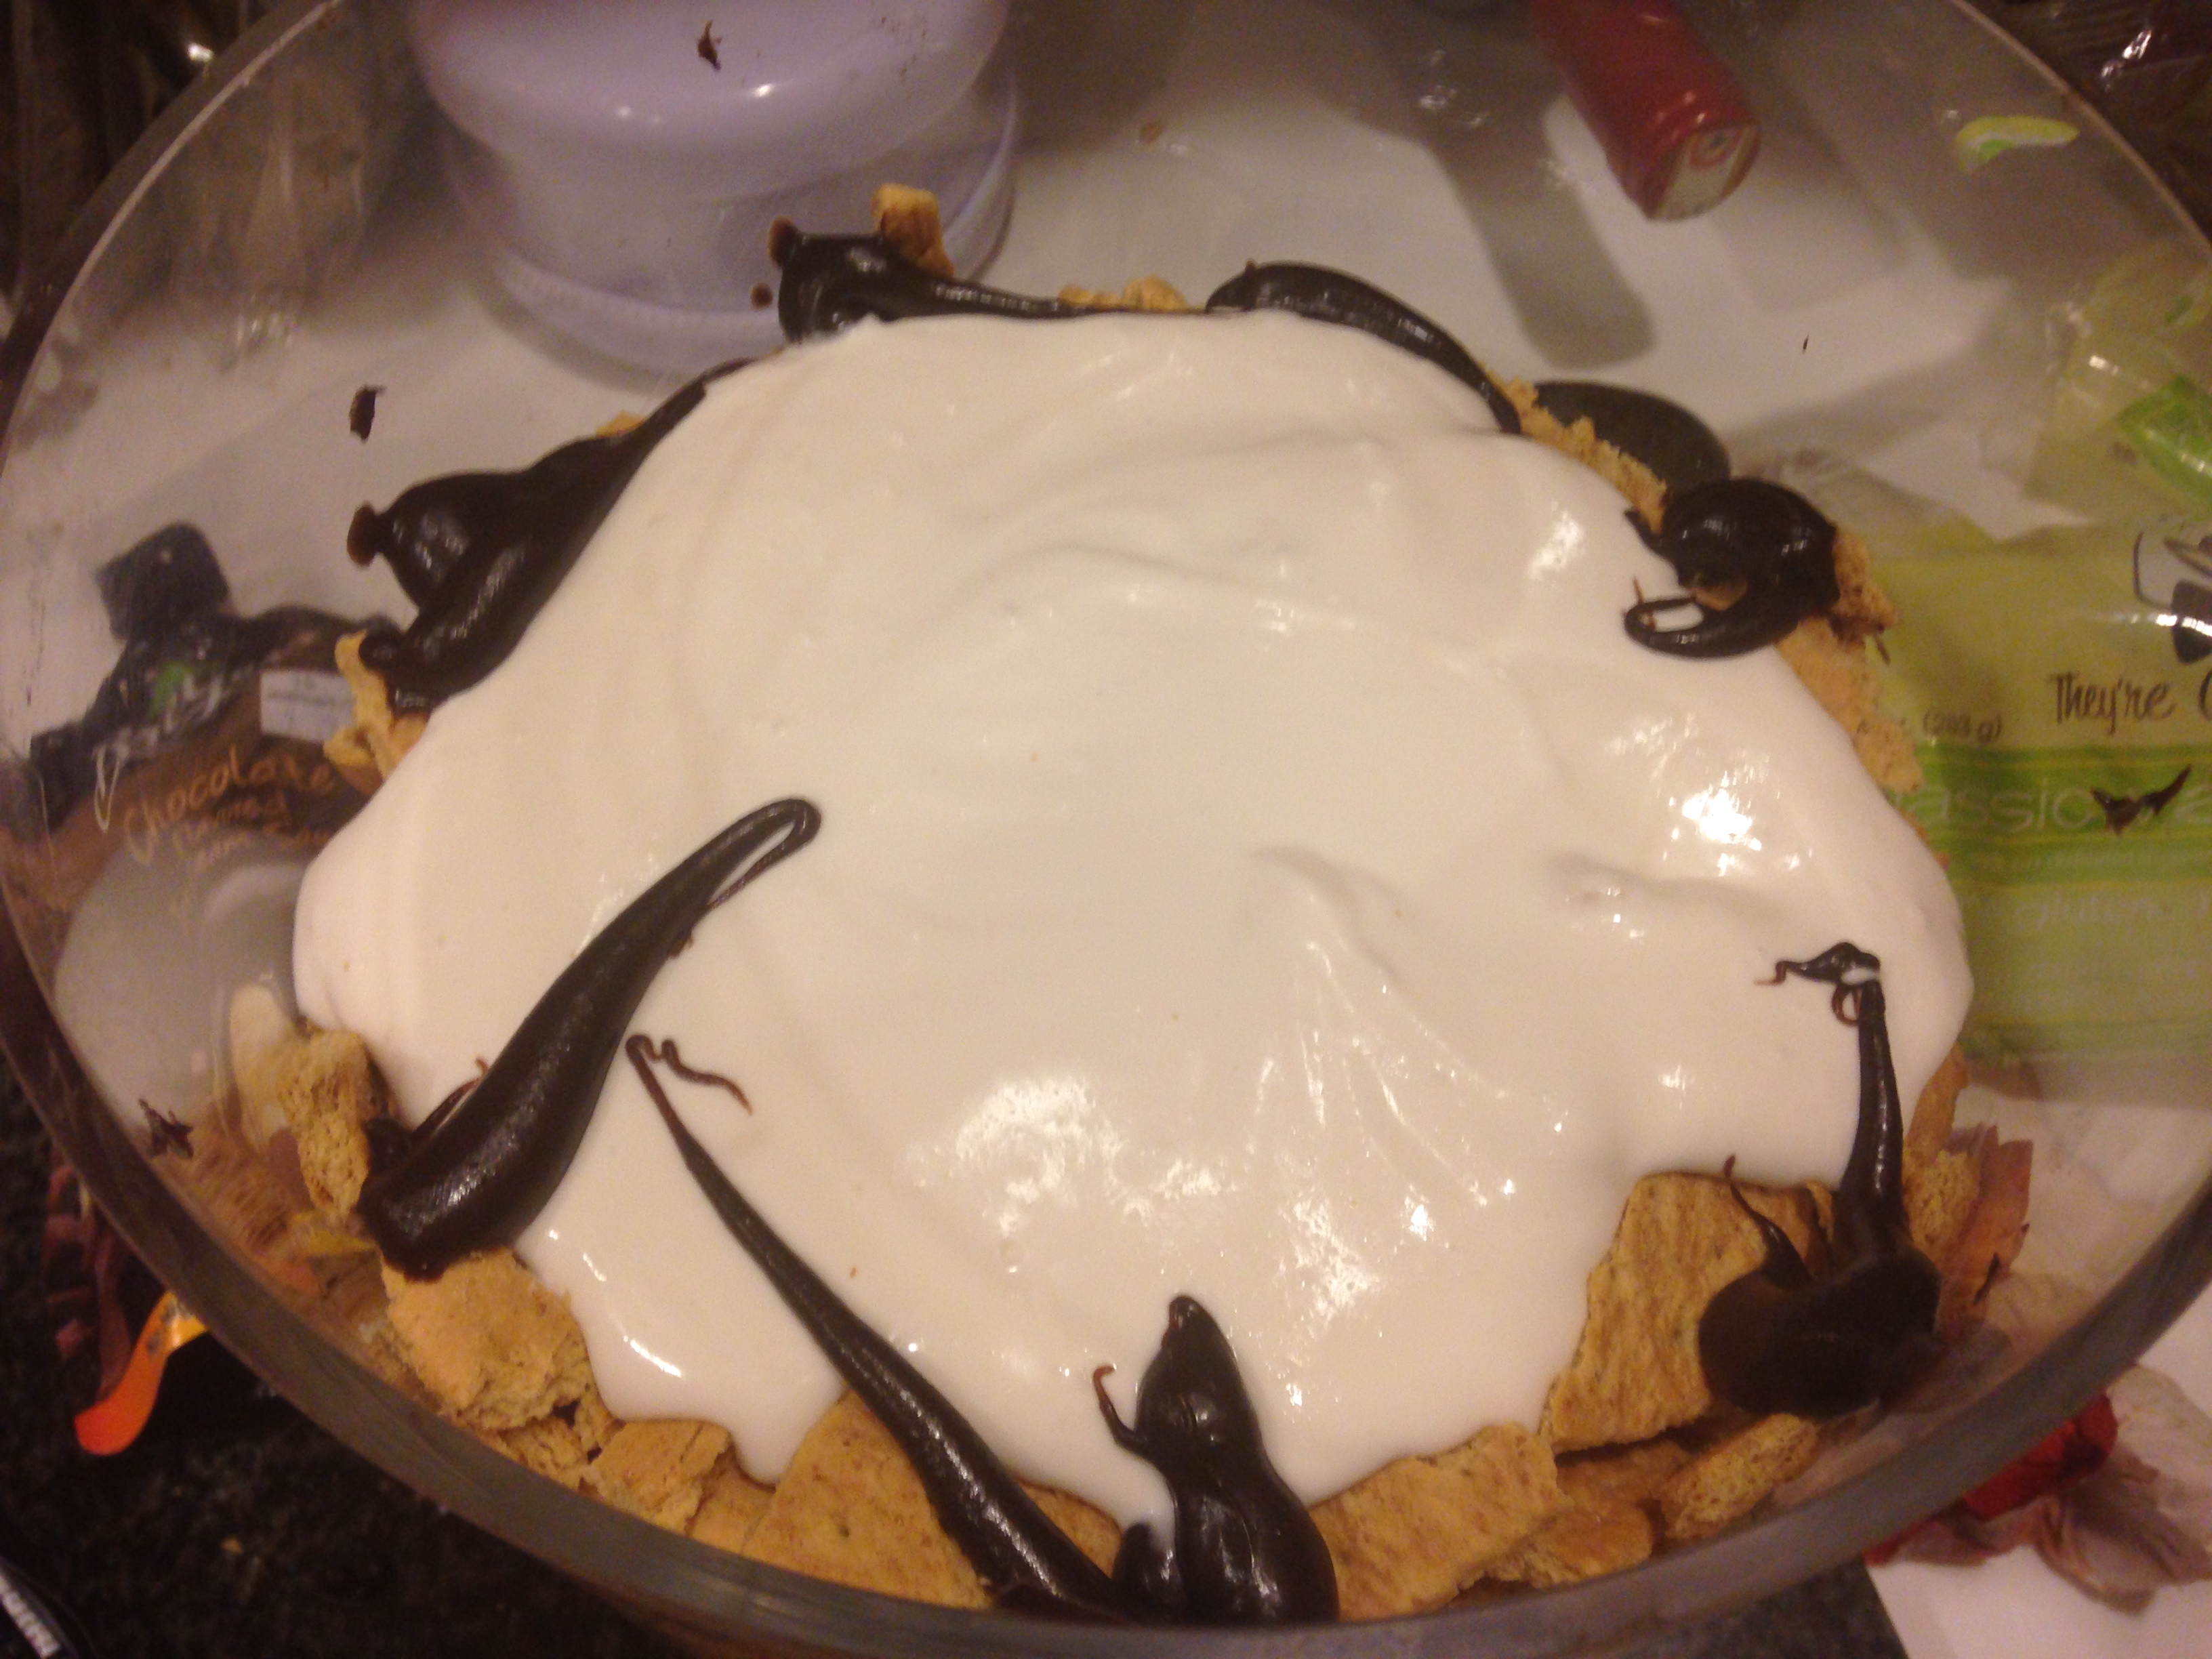
- The fudge will make up for any imperfections. Feel free to add more fudge in a circle on top to finish the layer. Then place a few dots on top of the cake to prepare for marshmallows.

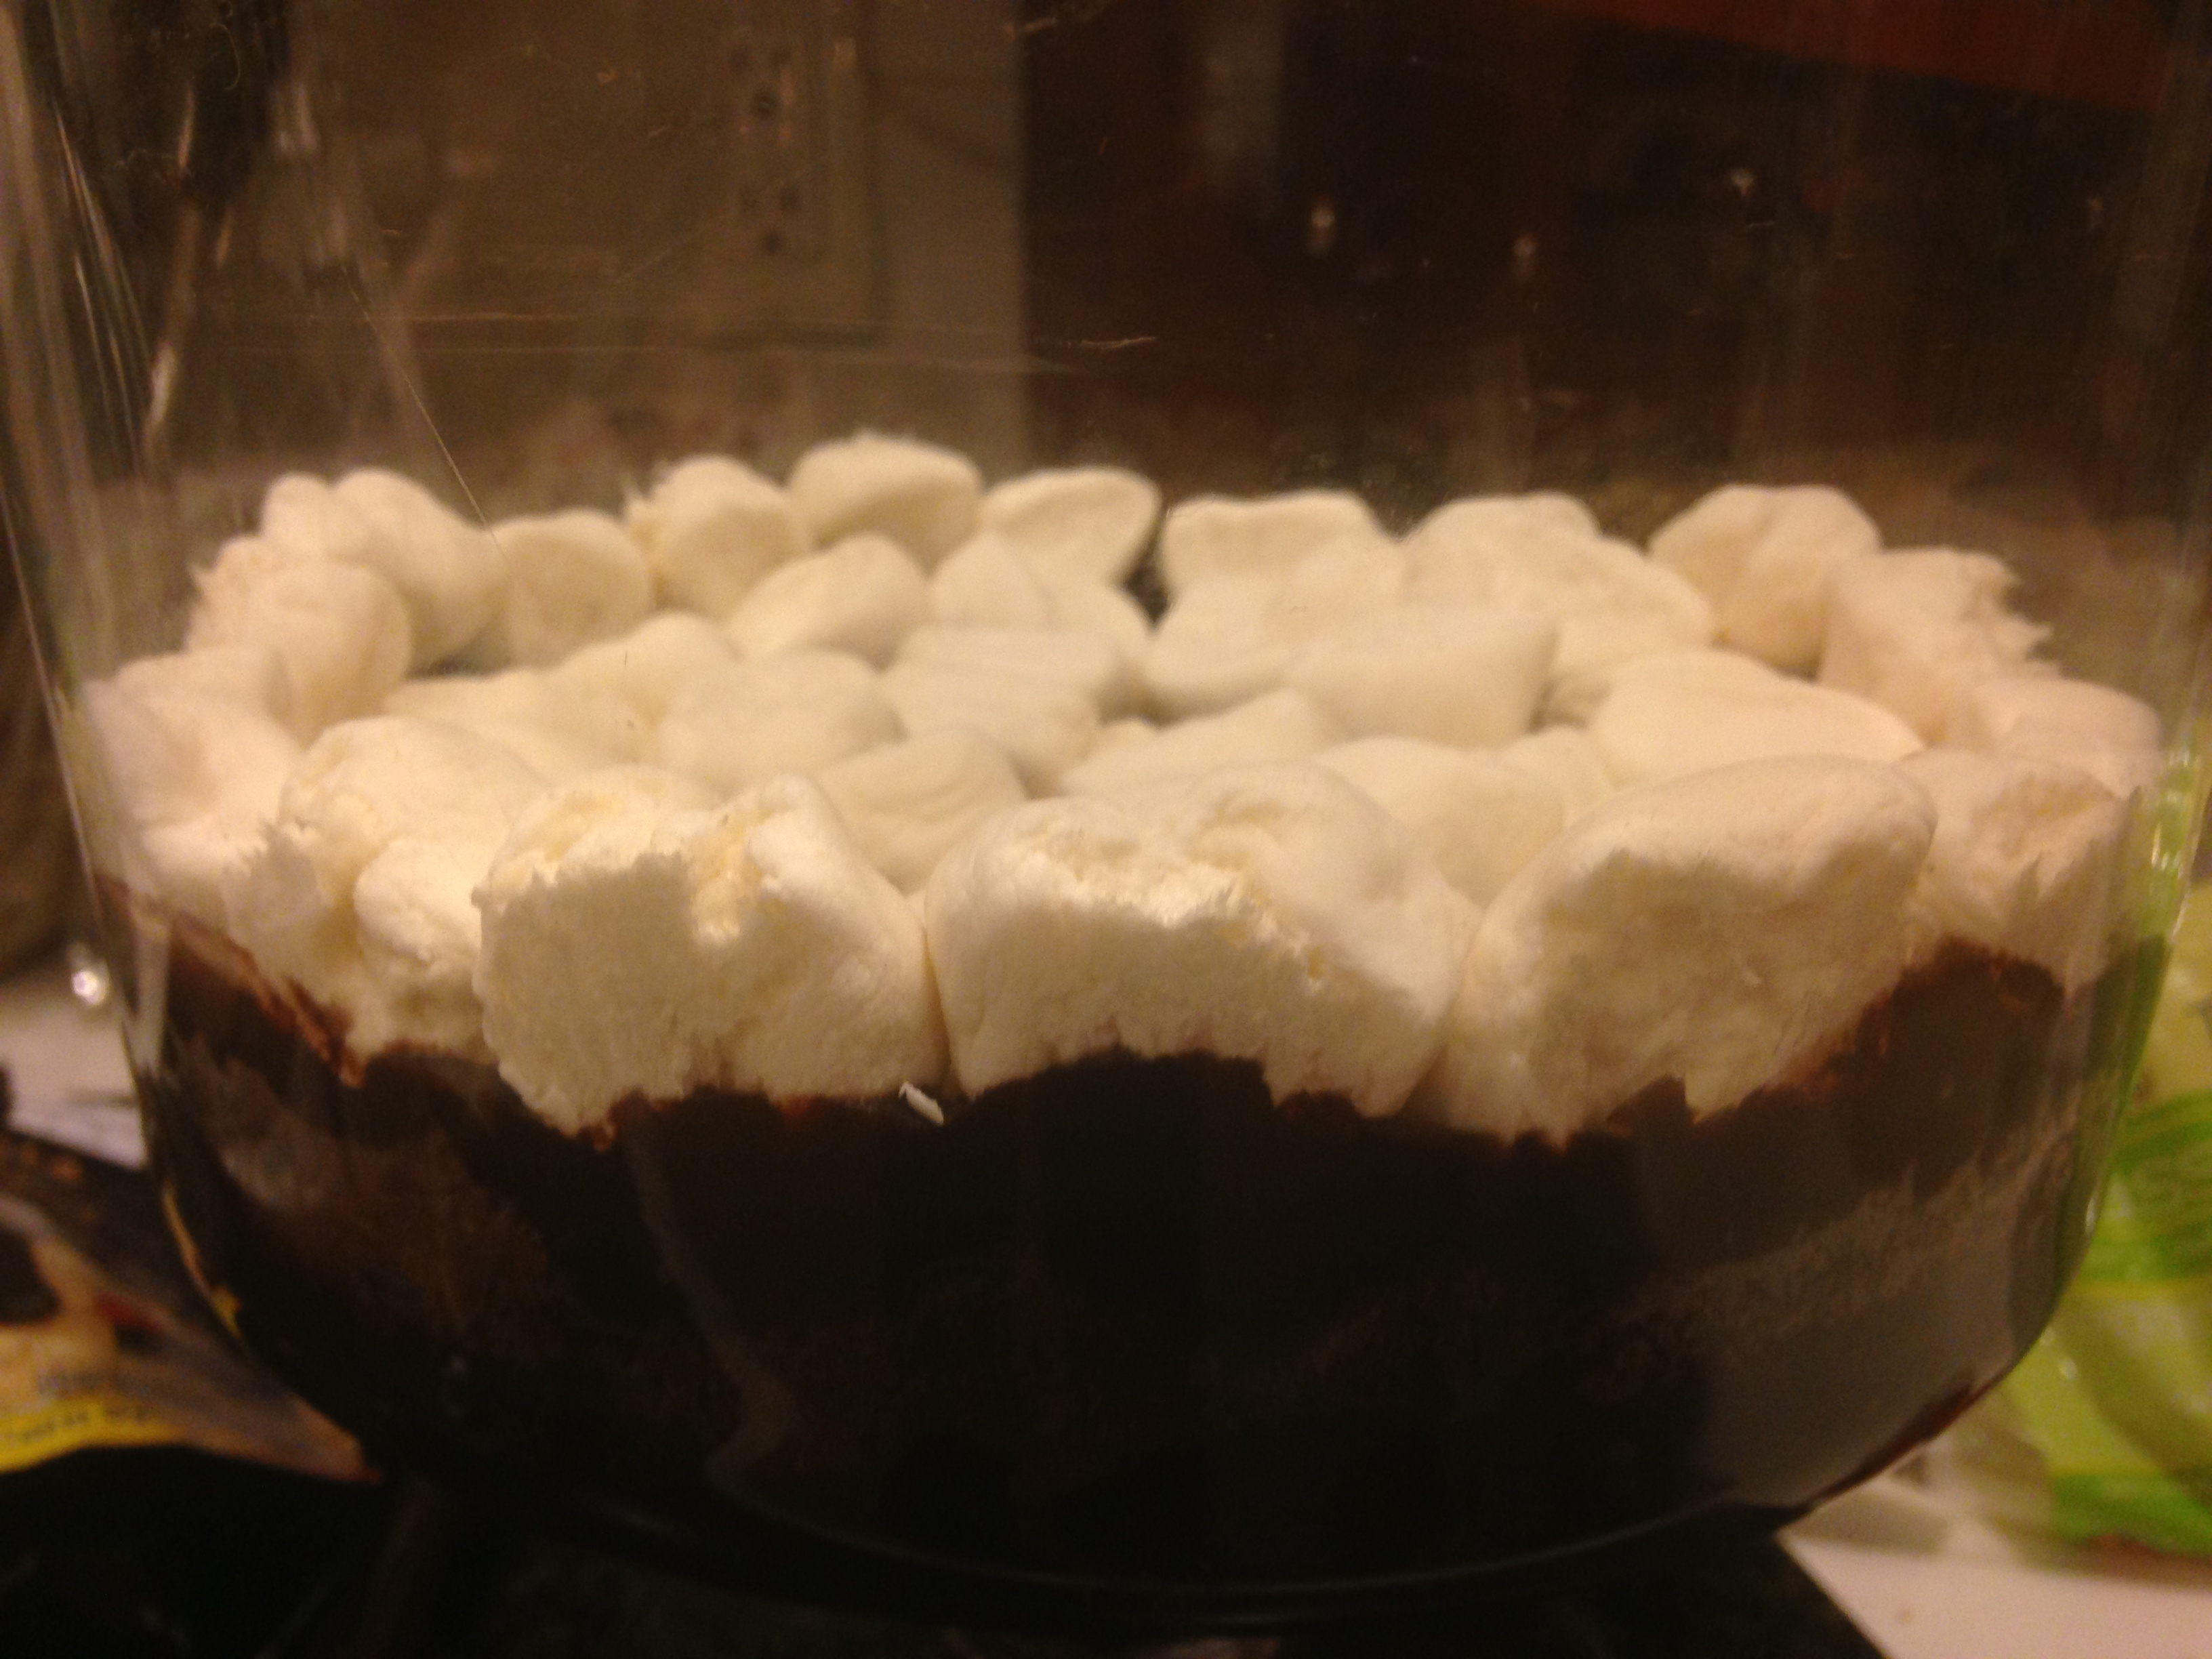
- Press marshmallows up against the glass all around the bowl and then on top of the cake/fudge layer.
-


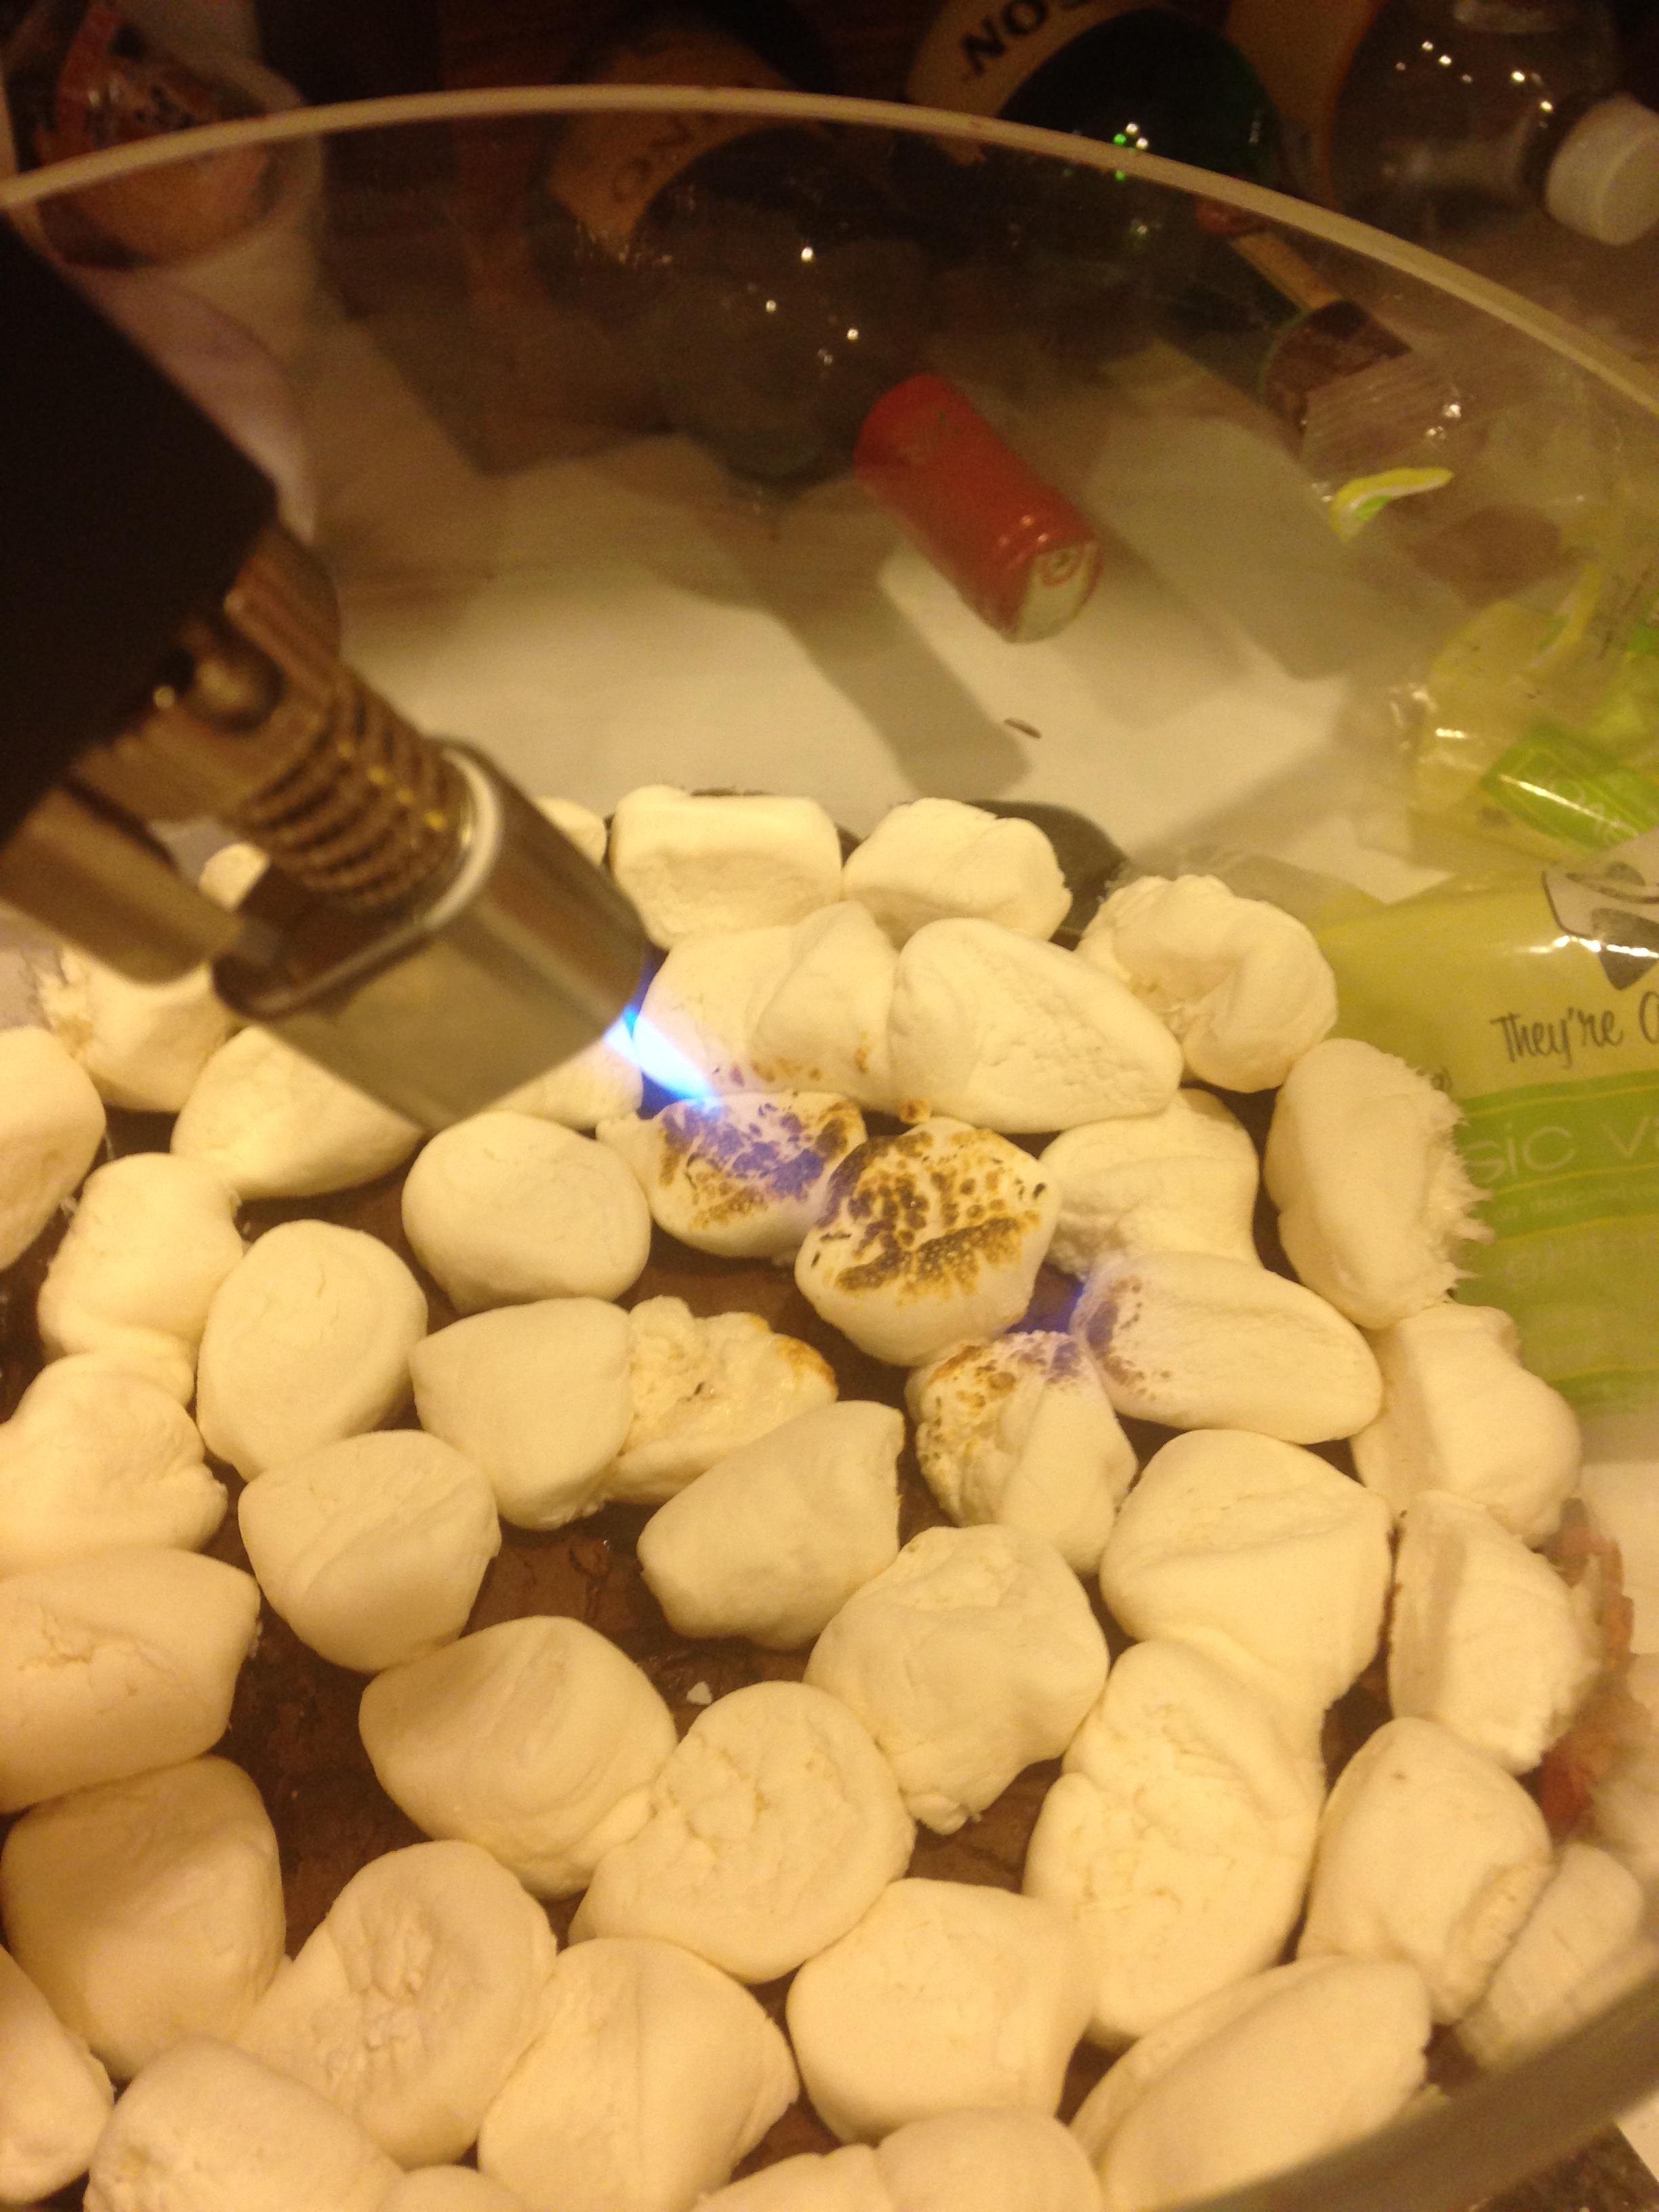
- Take out a creme brulee style kitchen torch and brown the cake layers. Be careful lot to get too close the the glass. Not all glass is heat friendly.


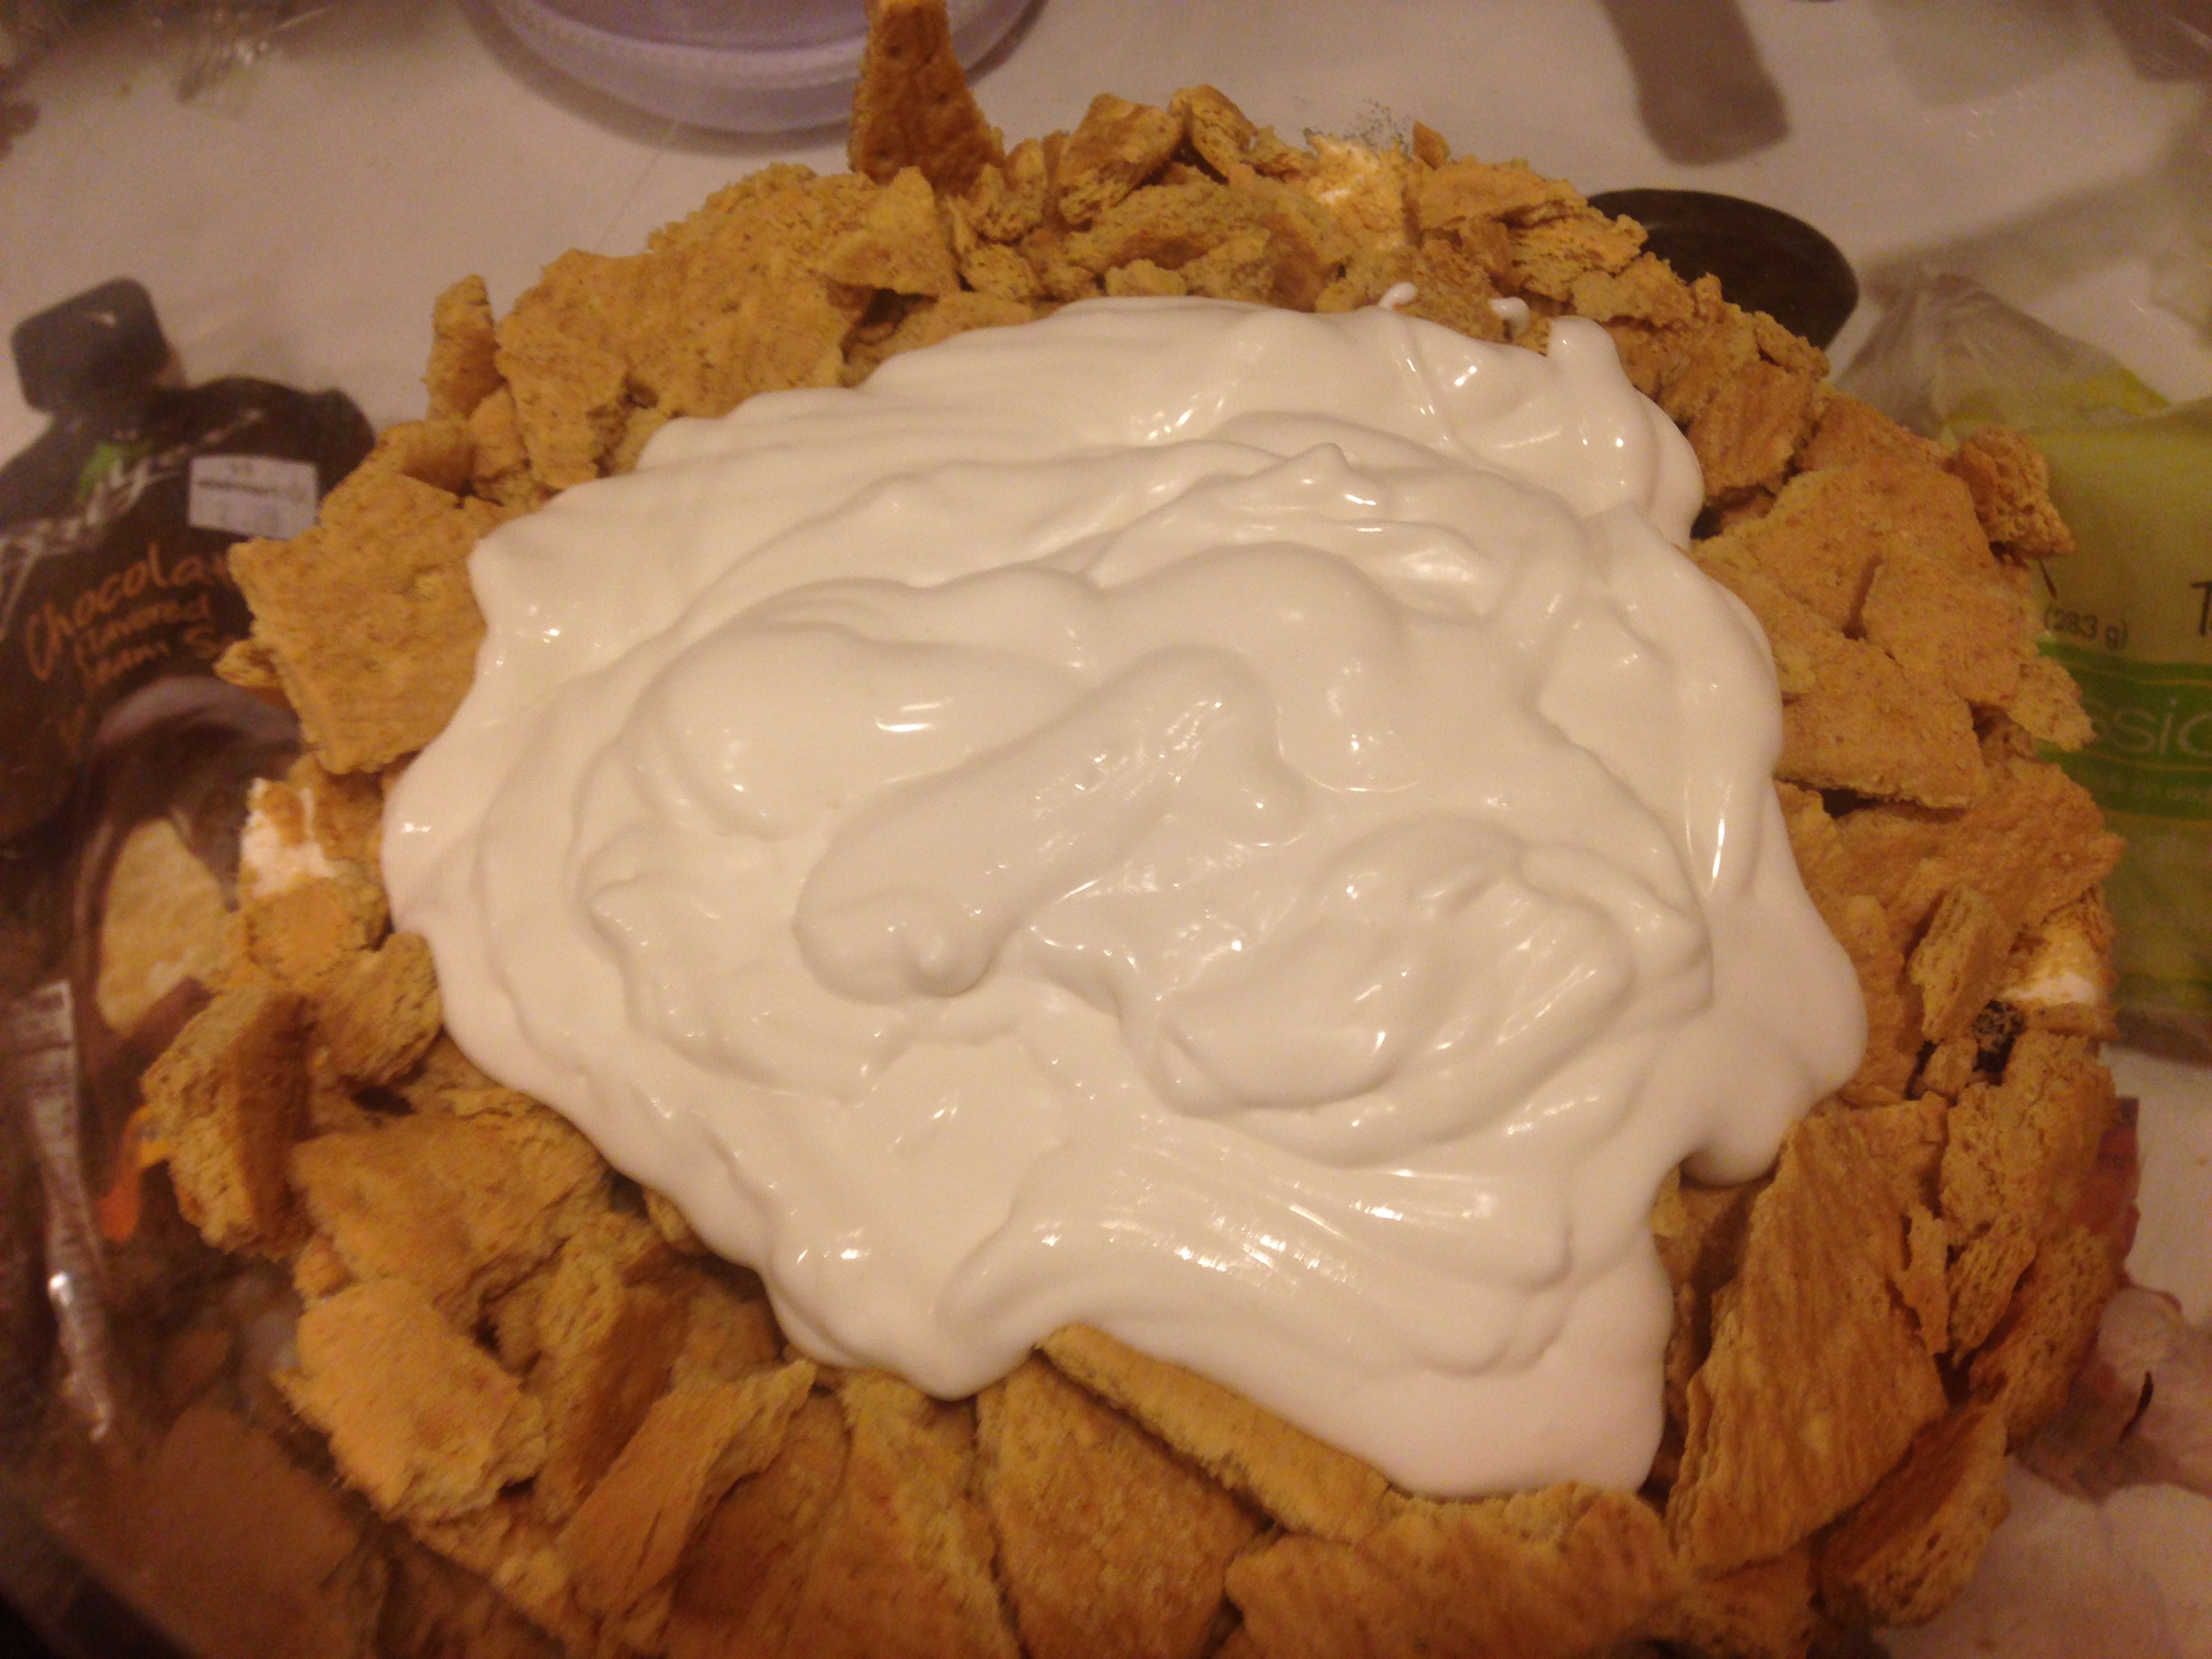
- Fill in holes between marshmallows with some fudge. Then crumble graham crackers on top. I used 1 package from a box. Approximately 8 sheets (you can reserve some for top layer if you want or just use more!).


- Next place 1/3 of the cheesecake cream in the center of the crackers but try to avoid bringing the liquid too close to the edges.
-


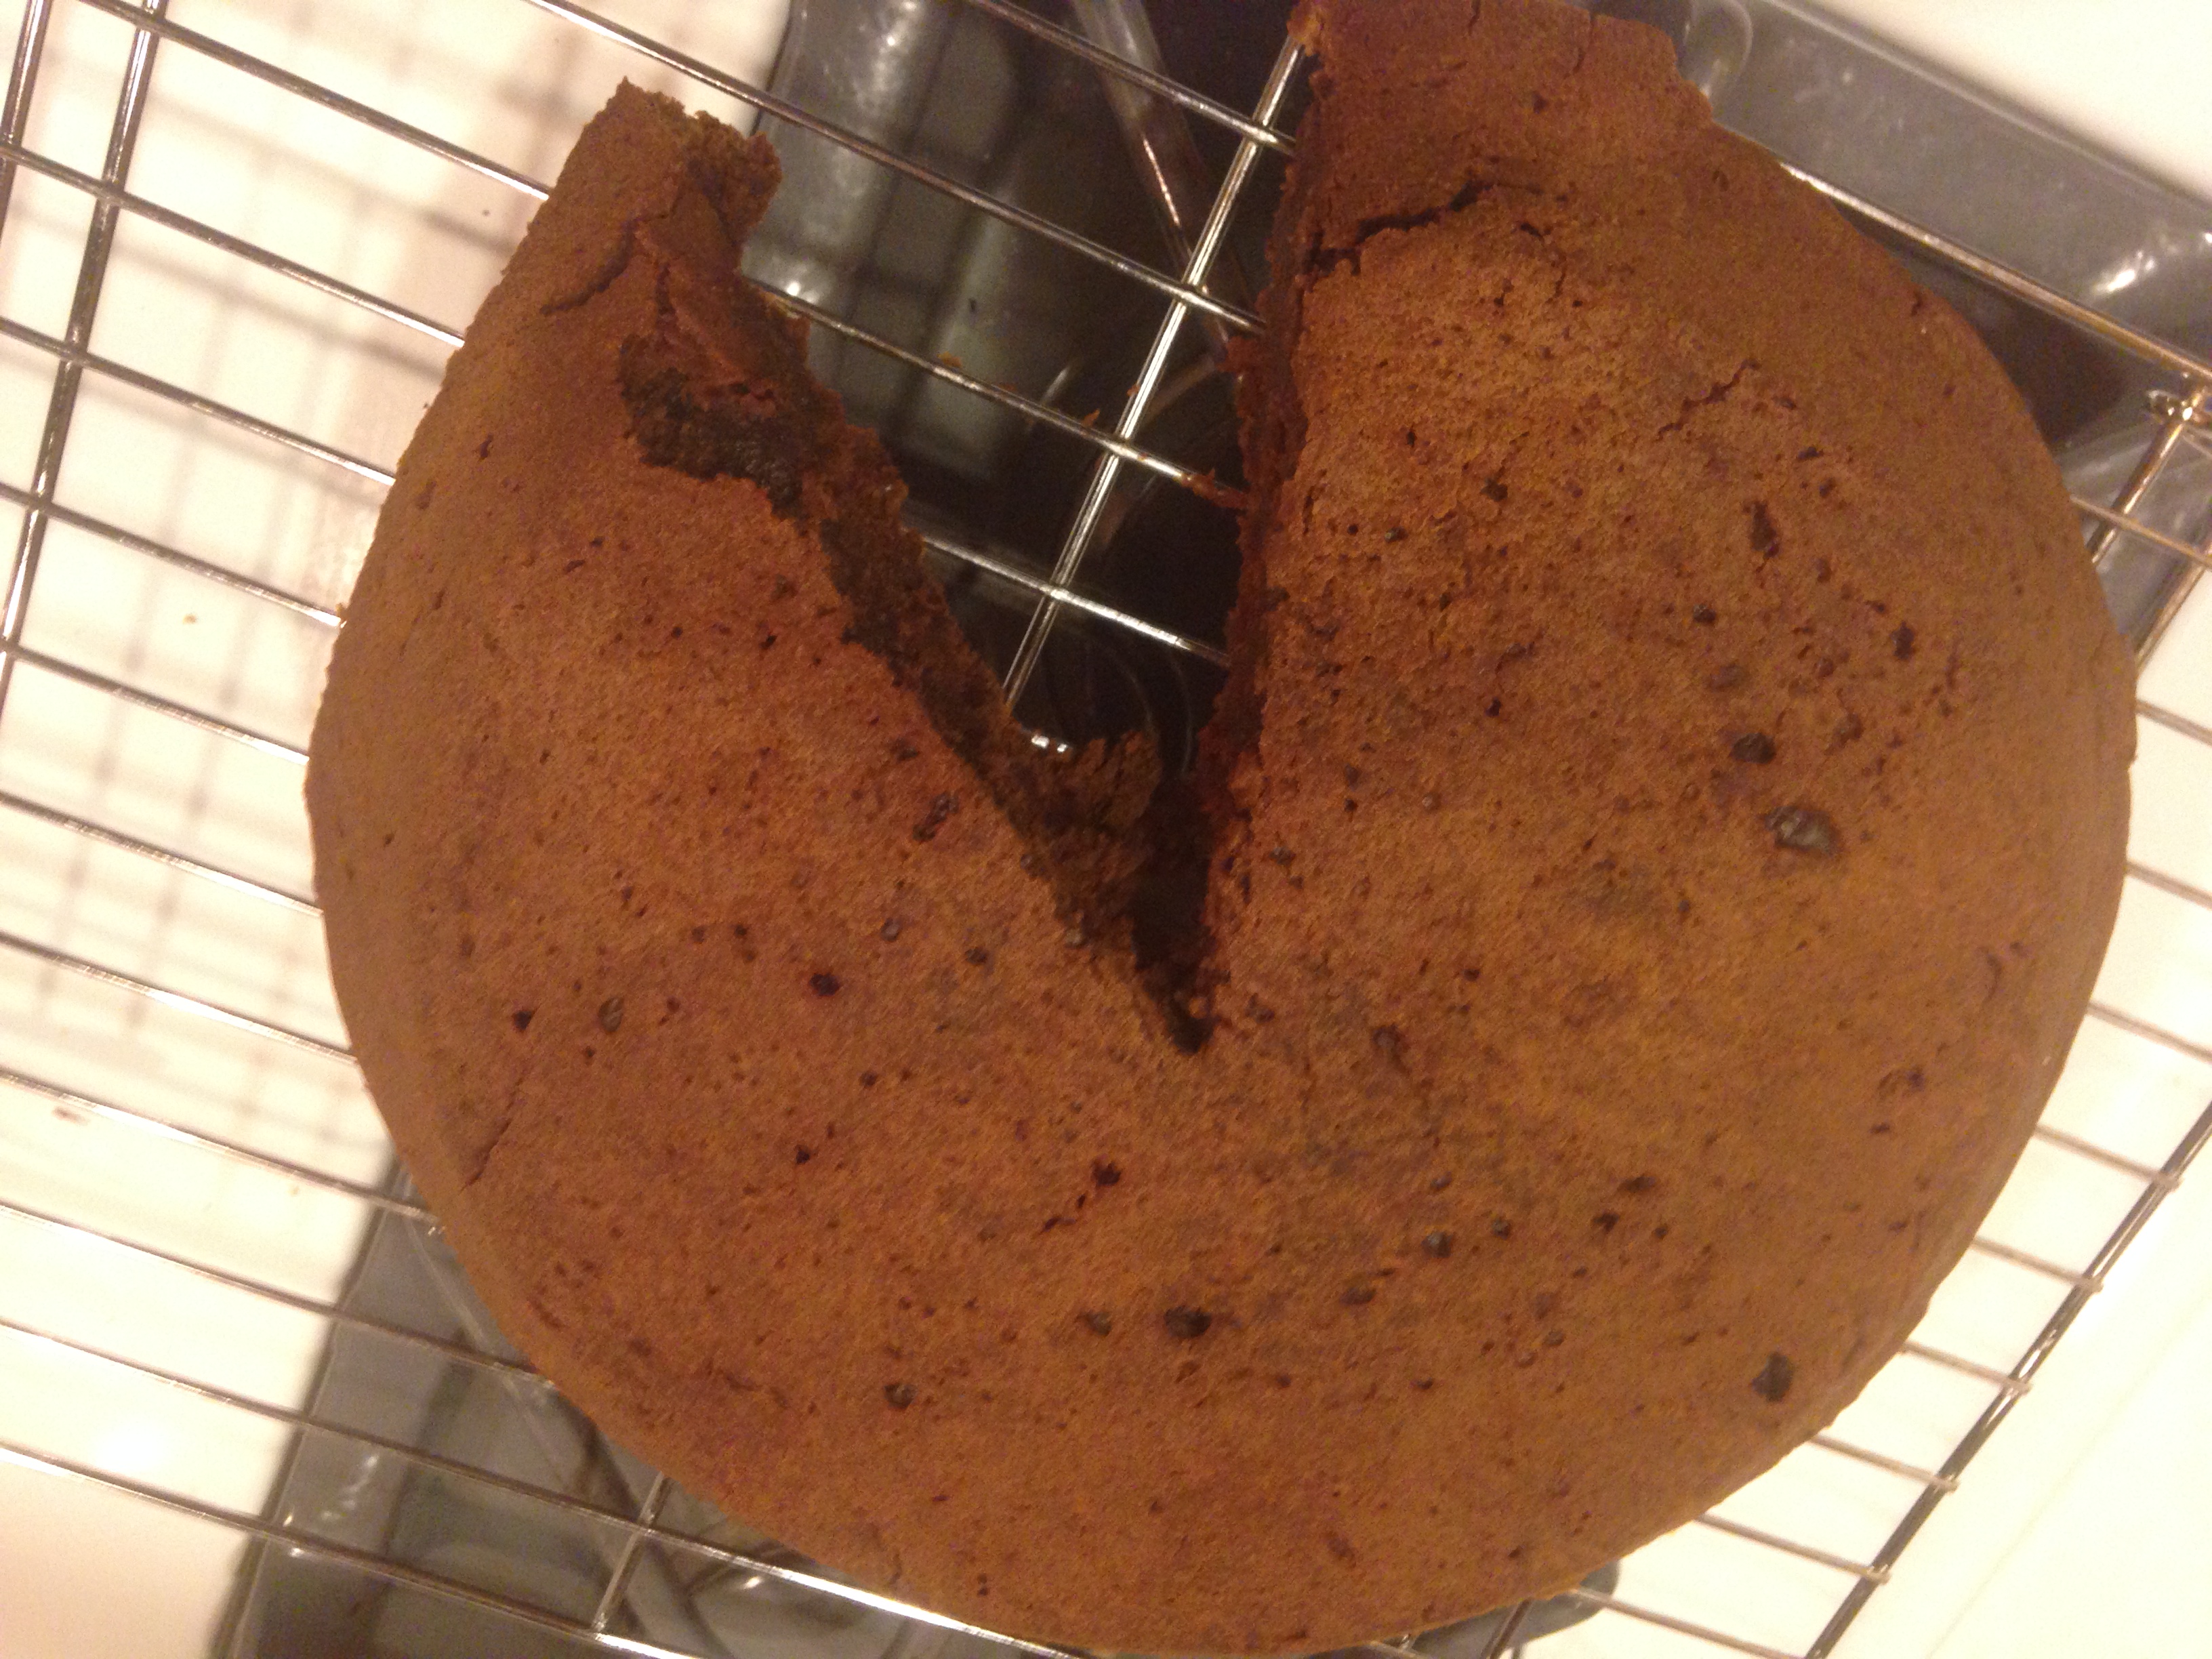
- Now add the brownie layer once it has been removed from the oven and cooled on a wire rack. You do not need to make a circular cut on this. Simply cut a triangular piece of brownie out of the “pie” and then it will allow for you to fold it into the trifle bowl by almost overlapping the edges where the cut was made. It also allows for you to have a snack 🙂


- Next add the rest of the cheesecake cream and decorate with marshmallows, fudge, and crumbled grahams. I like to line the edge again with marshmallows and place a dollop of fudge between for a nice finish on it 🙂
-


- Refrigerate overnight to settle. Serve cold. Enjoy!


______________________________________________________________________________________________________
Food is Love.
The Hippie Gypsy
—————————————————–
Check My Recipe Out on Tofutti.com also!
https://twitter.com/tofuttibrand/status/412642439371816960/photo/1
Perfect. Toll-House-Style. Vegan. Chocolate Chip Cookies.
I love chocolate chip cookies. I love chocolate chip cookie dough even more. And in an honest, yet disgusting unveiling of my inner glutton, I love when you cream the butter, vanilla, and sugar together to make chocolate chip cookies. When I was a kid I used to try to steal dollops of the creamed mixture when my mom wasn’t looking. It was so good. I am glad I didn’t know about salmonella poisoning back then or the fat content of whole butter. Luckily with vegan baking, that salmonella is never a problem so yea… eat all the cookie dough you want! Also my brother is coming for Thanksgiving Dessert with his wife and my first and only nephew Baby Nolan and he (my brother) is a cookie monster, so I wanted to be able to make him chocolate chip cookies that I could also eat and so could any of my dairy intolerant family. My brother loves cookies so much I got him a replica cookie jar from our childhood for Christmas last year and it was not easy to find an owl cookie jar either! This will definitely be an experience thanks to my cookies 🙂
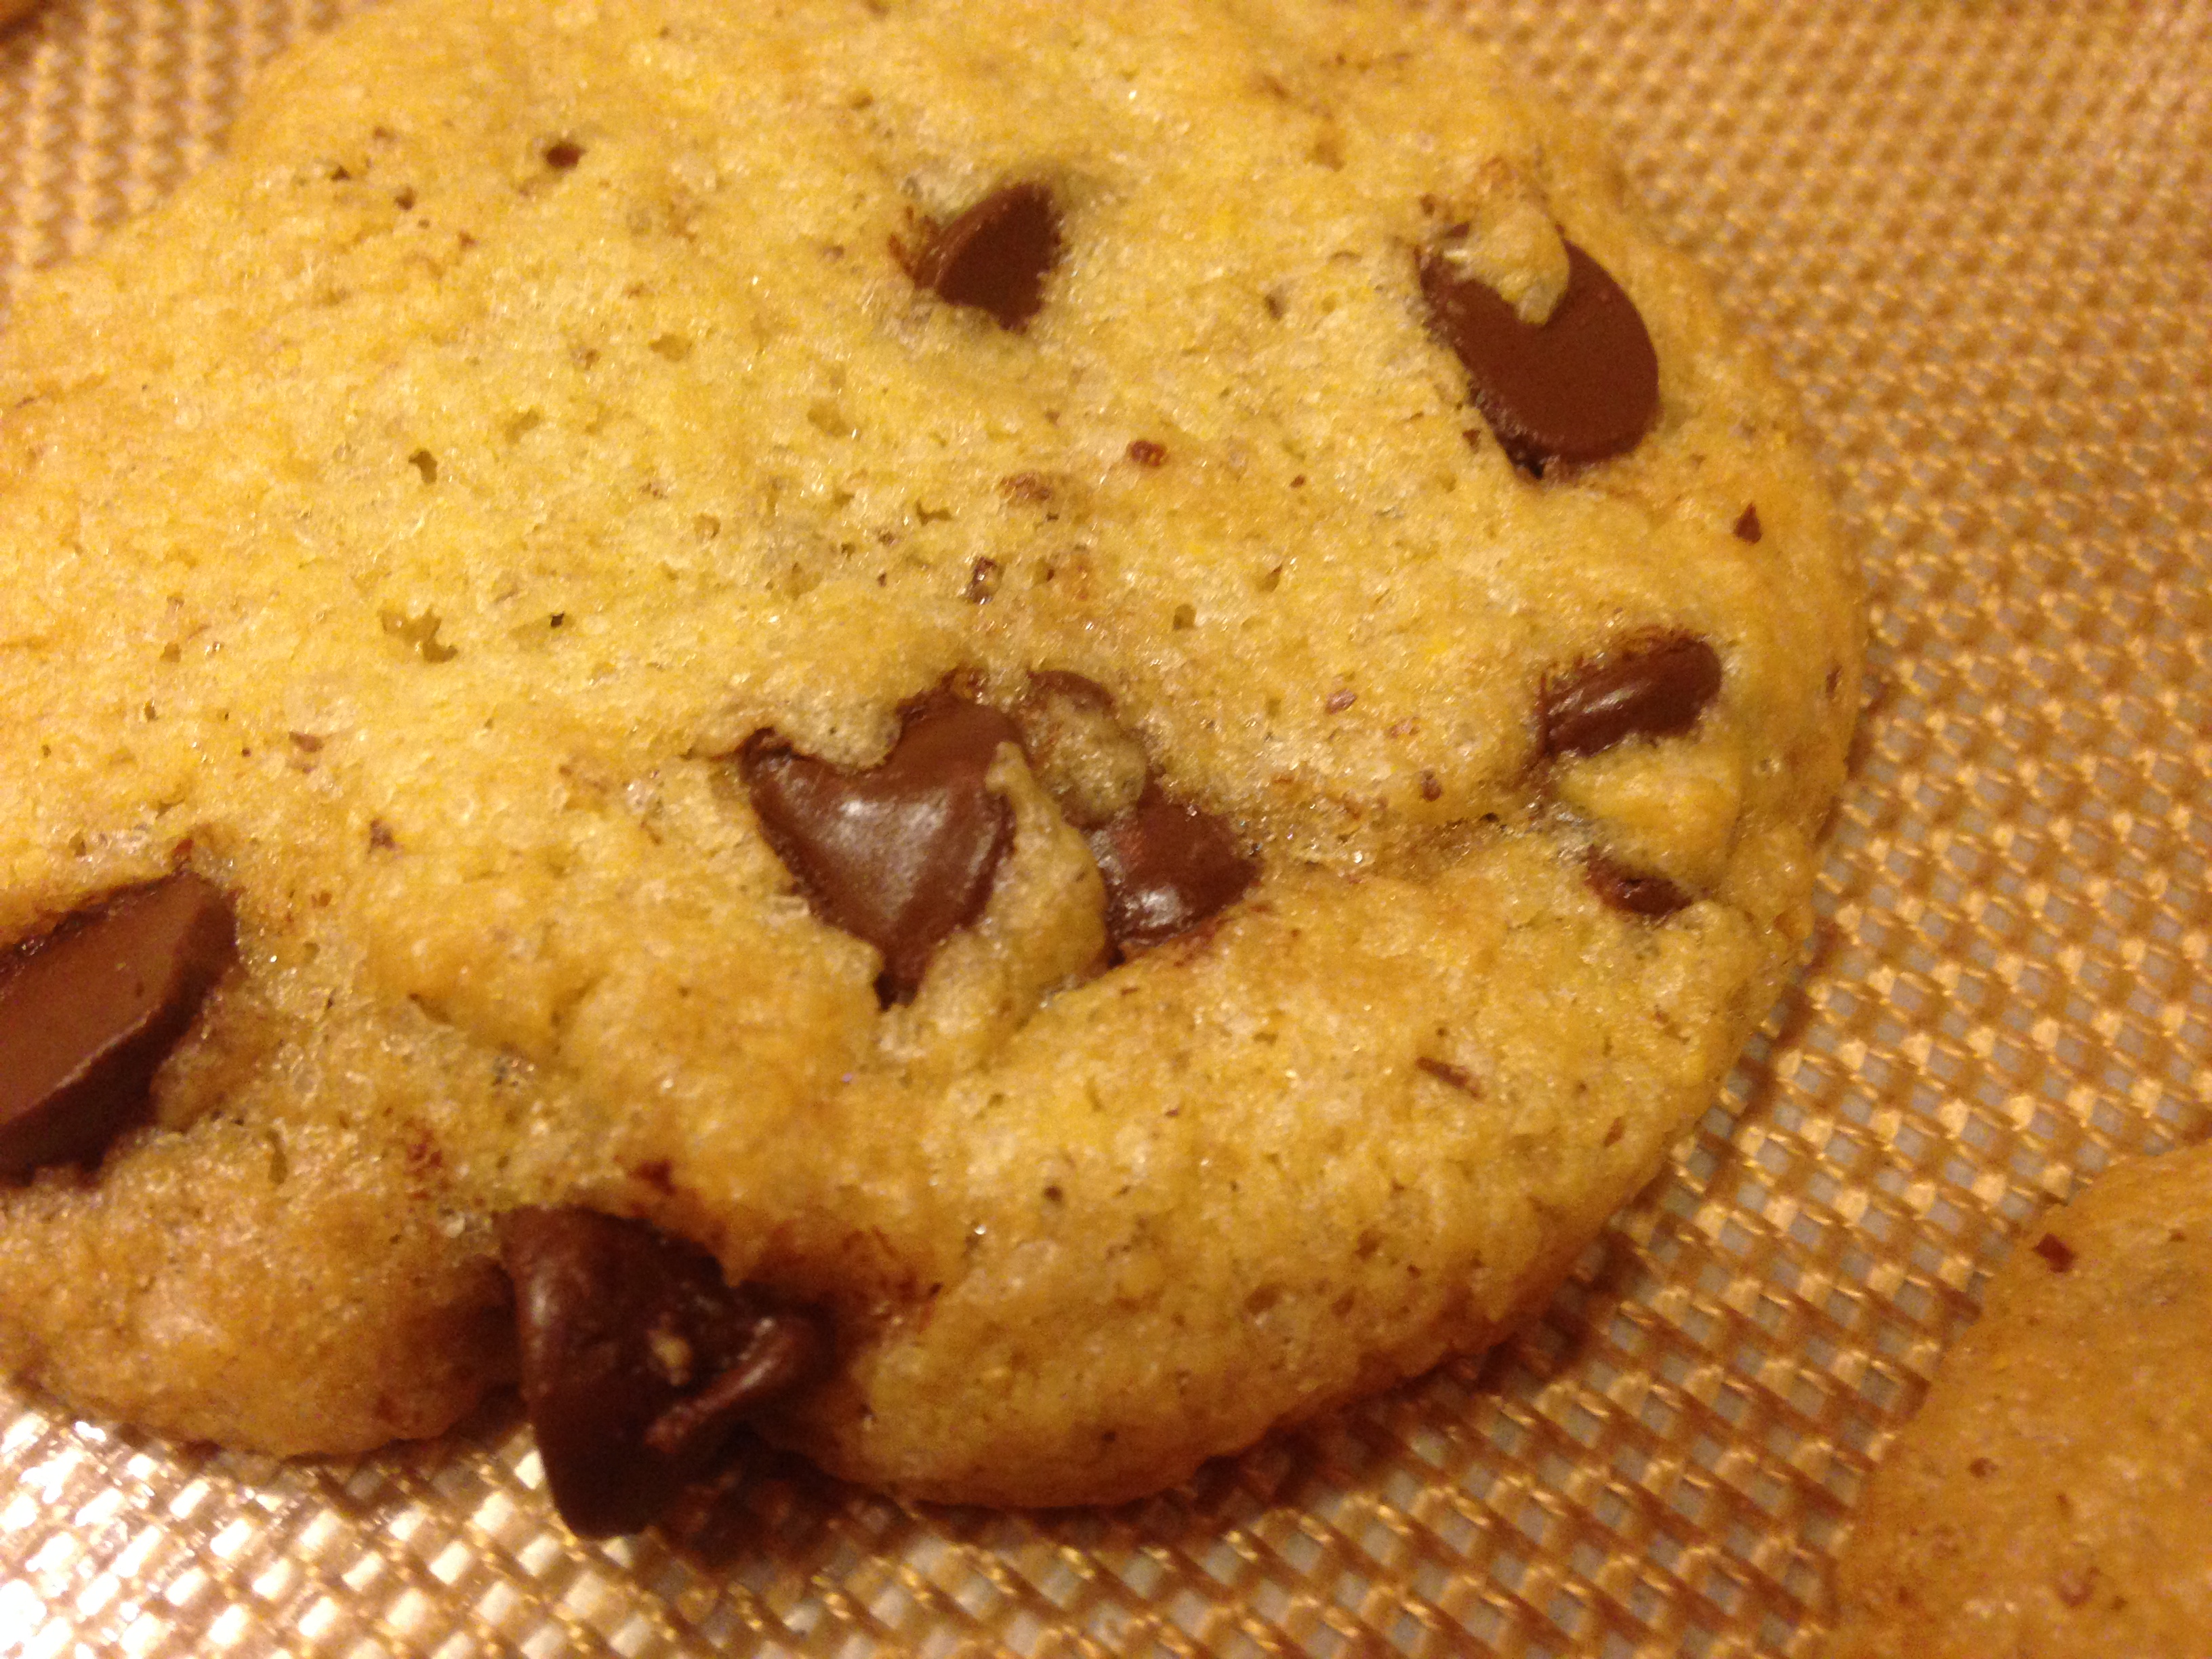
That being said here is my chocolate chip cookie recipe that I have been working on for ages. Every time I start I become uninspired by dry cookie dough (which every vegan can relate to due to the lack of eggs) and of course the ones that crumble or the ones that don’t taste quite right. These are not any of those. They are gooey and crunchy on the edges and melt until they are just thin enough but still soft inside. If you love cookies… you will also love me after you make this recipe.

_________________________________________________________________________________________
Perfect Chocolate Chip Cookies
- 1 cup of earth balance organic buttery spread
- 2-3 tablespoons of maple syrup
- 3 flax eggs (3 tablespoons of water and 1 tbsp powdered flax per egg)
- 2 tablespoons of vanilla extract (I use Penzey’s Mexican)
- 1 and 1/4 cups of vegan sugar (try half brown sugar if you have it for a richer flavor)
- 2.5 cups of all purpose unbleached flour
- 1-2 teaspoons of salt (I use kosher)
- 1 cup of vegan semisweet chocolate chips (I used Kirkland (Costco brand) this time instead of Whole Foods)

*Optional: 1 cup of walnuts or pecans

___________________________________________________________________________________________
MIXING TIME!
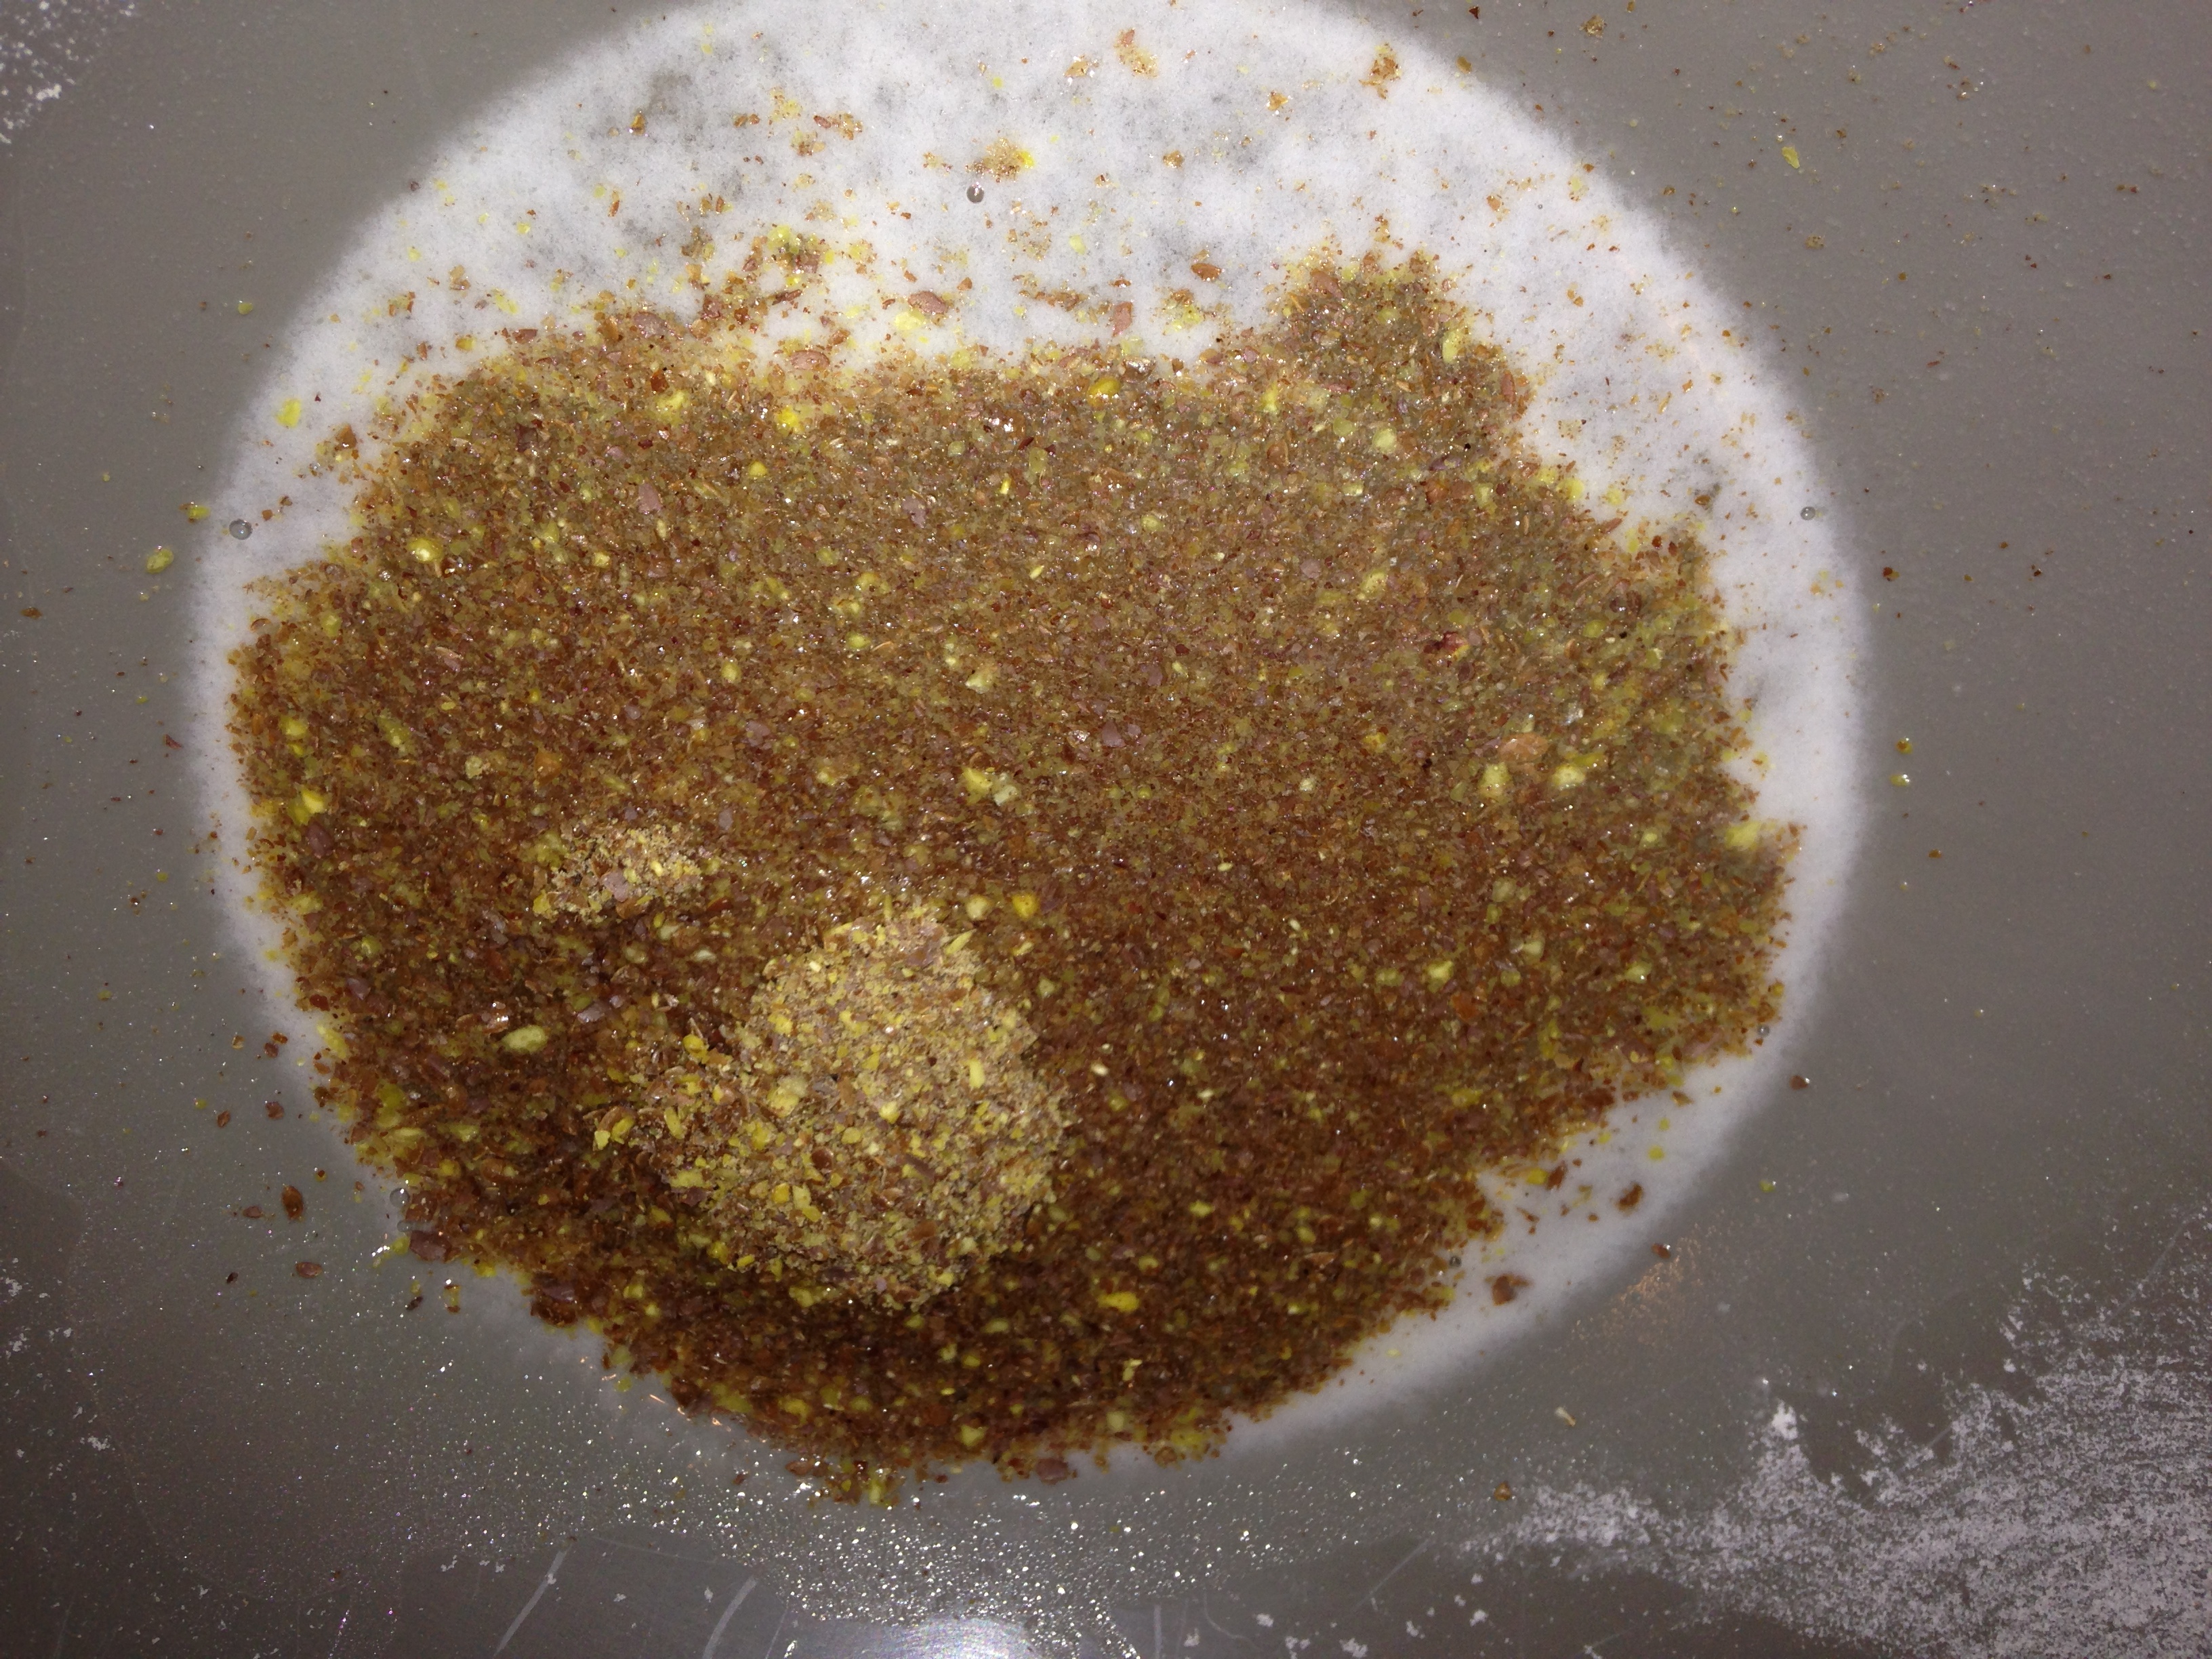
- Place all dry ingredients (except chocolate) in a medium to small bowl. Mix until well combined.

- Cream butter and sugar together in a larger bowl with a mixer. Then place all wet ingredients into the bowl and mix until well combined.

- If you have never made a flax egg all you do is place warm water in a bowl and pulverize flaxseeds in a coffee grinder until powdered and stir. It’s that easy.


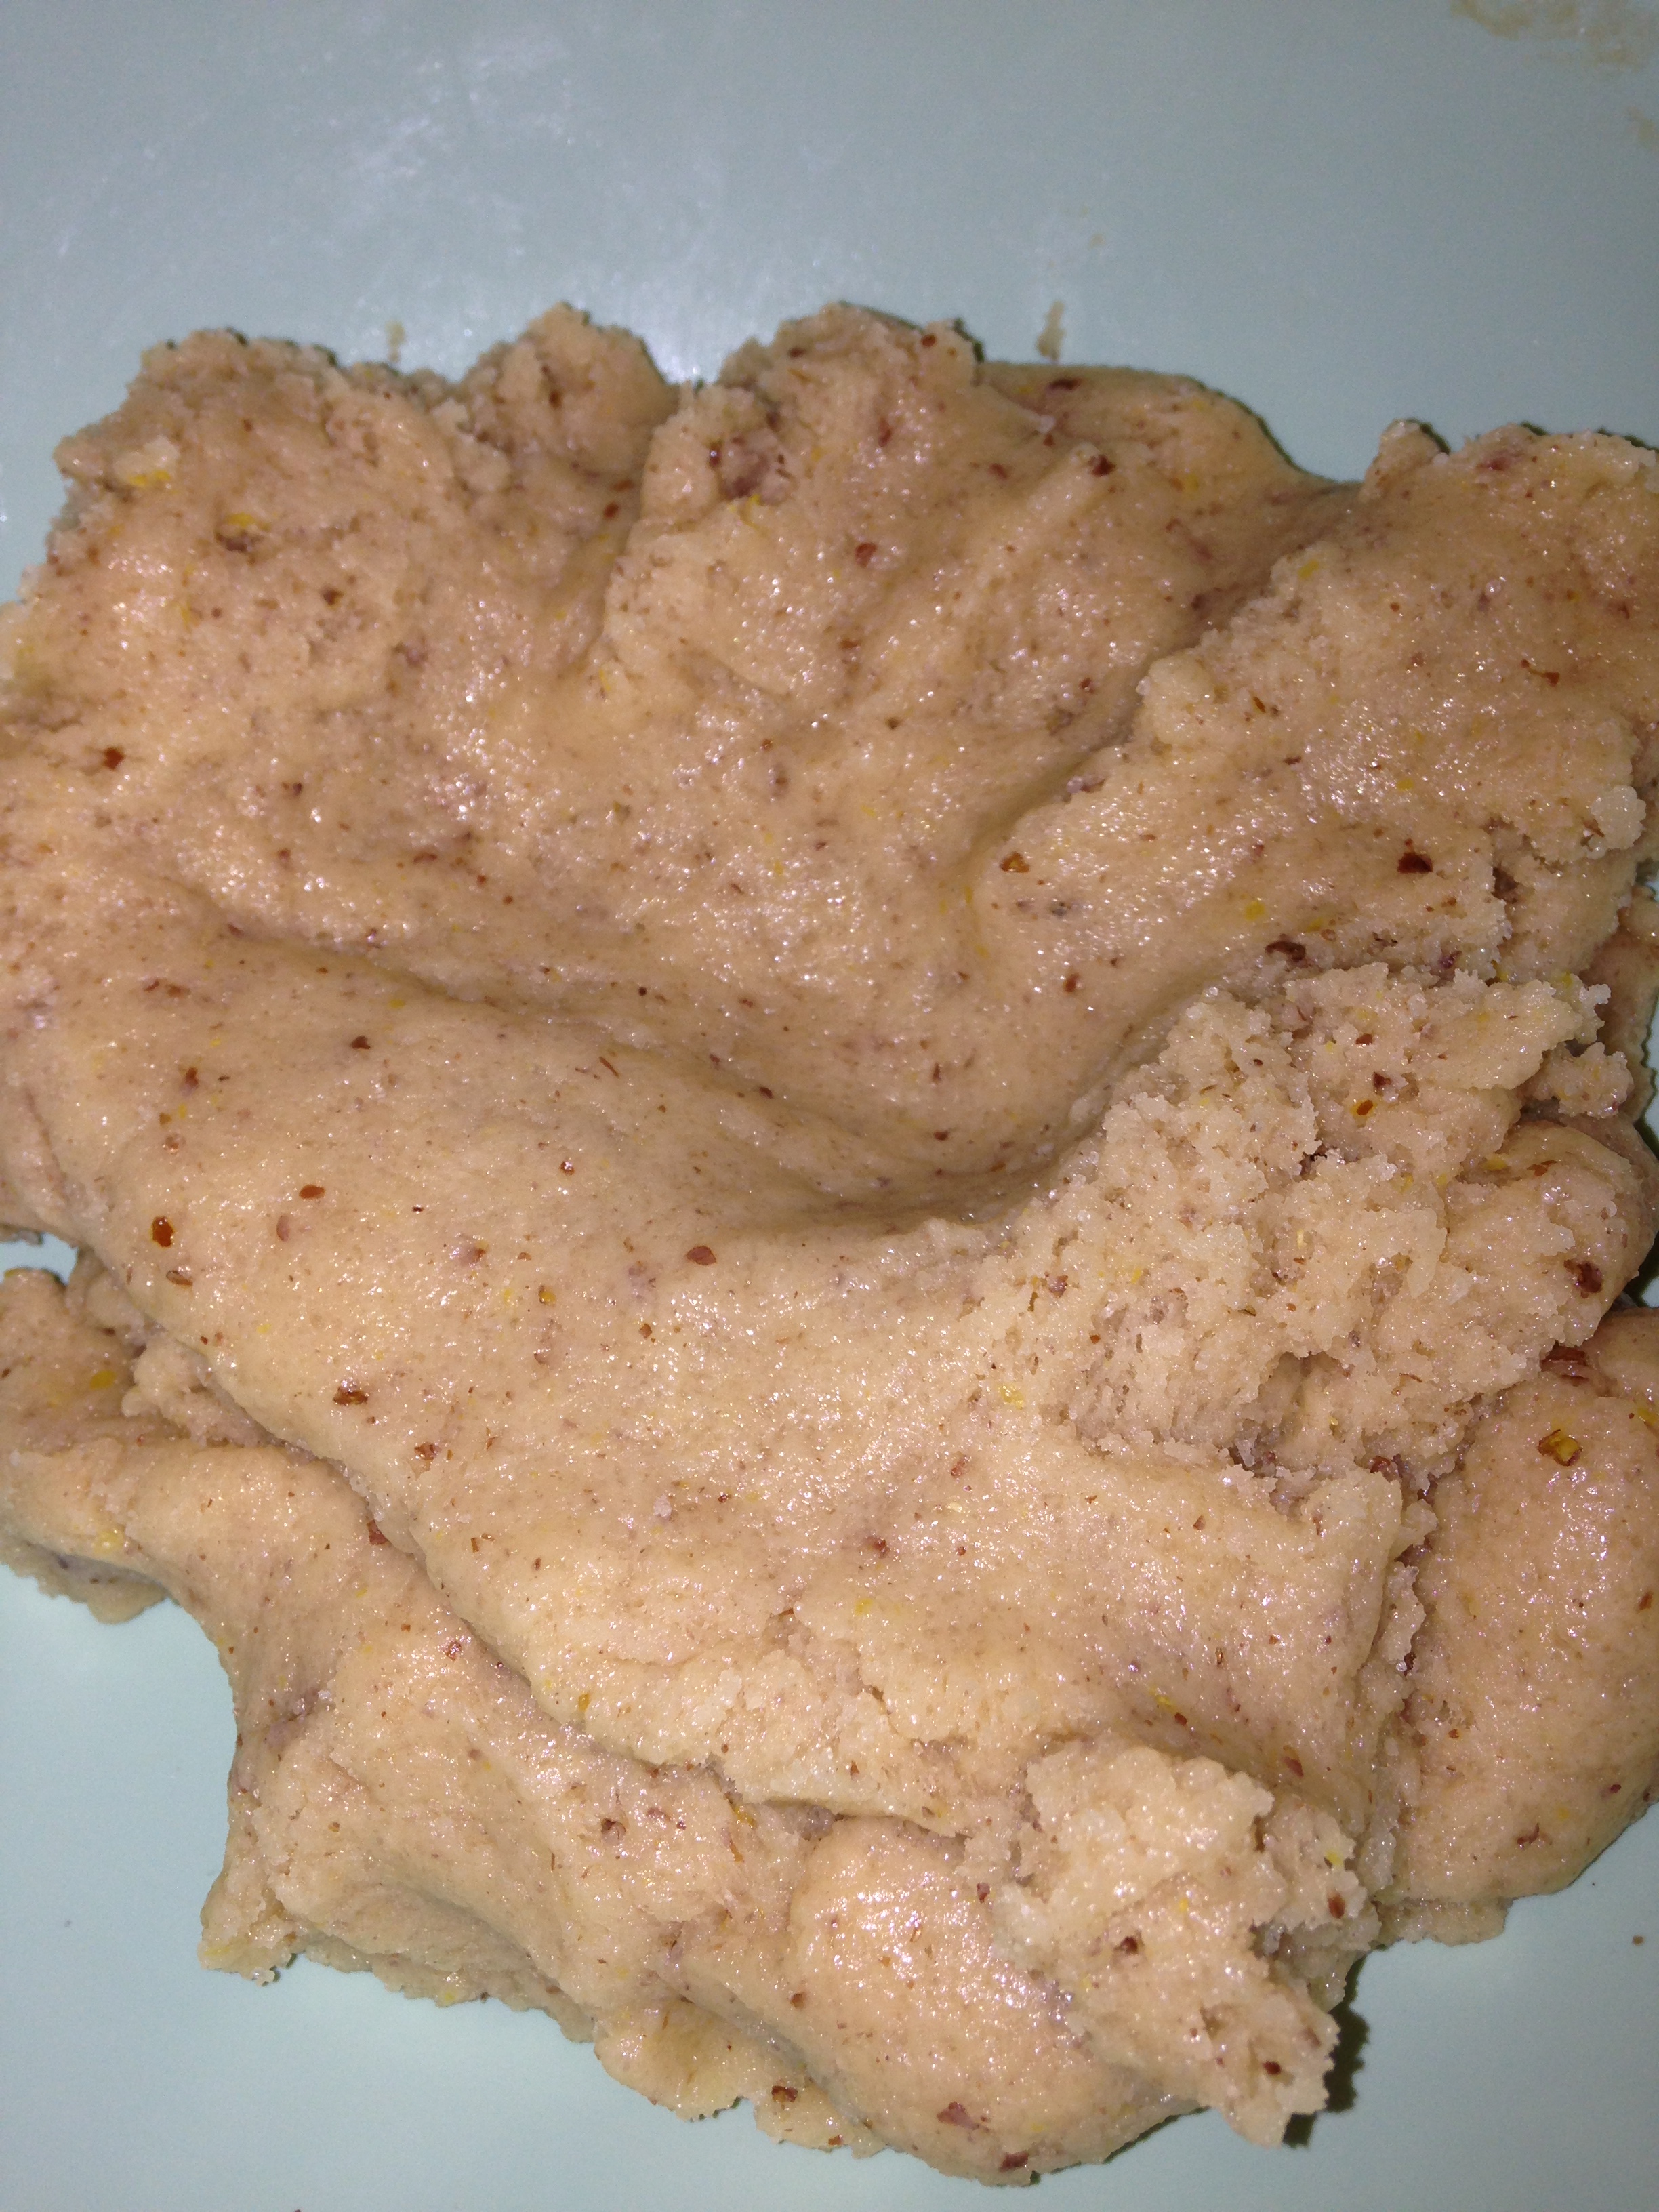
- Slowly add dry ingredients to wet ingredients and mix until a dough forms. I use my hands but a mixer works well too.

- Last toss in chocolate chips and any nuts and knead into the dough. It will be a little oily.


BAKE:
- Preheat oven to 350 degrees.
- Place a silpat or parchment on your baking sheet. These cookies WILL STICK OTHERWISE! This is very important.
- Once the oven is completely preheated, place balls of cookie dough on the silpat or parchment lined cookie sheets.
- Bake for 20-22minutes.

- Remove let sit for 5-10minutes and then transfer to a cookie cooling rack.

- Makes 3 dozen. Enjoy!


___________________________________________________________________________________________________
FOOD IS LOVE.
The Hippie Gypsy
Banana Bread Bars
There are very few things that can make me feel as cozy as banana bread. My mom would make it all the time when I was a kid (and would even bring it to my dorm in college sometimes). Saving up all the brown bananas we didn’t eat in time and putting them in the freezer. When she had enough she would make the whole house smell like heaven and it was hard to keep us back long enough for the banana bread to cool so she could cut a slice for my brother and I. My grandmother would cozy up next to me with some tea and her banana bread and on those chilly fall days we would watch infomercials and old movies at my parents house. So when I got a tweet on Twitter the other day from a follower that wanted to use up some Chia seeds I thought what better way than to give out my banana bread bars recipe! The recipe is easy and just requires dumping everything in a bowl and mixing and then placing it in the oven. The weather was cool over the weekend so I made a batch as a breakfast snack for my husband and I this week. They were also snacked on by both my parents yesterday while we continued mounting new things to the walls of my new house. Note: I bribe family and friends with dinner and snacks for free labor 🙂

_____________________________________________________________________________________________________________________________________________________________
Banana Bread Bars
Ingredients:
(3) Bananas (overripe and brown is best)
1 1/2 cup Quick Oats
1 tsp tapioca granulated
2 tbsp chia seeds
1/4 cup of Raw Agave Syrup/Nectar
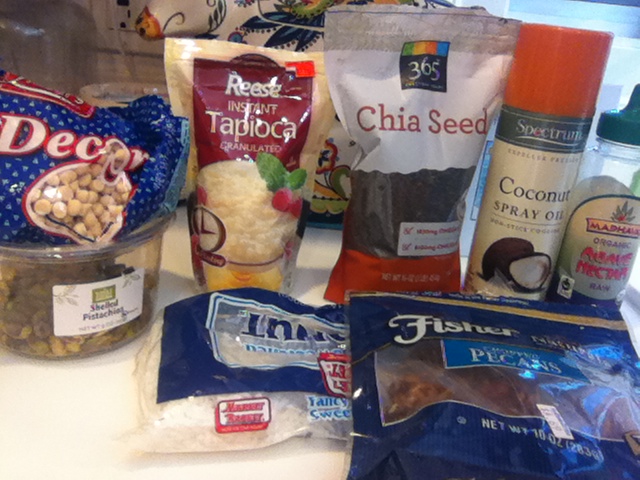
1/4 cup raw unsalted pistachios
1/4 cup shredded sweetened coconut
1/4 cup chopped pecans
1/4 cup white chocolate chips (I use Lieber’s White Decorative Chips)
Spectrum Coconut Oil Spray for pan
______________________________________________________________________________________________________________________
Preparation:
- Place white chips, nuts, seeds, coconut, and tapicoa in a medium mixing bowl and stir until combined.
- Add quick oats. Stir until combined.
- Add bananas (i ususally microwave frozen bananas for 1 minute and then add them). Mix until thick adn well combined throughout.
- Add agave and fold in.


Cook!
- Preheat oven to 350 degrees.
- Spray a bread pan with coconut oil.
- Place bar mixture into bread pan and pat flat with spatula.
- Bake for 30-40minutes until the sides turn brown and the center is firm tot he touch.
- Cut into 6 bars and serve after cooled about 15-30minutes.
- Enjoy!


____________________________________________________
WW Points: 8pts per bar.
__________________________________________________________________________________________________________________
XOXOX,
The Hippie Gypsy
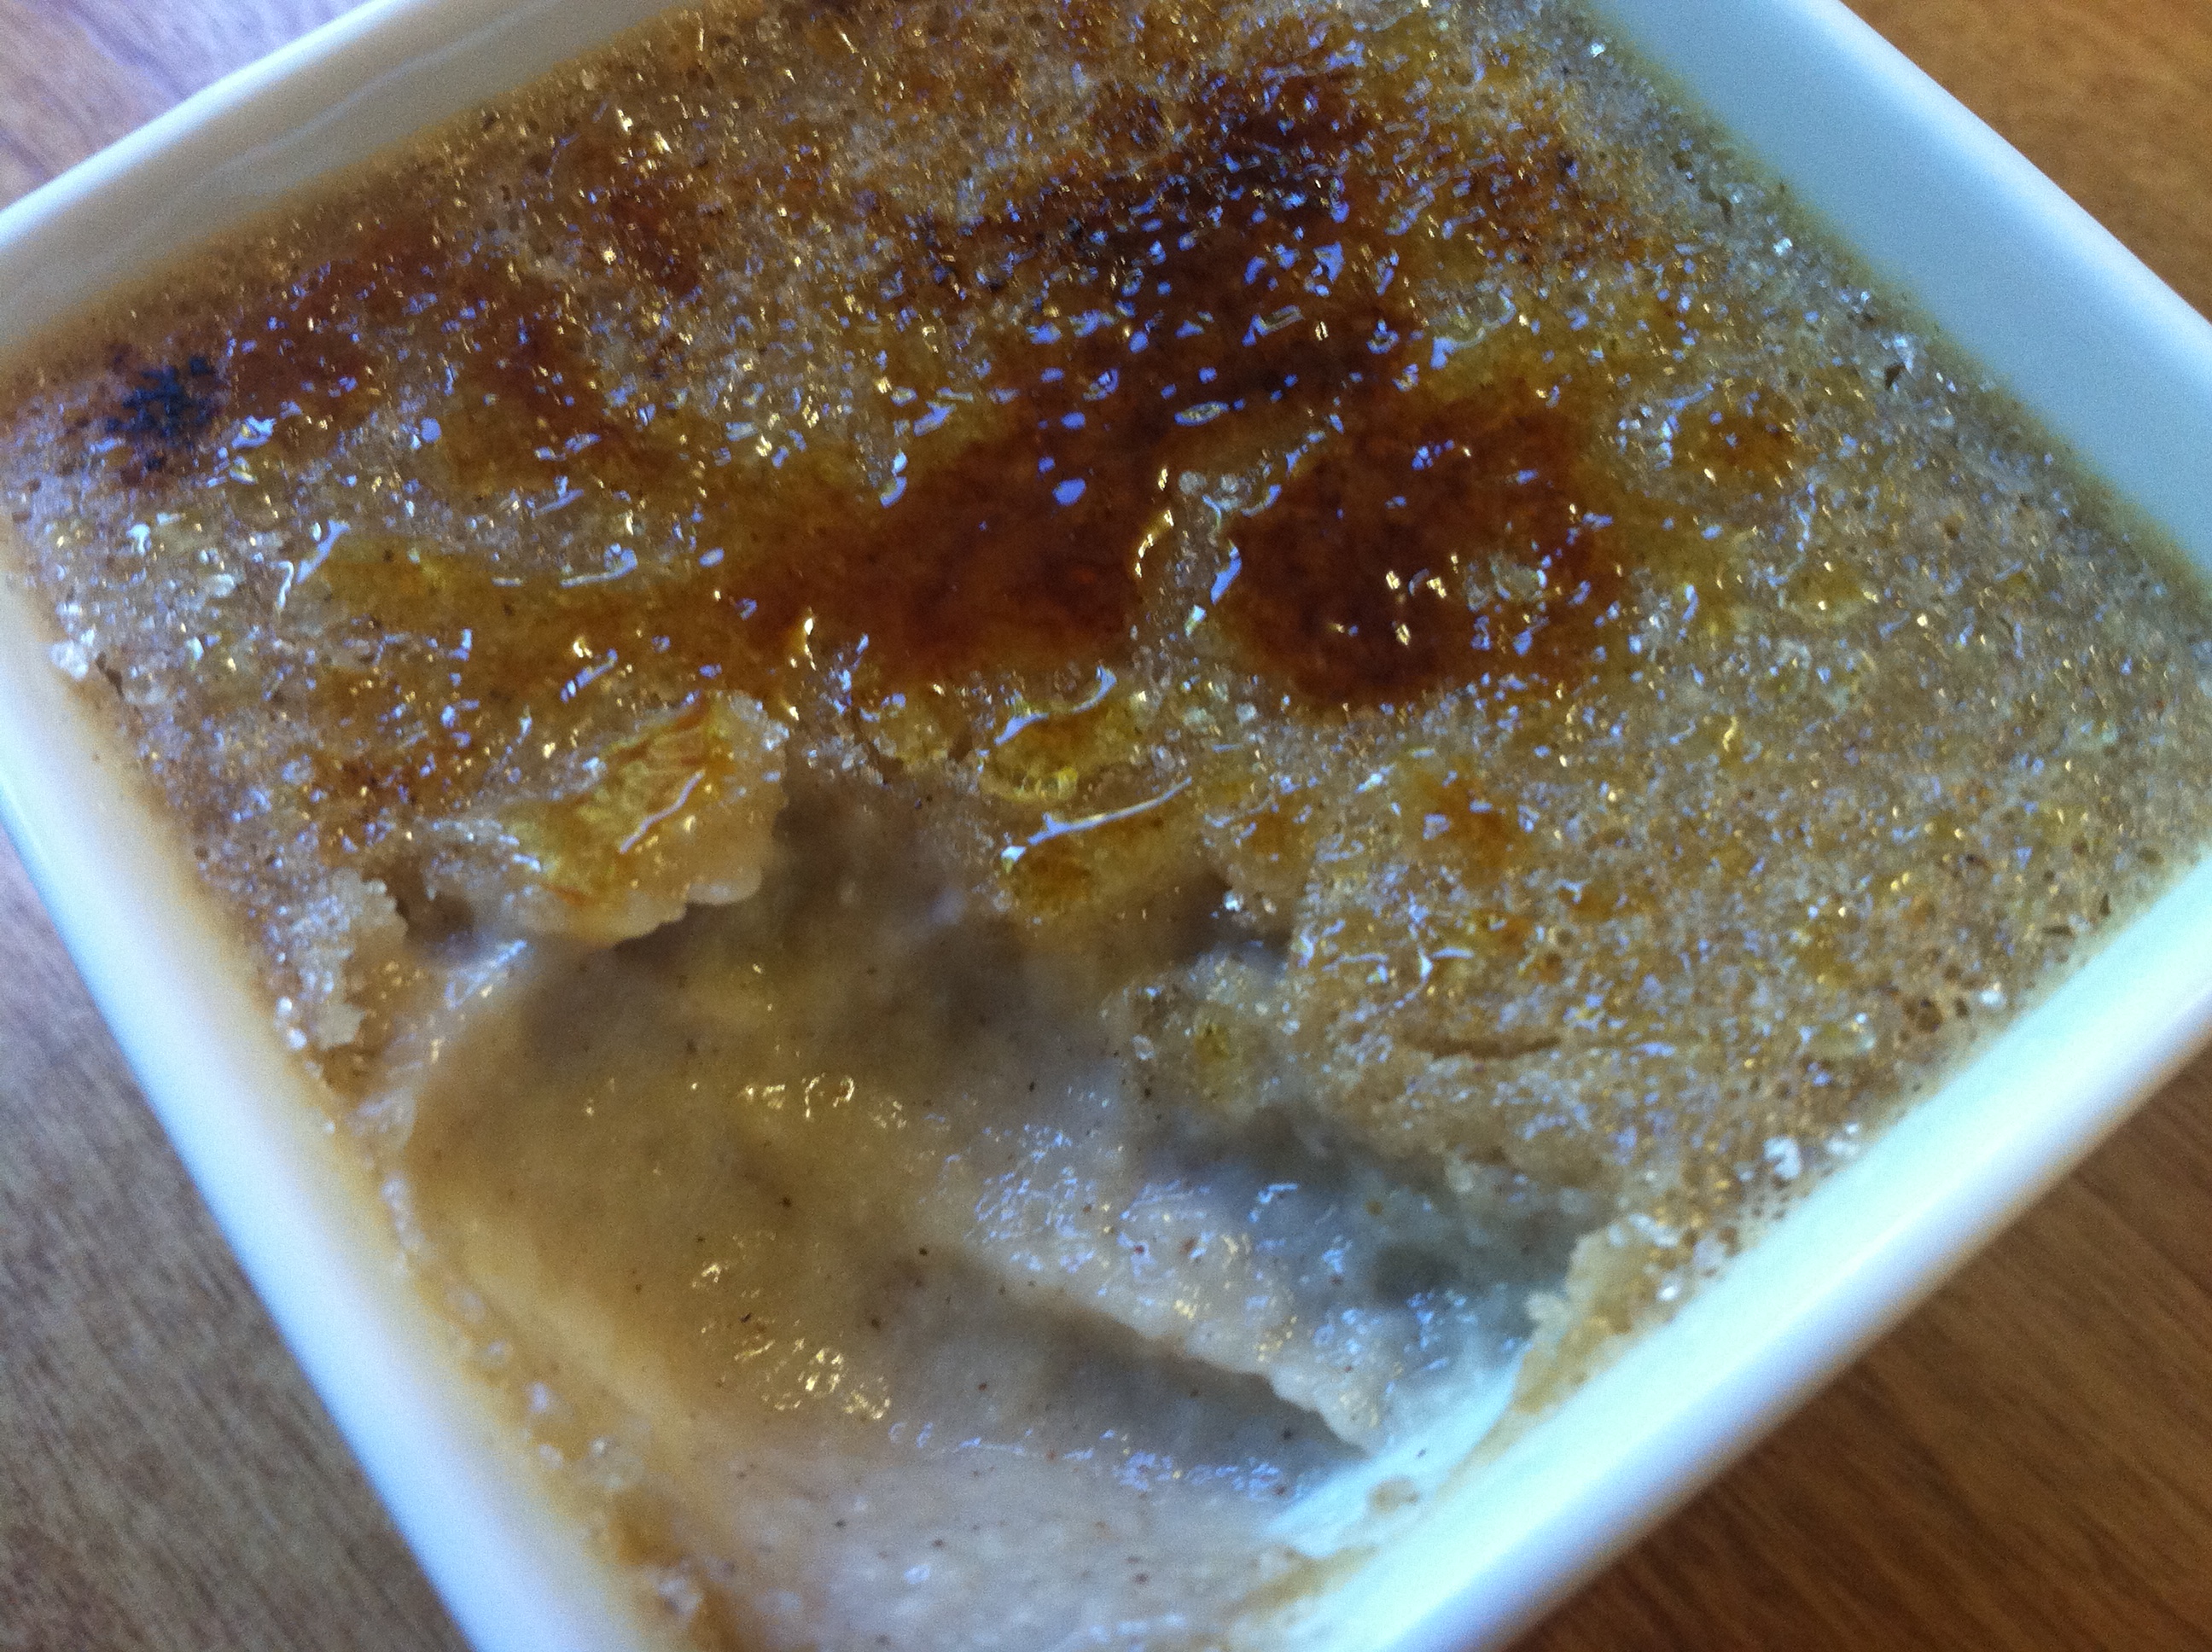
Pumpkin Pie Vegan Creme Brulee
Thanksgiving may seem like it is far away but in Canada it is next month and for the USA it is around 75 days away. So this is my favorite time to start testing recipes that I may cook. I also start inviting folks over for the holiday so I can get the right amount of recipes down for the group I am serving. I started late last year because I was only having a small group in an even smaller house but this year I am going all out. Since Pumpkin Pie seems to be everyone’s favorite dessert at Thanksgiving I thought why not try a pumpkin pie custard/pudding/or brulee? So I did. And although the first time it came out to liquidy I learned that upping the agar and arrowroot helps immensely. You can always add more pumpkin as well and allow to chill overnight. I love a challenge!

__________________________________________________________________________________________________________________________
Pumpkin Pie Creme Brulee
Ingredients:
- 1/2cup raw cashews
- 1/2 can of pumpkin or 1/2 boxed carton of pureed pumpkin (not pumpkin pie filling)
- 1/4cup maple syrup
- 1/3cup sugar
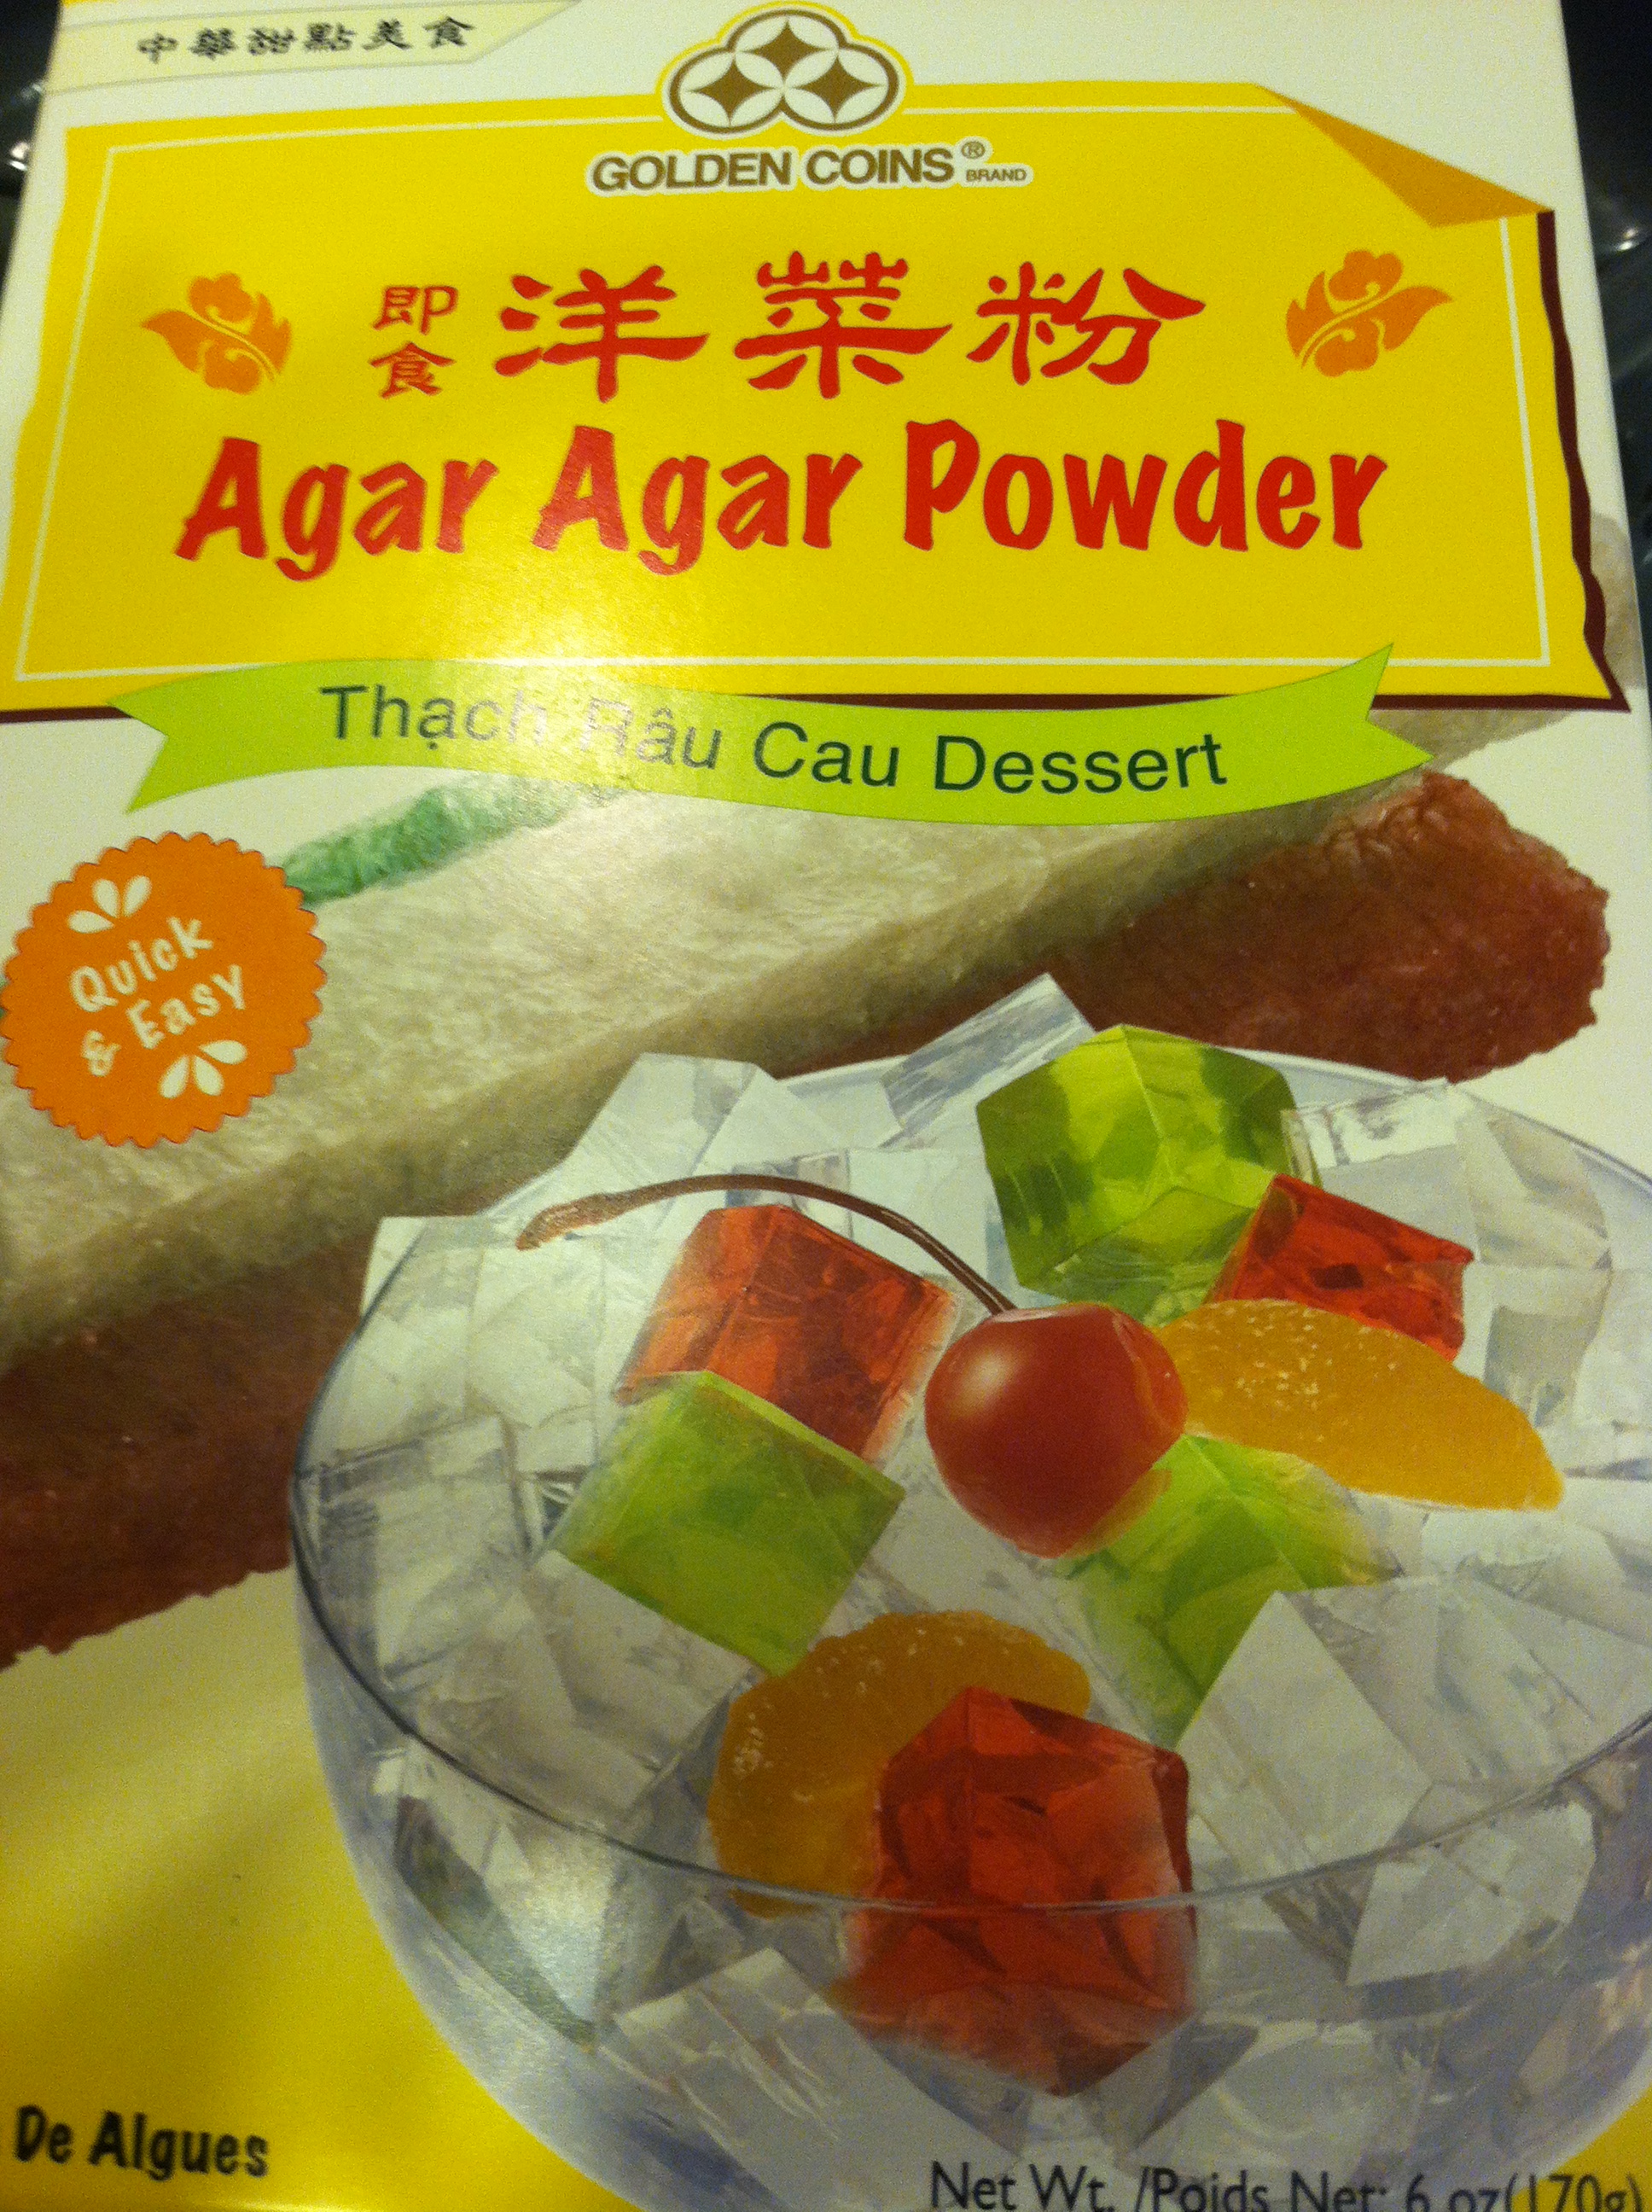
- 1tablespoon agar agar powder (this is vegan gelatin powder found in the asian section of the grocery store)
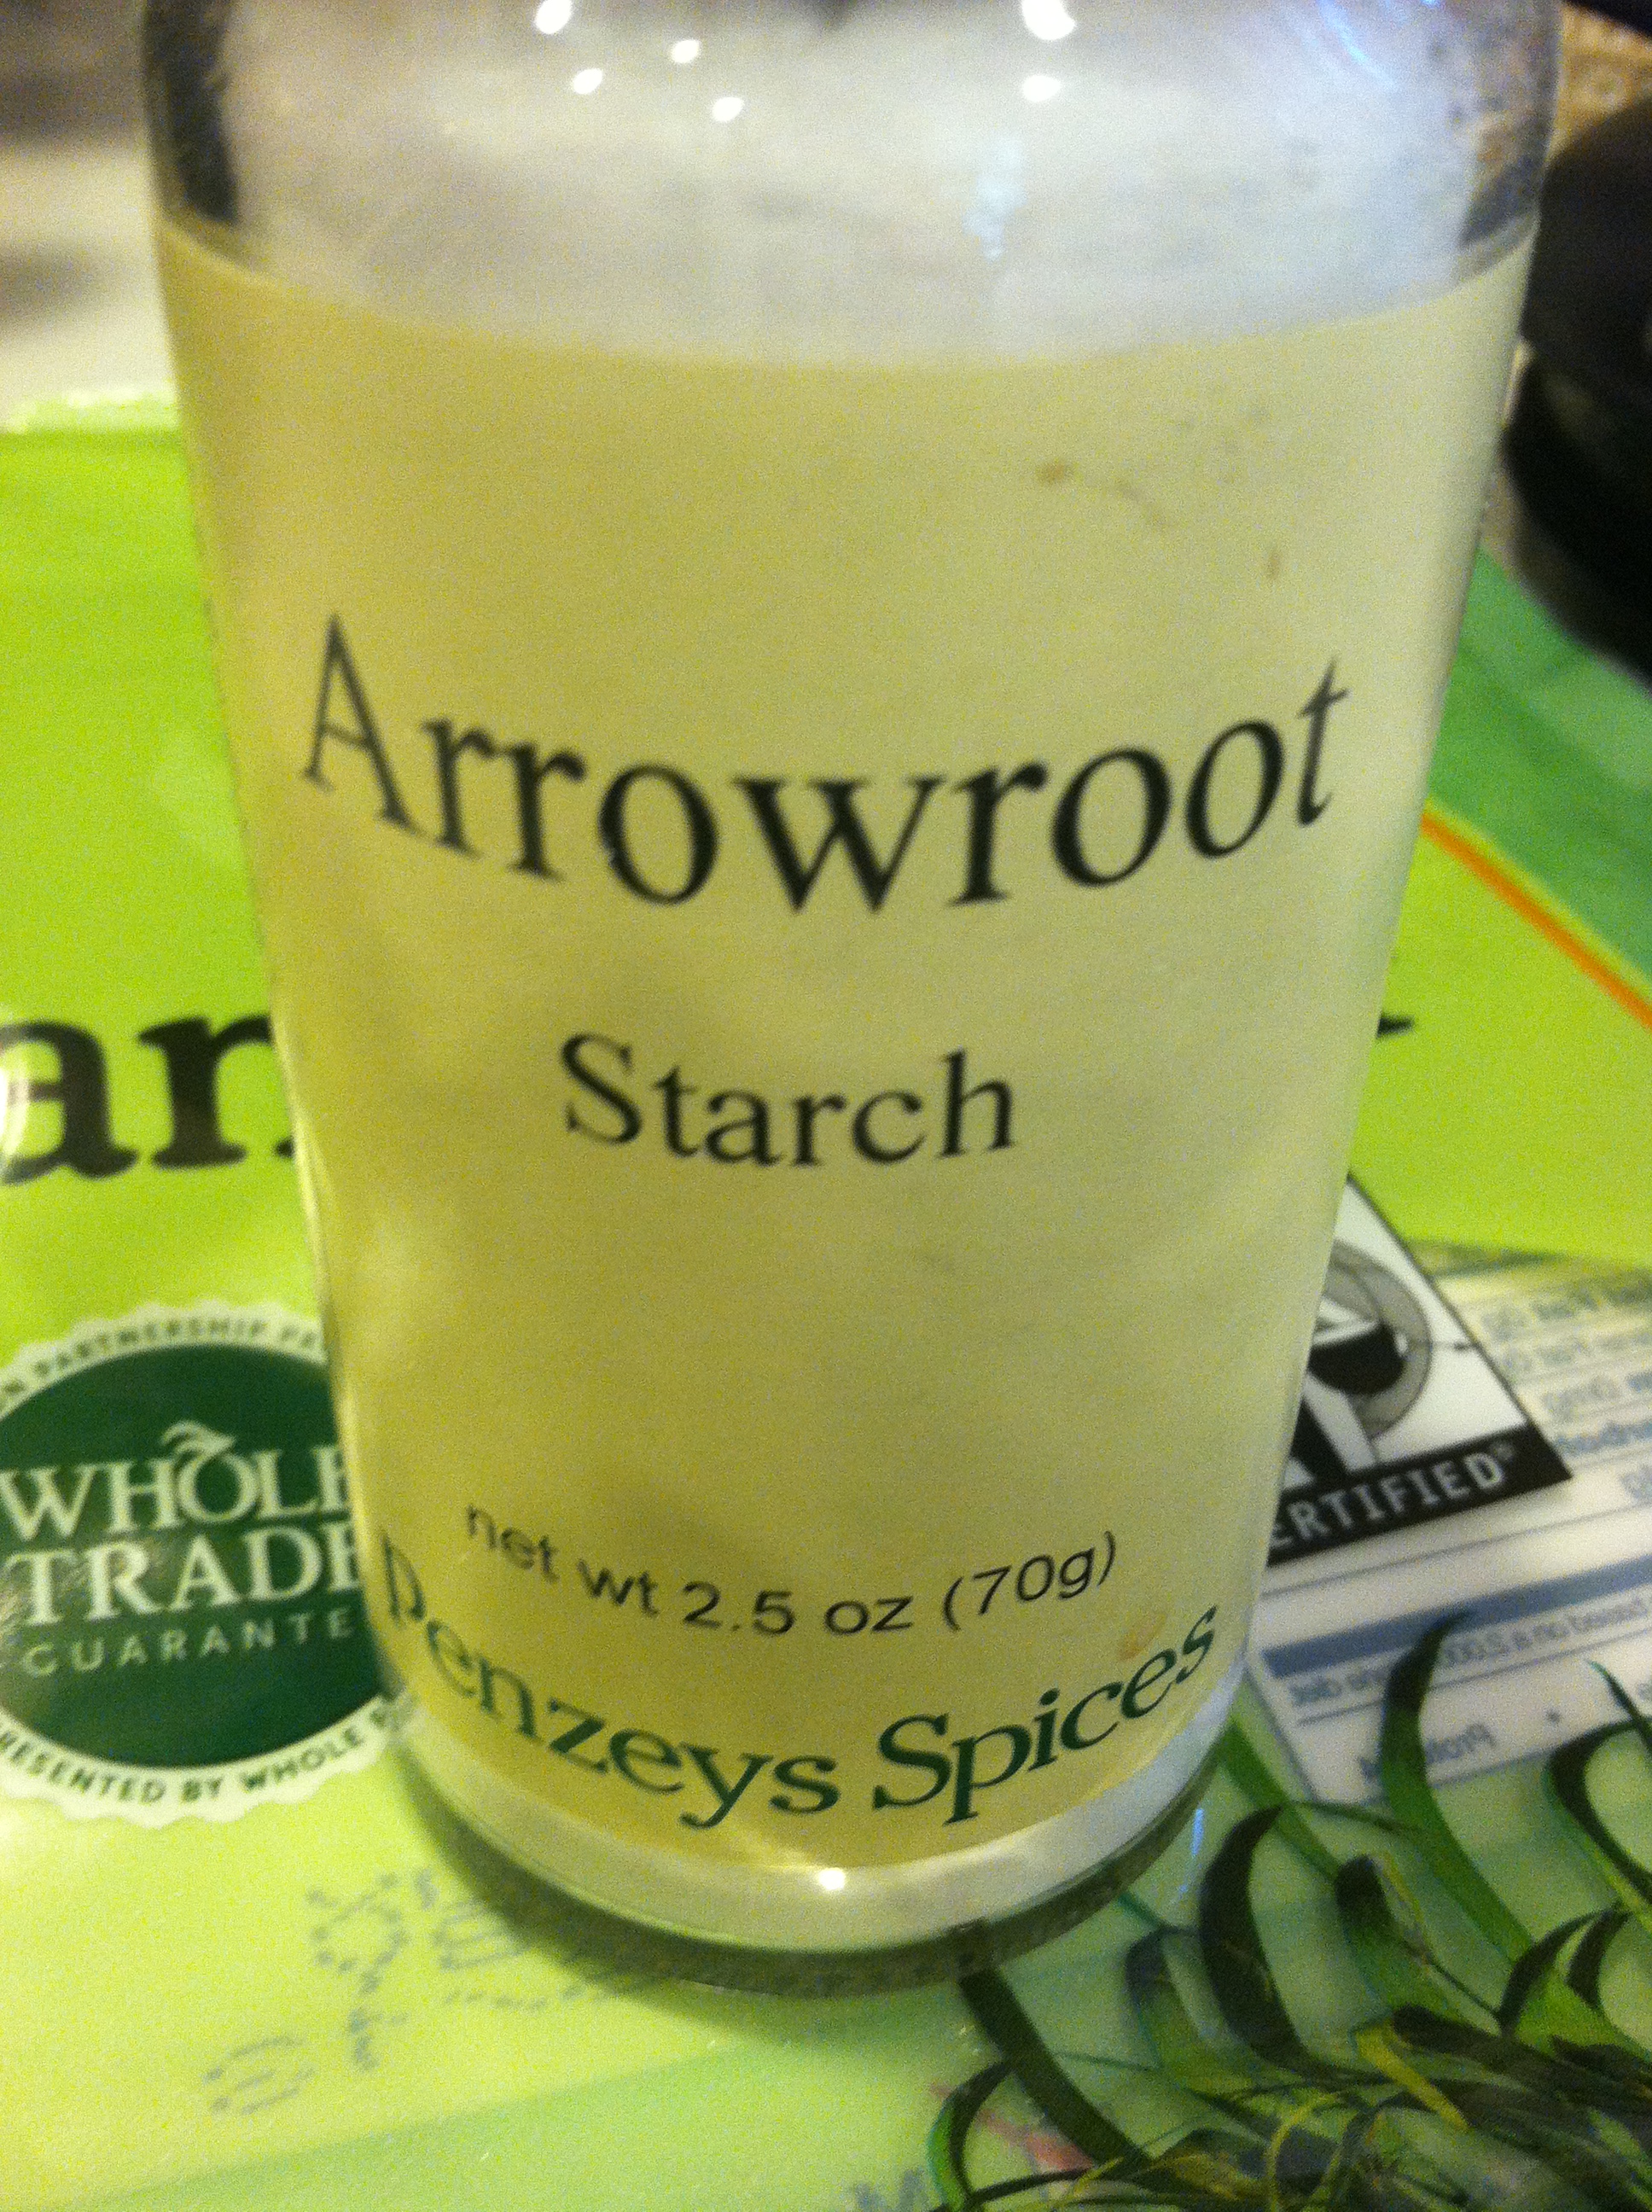
- 1tablespoon arrowroot powder/starch (don’t use cornstarch due to the high heat, arrowroot is better)
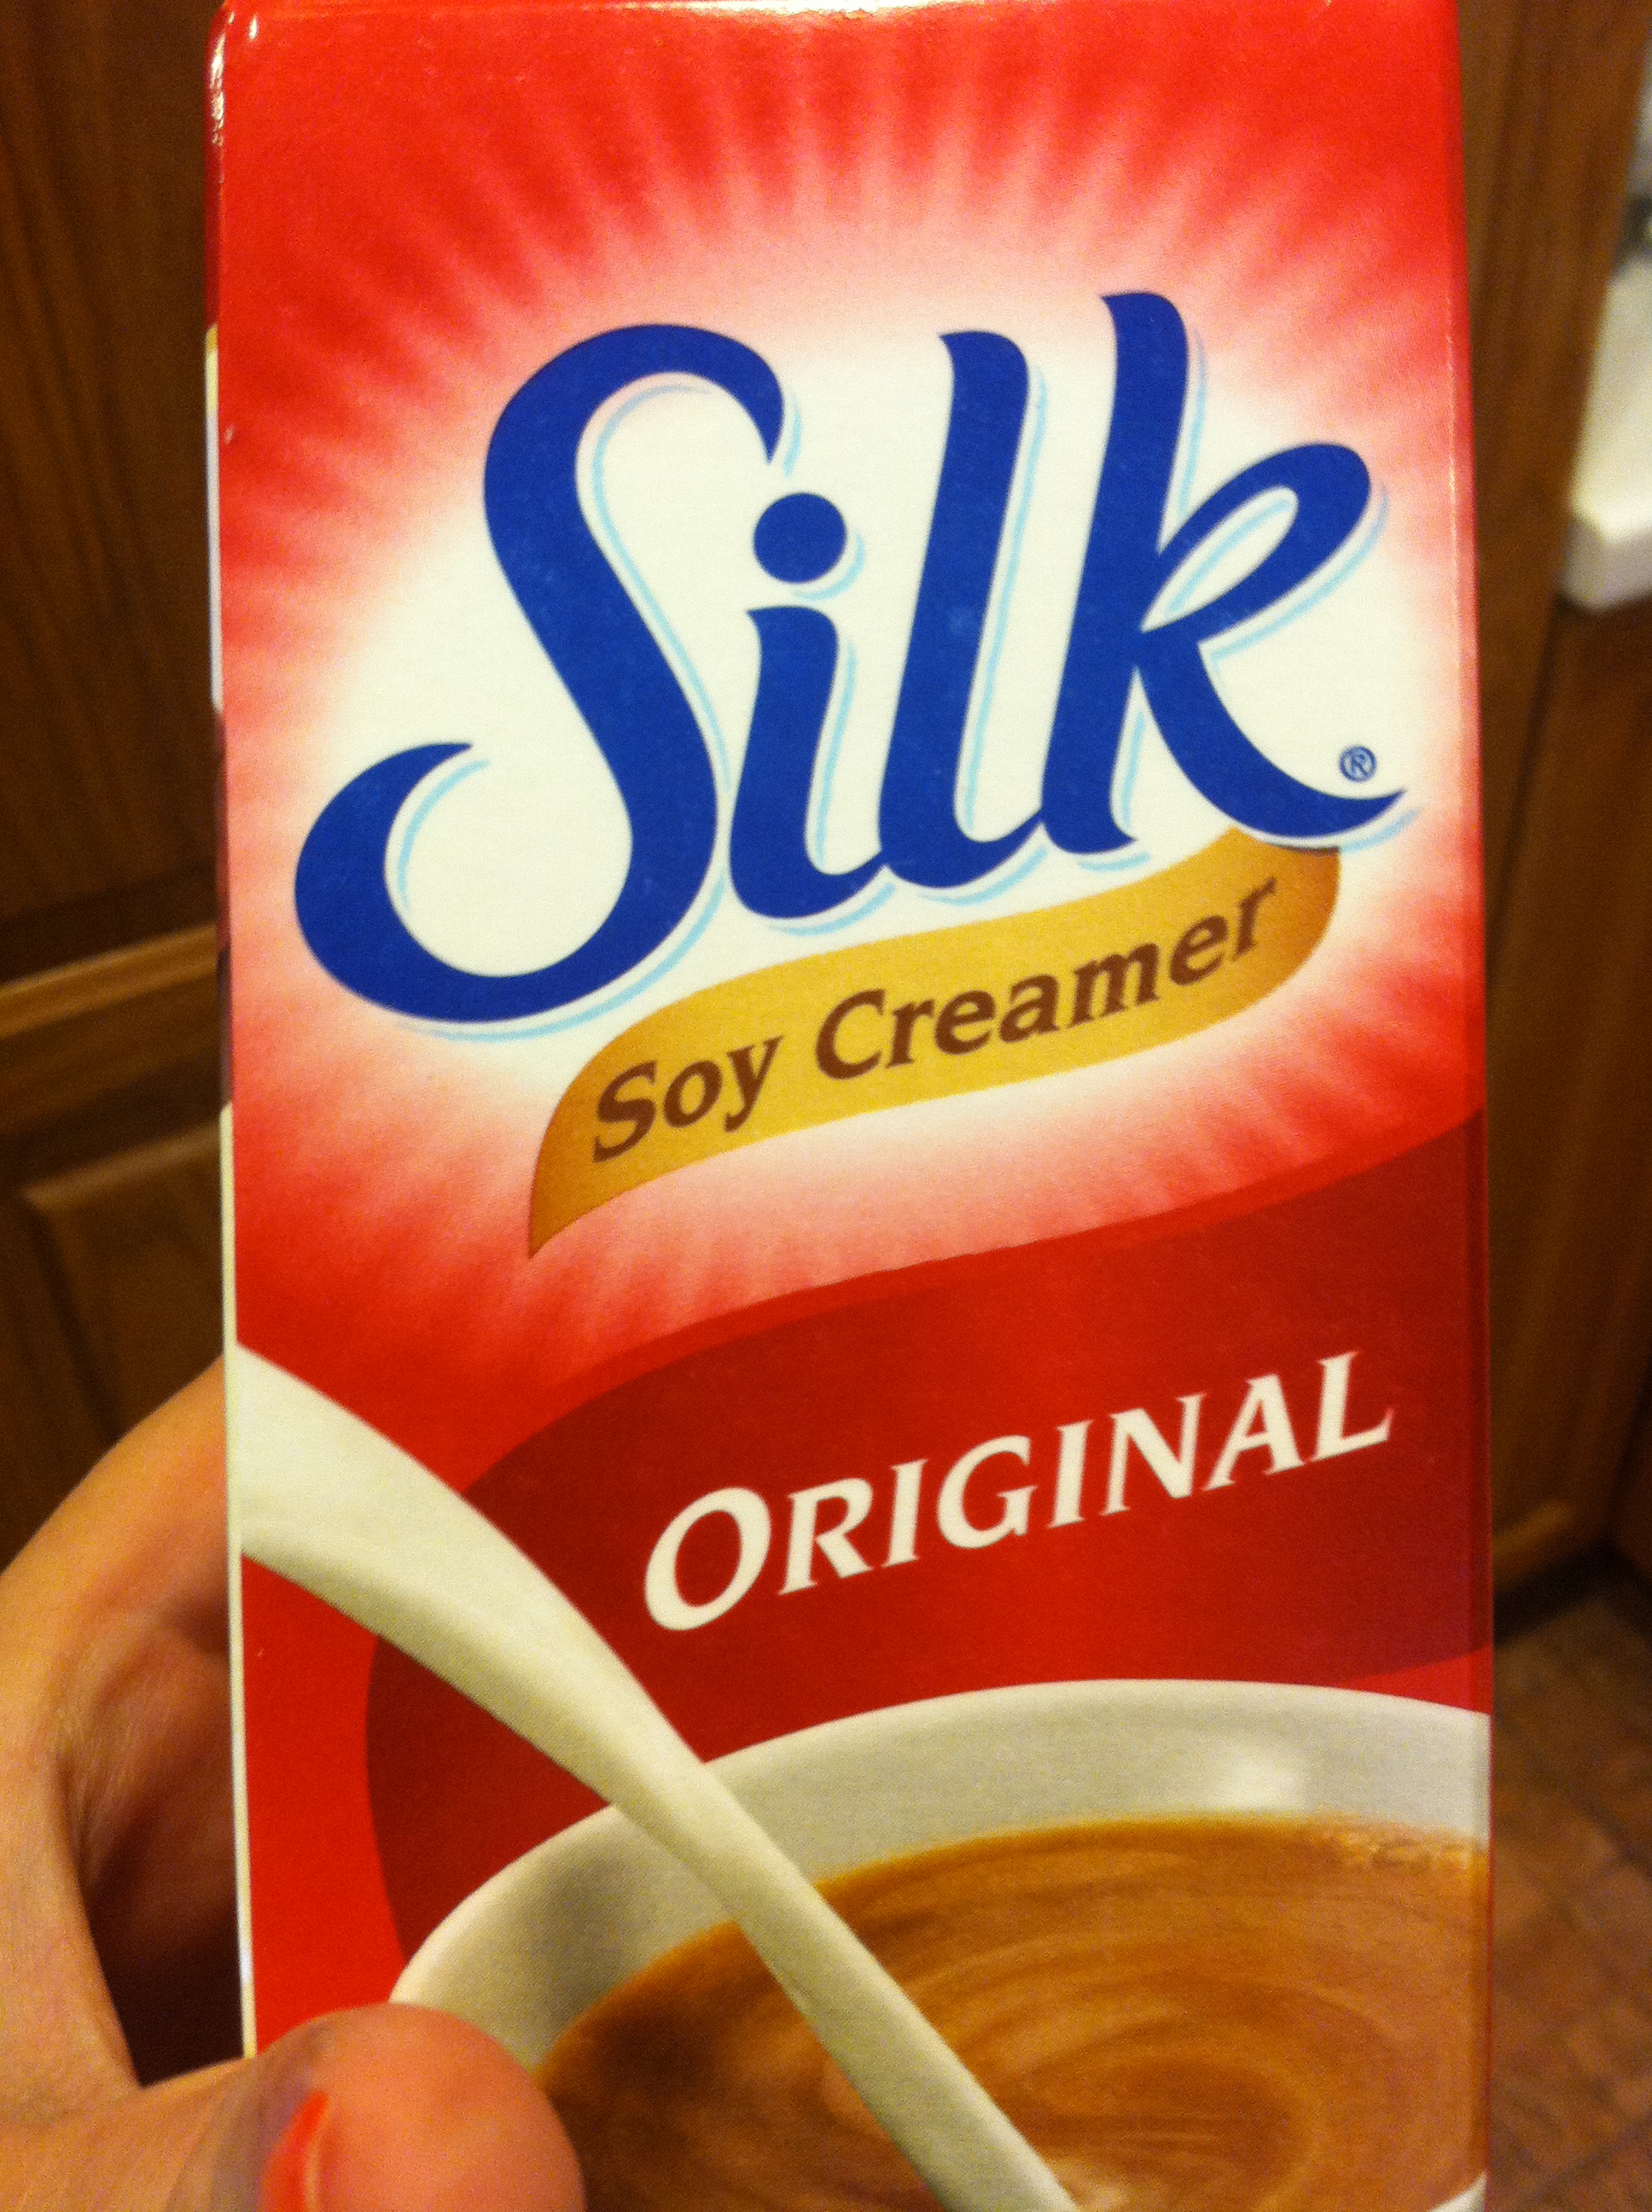
- 1 1/4cups Soy Creamer
- Pinch of Salt
- 1teaspoon Cinnamon
- 1/4 teaspoon Nutmeg
- 1 teaspoon-1tablespoon Pumpkin Pie Spice (depends on your pallet, I use a little more)
- 1/2teaspoon of Vanilla Extract (I use Penzey’s)
____________________________________________________________________________________________________________________________________________________
Preparation
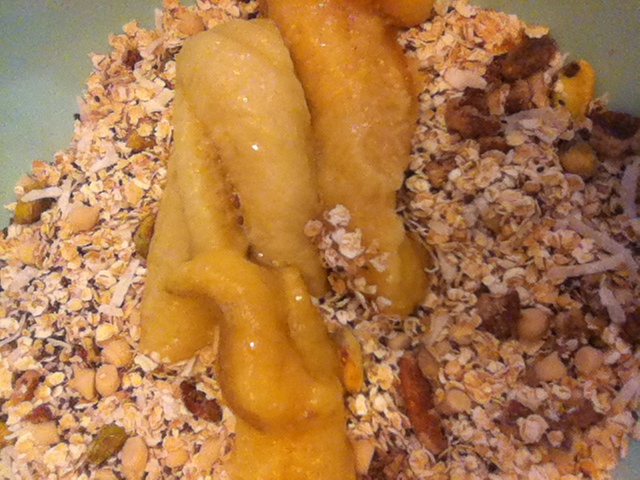
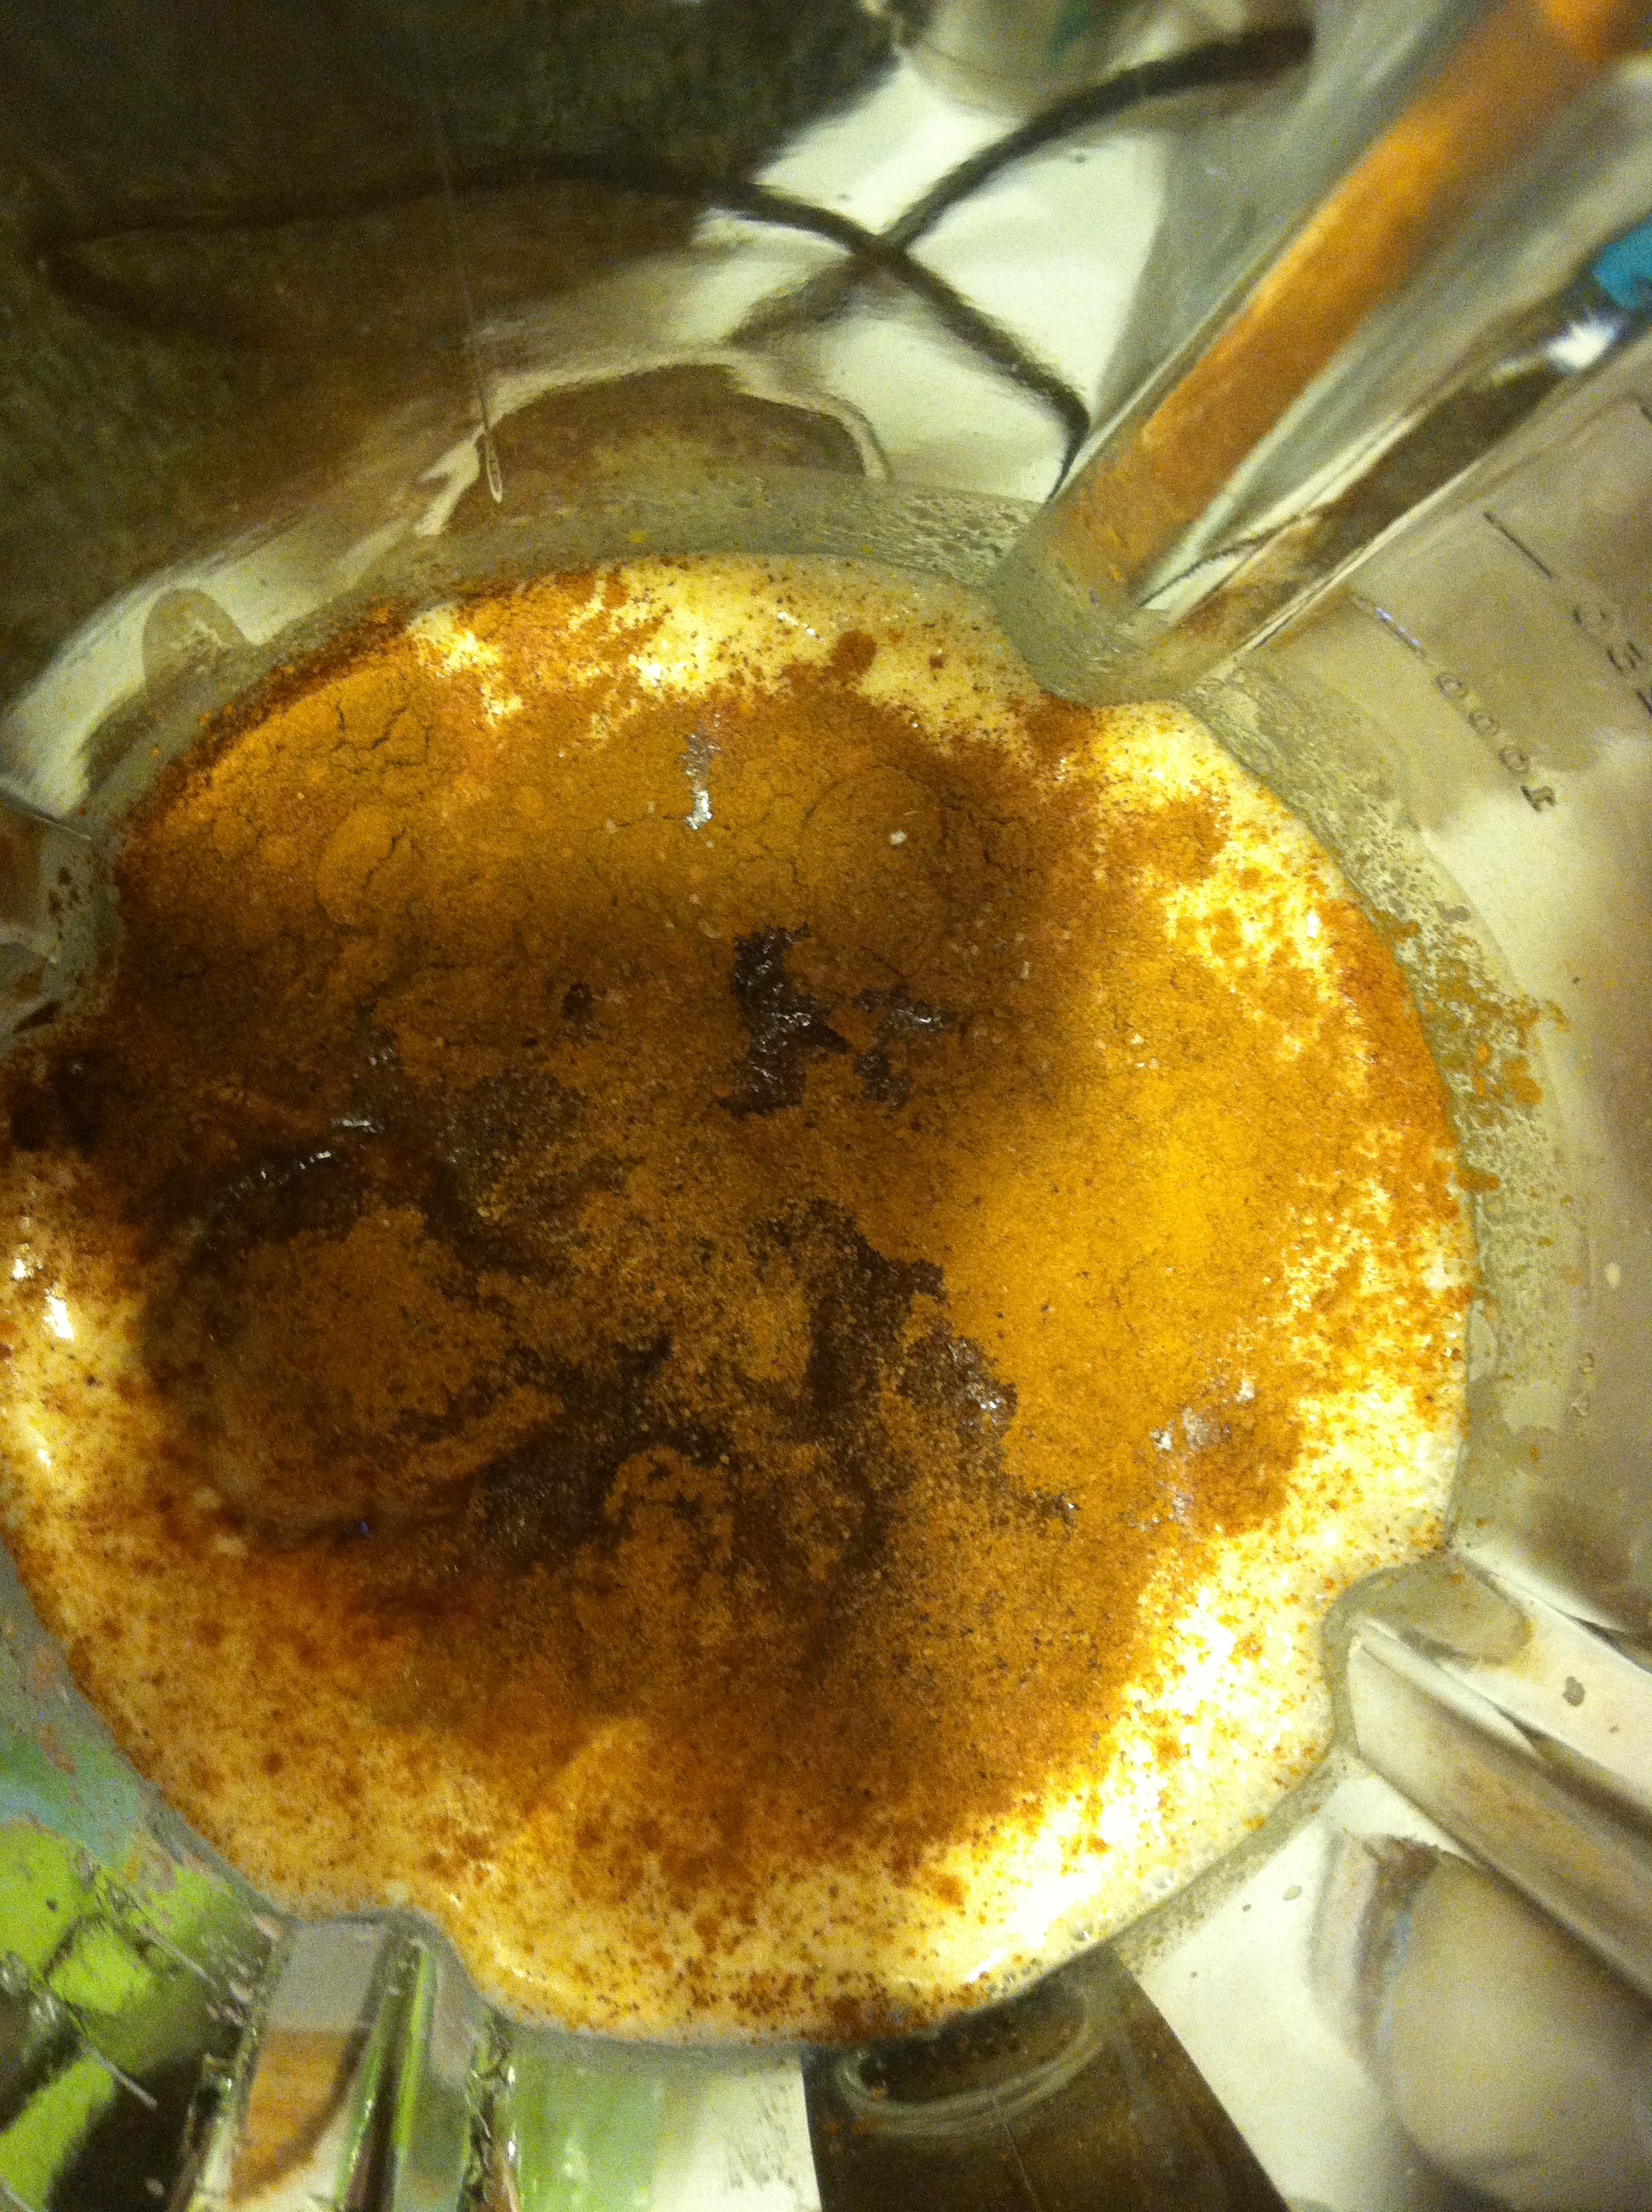
Place all ingredients in a high powered blender or food processor and mix until smooth.
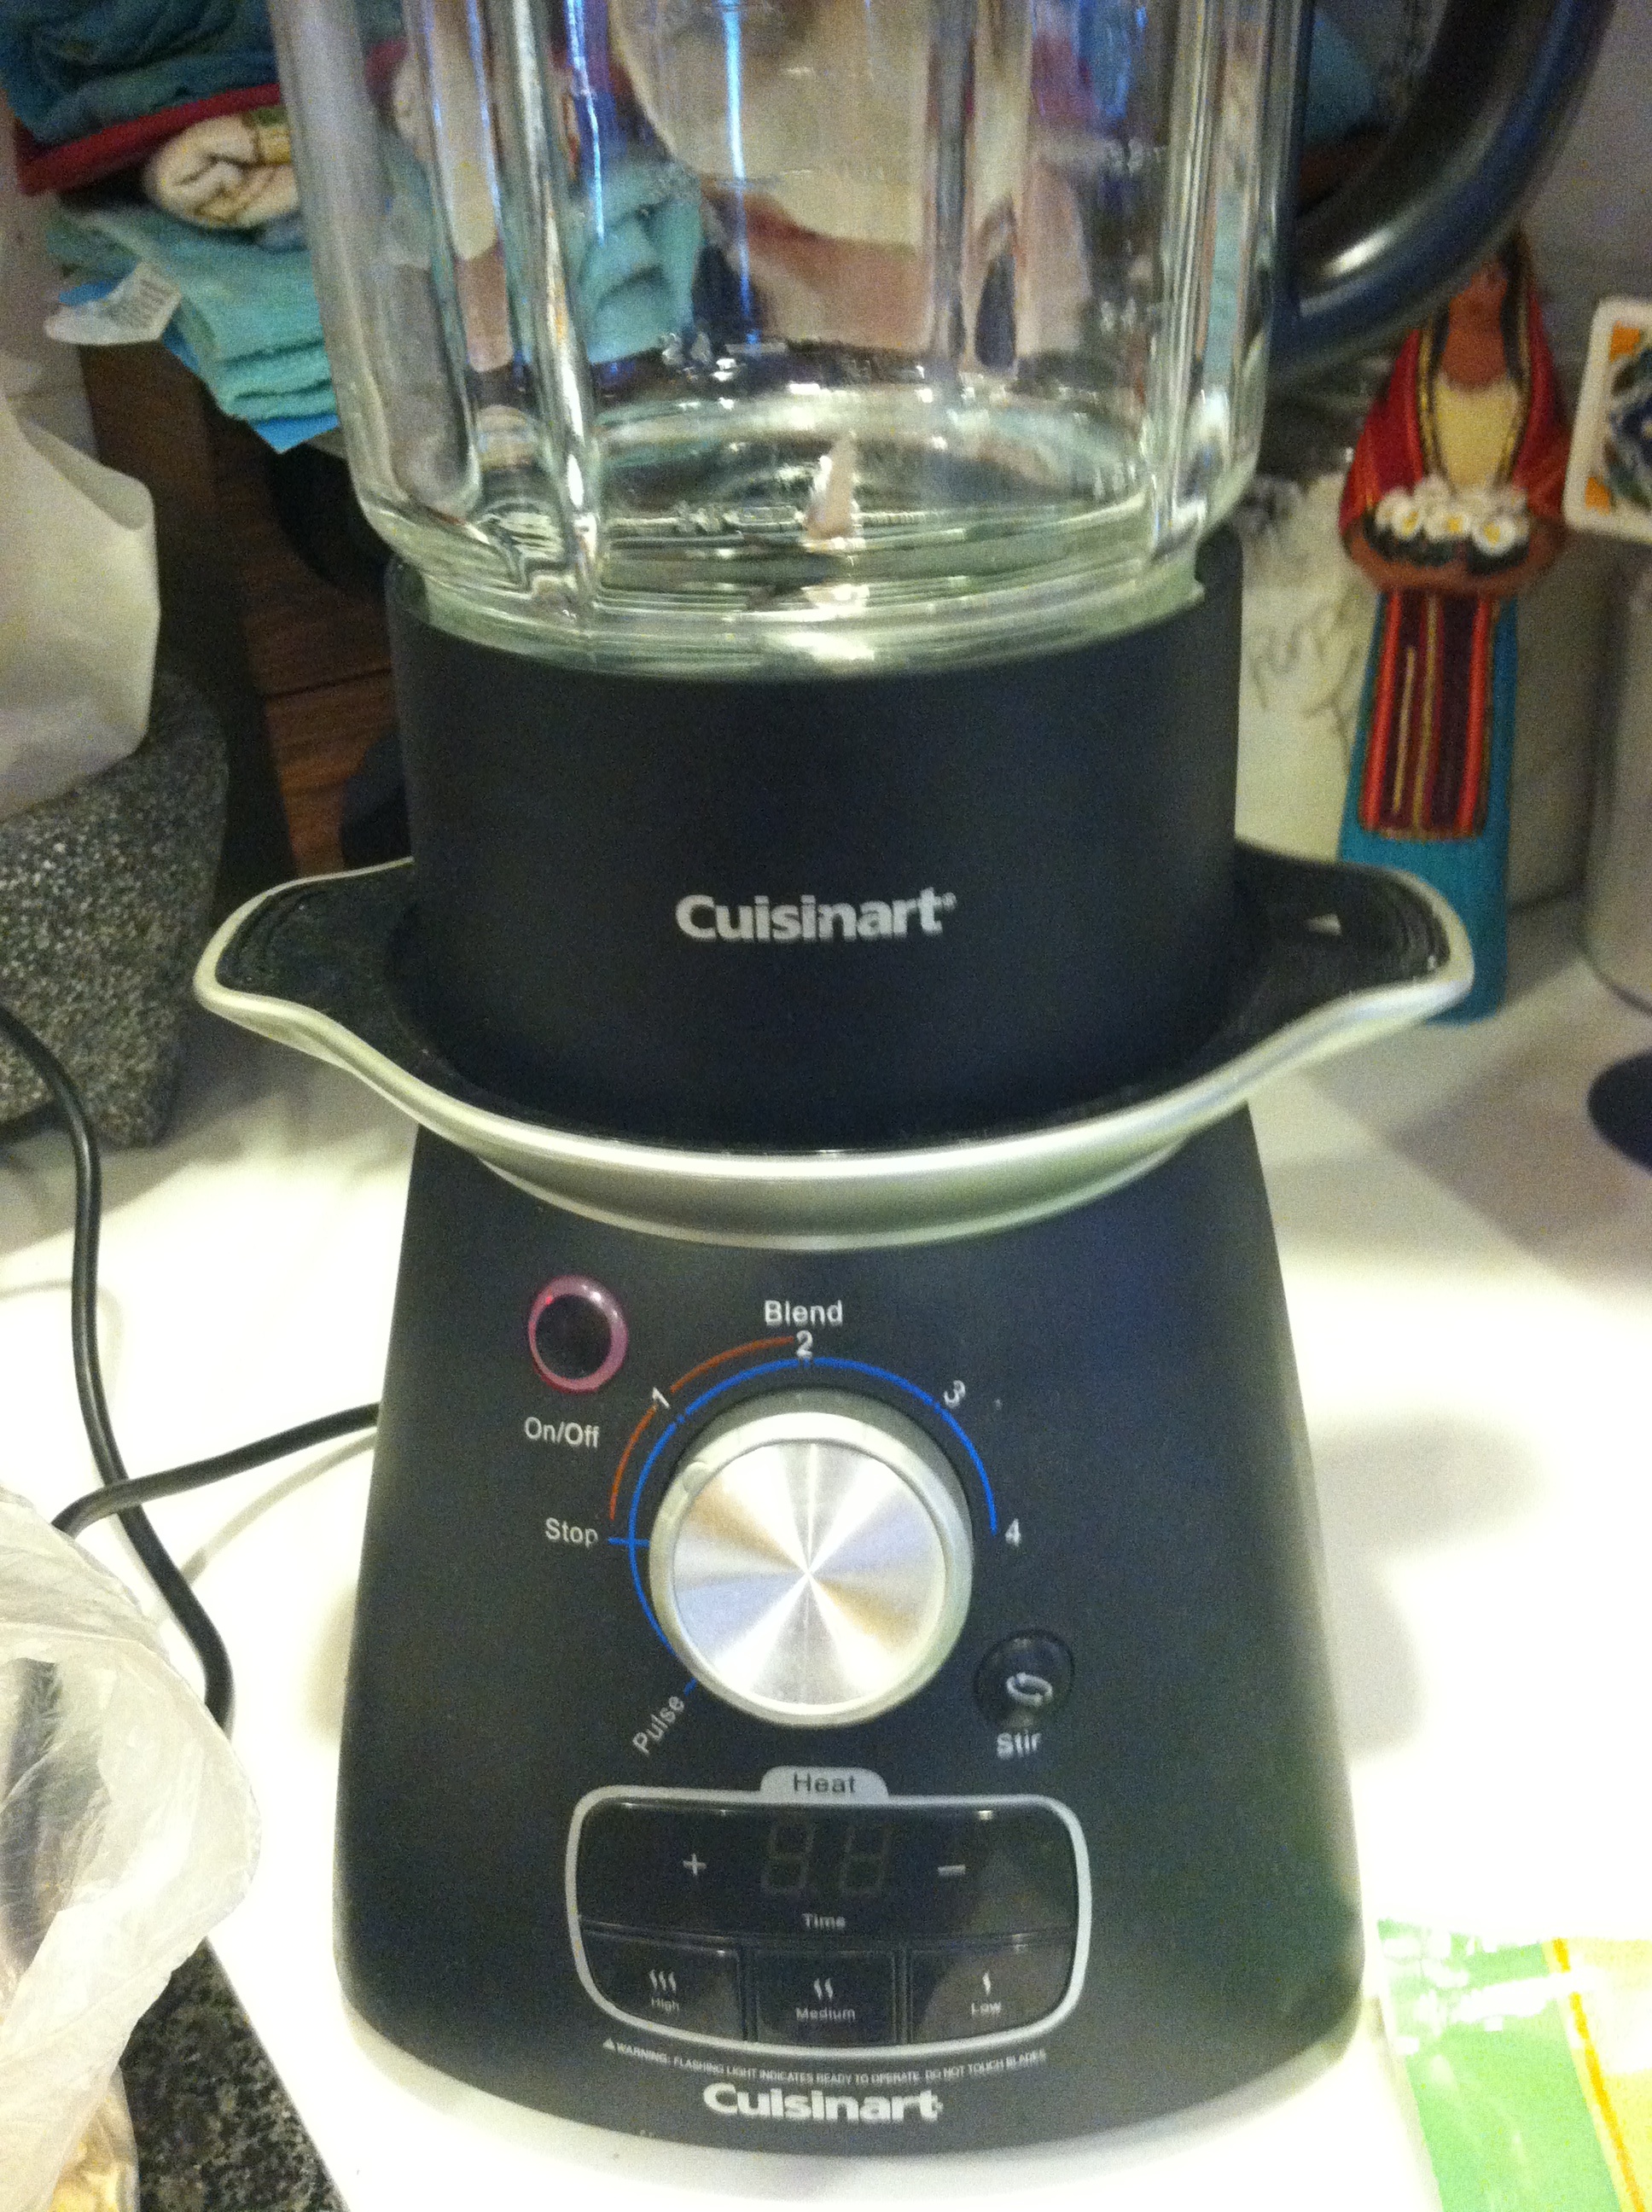

If you do not have a high powered mixer soak cashews for at least 4 hours or overnight so that the batter will not be grainy.

Cook
Preheat oven to 375degrees.


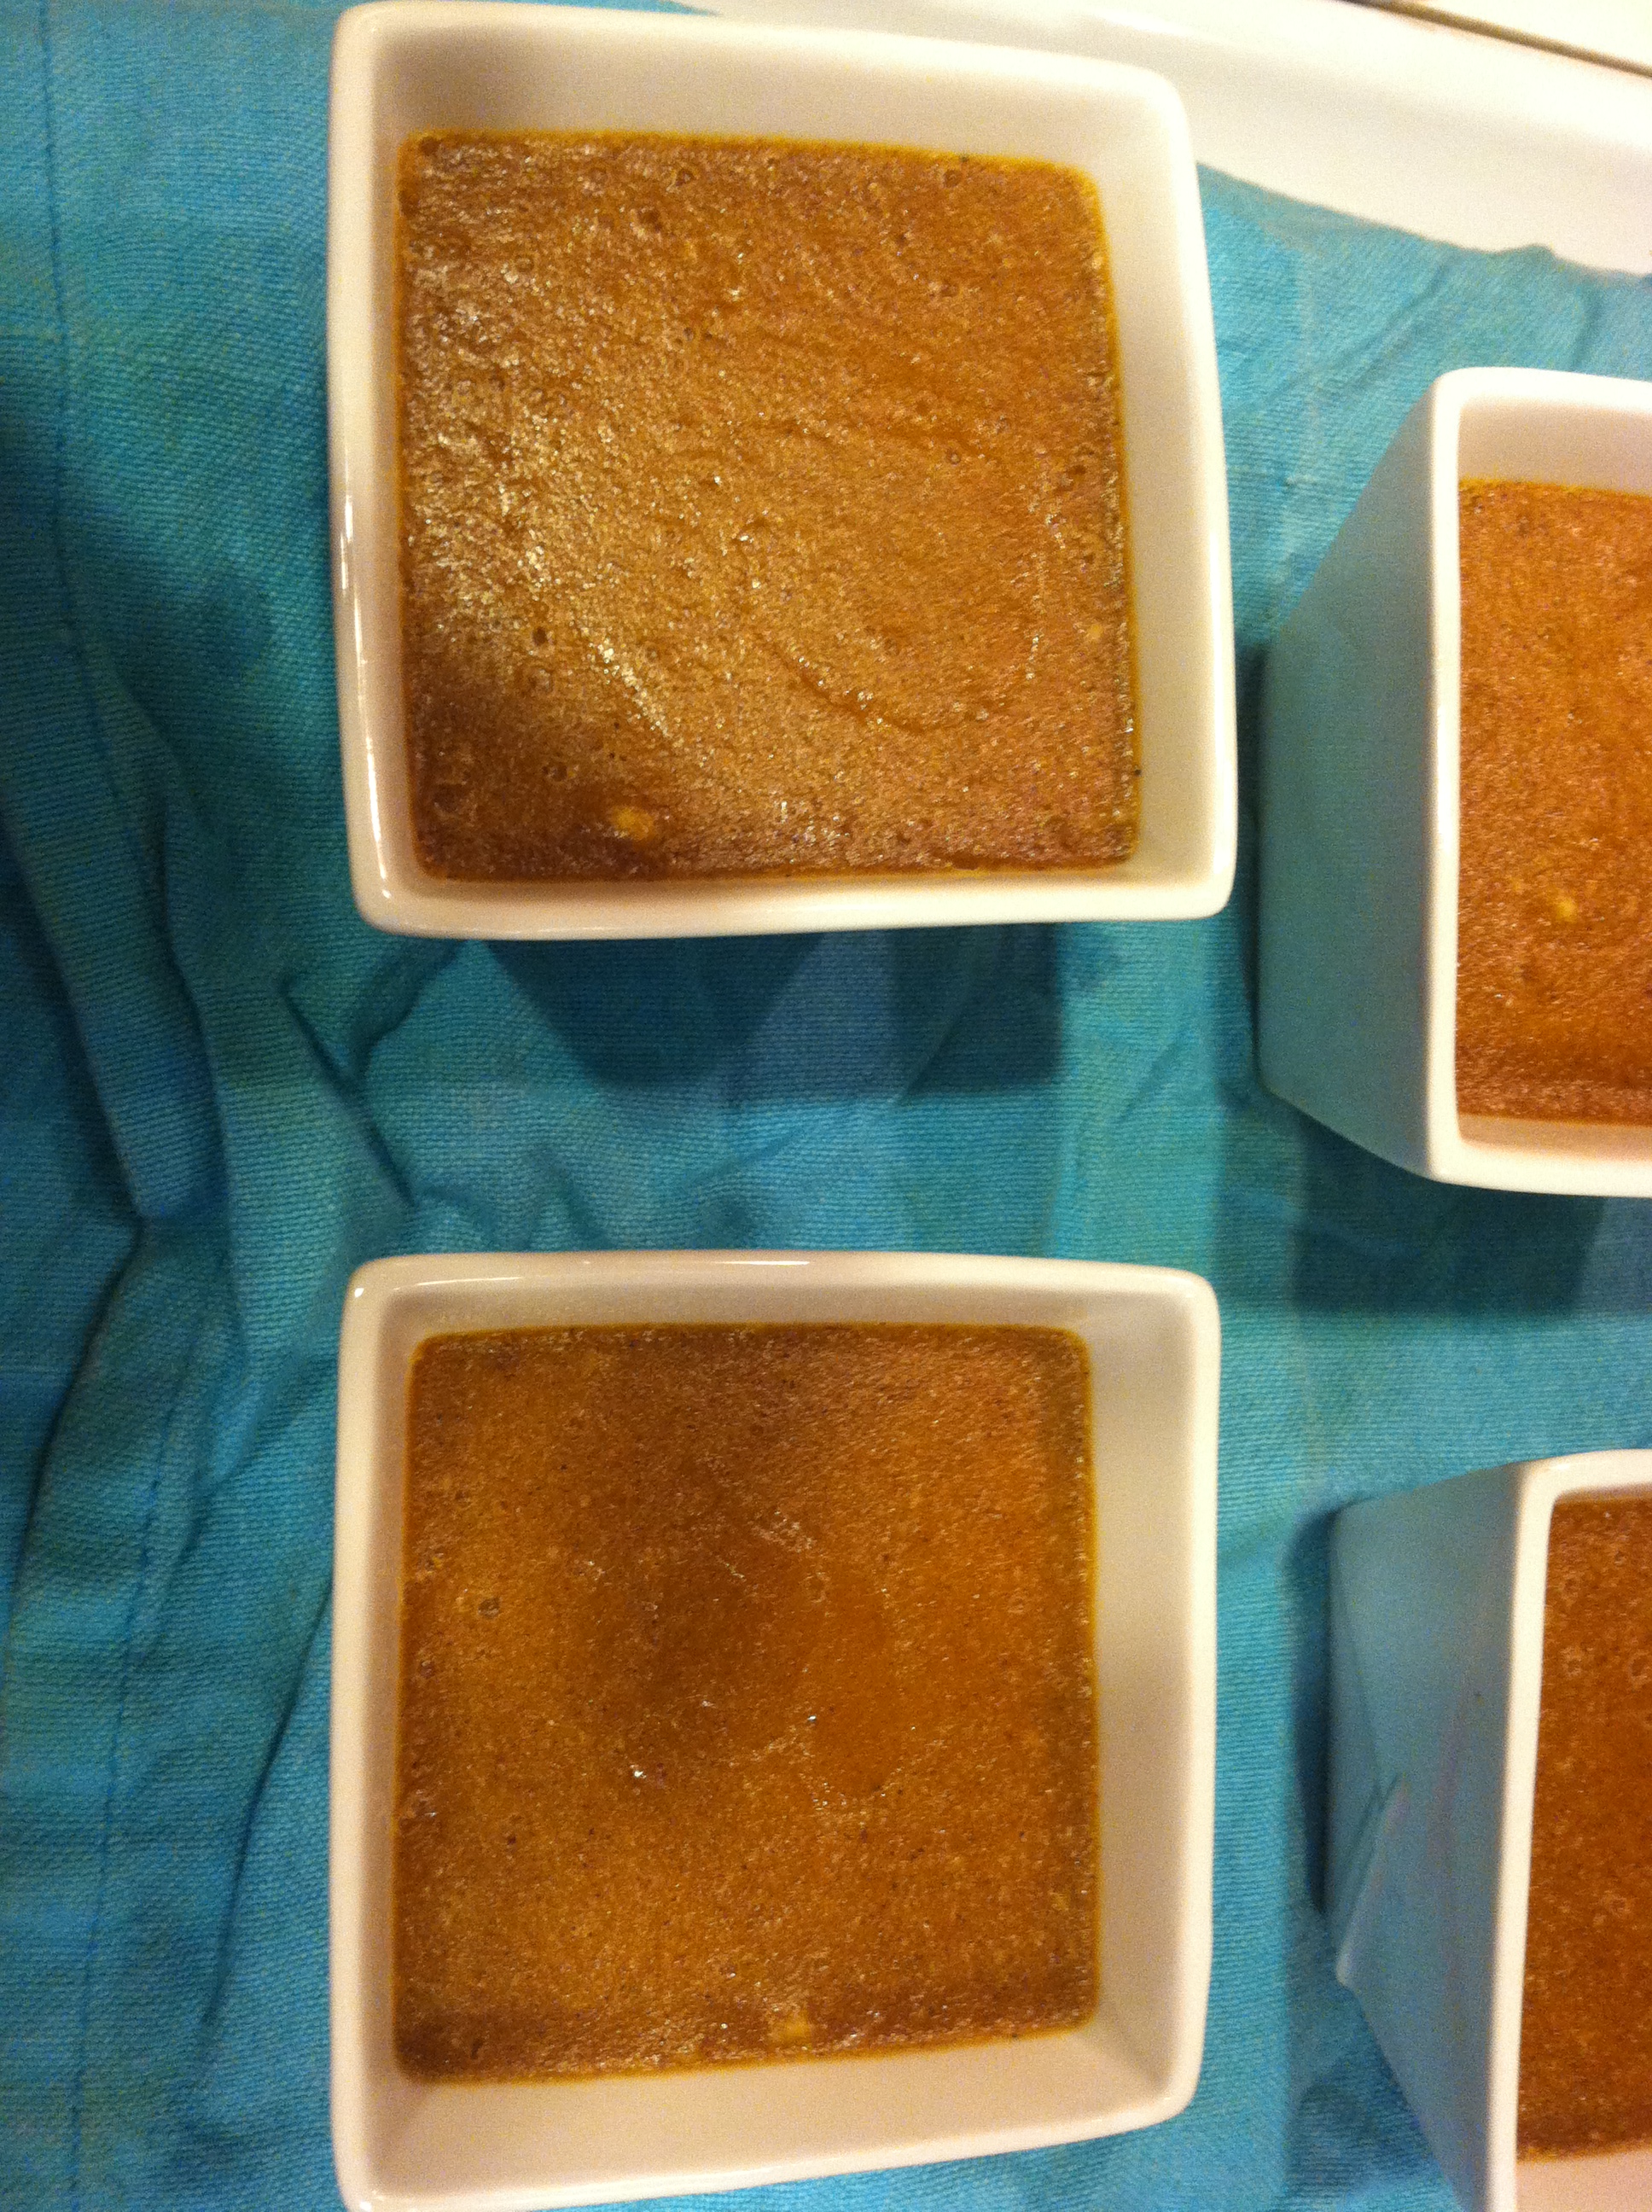
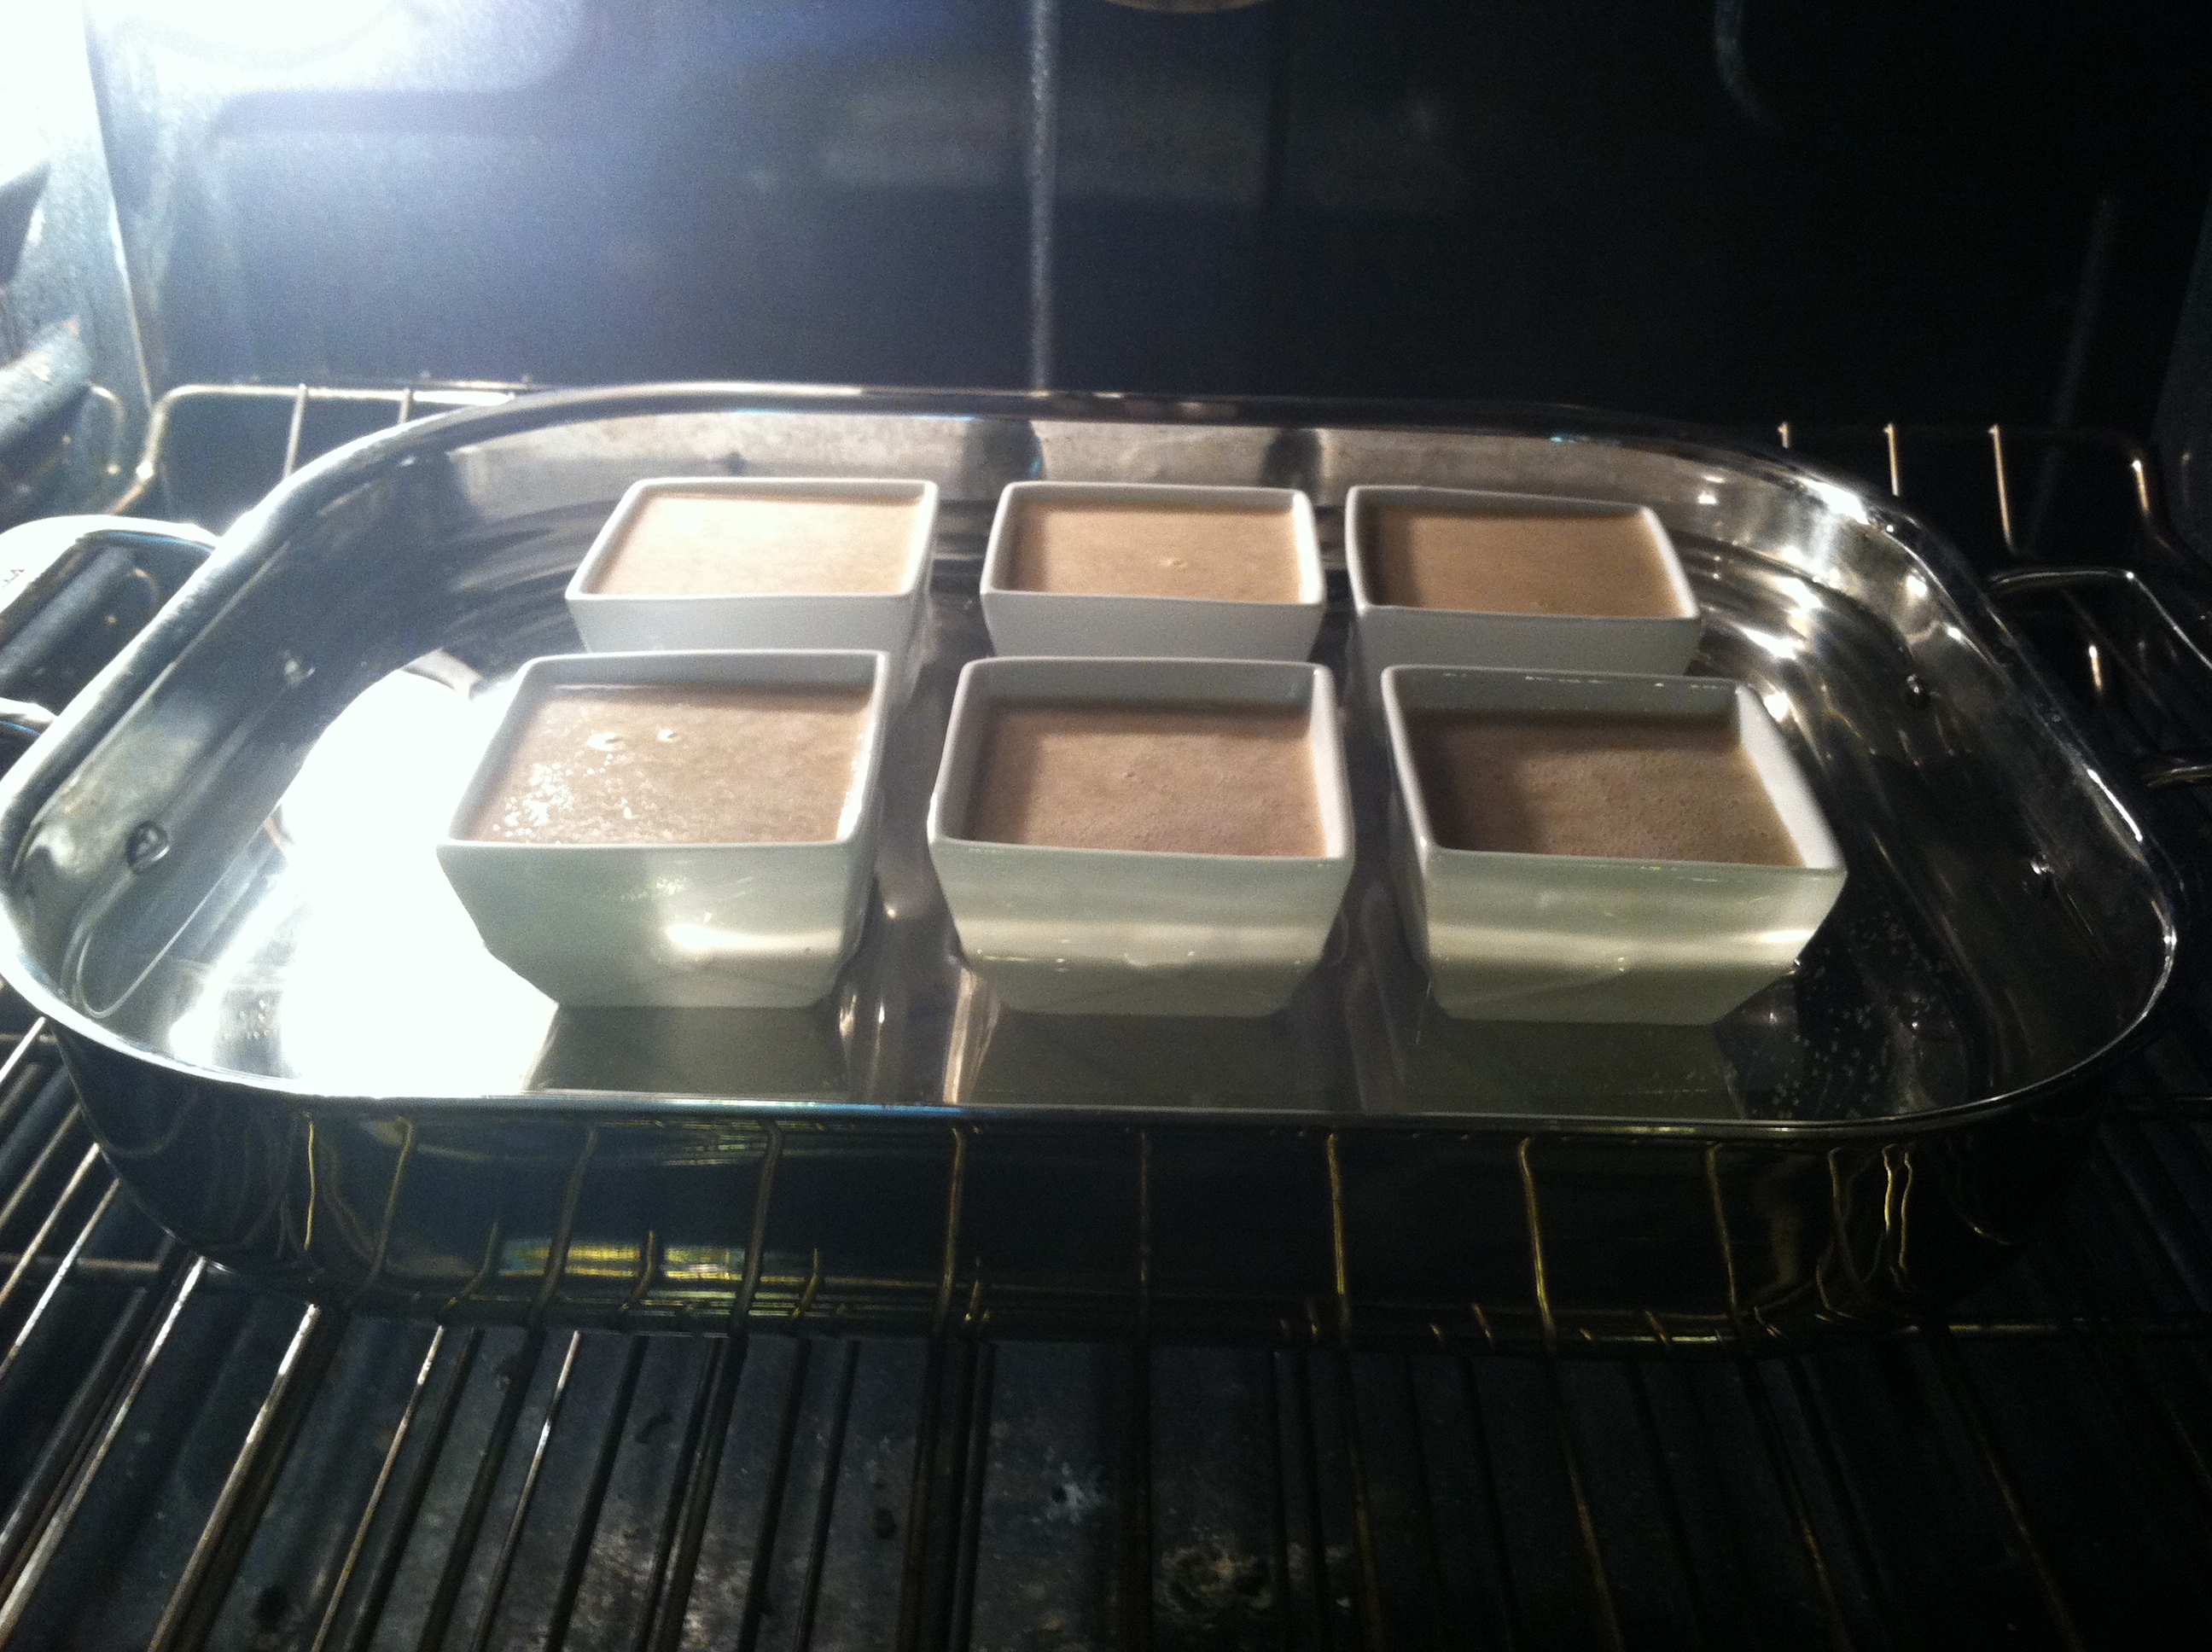
Fill a casserole dish with water to go halfway the height of the jars you in tend on placing the brulee mixture in. I have used both mason jars and square ramekins before and both come out well.


Pour batter into each ramekin allowing a little space so that they do not spill over as the casserole dish will be heavy with all the water in it. You need to be careful not to allow water into the ramekin.

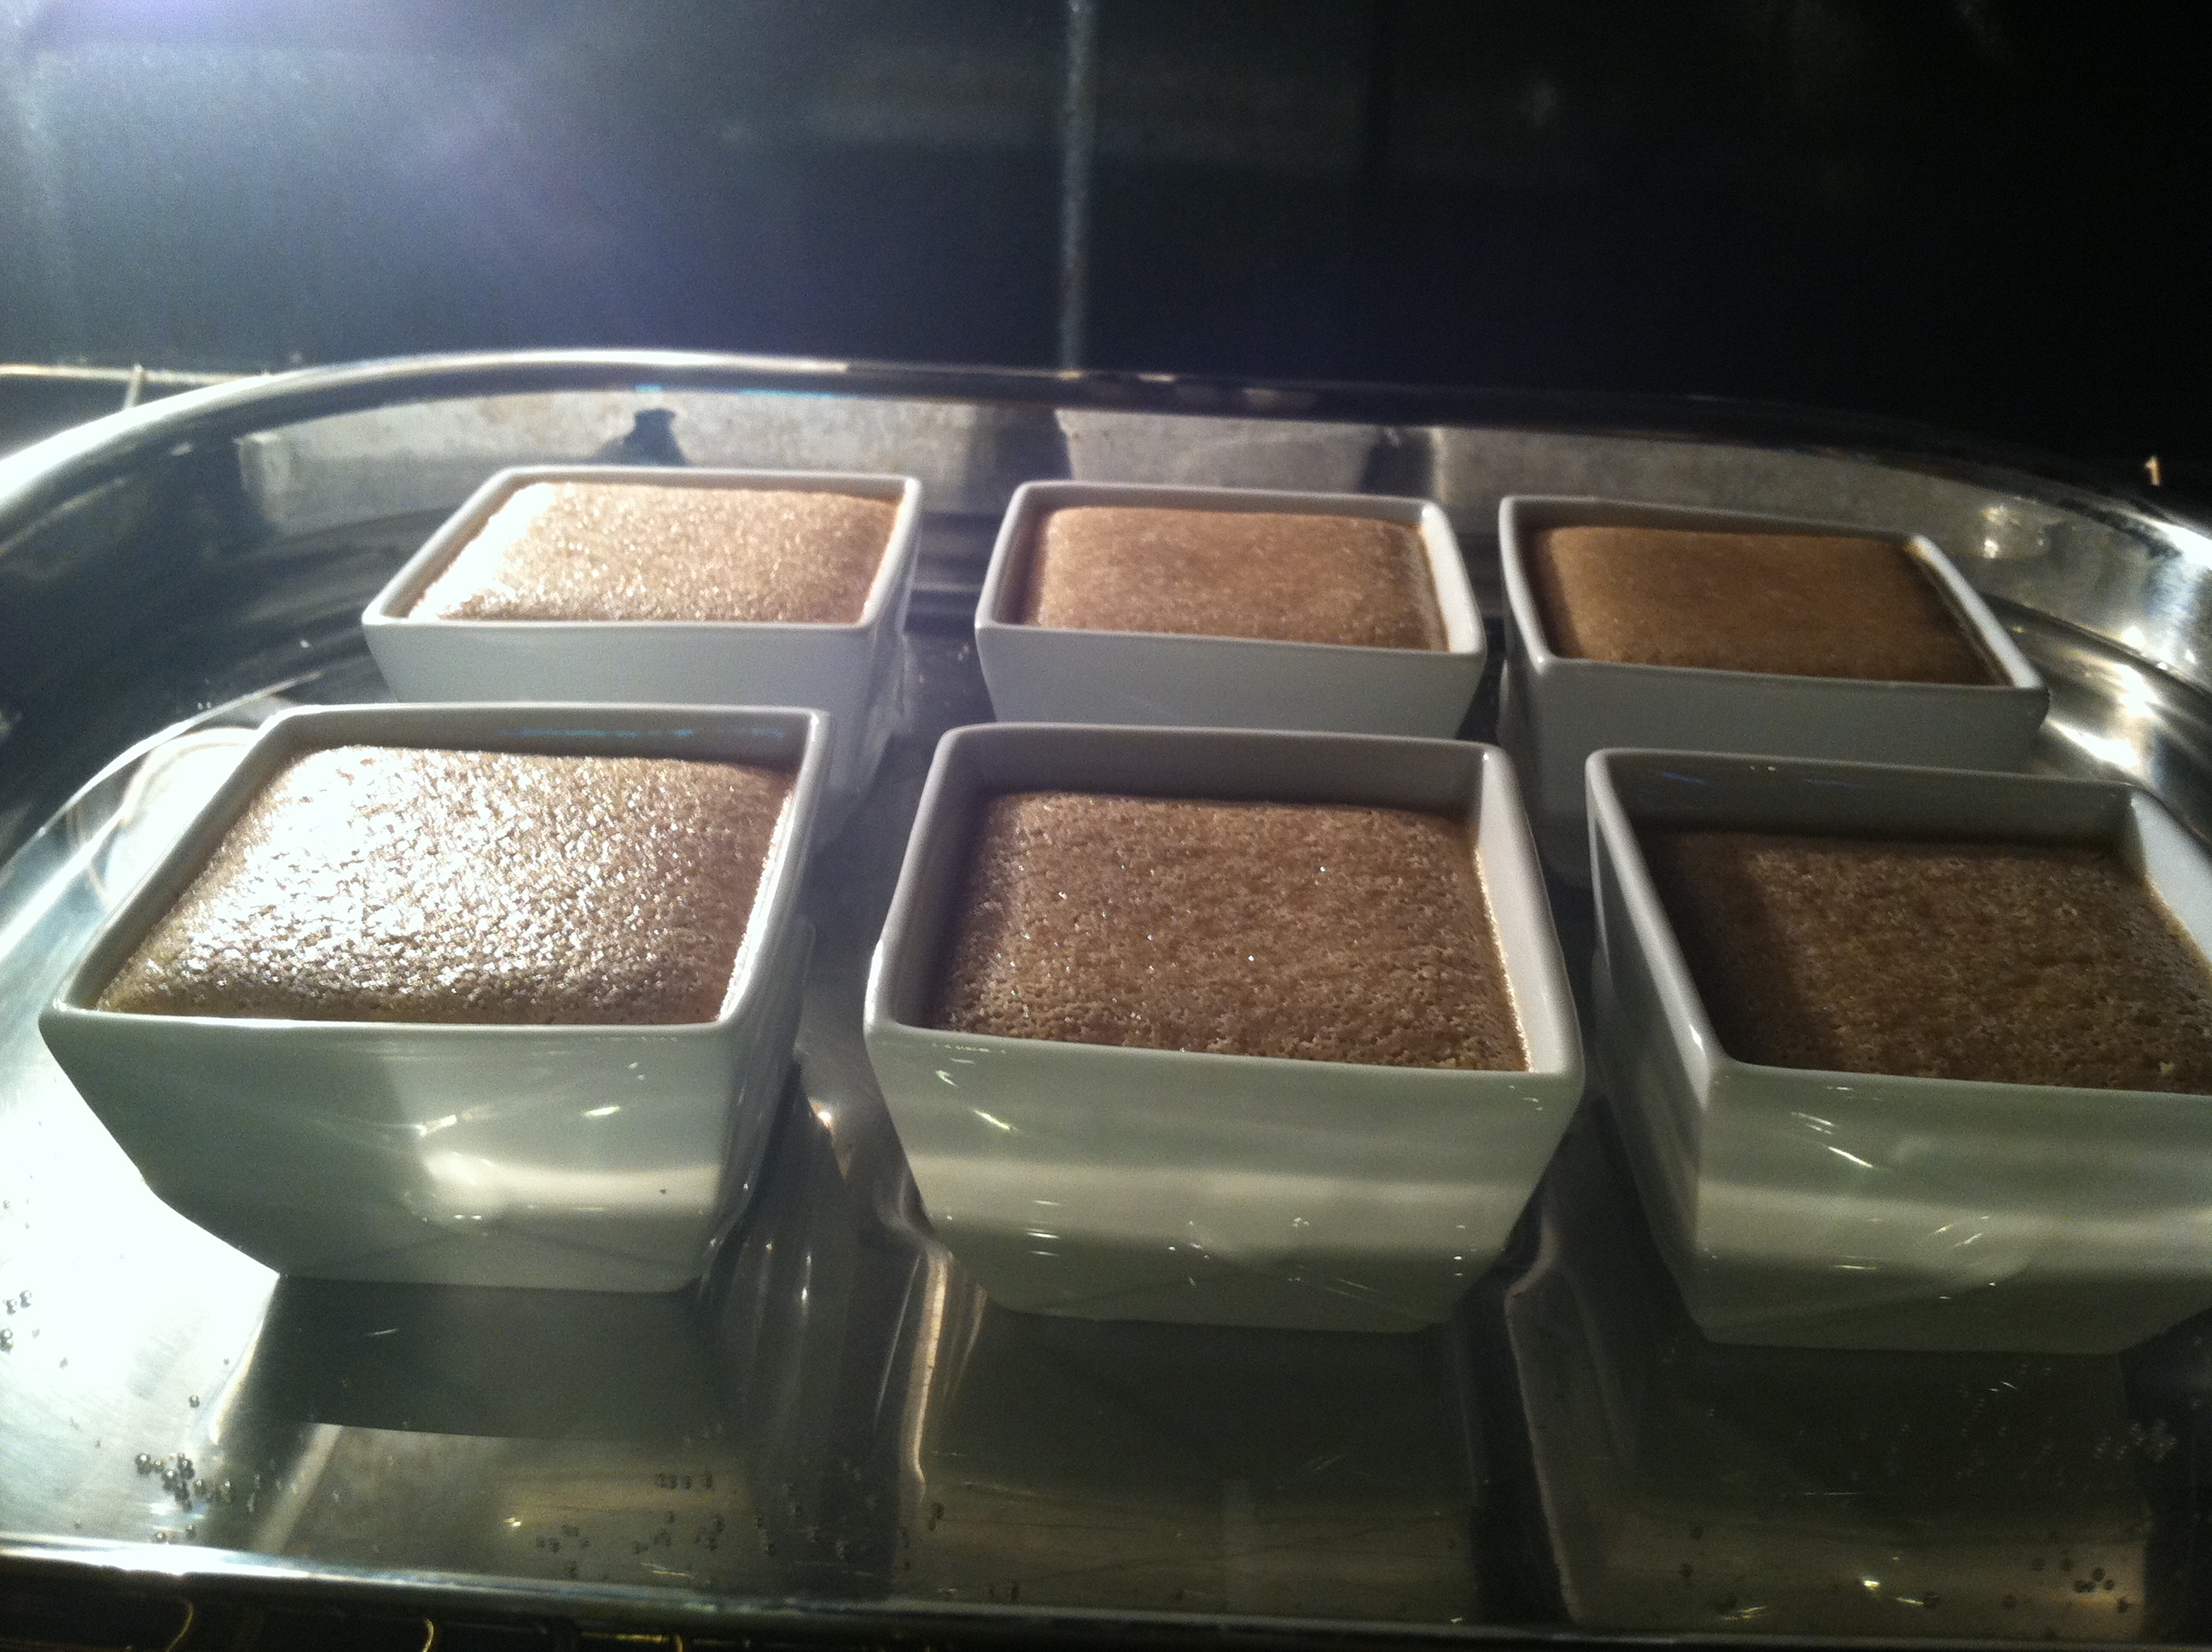
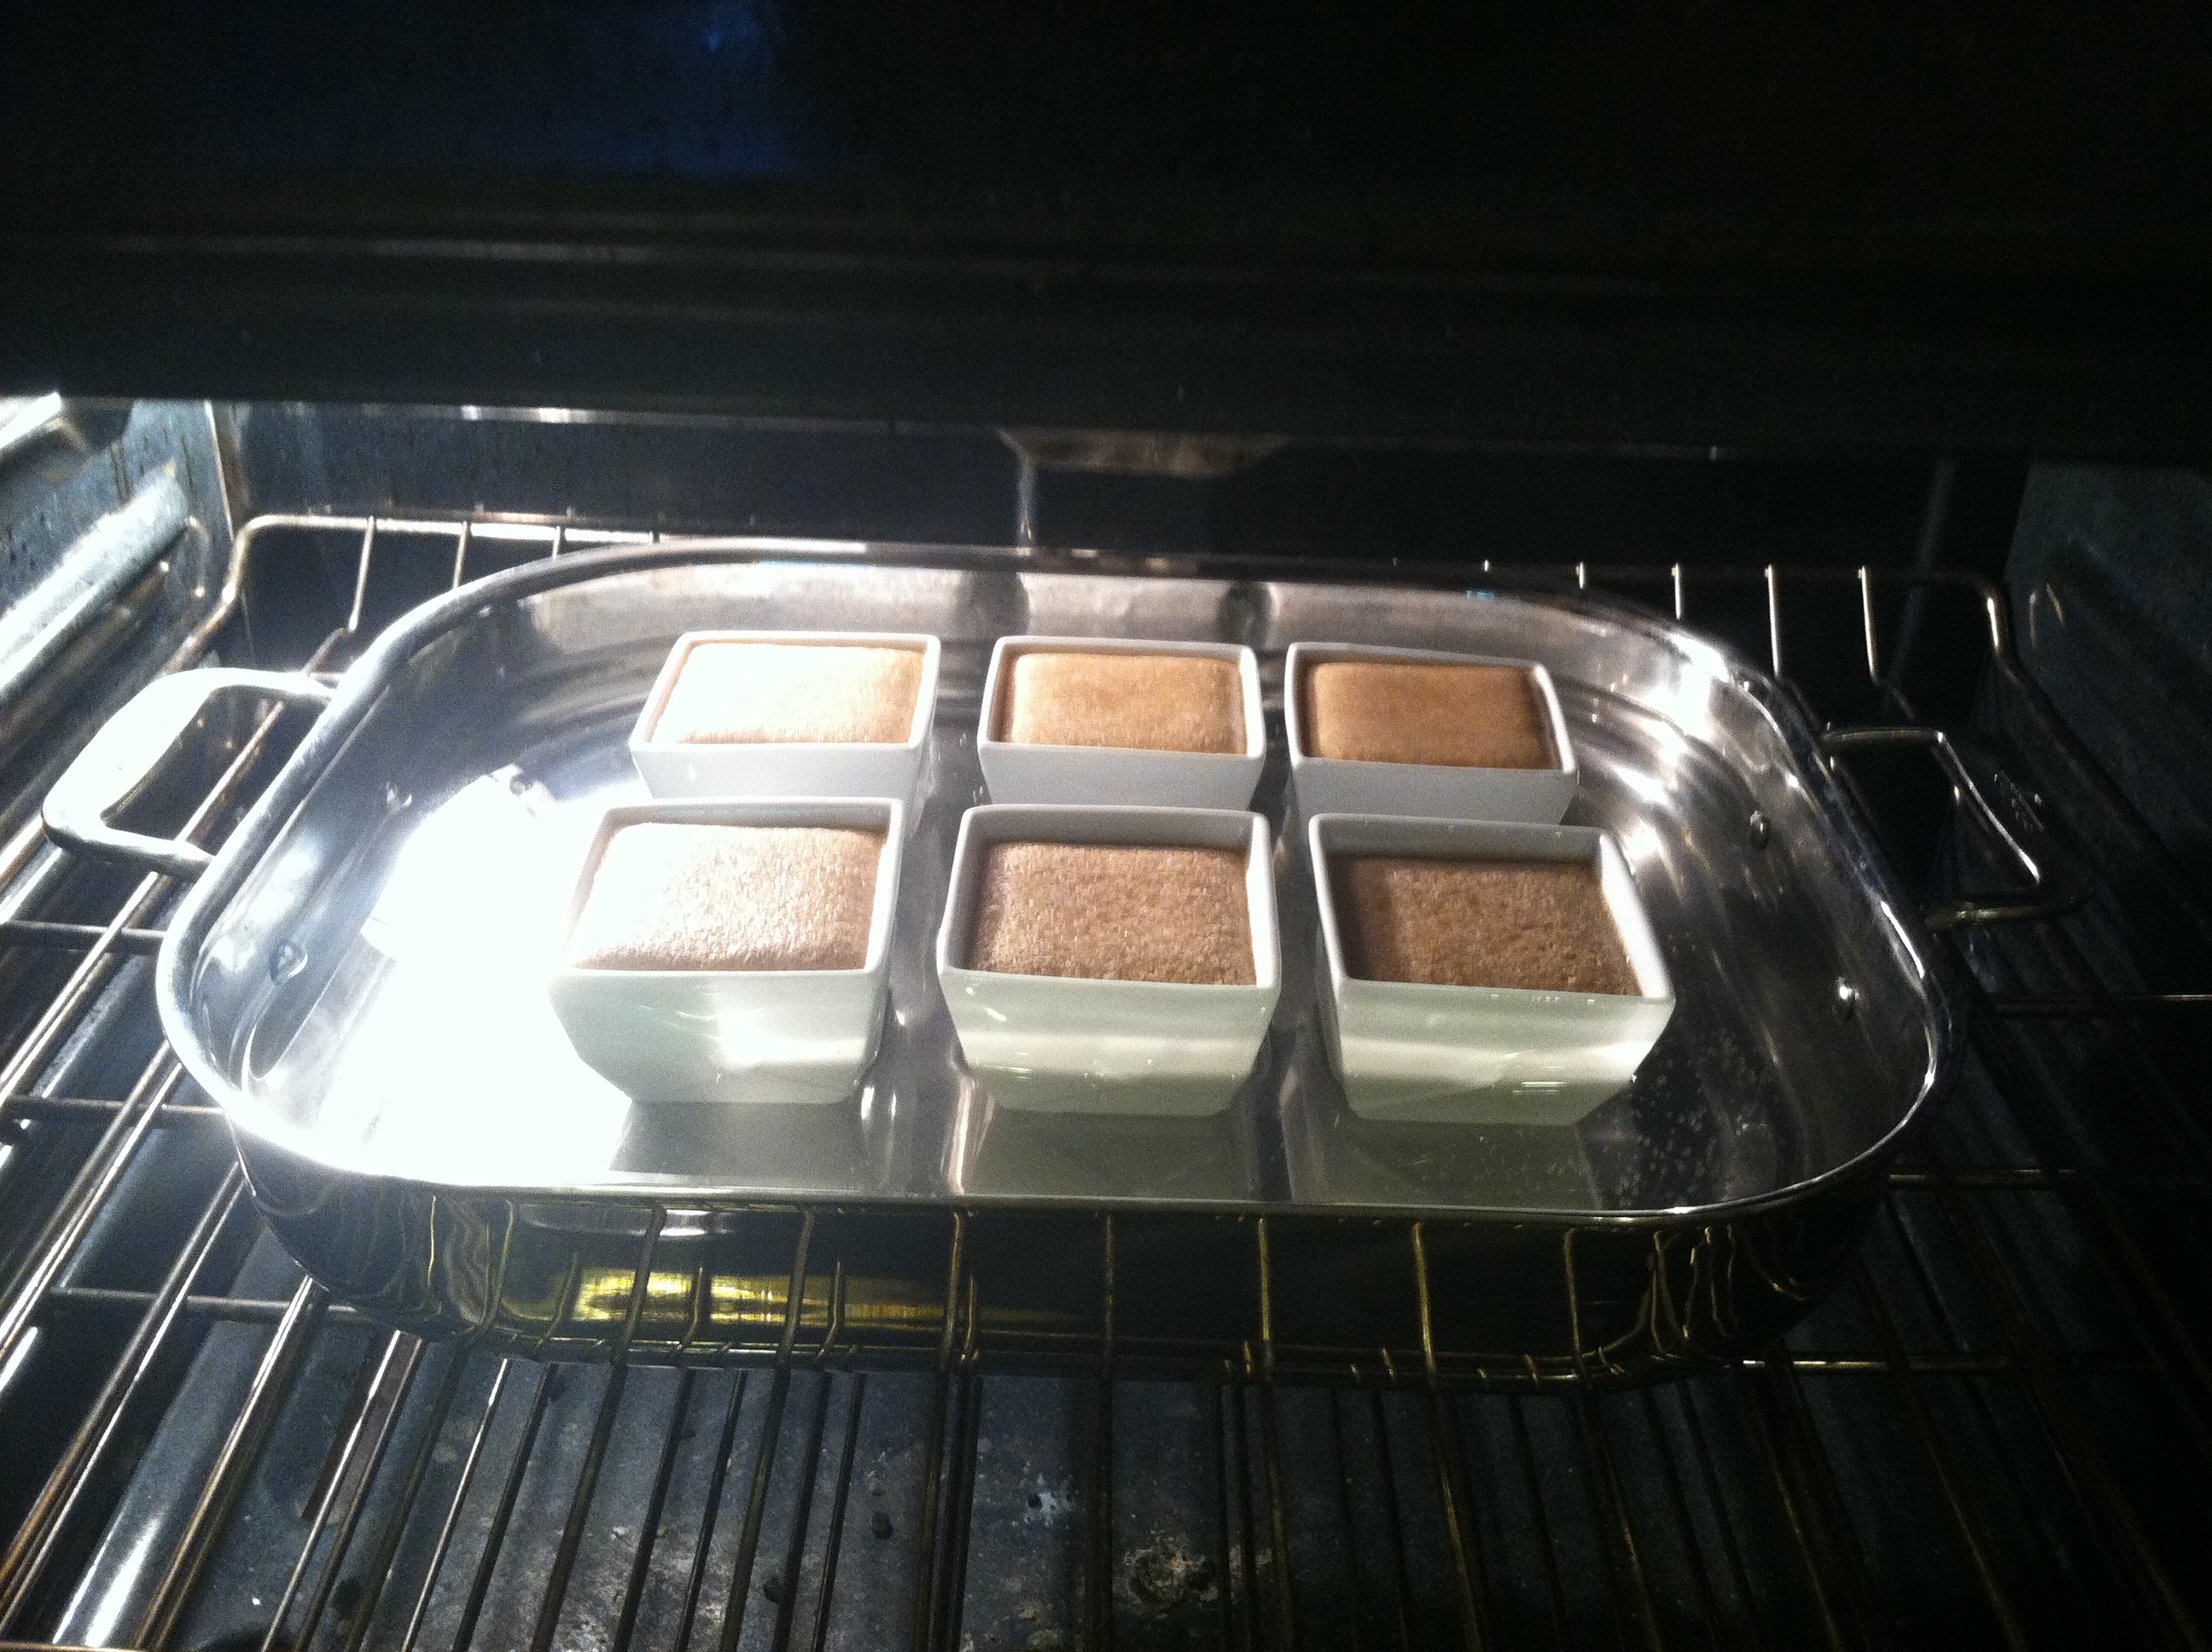
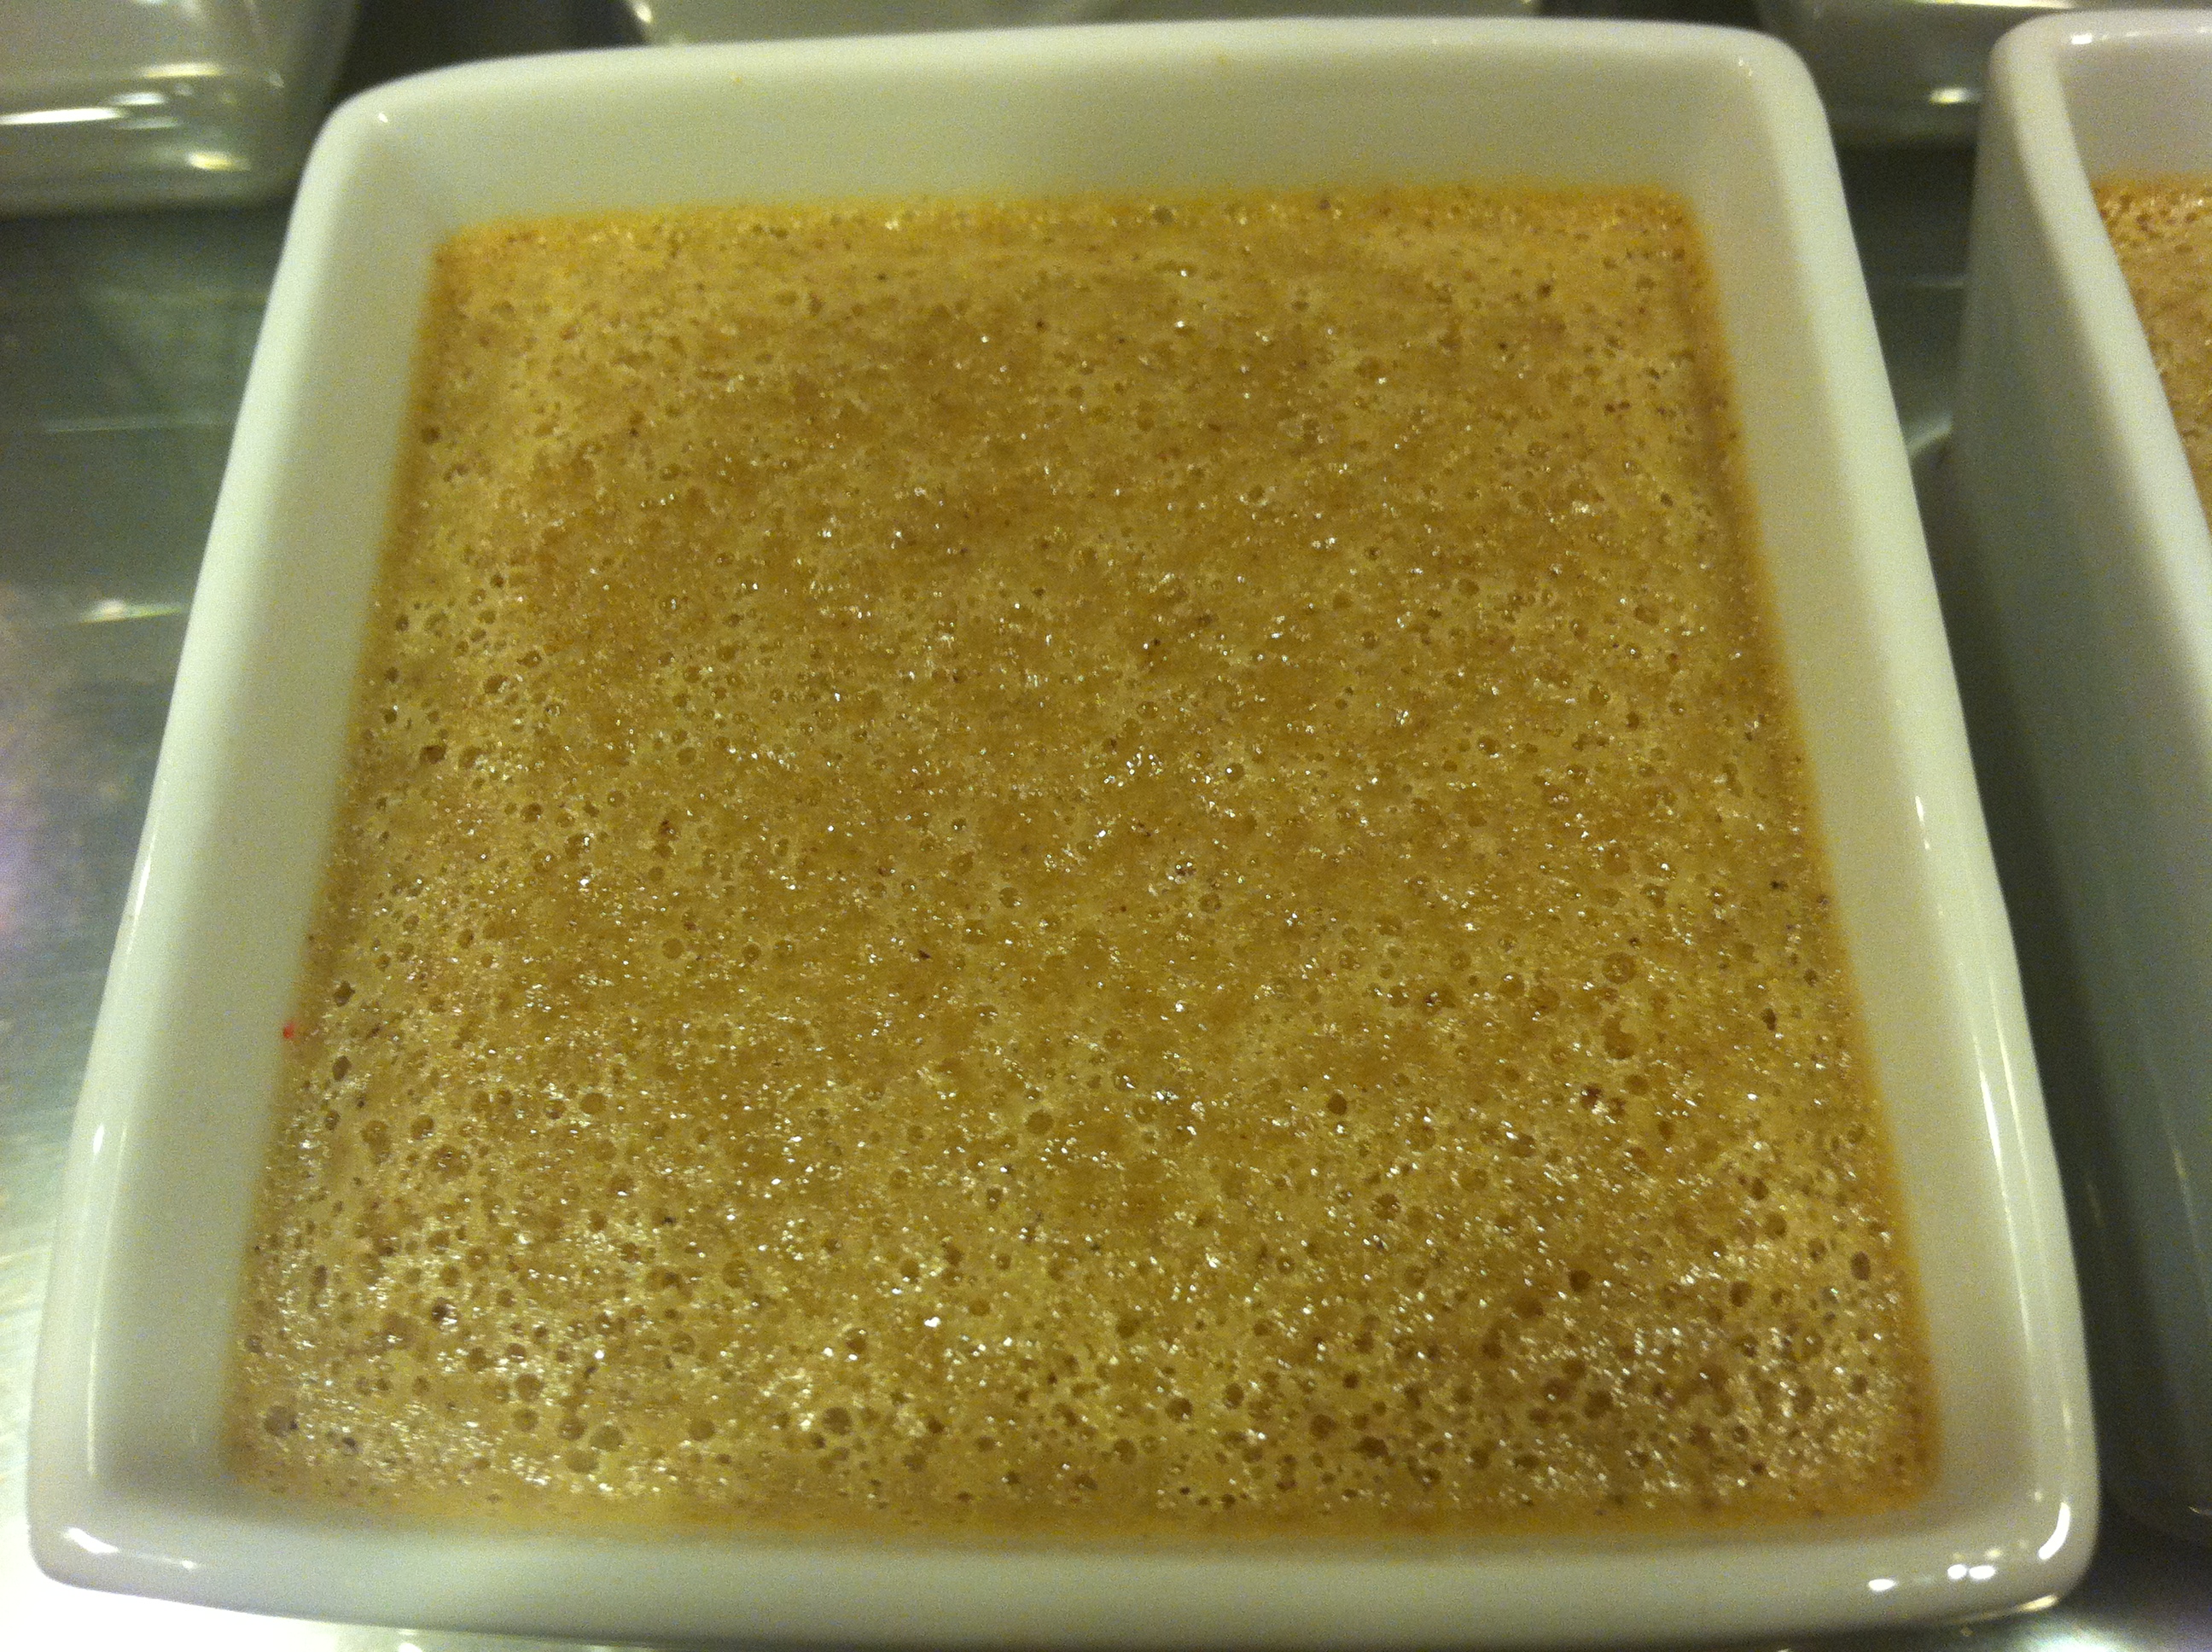
Cook for at least 30 minutes or until the batter is wiggly but not liquidy and slightly firm on top.

Chill
Take jars out of the water with tongs and place on a towel on a drying rack. Let cool 15 minutes and then transfer into the refrigerator for 2-4hours. I prefer overnight for real custard consistency.

Brulee
After the creme is completely firm and chilled through and you are ready to serve. …Take sugar, sprinkle a good layer on each creme top, and brulee with a hand torch until the sugar bubbles, browns, and quickly hardens.

Serve Immediatly.
Serves 6. WW Points 6.
(PS Any of these can be simply custard without the brulee if you do not have a torch)
____________________________________________________________________________________________________________________________________
XOXOX,
The Hippie Gypsy
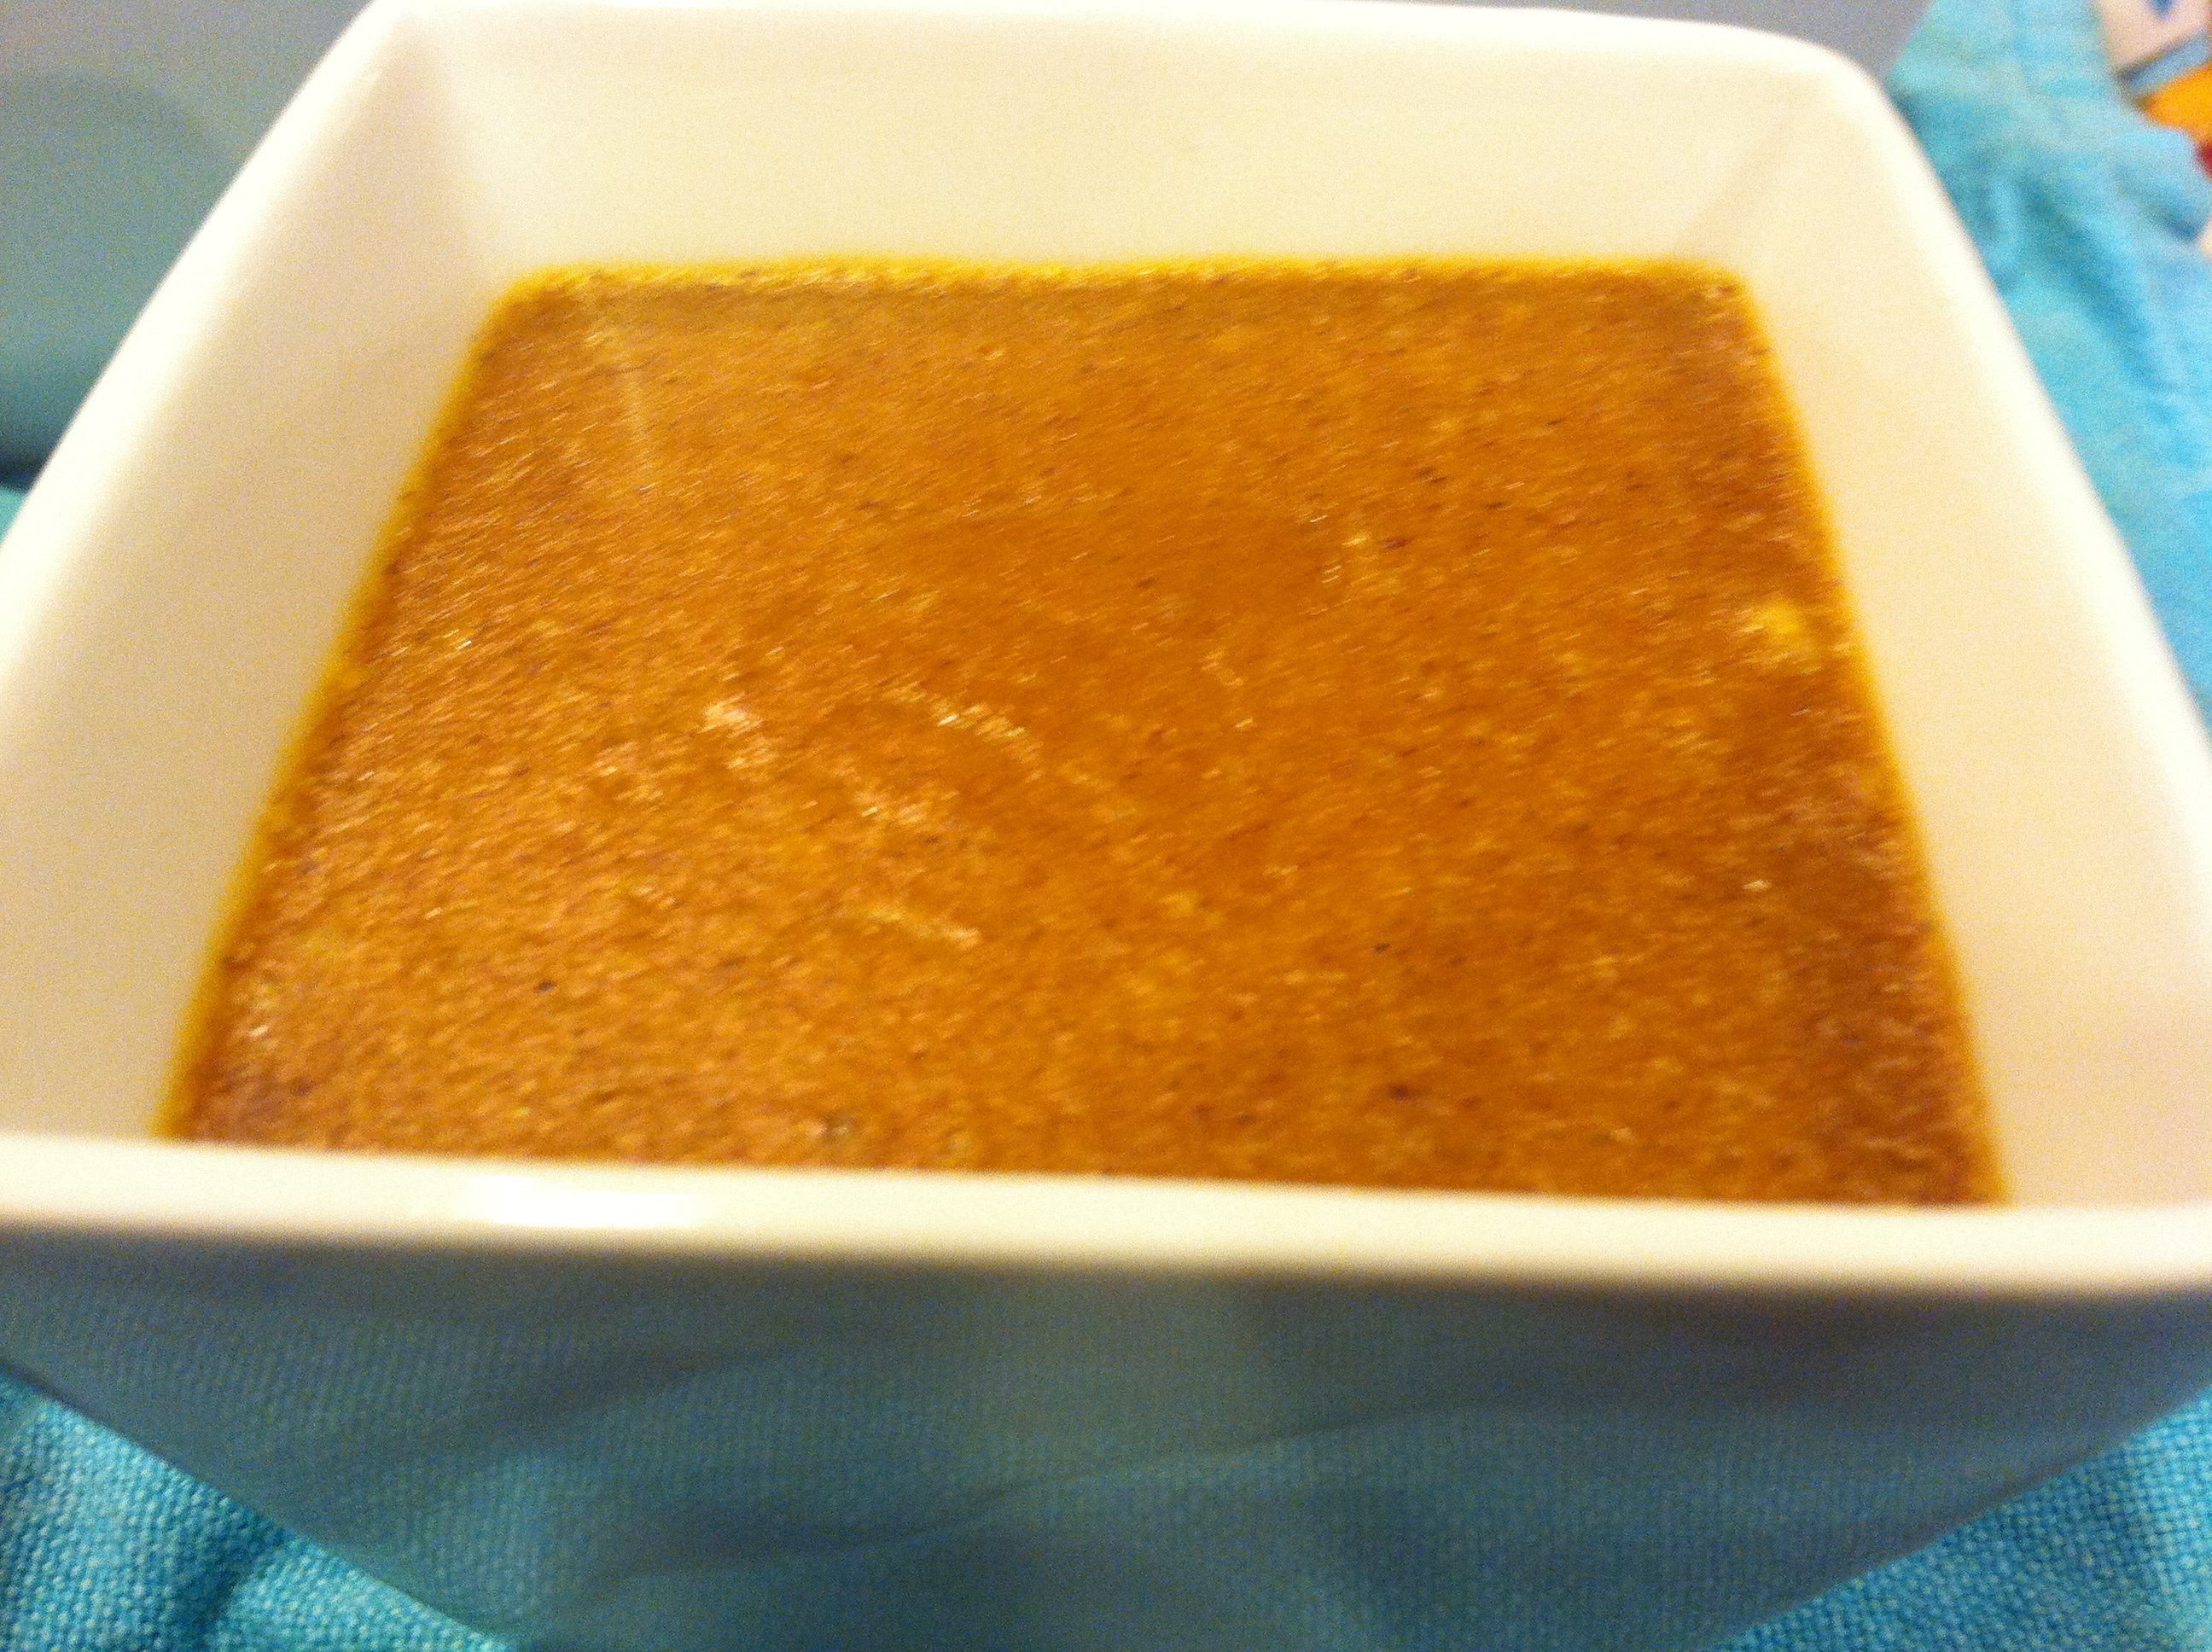
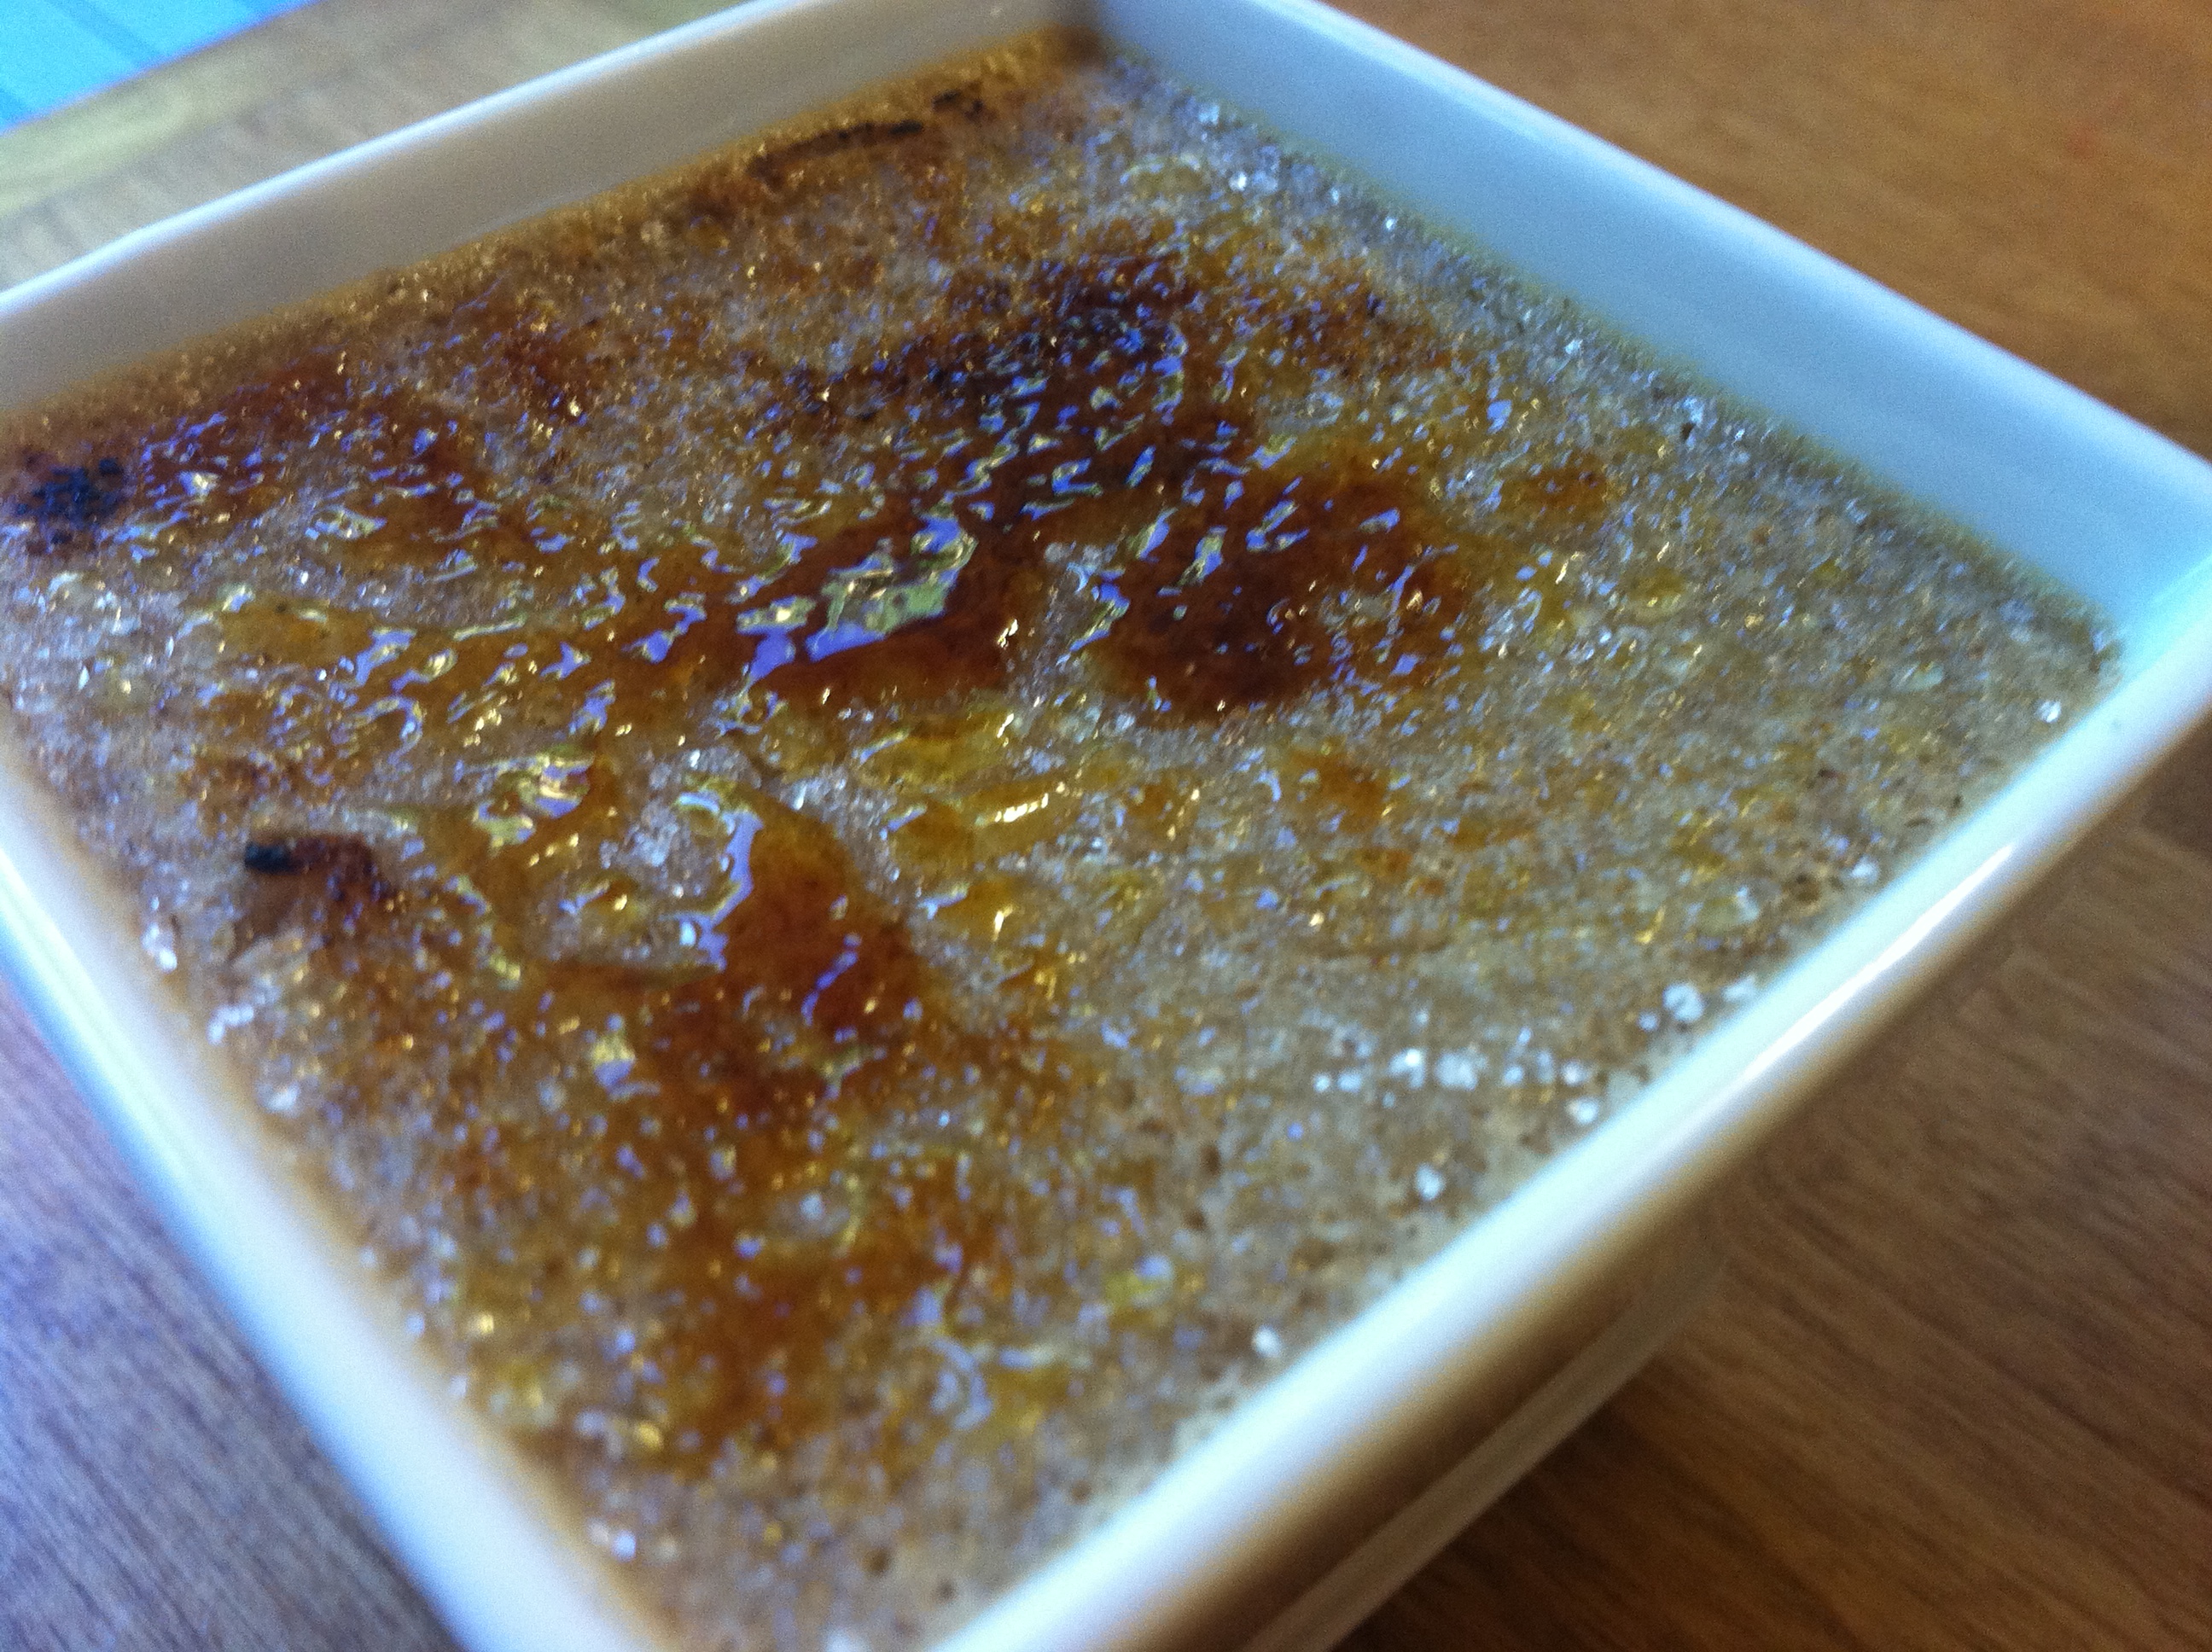
Pistachio Vegan Creme Brulee
When I was a kid we would go to this little Tavern down the street from my house. It was called the North Pond House back then. It was next to North Pond and boasted karaoke and traditional english pub fare. I ate a lot of fish and chips there and regrettably sang a lot of karaoke as a child (which everyone clapped but I am sure it was funnier than it was actually entertaining). For dessert however they had this ice cream called Spumoni which was an Italian layered slice of heaven as far as I was concerned as a kid (I also think this was an 80s dessert because I never see it anymore). I loved the green layer of pistachio. Pistachio ice cream was a luxury that was not in my fridge at home often. We did popsicles at home. So I loved these visits where I could indulge in my pistachio layer of ice cream. It seemed so fancy back then. So when I was testing creme brulee recipes I remembered my fall visits to the pub with the smell of fireplaces and pumpkins and haystacks in front of the doors of the neighborhood near the pond which was cirlced in orange and red leaves. Pistachio creme brulee would be amazing. I said to myself this weekend “Let’s see if we can make it work”. And I did. Enjoy!

__________________________________________________________________________________________________________________________
Pistachio Creme Brulee
Ingredients:
- 1/2cup raw cashews
- 1/2cup pistachios
- 1 avocado (skin and seed removed)
- 1/4cup raw agave
- 1/3cup sugar
- 1 1/2teaspoon agar agar powder (this is vegan gelatin powder found in the asian section of the grocery store)
- 1teaspoon arrowroot powder/starch (don’t use cornstarch due to the high heat, arrowroot is better)
- 1 1/4cups Soy Creamer
- 1 heaping tablespoon of Tofutti Better than Cream Cheese
- Pinch of Salt
- 1teaspoon allspice
- 1/4teaspoon of Vanilla Extract (I use Penzey’s) (or use almond extract)
_______________________________________________________________________________________________________________________
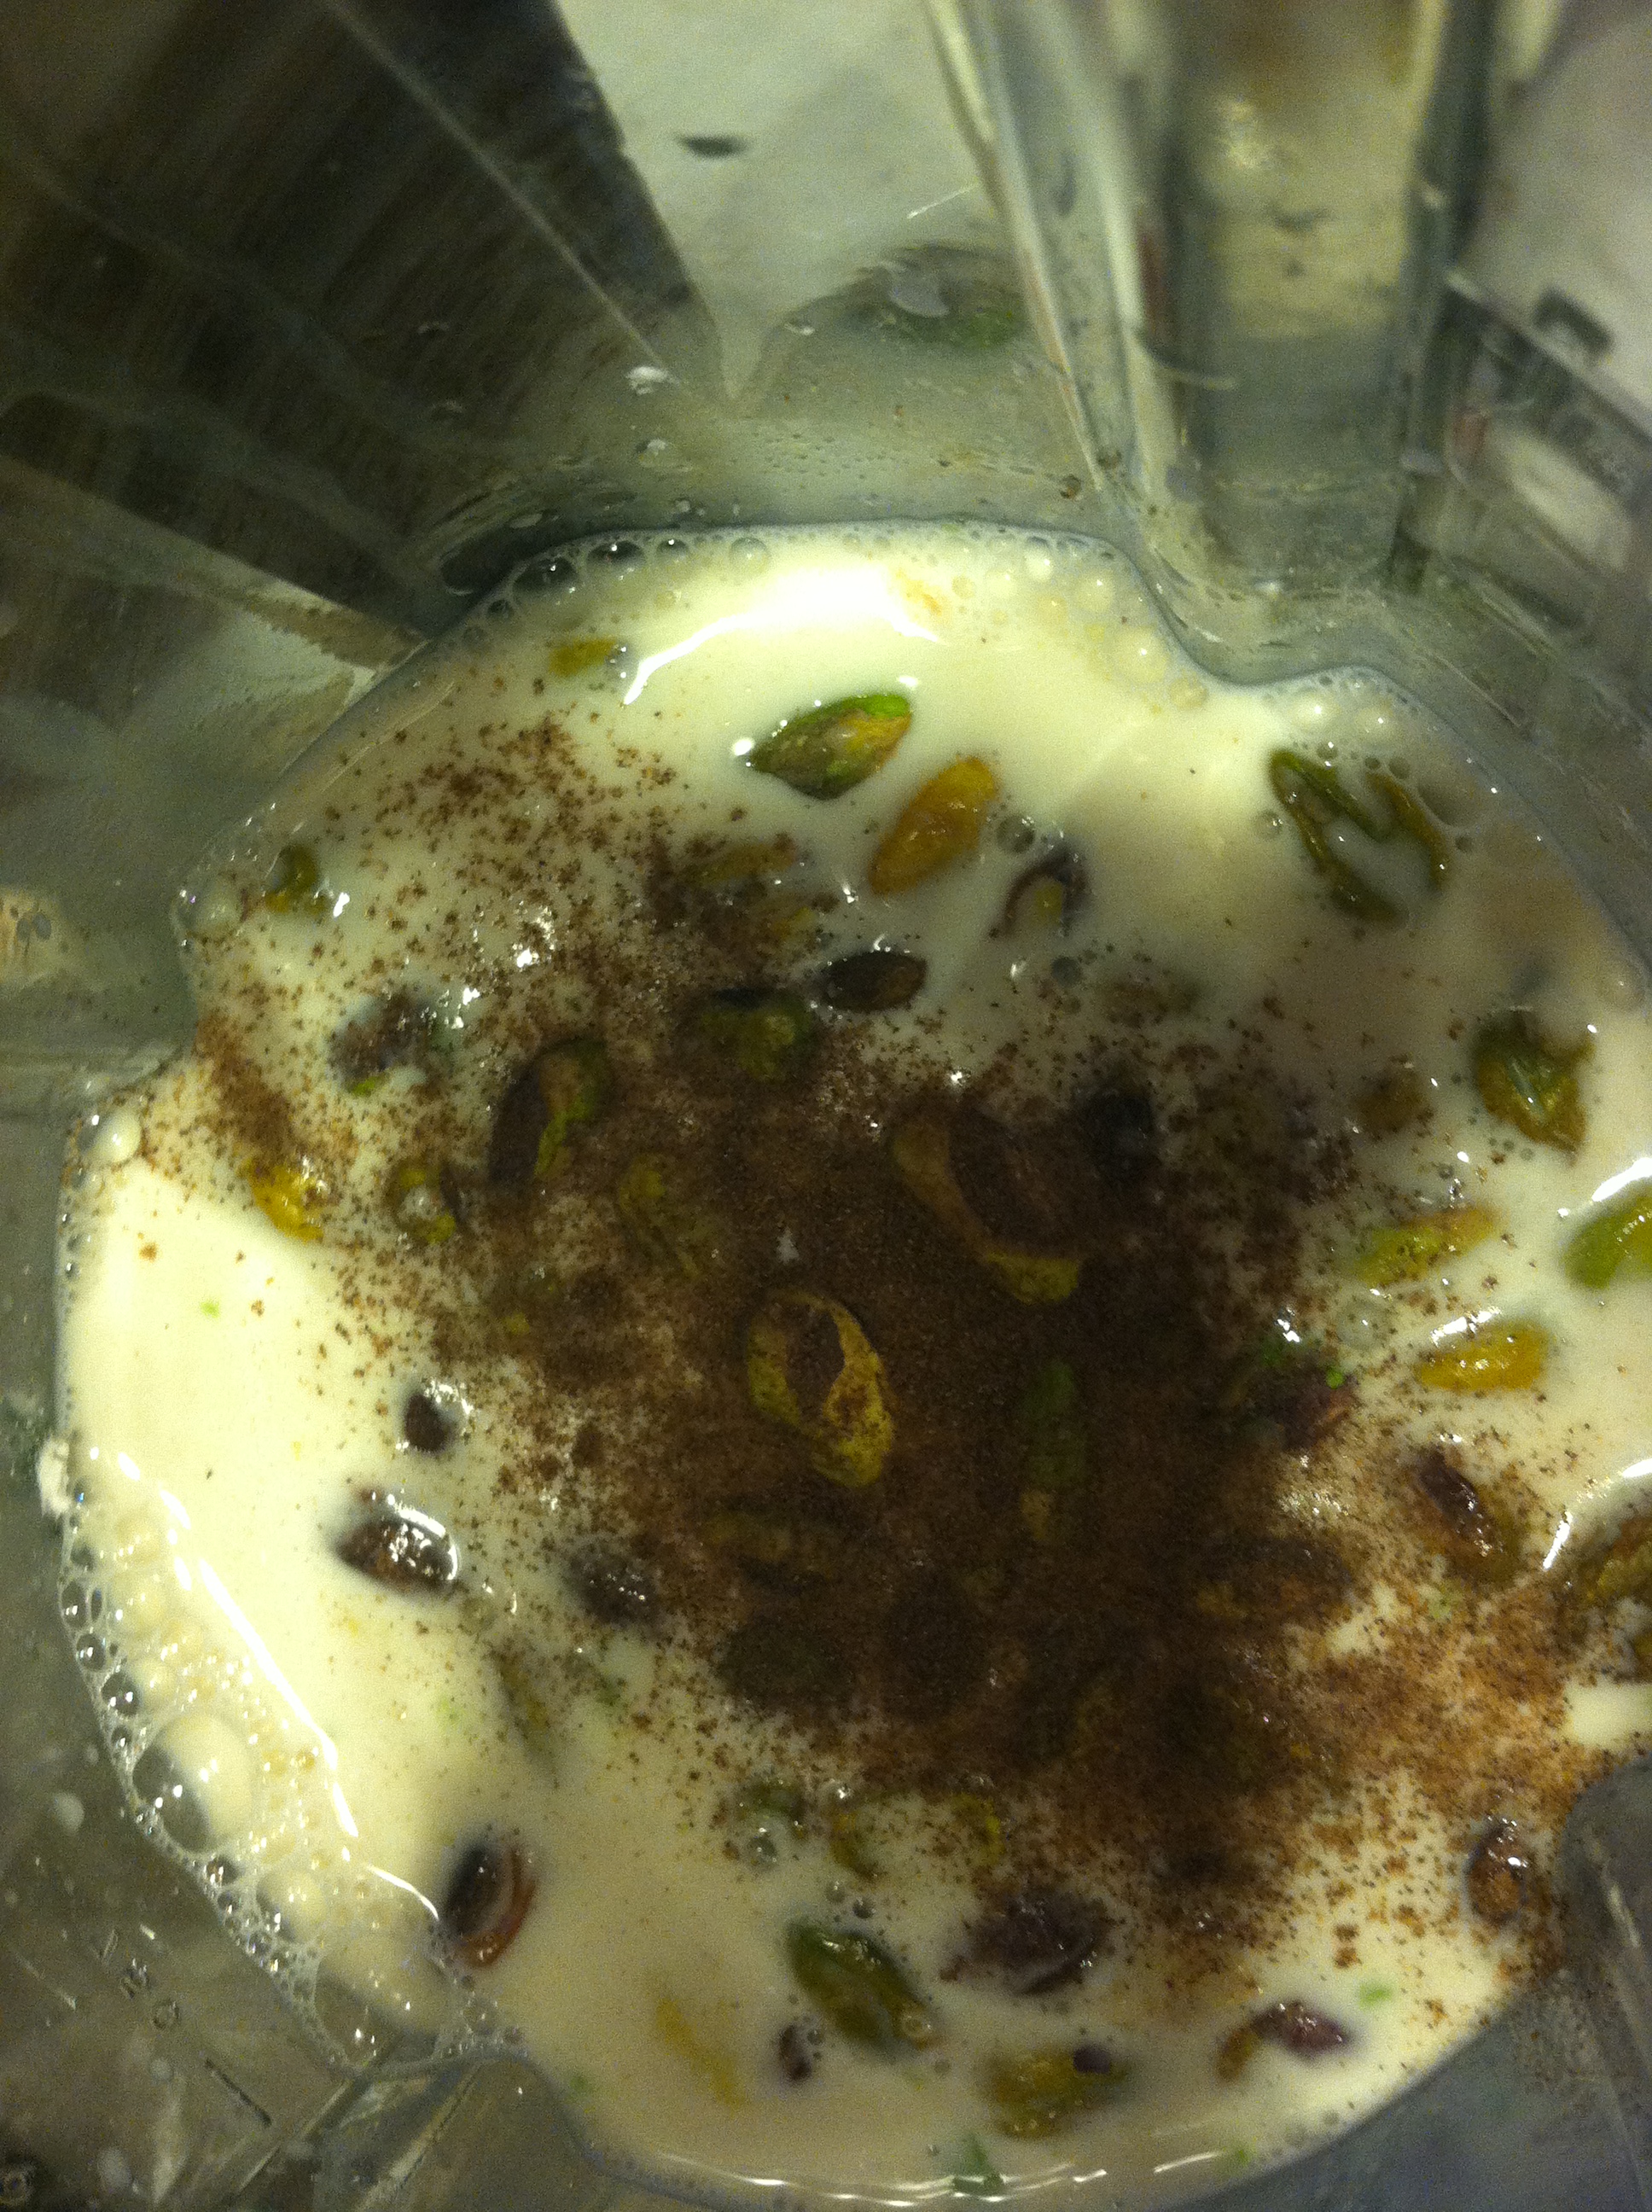
Preparation
Place all ingredients in a high powered blender or food processor and mix until smooth. This batter will be quite thick. Consider stirring it with a spatula if needed.
If you do not have a high powered mixer soak cashews and pistachios for at least 4 hours or overnight so that the batter will not be grainy. Also, place half the nuts in at first and the second half after most ingredients have liquified.


Cook
Preheat oven to 375degrees.
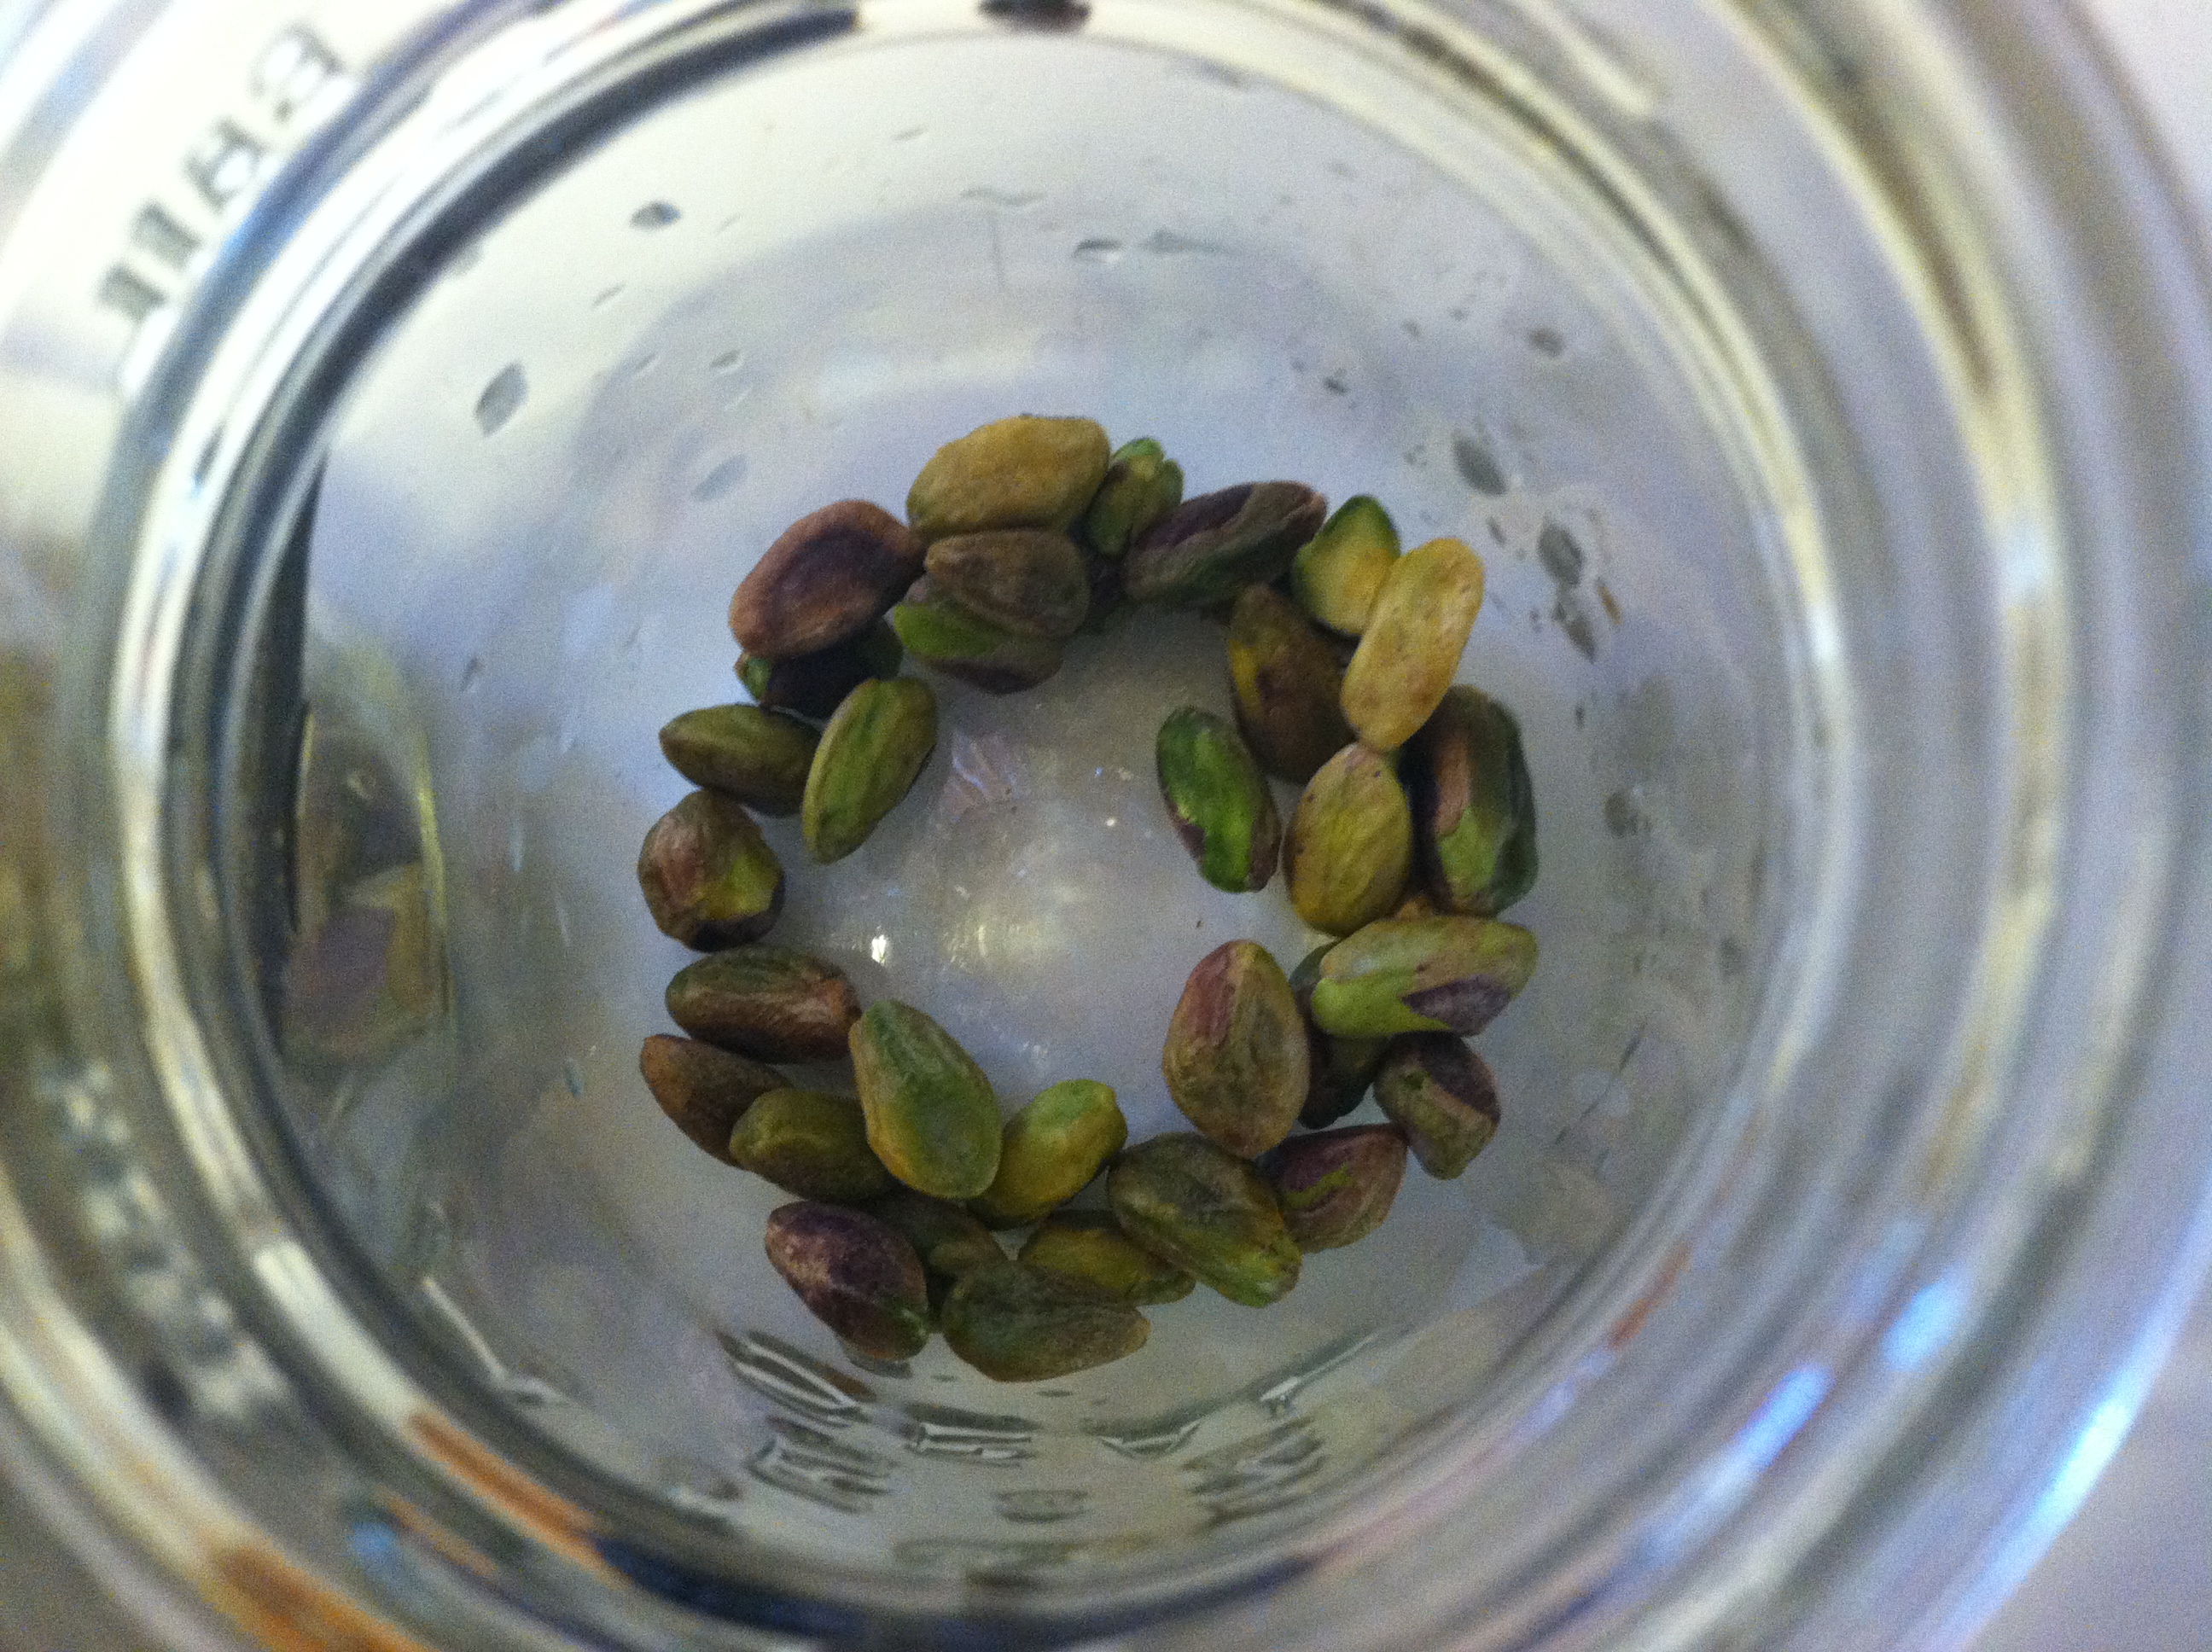


Fill a casserole dish with water to go halfway the height of the jars you in tend on placing the brulee mixture in. I have used both mason jars and square ramekins before and both come out well. Then sprinkle each jar bottom with extra pistachios. It’s a fun surprise on the bottom. Also remove metal presses from the jars. They will be so redhot it is better to pop them off now.


Pour batter into each jar allowing a little space so that they do not spill over as the casserole dish will be heavy with all the water in it. You need to be careful not to allow water into the jars.


Cook for at least 30 minutes or until the batter is wiggly but not liquidy and slightly firm on top.

Chill
Take jars out of the water with tongs and place on a towel on a drying rack. Let cool 15 minutes and then transfer into the refrigerator for 2-4hours.
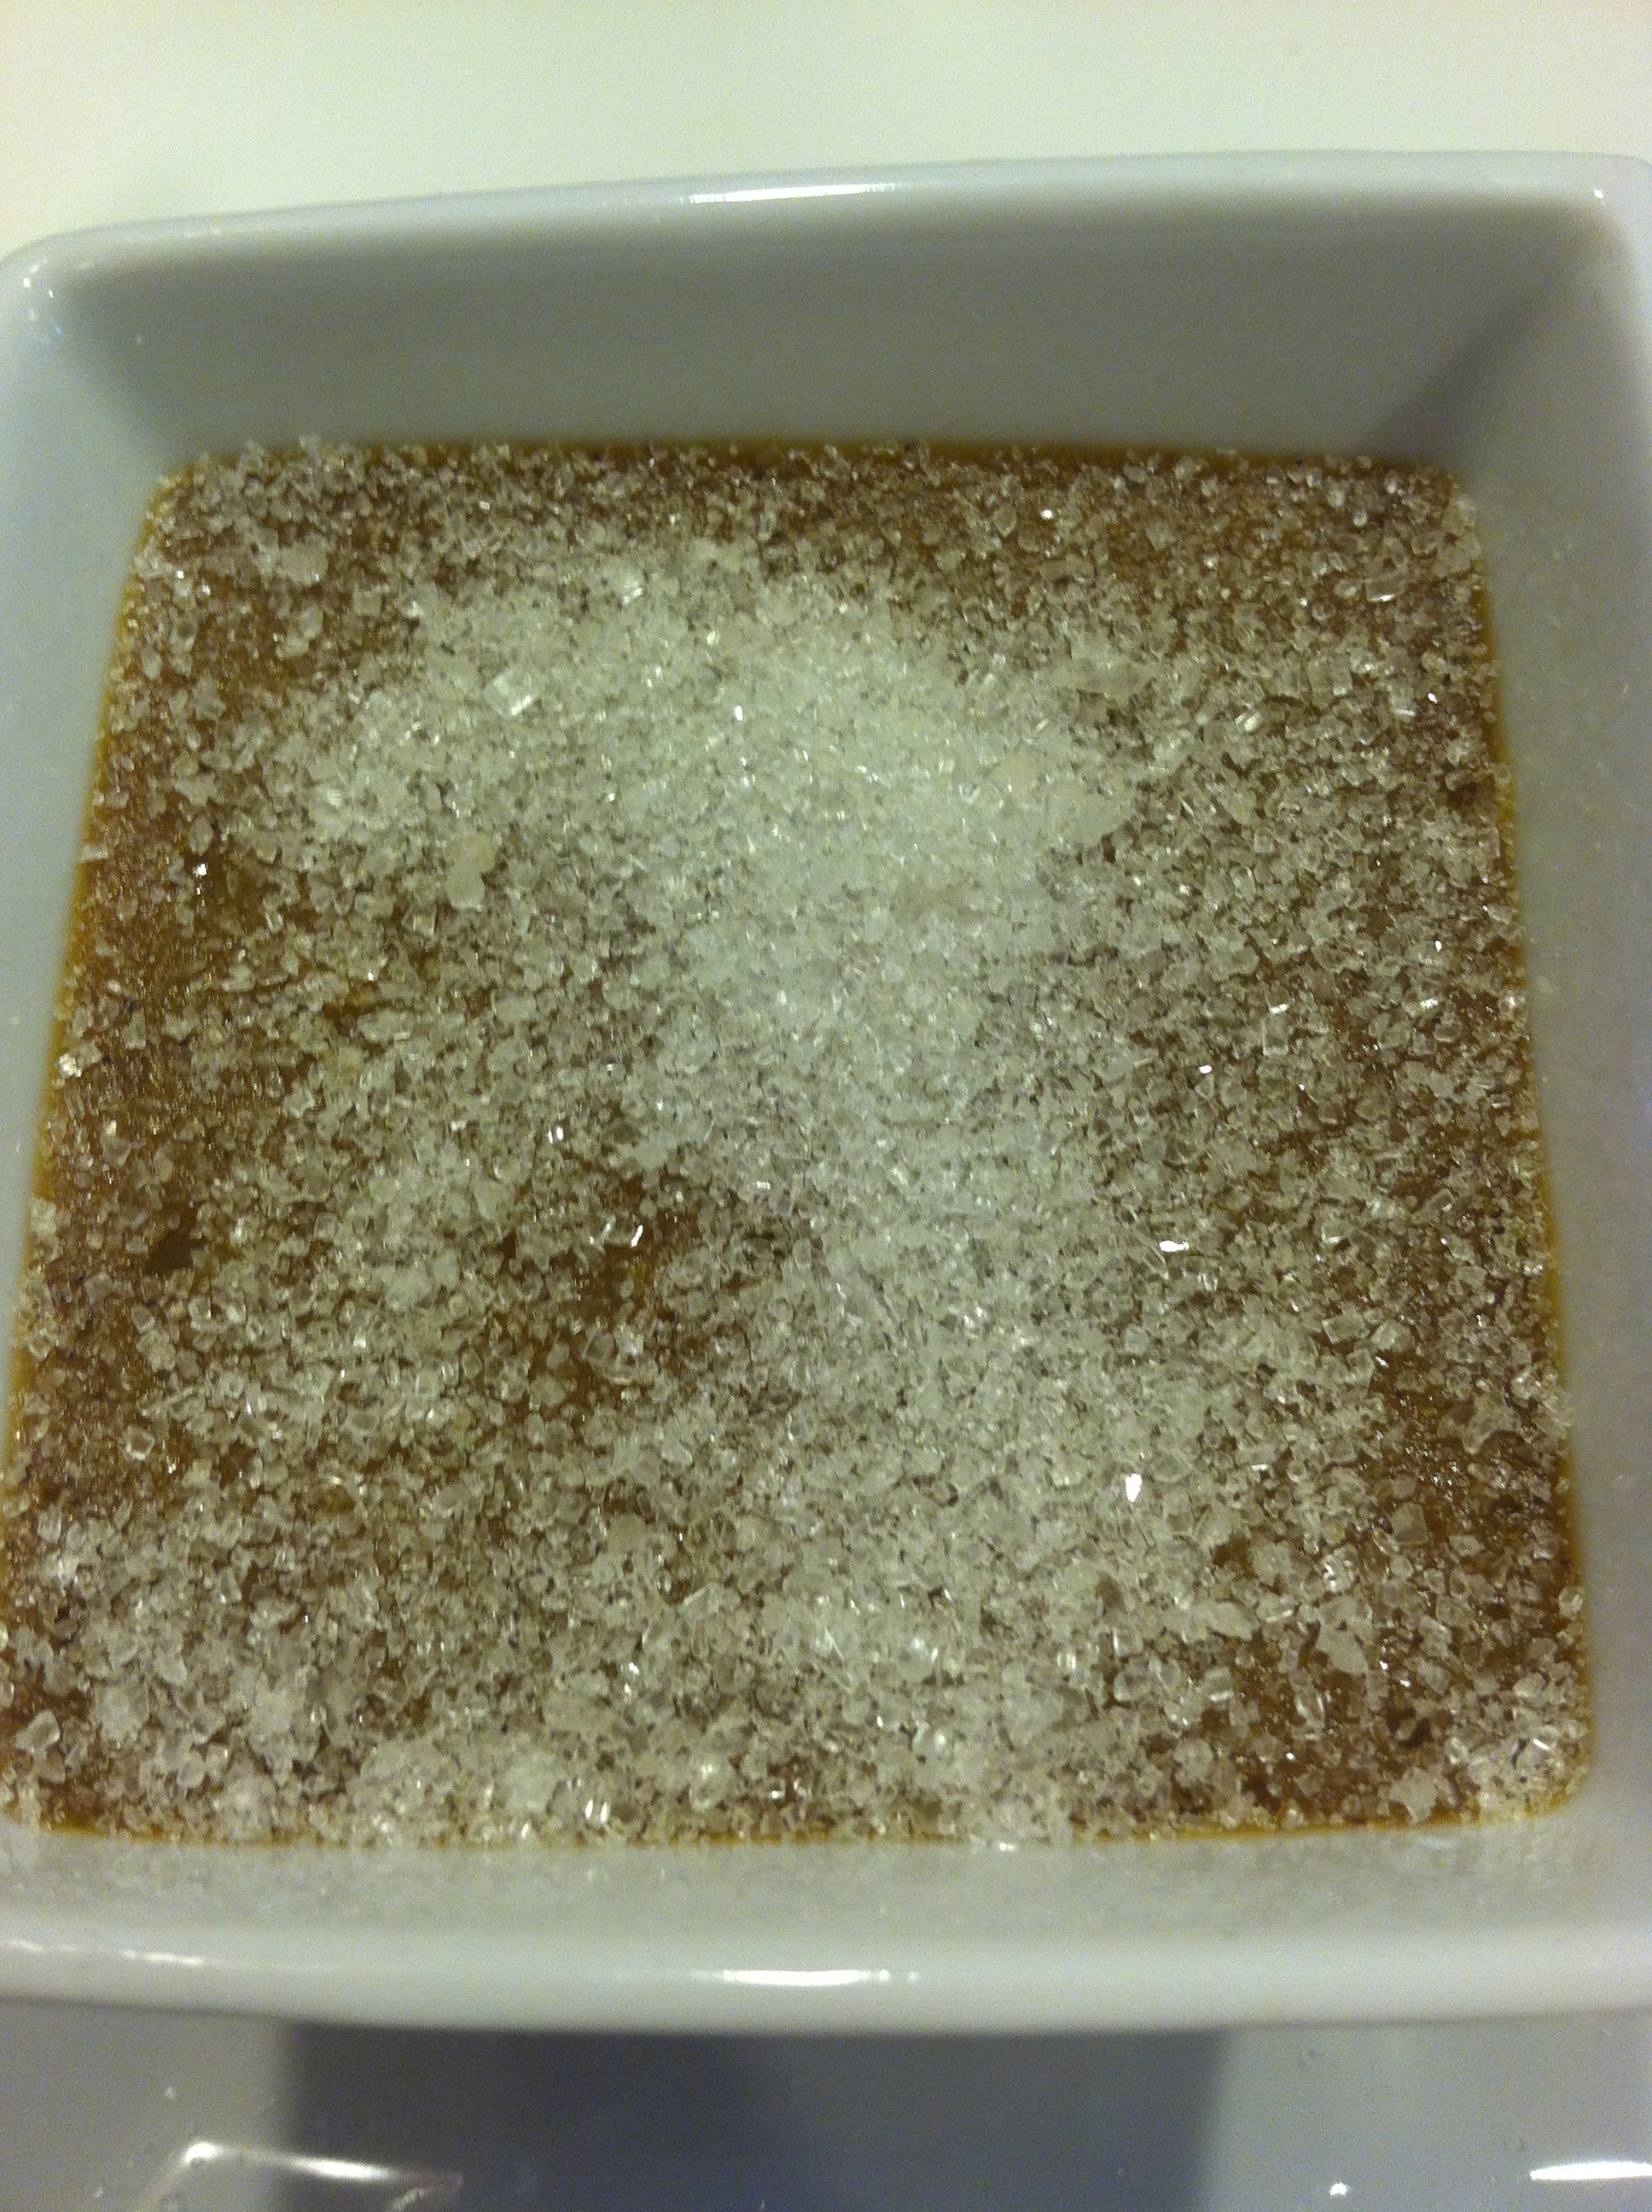
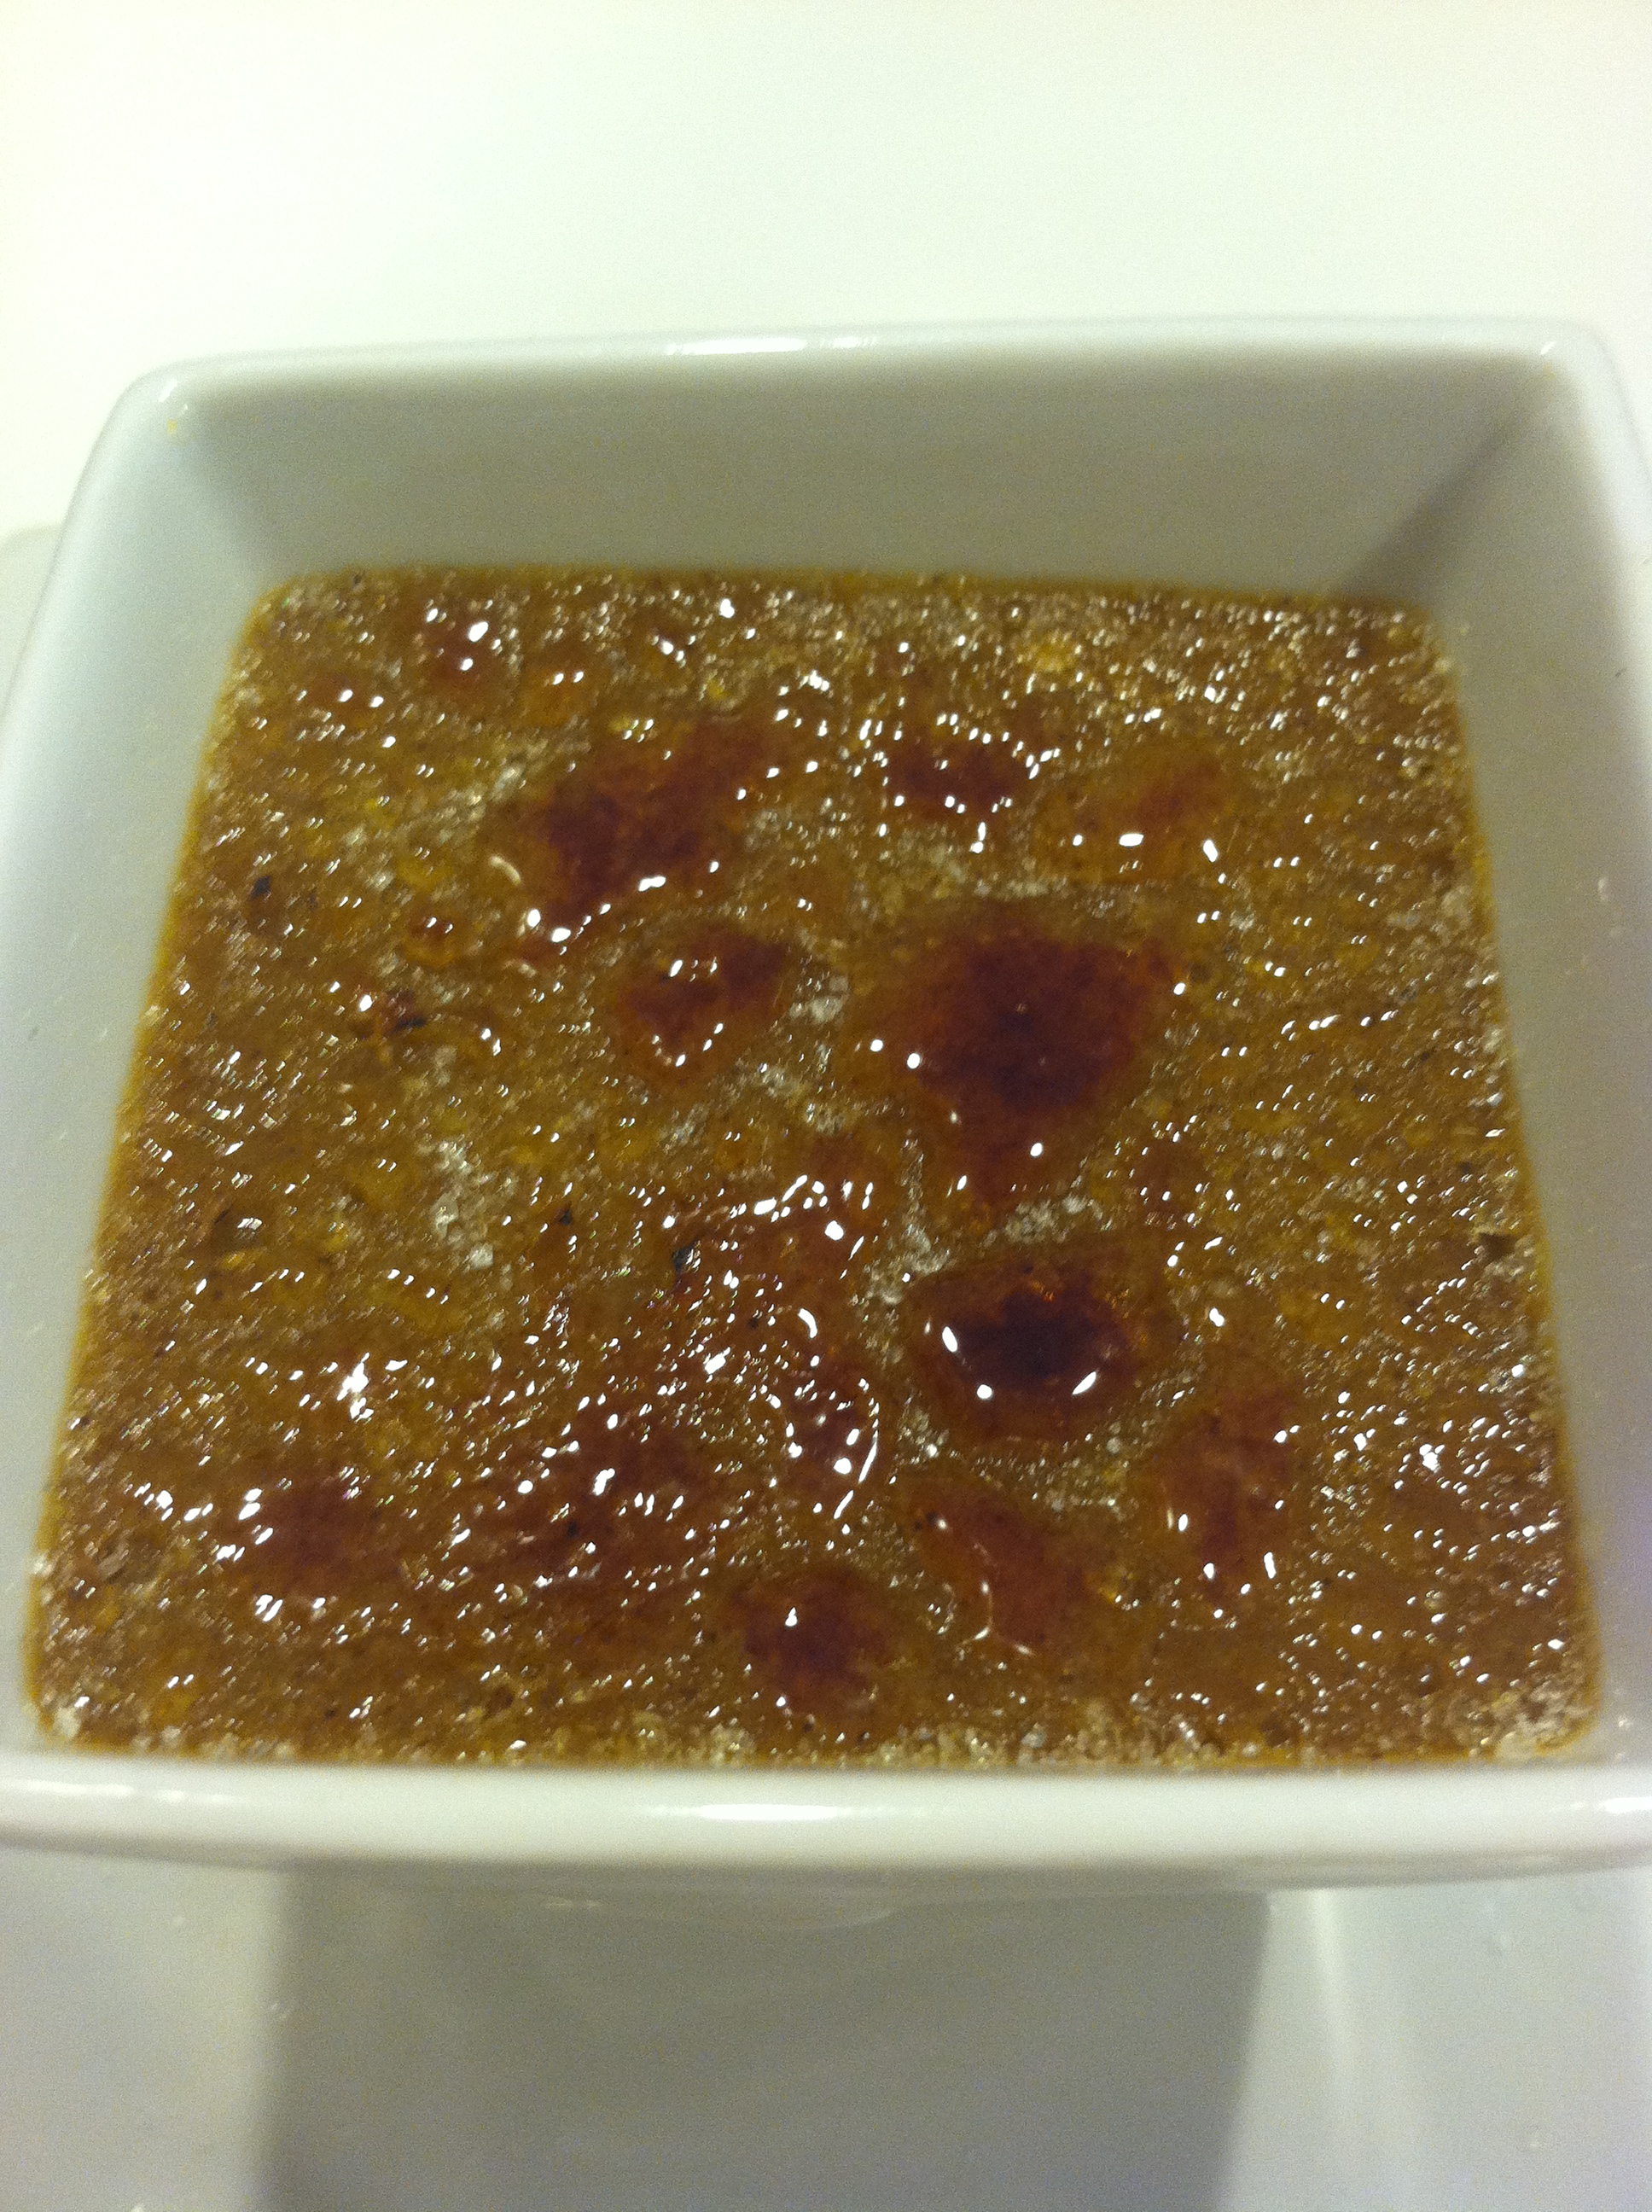
Brulee
After the creme is completely firm and chilled through and you are ready to serve. …Take sugar, sprinkle a good layer on each creme top, and brulee with a hand torch until the sugar bubbles, browns, and quickly hardens.
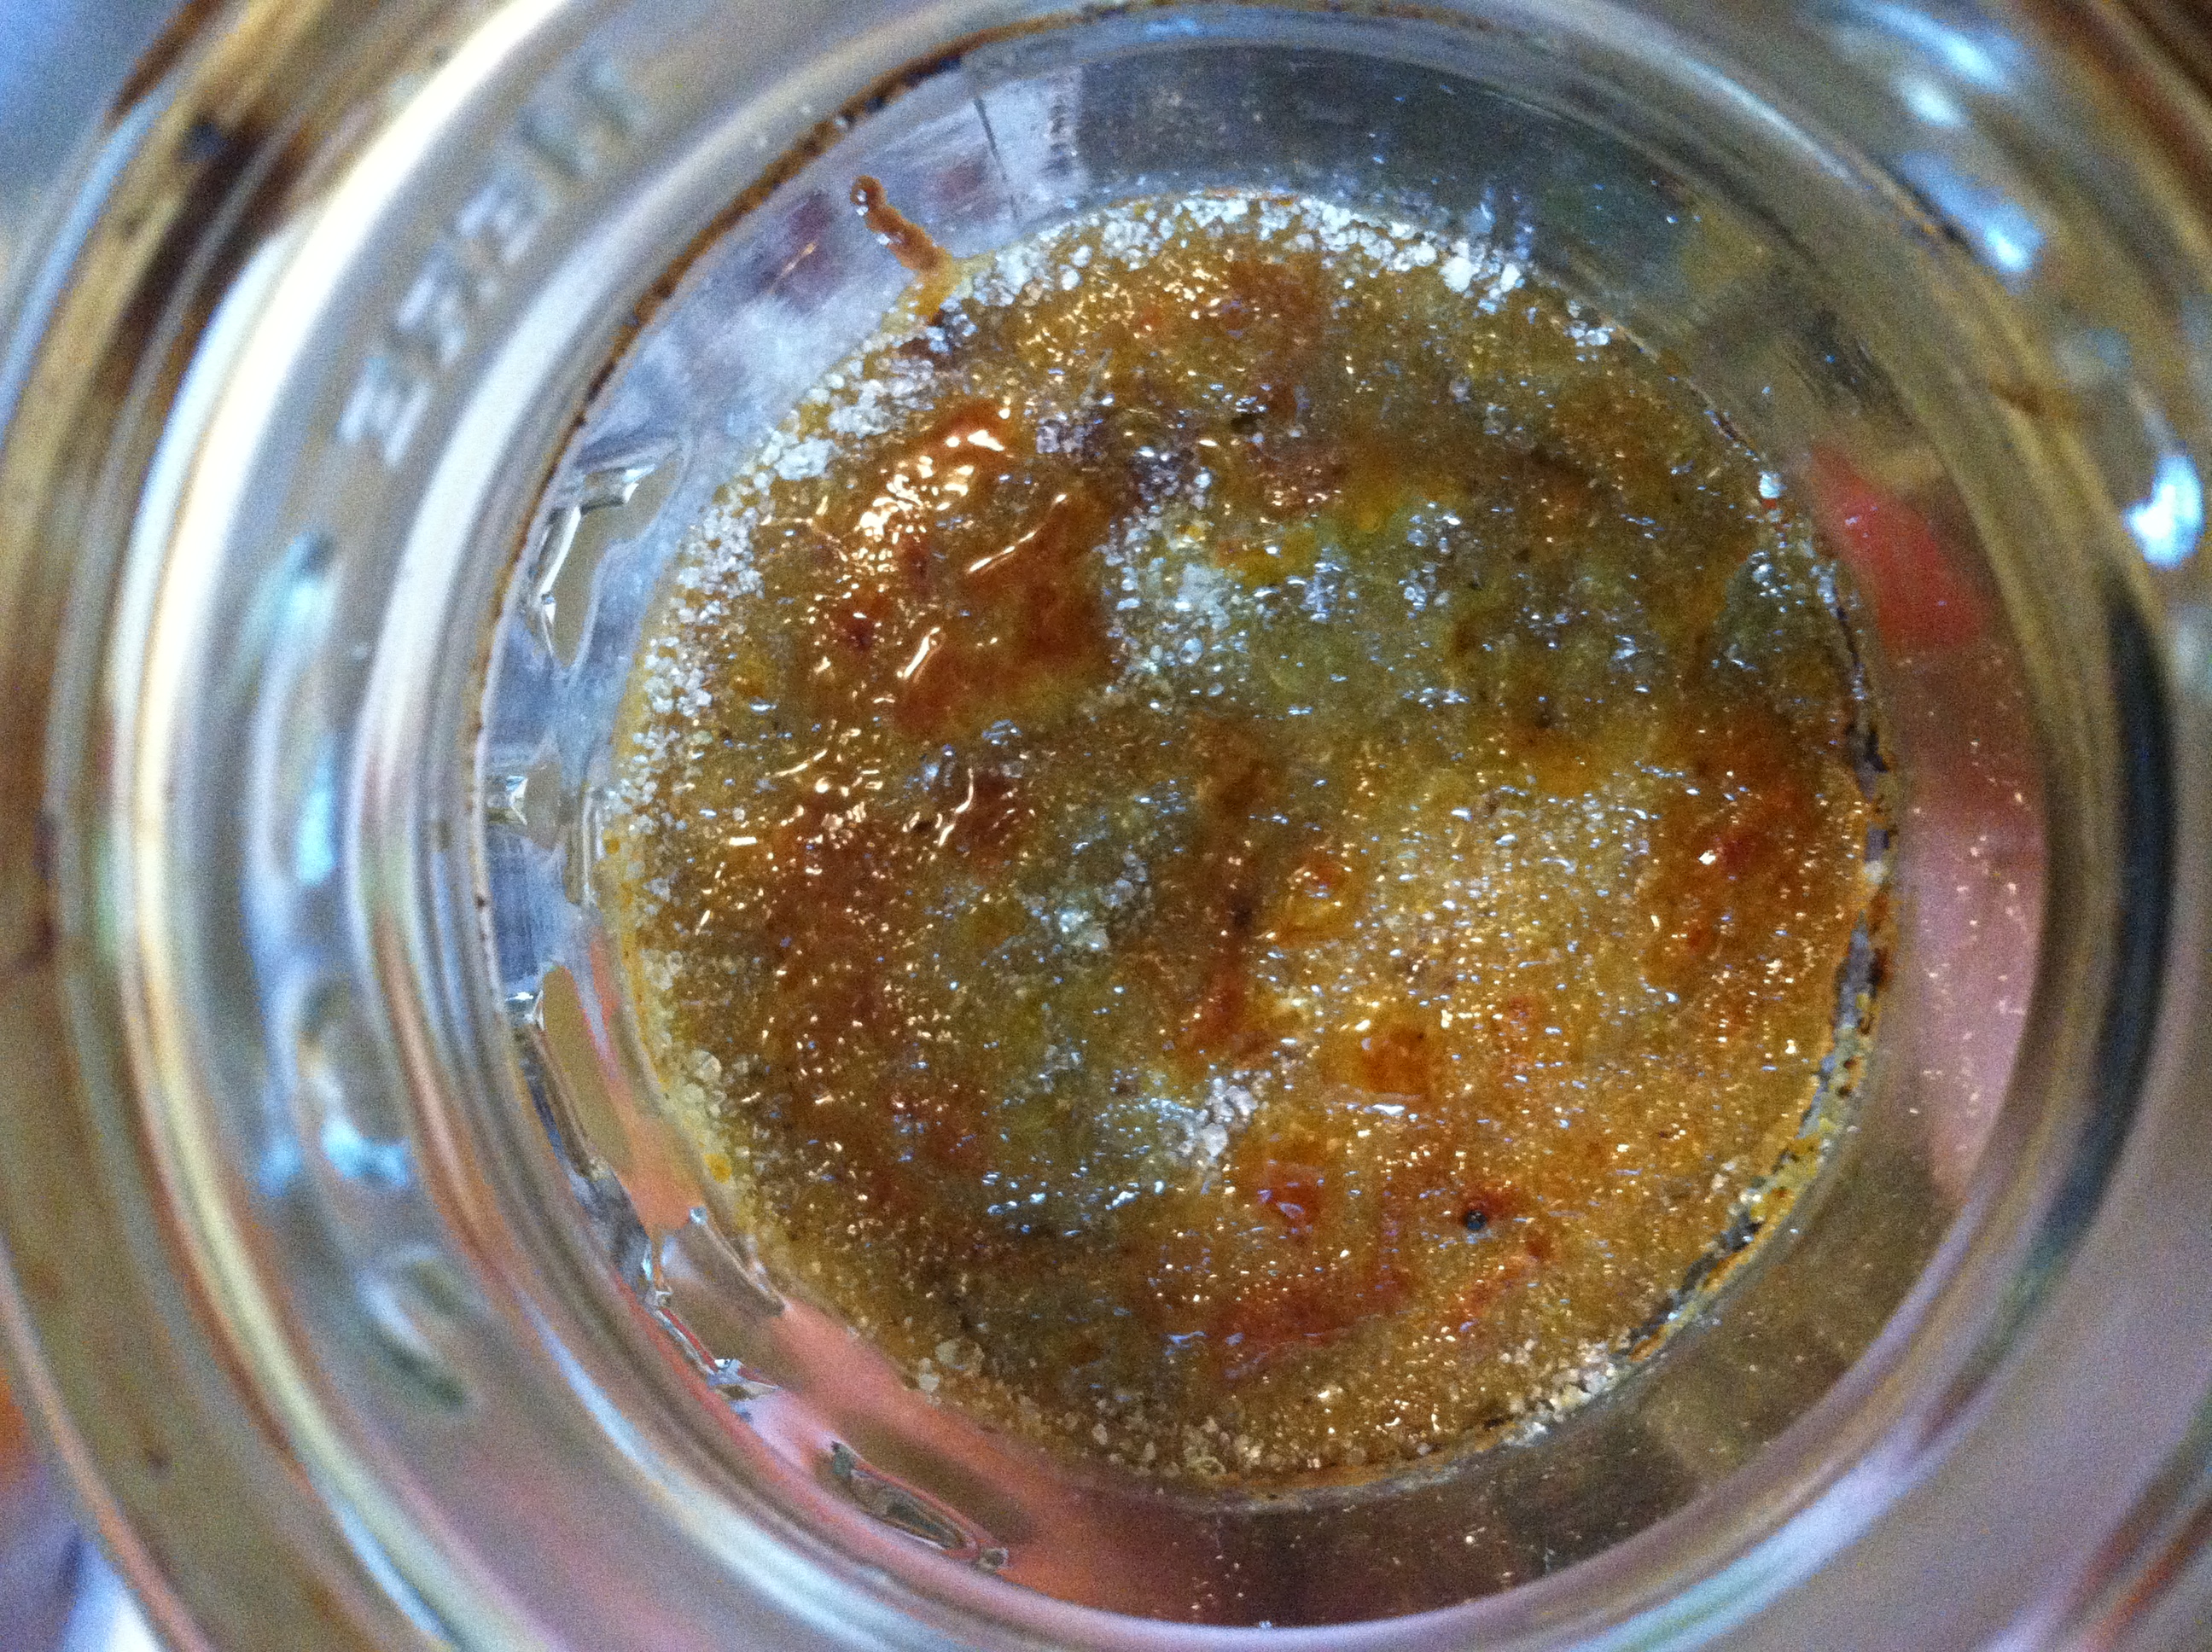
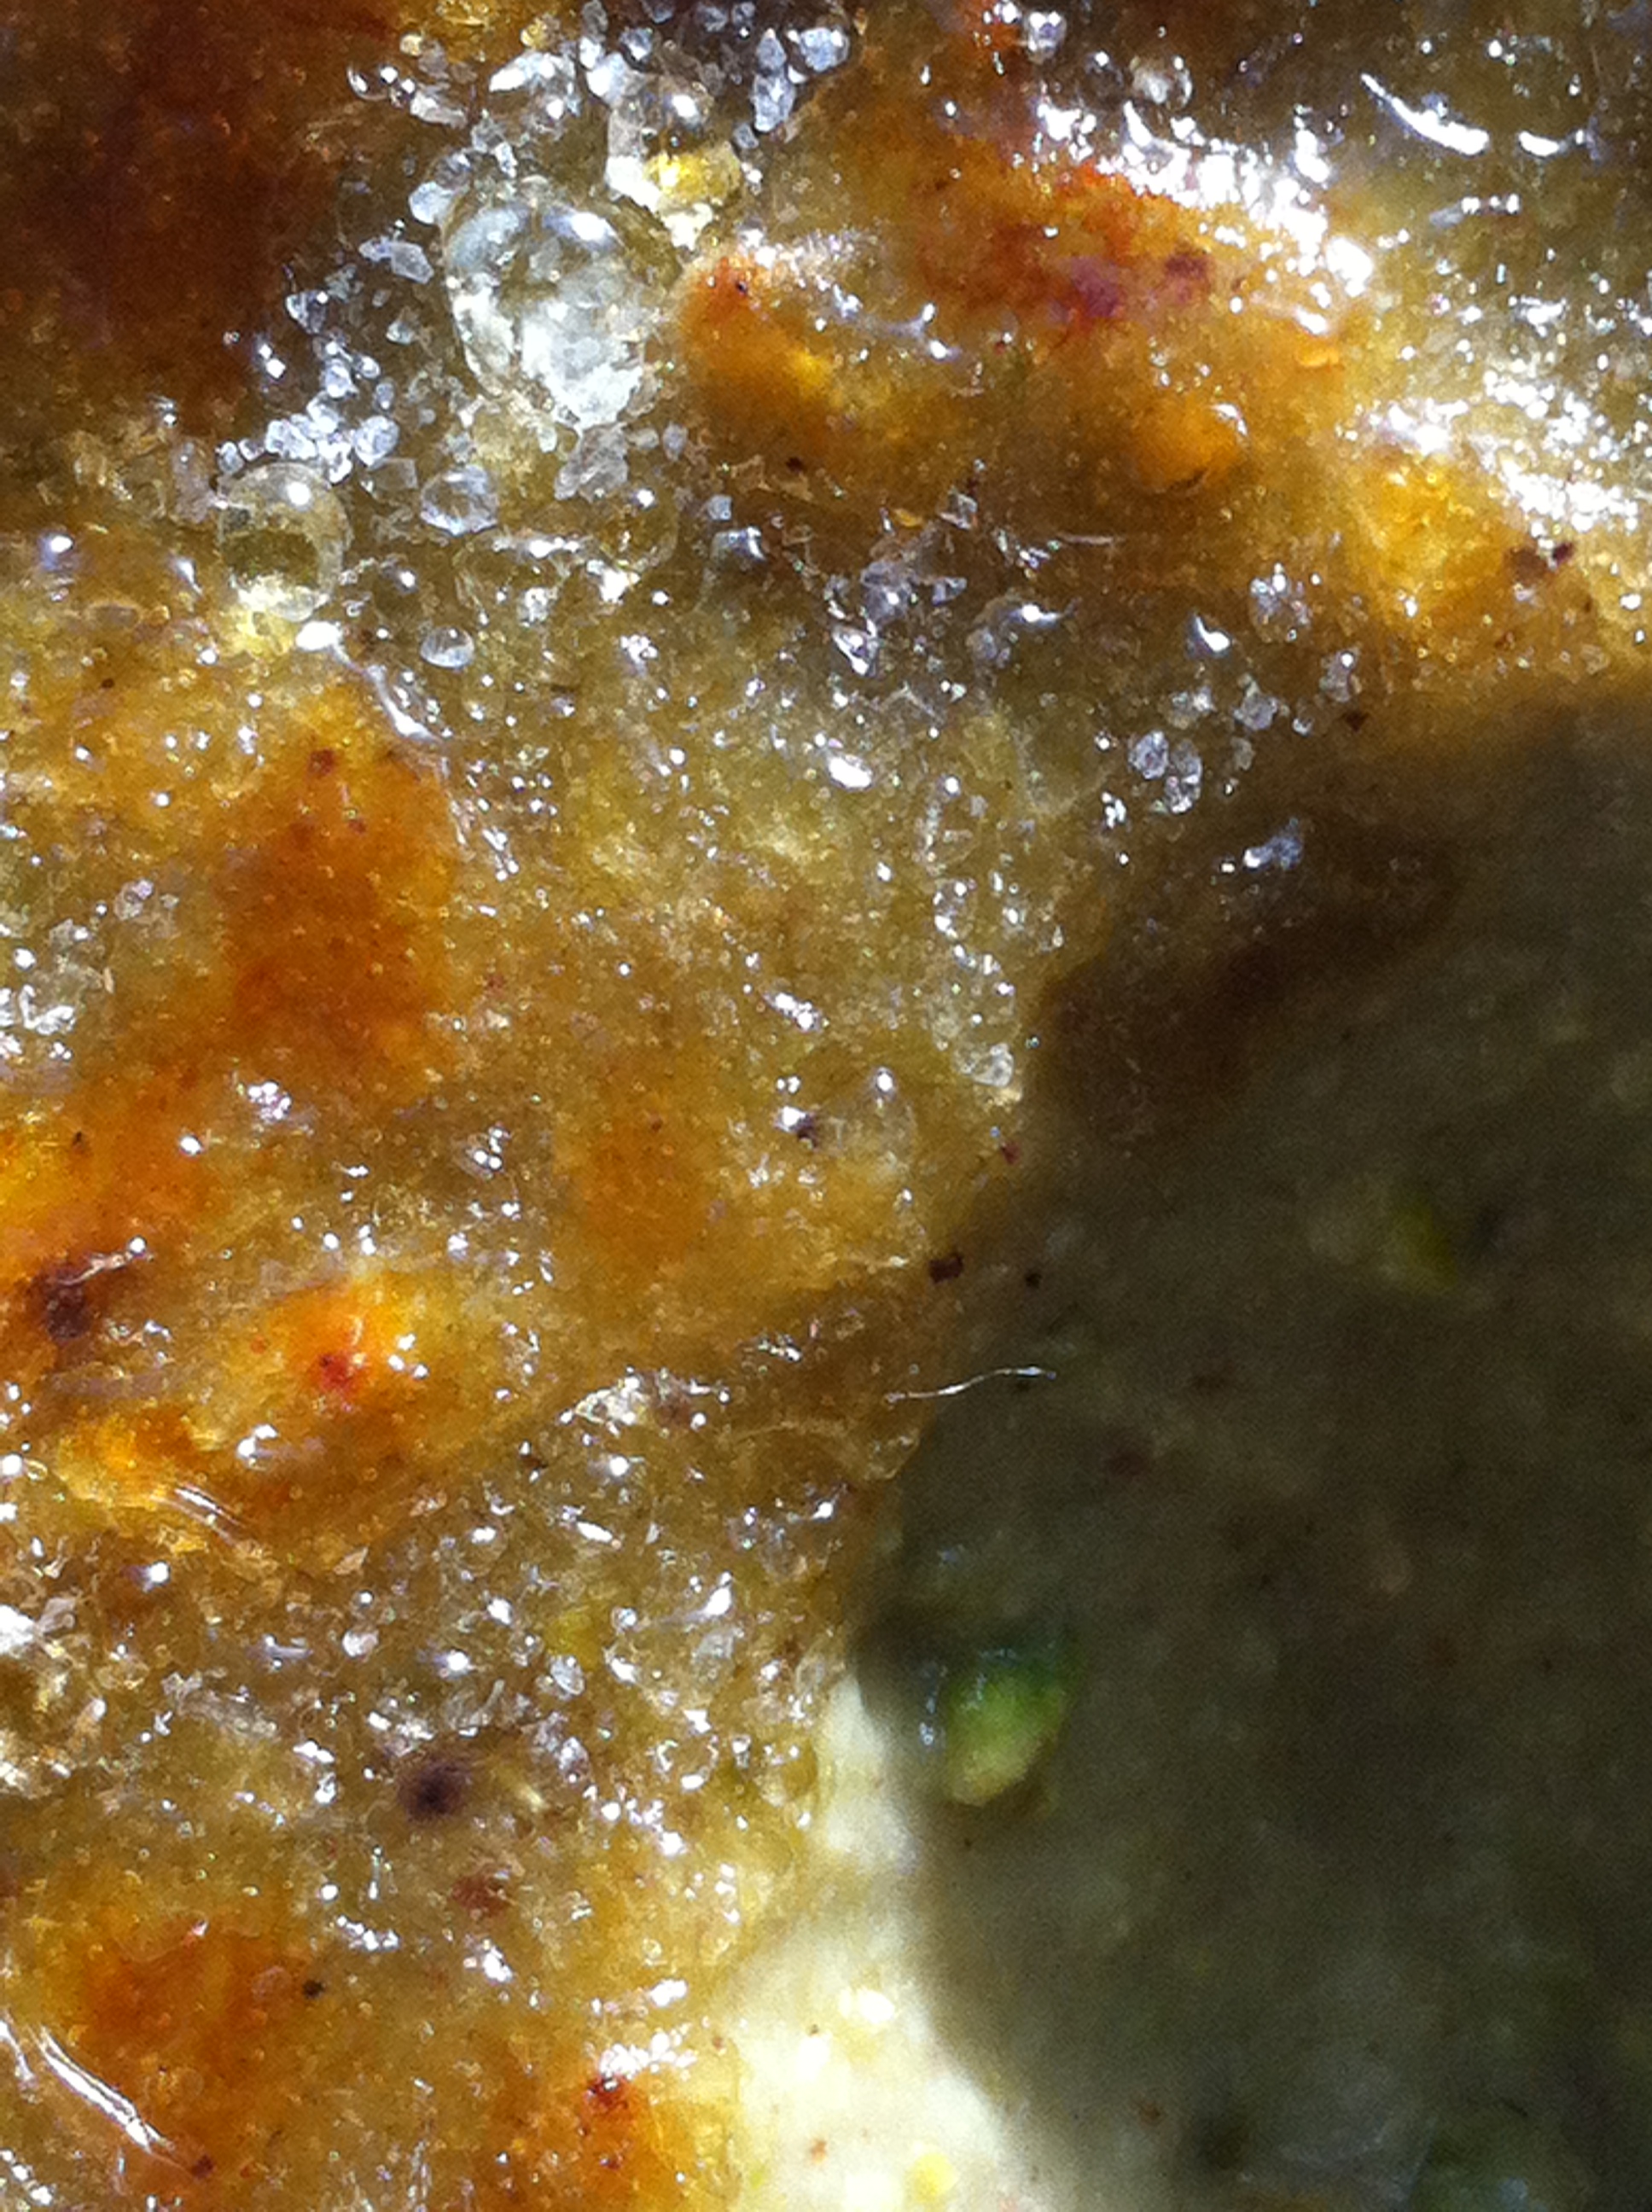
Serve Immediatly.
Serves 6. WW Points 6.
(PS Any of these can be simply custard without the brulee if you do not have a torch)
____________________________________________________________________________________________________________________________________
XOXOX,
The Hippie Gypsy
Apple Cheesecake Vegan Creme Brulee
The fall weather has officially started here in Coastal Massachusetts. This weekend I started raking, trimming back trees, turned off the Central Air, and opened up all the windows in my house. The cool air made the sheer window coverings sweep the floors from the wind like a chiffon wedding dress. It was a beautiful weekend. I could smell chocolate chip cookies and ocean air from my deck and I even kicked it off with a trip to the Brimfield Antiques Fair which just screams “Welcome Fall”. Together my mother and I picked up a red rocking horse for my nephew Nolan, a few records for my new record player, a set of silverware that completed a set I had inherited which was just dumb luck!, a buddha painted in reds and blues and gold for my side garden to go just underneath the chimes, and a poster from the 1980’s when a friend of mine ran for office which I will make him sign because it was such a fun find! Who doesn’t love a gigantic yard sale? I would be hard pressed to find anyone who doesn’t have a good time at these events. I then went over to my aunt’s to help her pack up her apartment to move to her dream destination. I am so proud of her. I know she appreciates a good dessert. So this weekend I worked on puddings.
Fall is the time for puddings both warm and cold. There are bread puddings (my mom’s favorite) and the more exciting french puddings like the creme brulee and then there are the puddings I would never eat like black pudding. My favorite has always been a vanilla bean creme brulee with a good crunchy crust and a thick custard filling but not to sweet to offset the brulee. My parents would bring us to brunch on Easter and Mother’s day and I would always run over to make sur ethe hotel had the little ramekins of this dessert. So I tried to replicate it now as a vegan with a few fall fun flavors. This is my first of a series of three I will post this week (all tested and approved by the omnivore husband). They are all easy to prepare (35minutes max) but the cooling process (2hrs min.) causes it to be something you have to make in advance. Since everyone in the office was talking about apple picking on Friday we shall start with apple! Enjoy!
____________________________________________________________________________________________________________________________________________
Apple Cinnamon Cheesecake Creme Brulee
Ingredients:
- 1/2cup raw cashews
- (2) Macintosh Apples Cored, Peeled, Diced
- 1/4cup maple syrup
- 1/3cup sugar
- 1tablespoon agar agar powder (this is vegan gelatin powder found in the asian section of the grocery store)
- 1tablespoon arrowroot powder/starch (don’t use cornstarch due to the high heat, arrowroot is better)
- 1 1/4cups Soy Creamer
- 2 heaping tablespoons of Tofutti Better than Cream Cheese
- Pinch of Salt
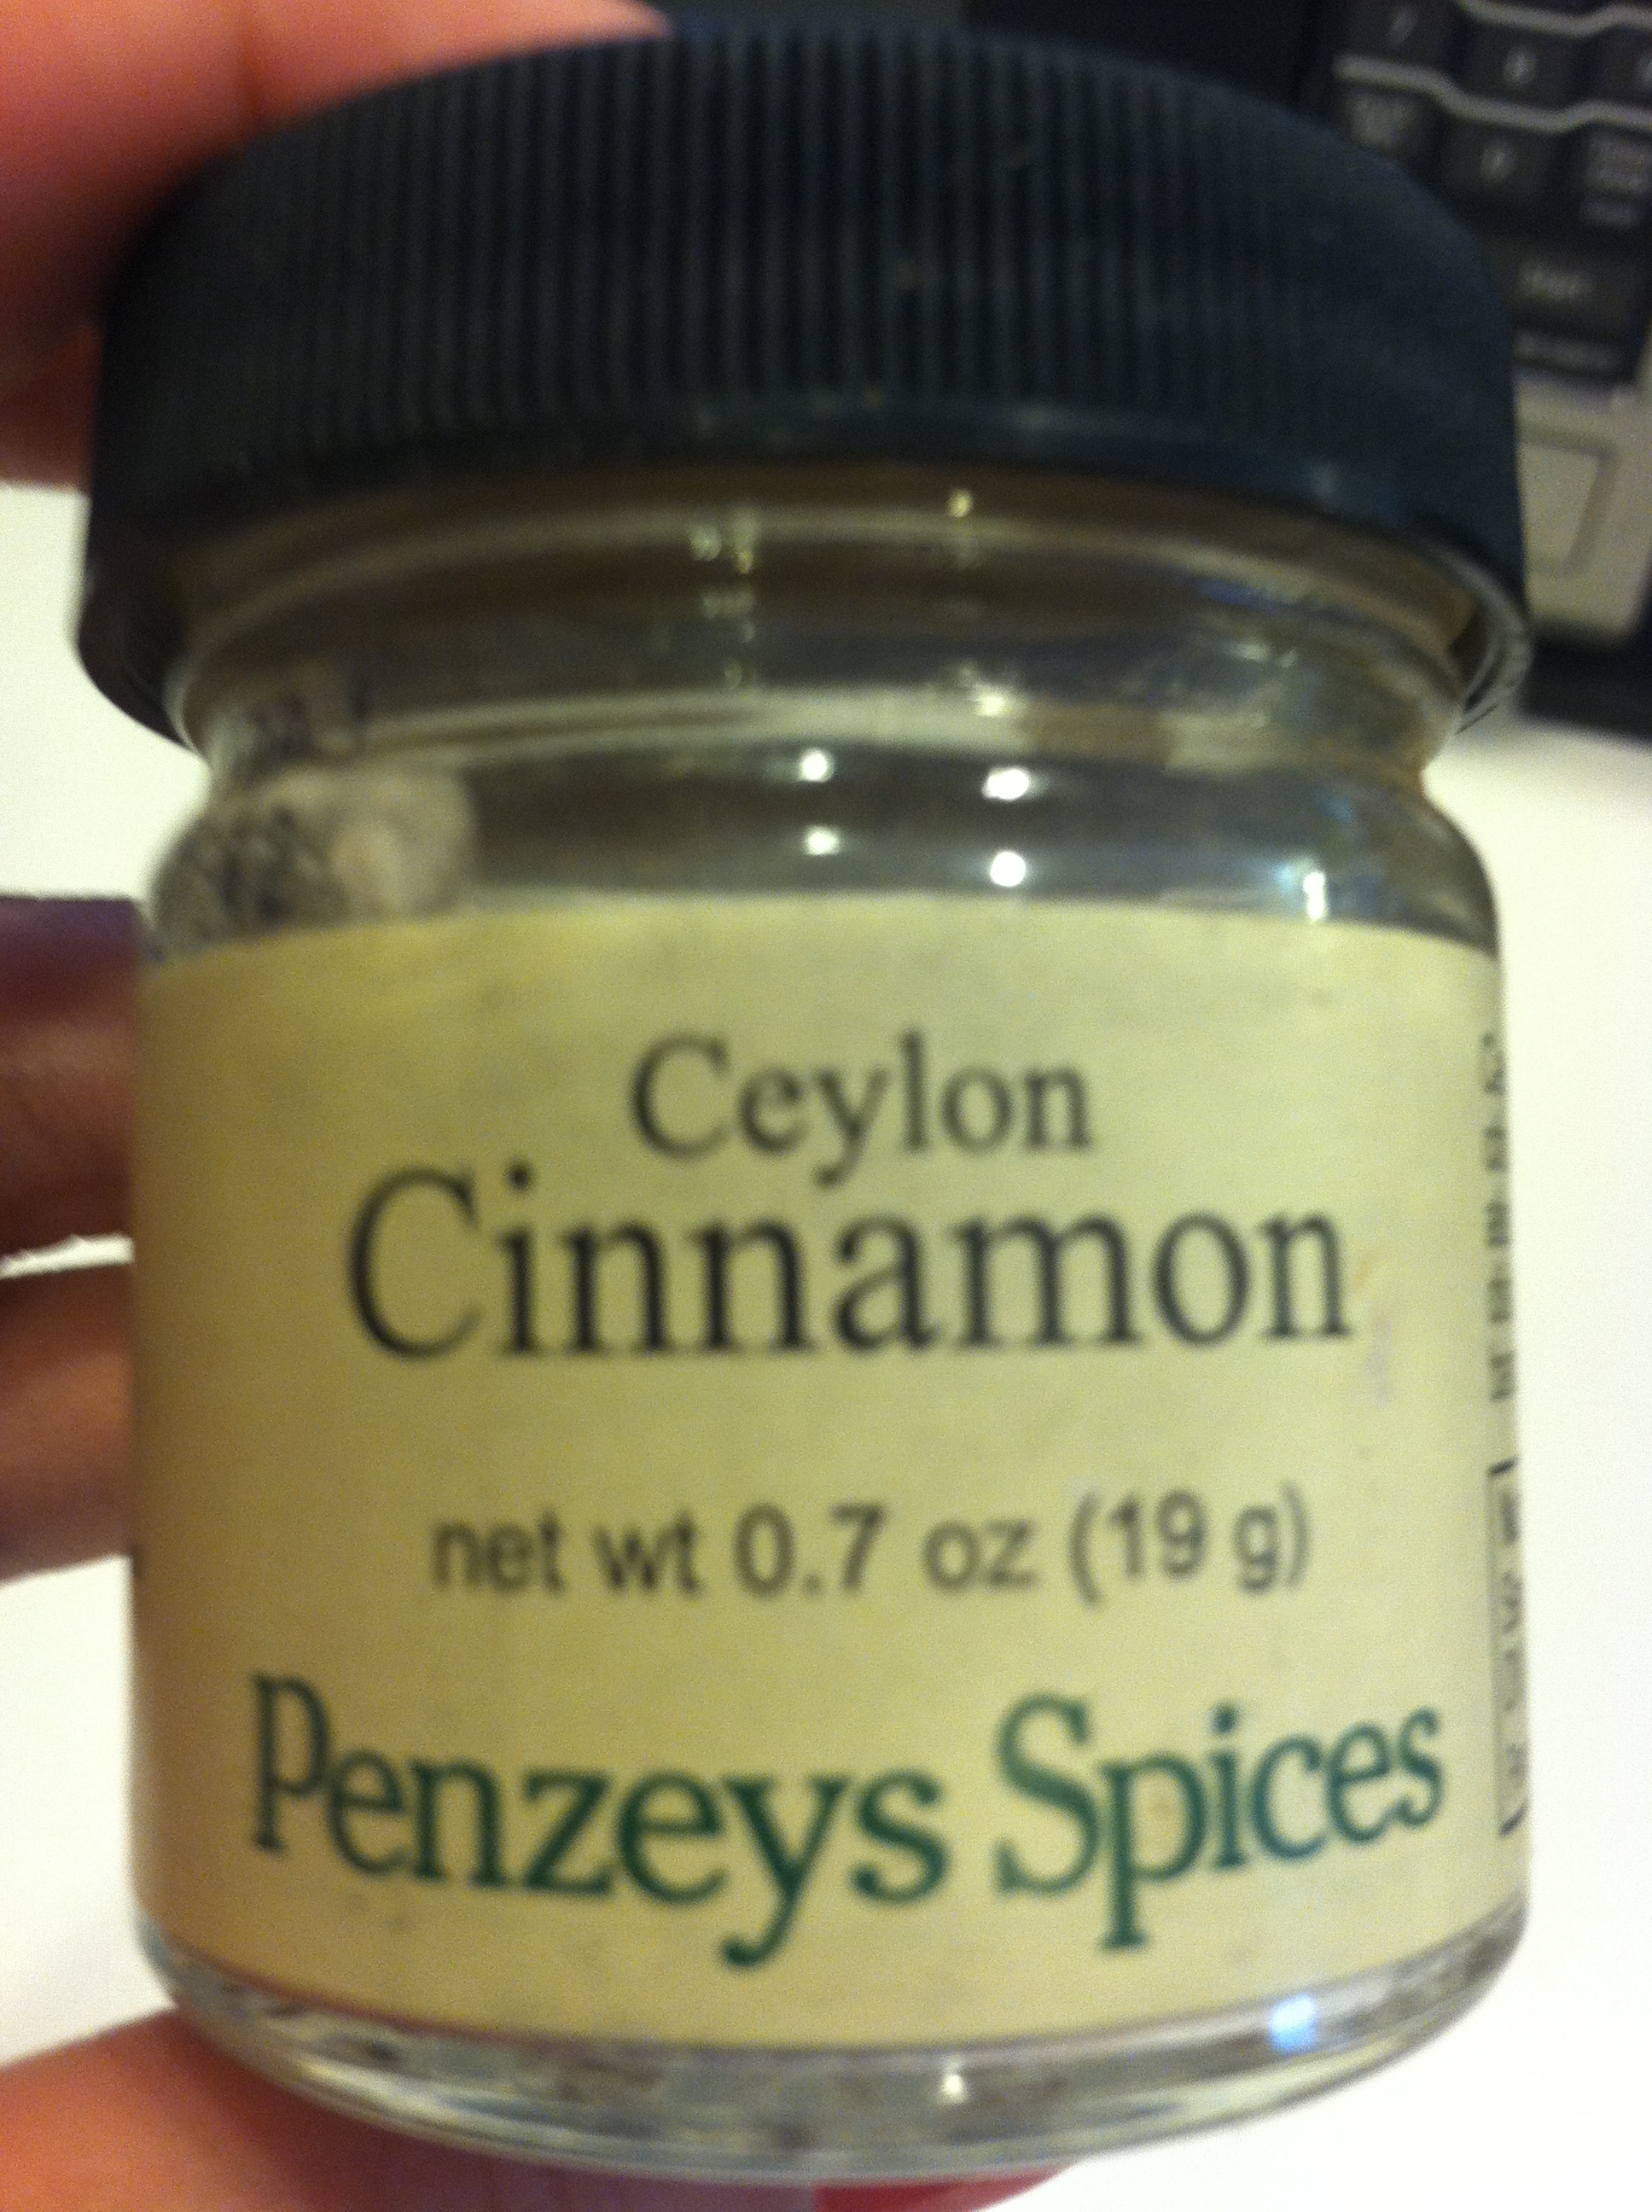
- 1teaspoon Cinnamon
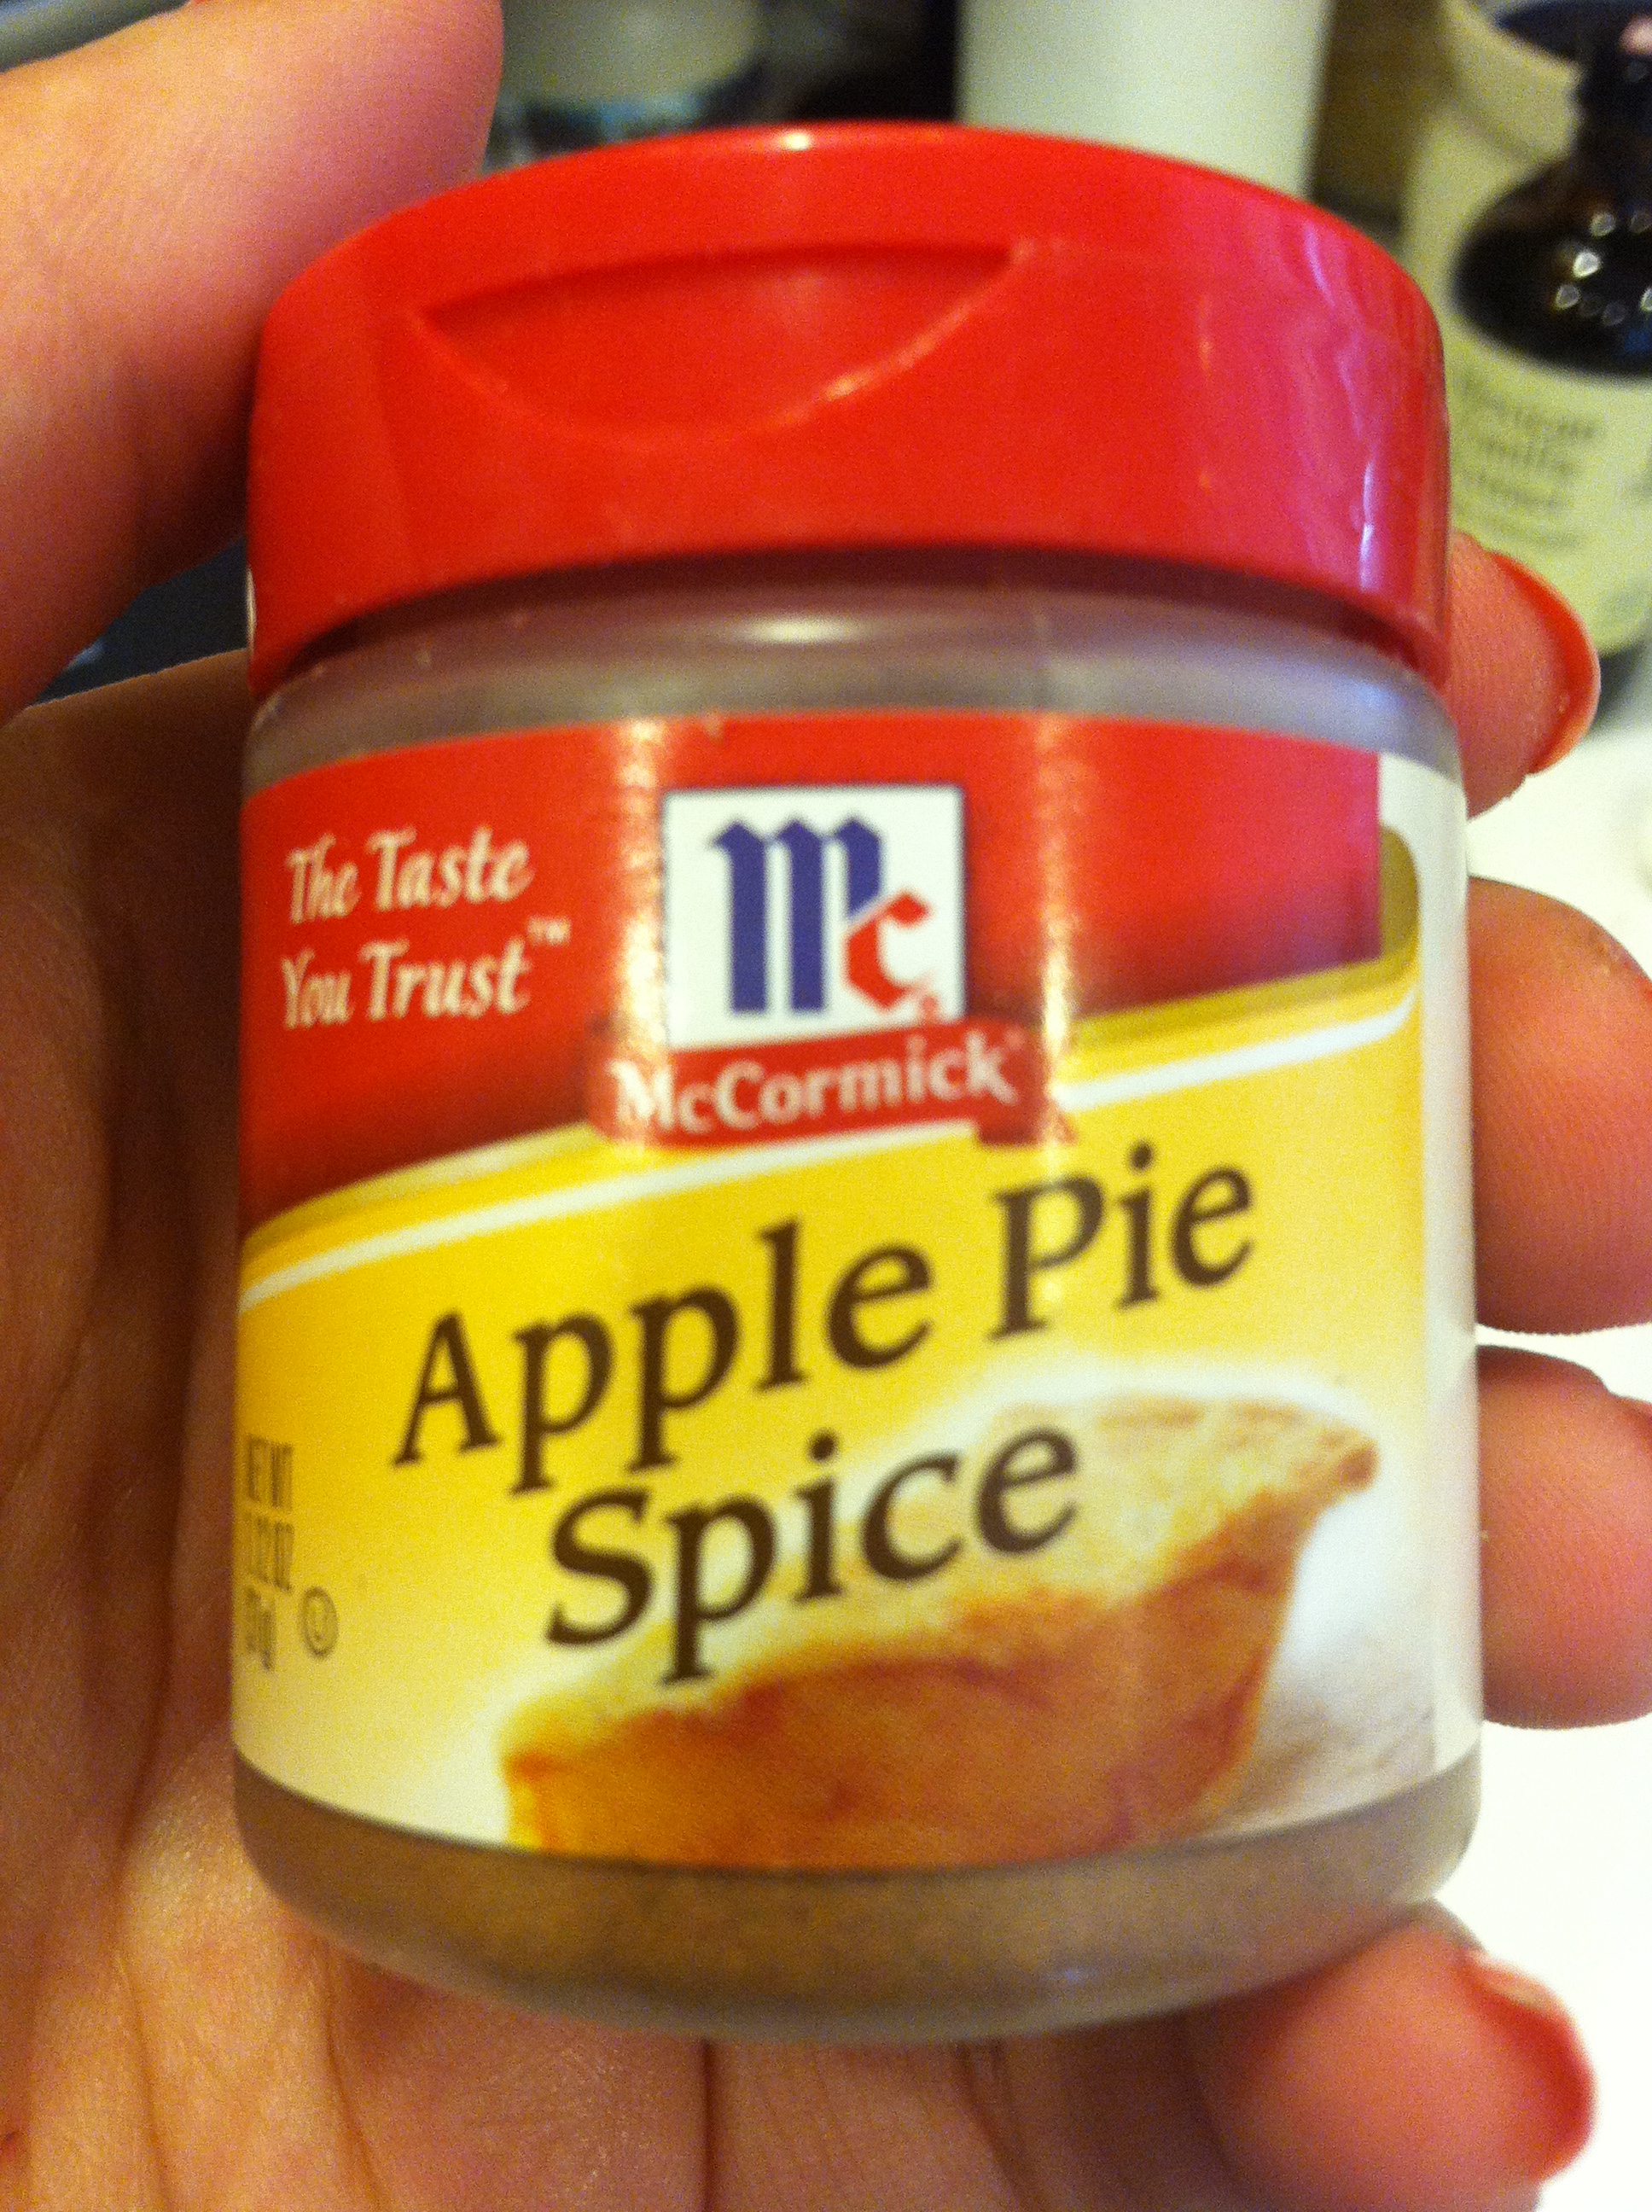
- 1 teaspoon-1tablespoon Apple Pie Spice (depends on your pallet, I use a little more)
- 1/2teaspoon of Vanilla Extract (I use Penzey’s)


_______________________________________________________________________________________________________________________________
Preparation
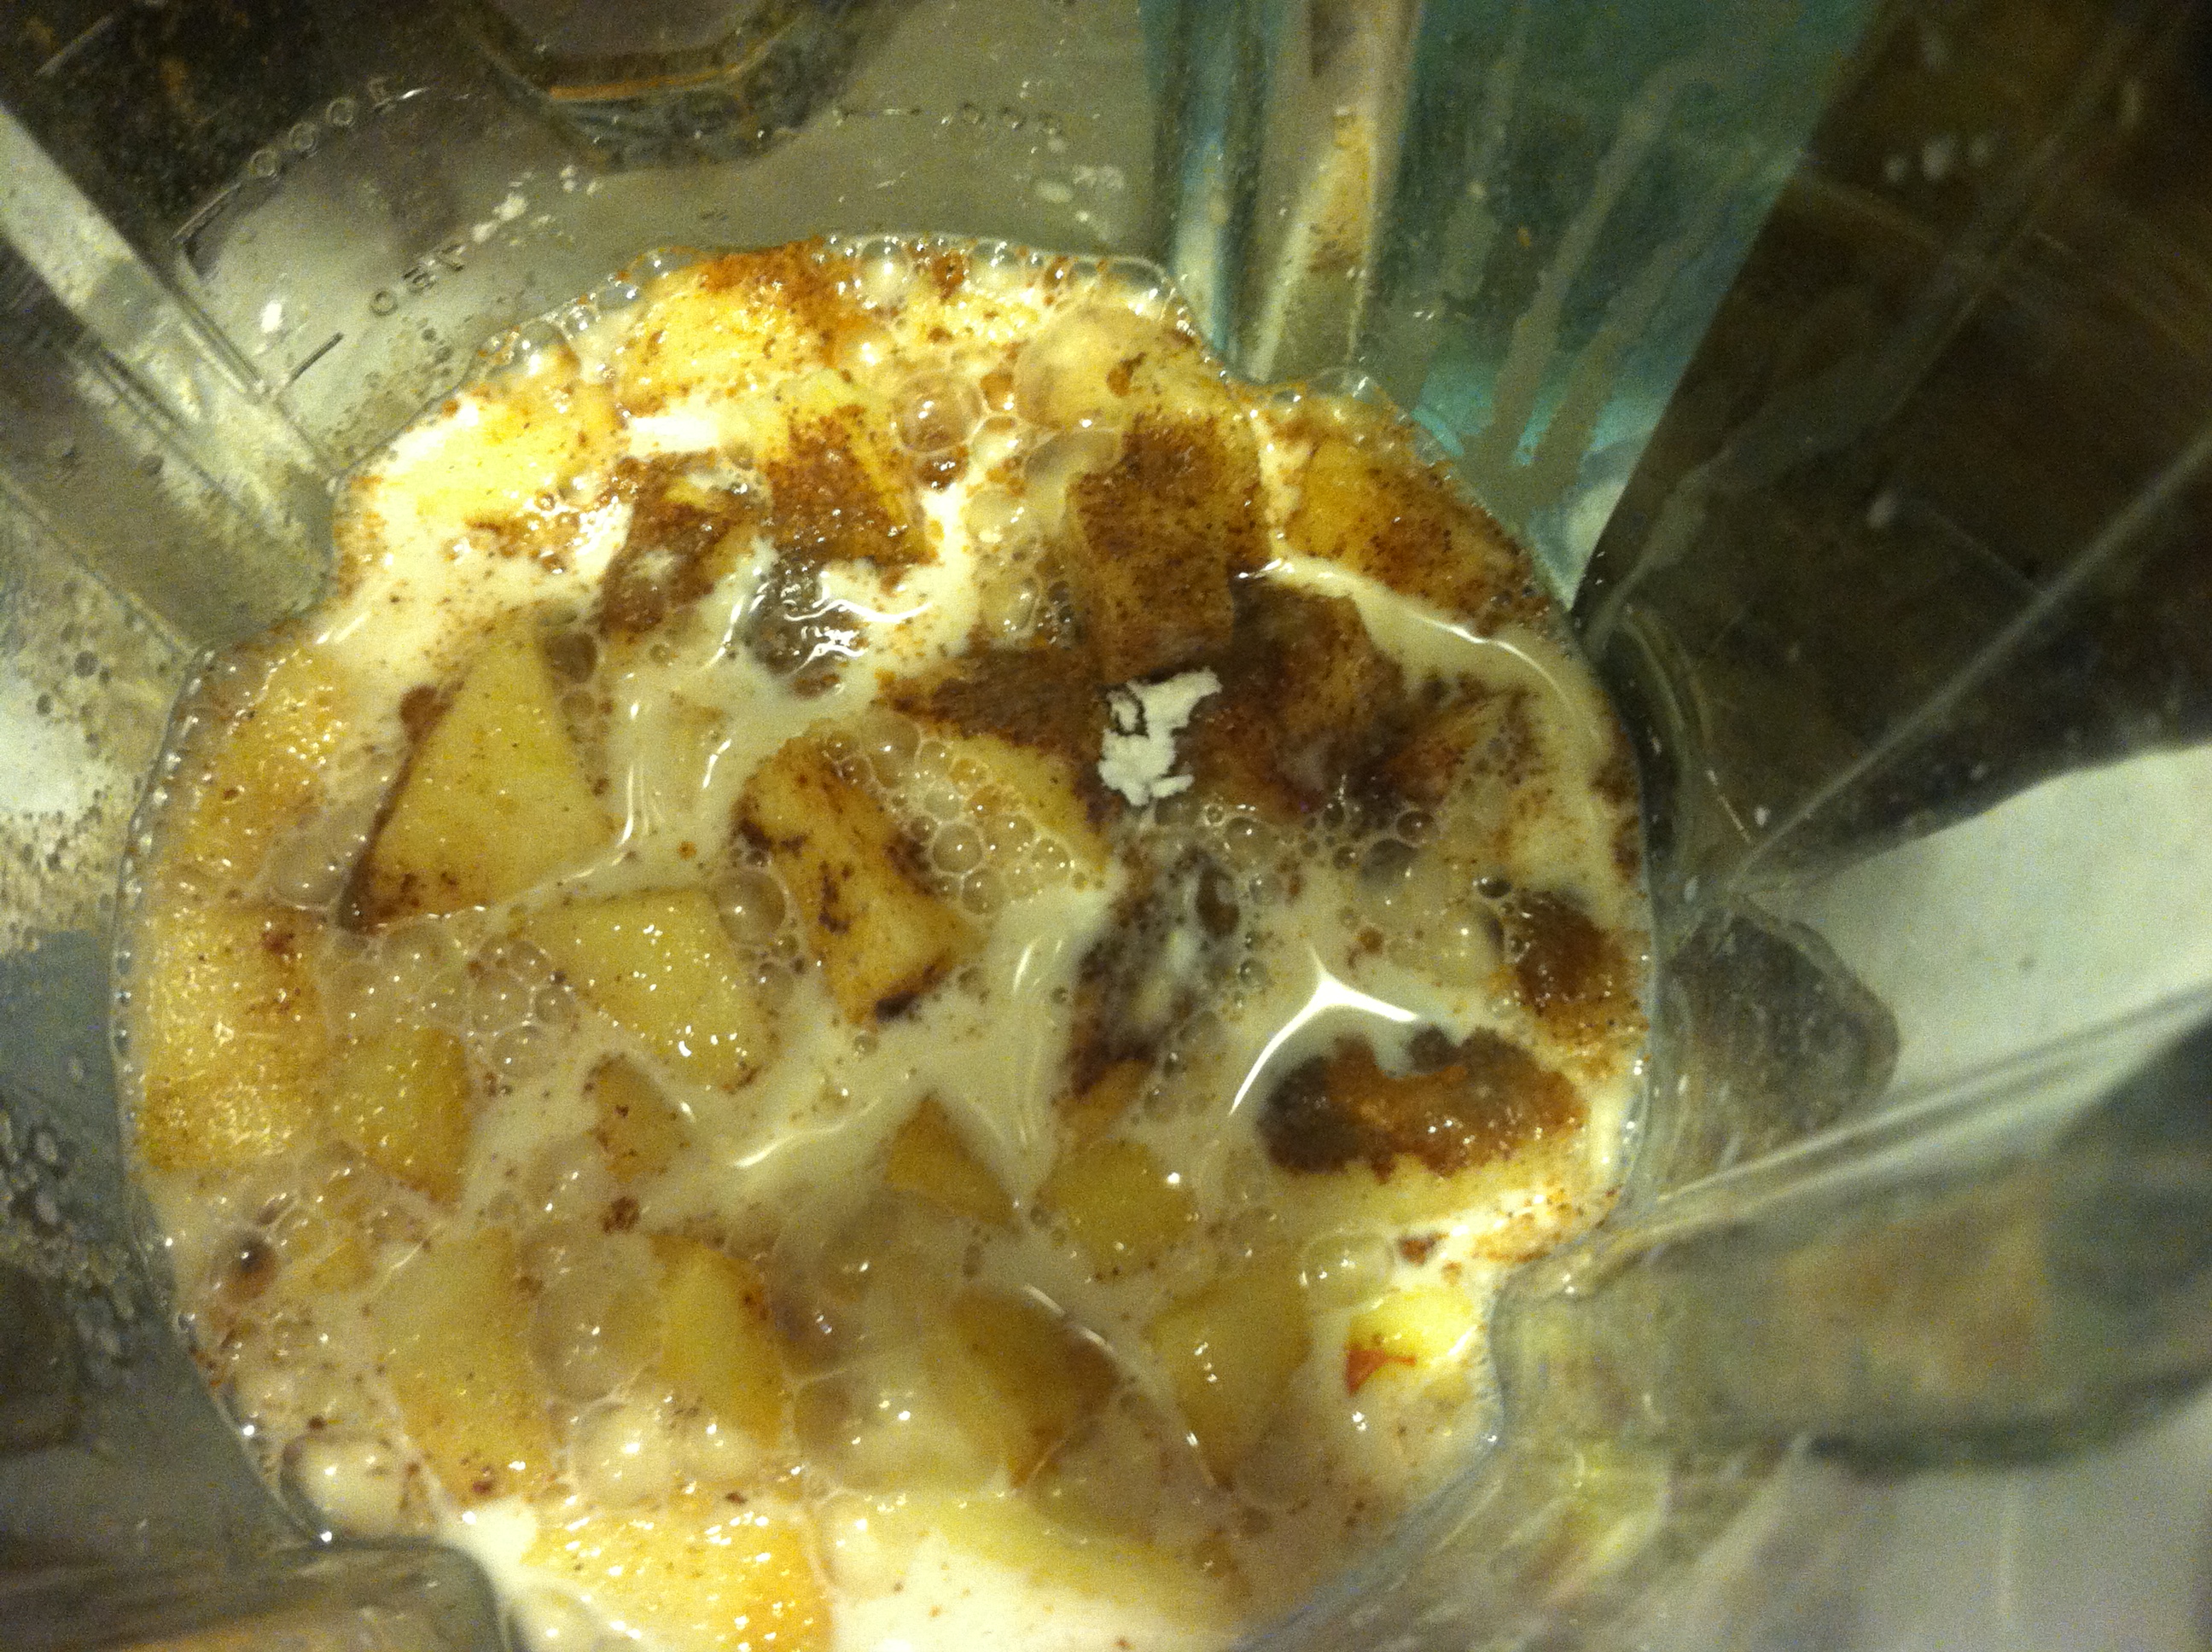
Place all ingredients in a high powered blender or food processor and mix until smooth.
If you do not have a high powered mixer soak cashews for at least 4 hours or overnight so that the batter will not be grainy.


Cook
Preheat oven to 375degrees.
Fill a casserole dish with water to go halfway the height of the ramekins or jars you in tend on placing the brulee mixture in. I have used both mason jars and square ramekins before and both come out well.
Pour batter into each ramekin allowing a little space so that they do not spill over as the casserole dish will be heavy with all the water in it. You need to be careful not to allow water into the ramekins.

Cook for at least 30 minutes or until the batter is wiggly but not liquidy and slightly firm on top.
Chill
Take ramekins out of the water with tongs and place on a towel on a drying rack. Let cool 15 minutes and then transfer into the refrigerator for 2-4hours.
Brulee
After the creme is completely firm and chilled through and you are ready to serve. …Take sugar, sprinkle a good layer on each creme top, and brulee with a hand torch until the sugar bubbles, browns, and quickly hardens.


Serve Immediatly.

Serves 6. WW Points 6.
____________________________________________________________________________________________________________________________________
XOXOX,
The Hippie Gypsy
Meatless Monday Meal Menus and Recipes
At my office there are quite a few folks trying to do Meatless Mondays for environmental and health reasons. We have a fabulous Wellness Committee that I am honored to be a part of that organizes everything from 15minute chair massages to bootcamps to a Wellness Day once a year where everything that helps us be healthy comes together. This year there was healthy food, healthy activities, mindfulness activities, ecofriendly ideas for the year, carpooling incentives, etc. It’s amazing! I am very blessed to be here. I held the Meatless Mondays booth feeding the masses vegan and vegetarian foods and giving them the ecofriendly reasons to try Meatless Mondays as well as health benefits and of course the history behind it all. It was fun. But now is the hard part. Months have passed and my coworkers and others around the world participating in Meatless Mondays have to scour the fridge, the internet, and the grocery for menu ideas for the family when Monday comes around. So here are some collections of my recipes formed into “menus” to help my coworkers and fellow Meatless Monday participants out. Enjoy!
(1) Homestyle Comfort Meal
- Appetizer: Fillo Primavera
- Dinner: Chicken Pot Pie
- Dessert: Peanut Butter Fudge and Homemade Ice Cream
(2) Fresh and Quick
- Appetizer: Moroccan Salad
- Dinner: Chili with a Dollop of Guacamole on Top
- Dessert: Lemon Meringue Pie
(3) Guy’s Night
- Appetizer: Spinach Artichoke Dip
- Buffet Dinner Options: Chicken, Broccoli, Ziti and BBQ Seitan on Pretzel Rolls
- Dessert: Snickers Cheesecake
(4) Ladies Night
- Appetizer: Farro Salad
- Dinner: Stuffed Mushrooms with a Bechamel Sauce and Roasted Garlic and Tomato Couscous
- Dessert: Grilled Peaches
(5) Kids Night
- The Vegan Food Pyramid for Kids to understand how to eat healthier!
- Dinner: Vegan Bacon Macaroni and Cheese
- Dessert: Chocolate Dipped Strawberry Cupcakes
(6) Holiday Meal
XOXOX,
The Hippie Gypsy
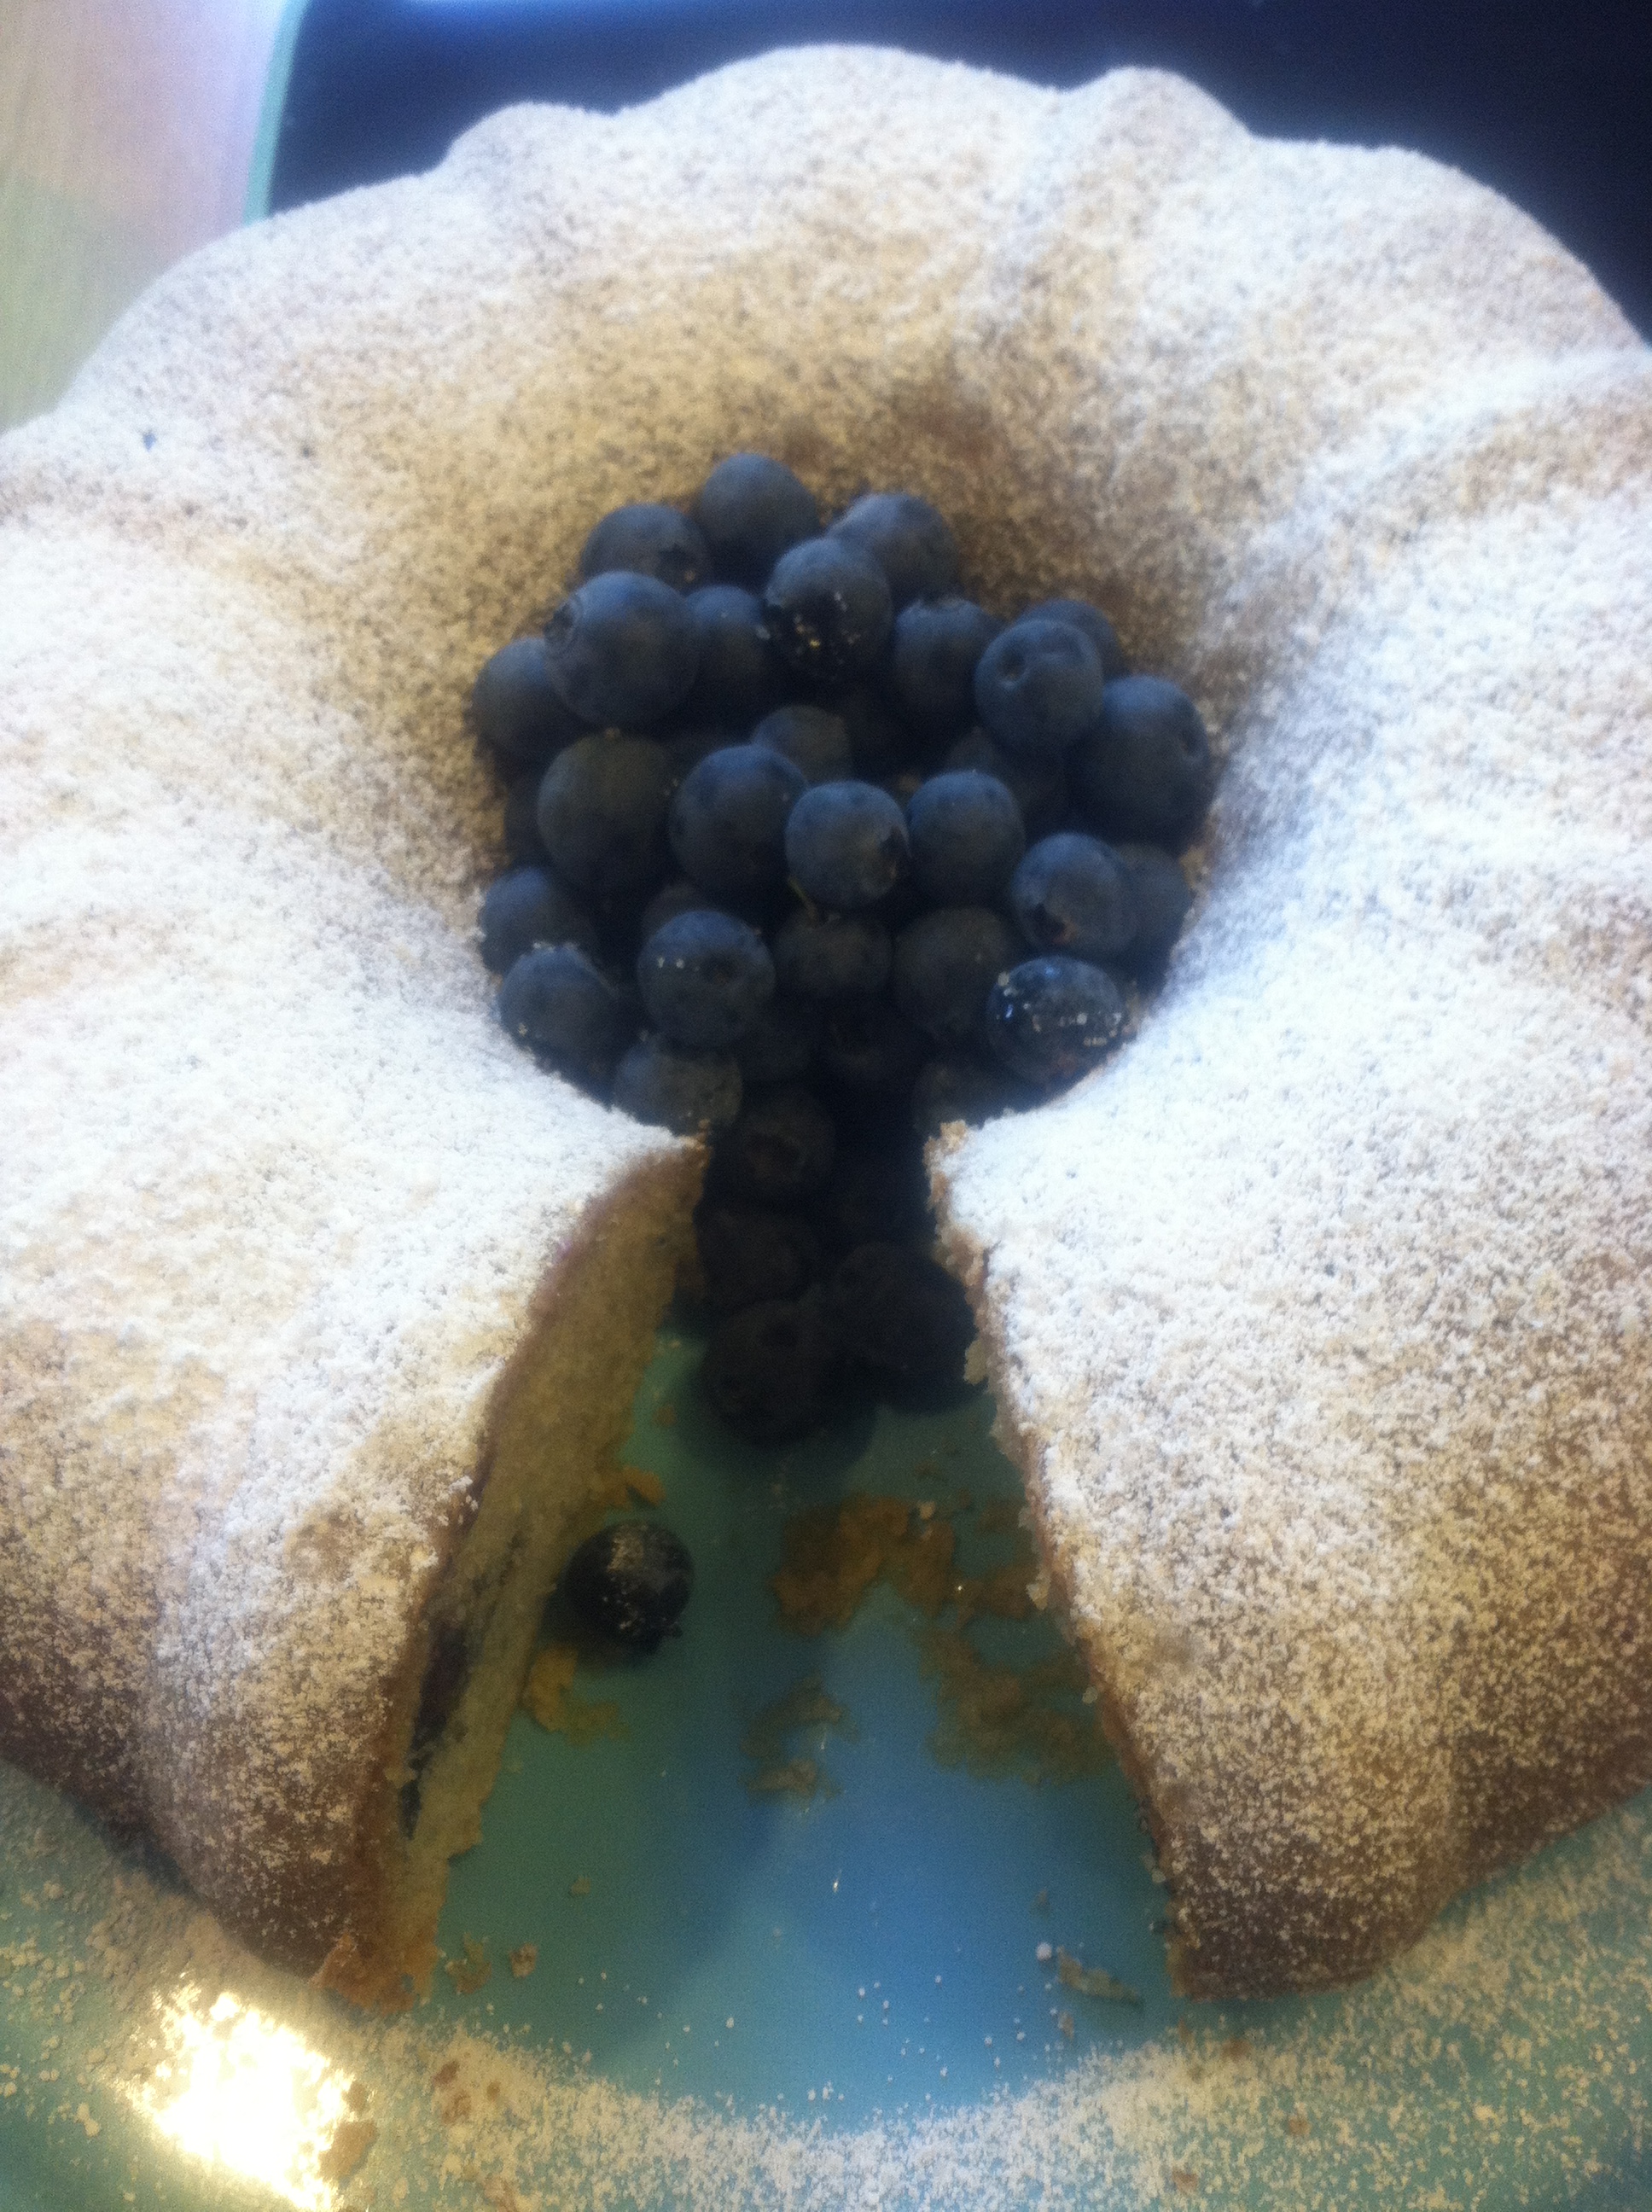
Lemon Blueberry Breakfast Bundt Cake
I use two cookbooks when making cakes in most cases either Chef Chloe’s cookbook “Chloe’s Kitchen” or the “Joy of Vegan Baking”. The Joy of Vegan Baking has an excellent Lemon Blueberry Loaf Cake Recipe if I remember correctly. For the purposes of this cake we are doctoring up Chef Chloe’s vanilla cake recipe (www.chefchloe.com) and making it a lemon blueberry cake for brunch in honor of my Mother’s birthday this past week.
My family is big on brunch. We do Easter brunch every year and for most informal birthday or family get togethers. We are great at doing brunch and I have been to so many hotel brunches all over the world I feel spoiled by them during my Sunday indulgences. I think that brunch is so much fun for everyone because it encourages good eating through small portions and copious amounts of veggie and fruit options even when they are not always attached to vegan items. There are fruit cups, quiches, and omelettes filled with veggie fillings so I am all about it! However, the pastries and baked goods are always filled with eggs and dairy so I am going to change that today with this travel friendly recipe to bring to your next family soiree. I promise everyone will love it. I have made it for a potluck at work a few years ago and recently for a family get together after the funeral of my grandmother and as the only vegan I always suffer the “this tastes different” criticism. But not with this cake. Even my Dad was found picking at it long after brunch was over!

____________________________________________________________________________________________________________________________
Lemon Blueberry Bundt Cake
Ingredients:
- 1 lemon
- 1 cup of fresh blueberries (plus 1 cup for garnish)
- 1 jar lemon marmalade (for garnish)
- 1 tbsp of Lemon Extract
- 3 cups all-purpose flour (or gluten-free all-purpose flour plus 1 ½ teaspoon xanthan gum)
- 2 cups sugar
- 2 teaspoons baking soda
- 1 teaspoon salt
- 1 ¾ cups soy milk
- 1 cup canola oil
- ¼ cup white or apple cider vinegar (I use ACV not white)
- 1 tablespoon pure vanilla extract (I use Penzey’s Mexican Vanilla Extract)

TIME TO BAKE!
Chef Chloe’s Vanilla Cake Recipe with my additions in bold caps:
- Preheat the oven to 350 degrees F. Lightly grease three 8 or 9-inch round cake pans and line the bottoms with parchment paper.
- In a large bowl, whisk together flour, sugar, baking soda, and salt. In a separate bowl, whisk together nondairy milk (I USE ORGANIC SOYMILK) , oil, vinegar, and vanilla (ALSO ADD THE ZEST OF ONE LEMON RIND AND 1TBSP OF LEMON EXTRACT AND 2 TBSP OF LEMON JUICE.)
- Pour the wet mixture into the dry mixture and whisk until just combined. Do not over mix. (THEN SPRINKLE 1 CUP OF FRESH BLUEBERRIES LIGHTLY WITH FLOUR AND FOLD INTO BATTER. THE FLOUR HELPS THEM FROM SINKING STRAIGHT TO THE BOTTOM OF THE CAKE PAN.)
- Fill each prepared (BUNDT) cake pan evenly with batter. Bake for (20-30) minutes, or until a toothpick inserted in the center of the cake comes out clean with a few crumbs clinging to it. Rotate the cakes halfway through the baking time. Cool the cakes completely before assembly.
- I then flip the cake over on a cake pedestle and sprinkle with powdered sugar and garnish with fresh blueberries in the center. I serve this with lemon marmalade that I buy when it is on sale at Christmas Tree Shops since they are famous for having sales on jars of jellies.

Enjoy!
Serves 12.
WW POINTS: 9pts per serving. (Based on 12 servings)

_________________________________________________________________________________________________________
XOXOX,
The Hippie Gypsy
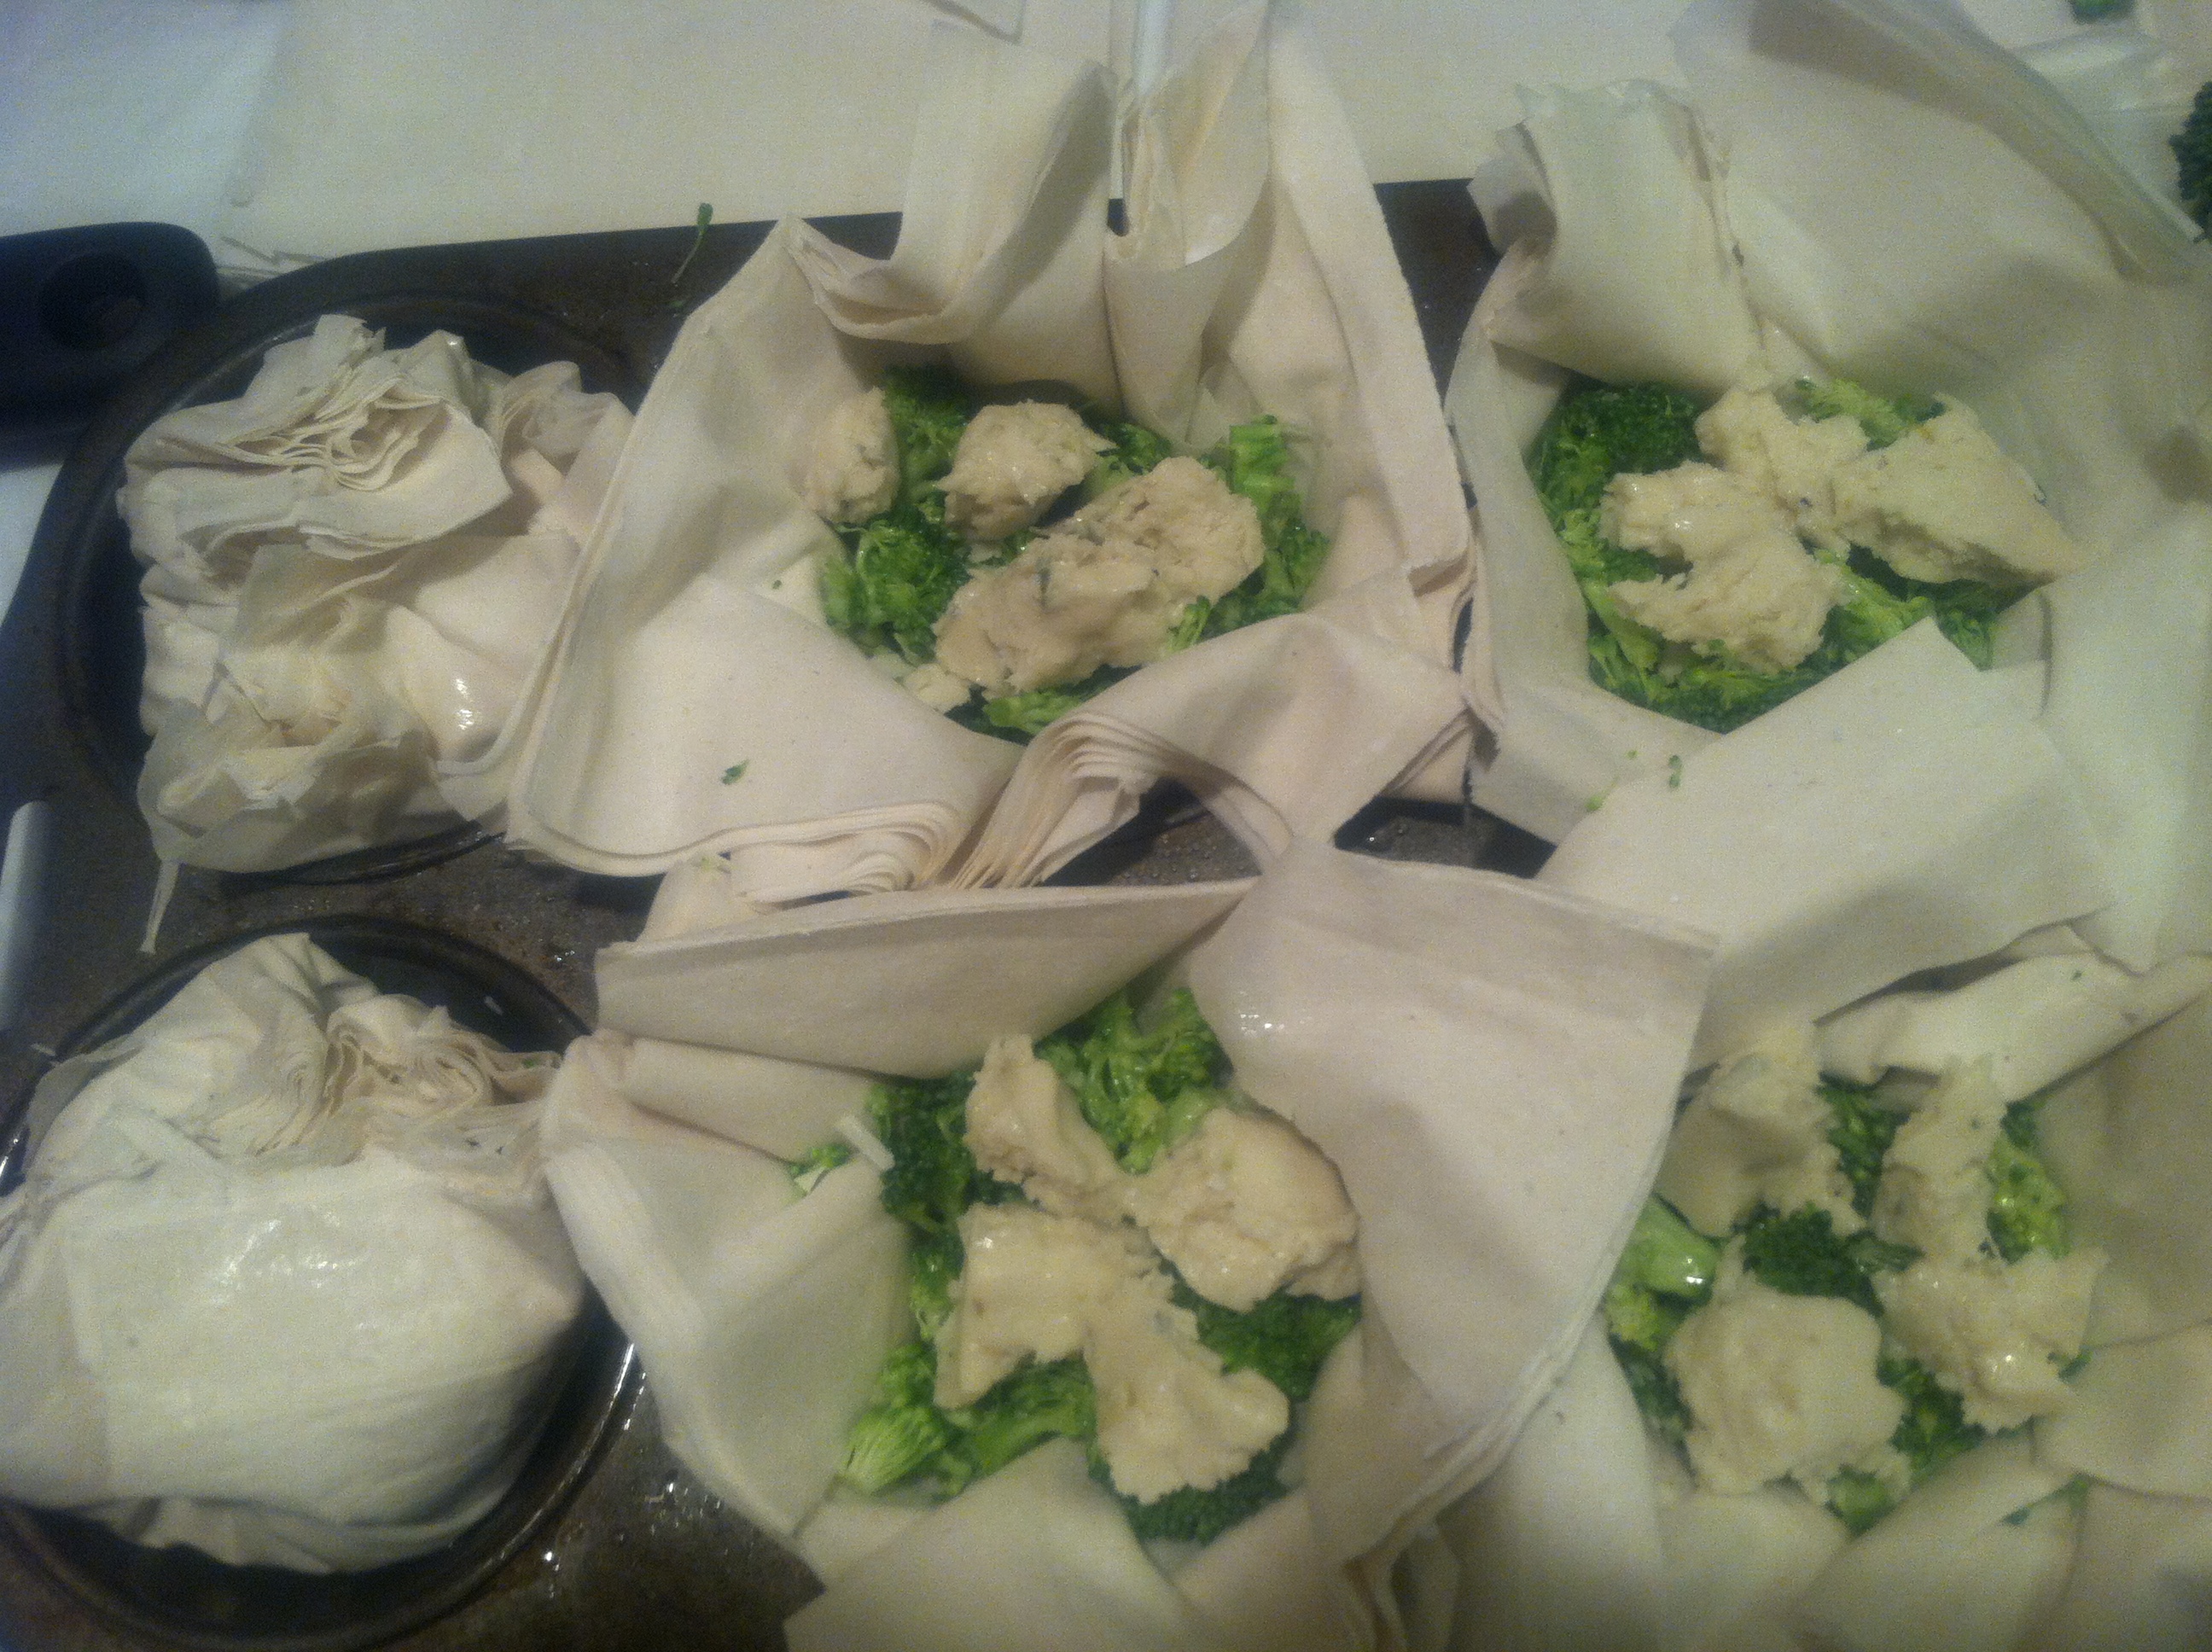
Fillo Primavera: Veggie and Cheese Filled Pastries
I love that there are so many types of pastry and dough on the market that are vegan. Mostly because Crisco and Shortening are vegan, not healthy, but vegan none the less. So when I was craving something like a Beef Wellington pastry I thought oooh I bet I could make those with fillo dough, pie dough, Pillsbury Croissant Dough, or even pizza dough! So for my first attempt I didn’t go straight to the Gardein Beef but instead to some veggies and Daiya cheese but please feel free to try these with any type of faux meat, vegetable, cheese, or even fruit! The Farmer’s Markets are brimming with good things lately so I encourage you to experiment with this. Make an eggplant parm fillo or even a butternut squash one with a pinch of cinnamon and brown sugar try a dessert fillo with peaches and earth balance , sugar, ginger, and cardamom. Whatever you can imagine will fit perfectly in this dough!

____________________________________________________________________________________________________
Fillo Primavera
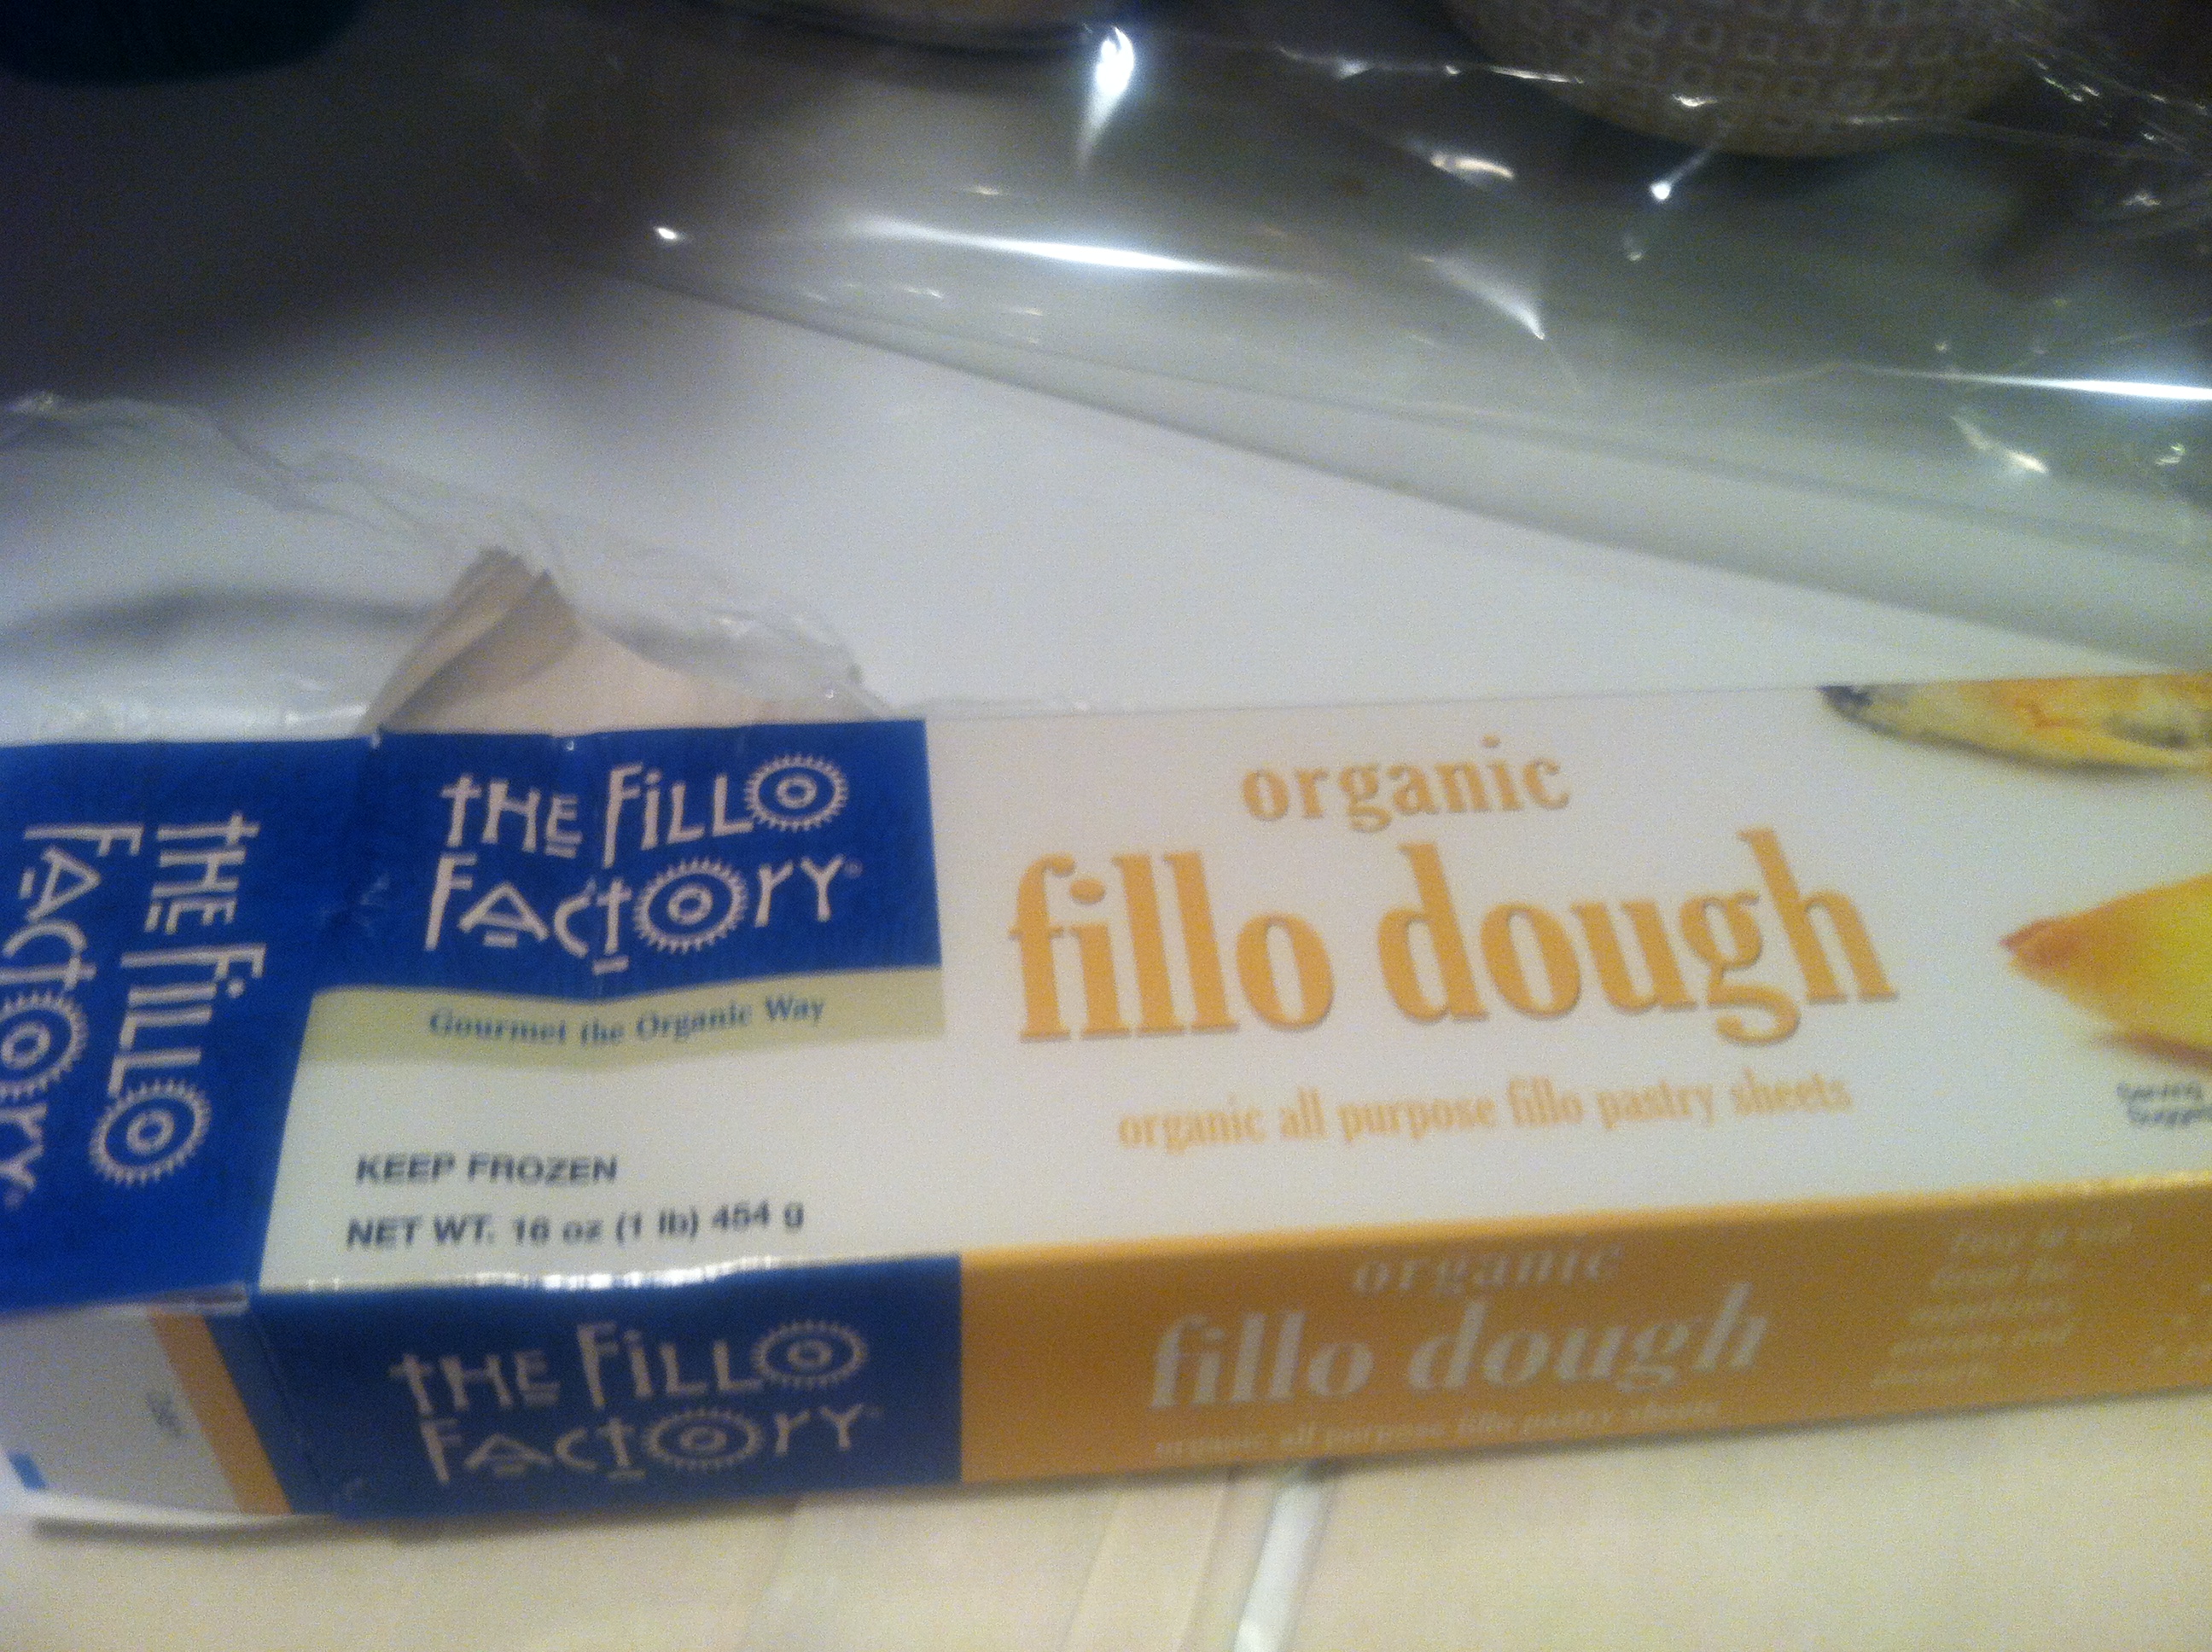
- 1 box Organic Fillo Dough
- 1 head broccoli
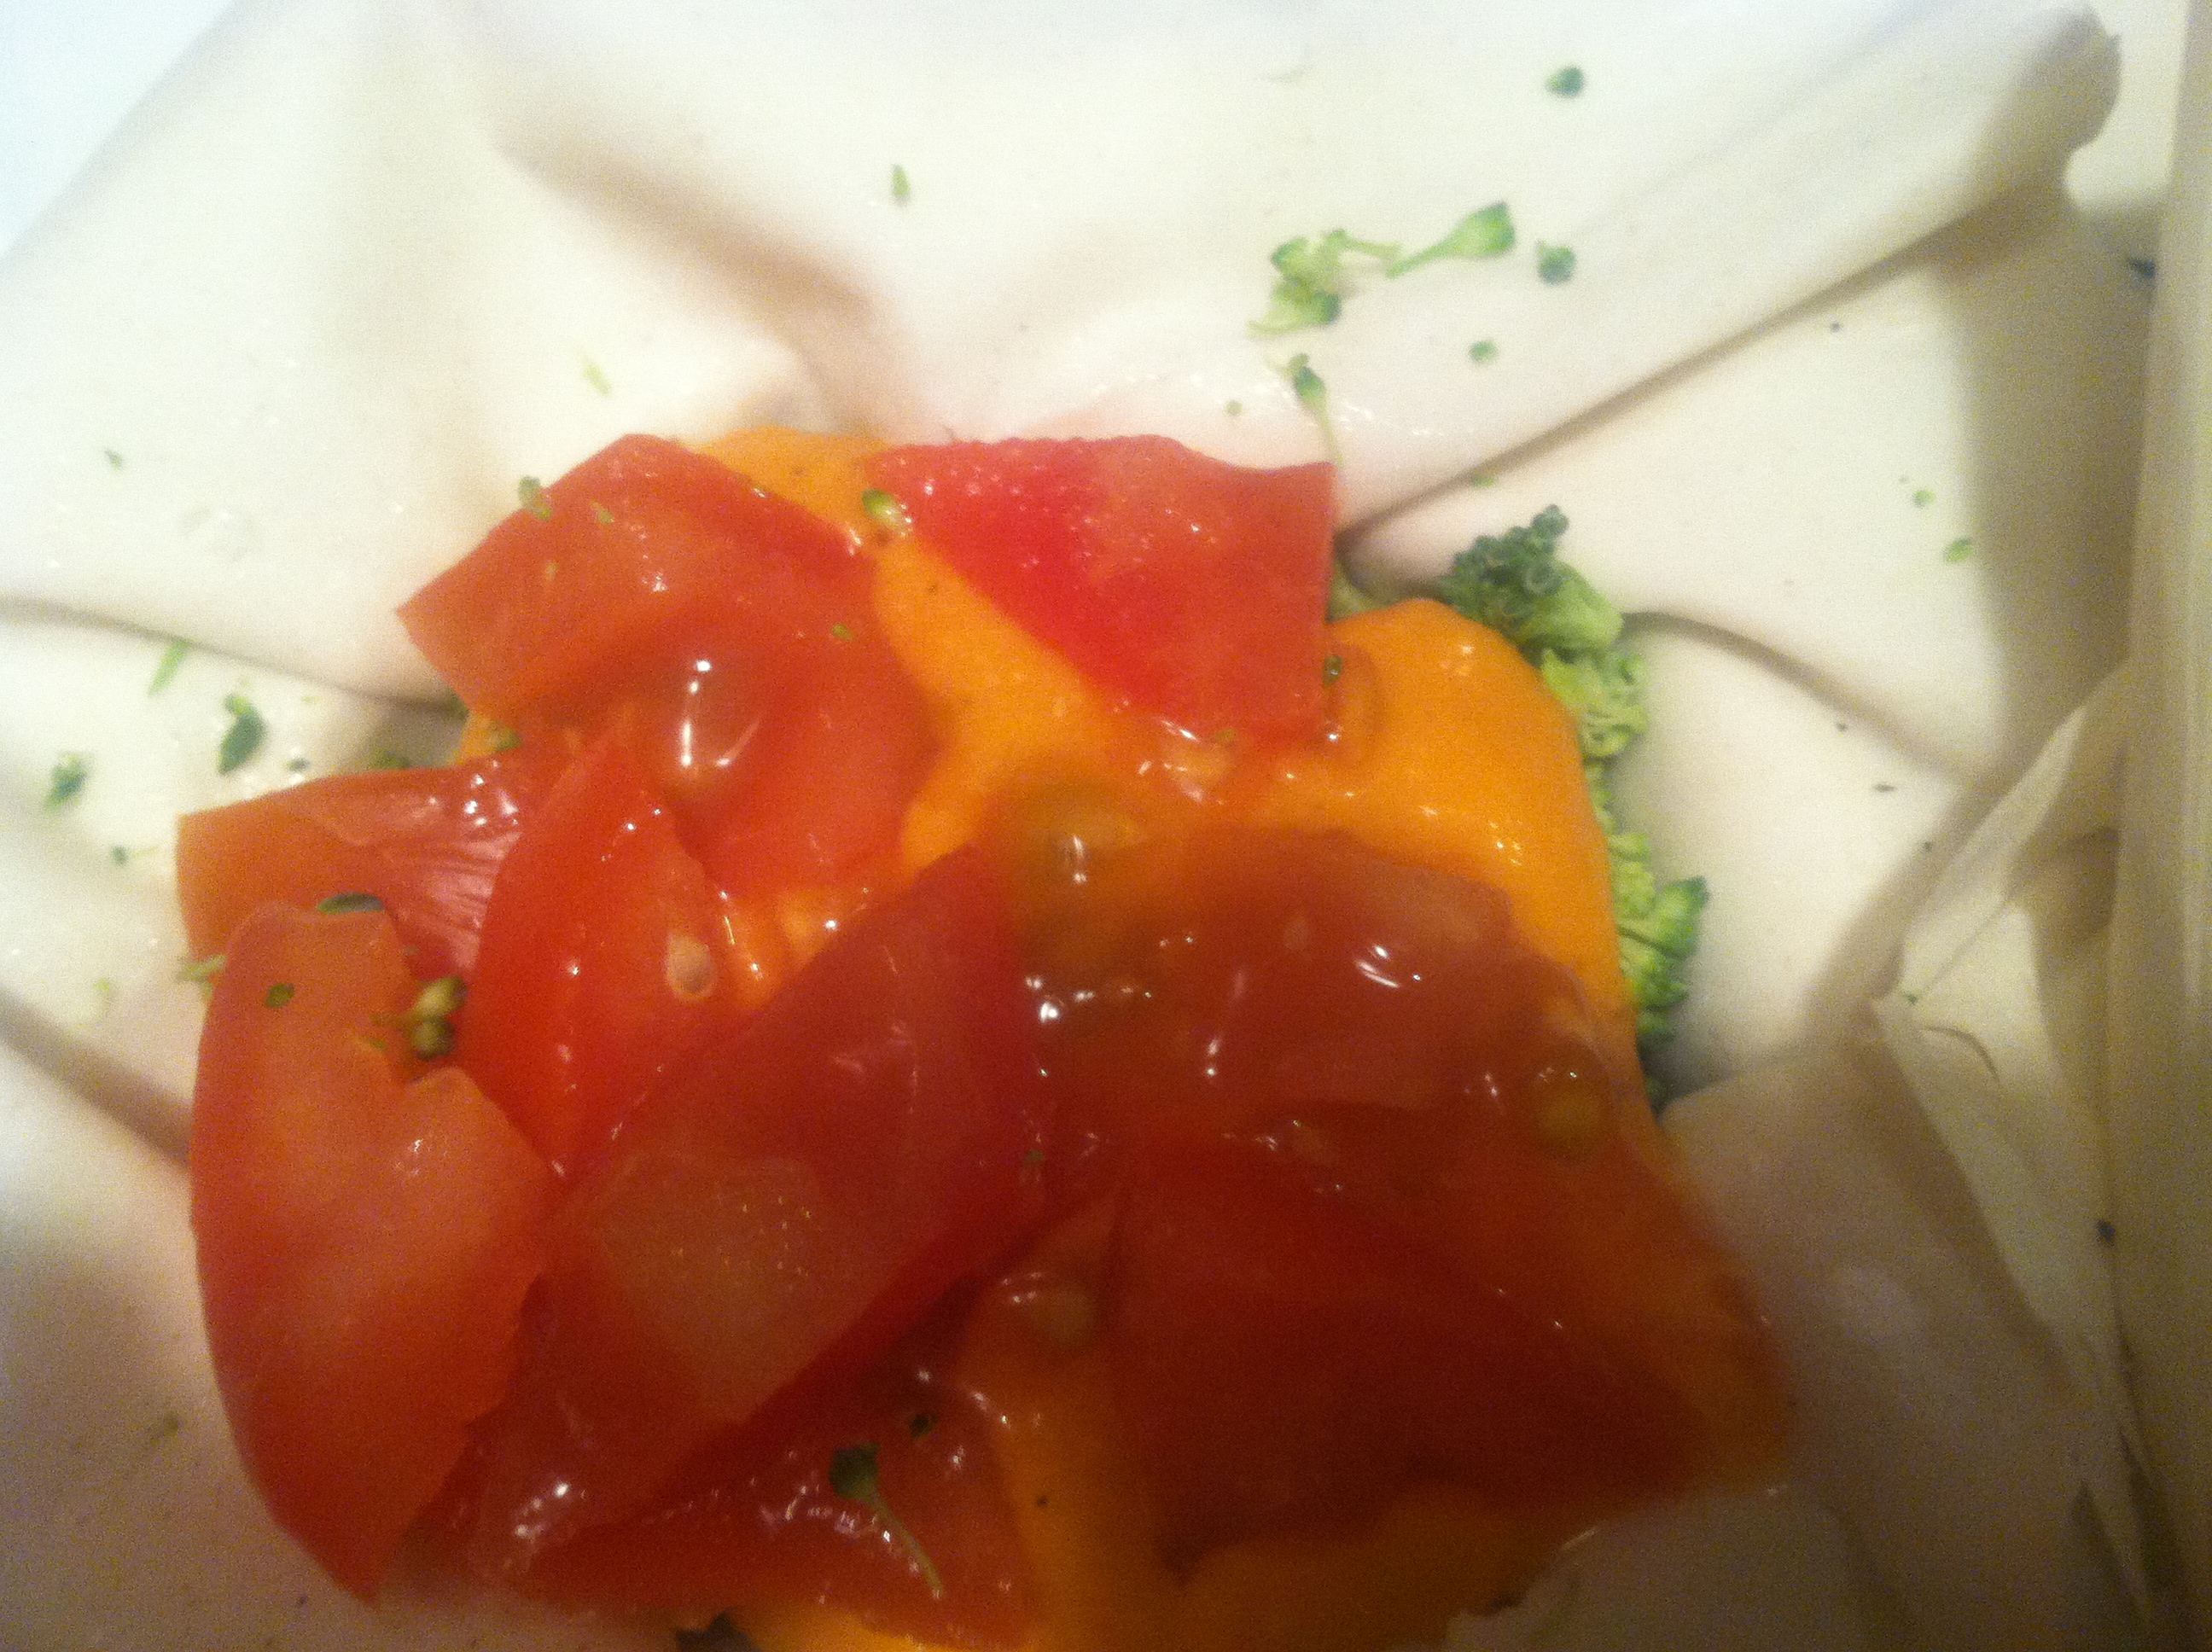
- 2 tomatoes
- 1 block Daiya Havarti Cheese
- Kosher Salt
- Pepper
- Garlic
- Dehydrated Onions
- Olive Oil
- Optional: 1 Container of Victoria Vegan Roasted Red Pepper Alfredo Sauce or Rao’s Marinara Sauce (Victoria Vegan Alfredo Sauces are available at www.veganessentials.com and Rao’s Sauces are available in most grocery stores including Whole Foods)
______________________________________
Prepare!
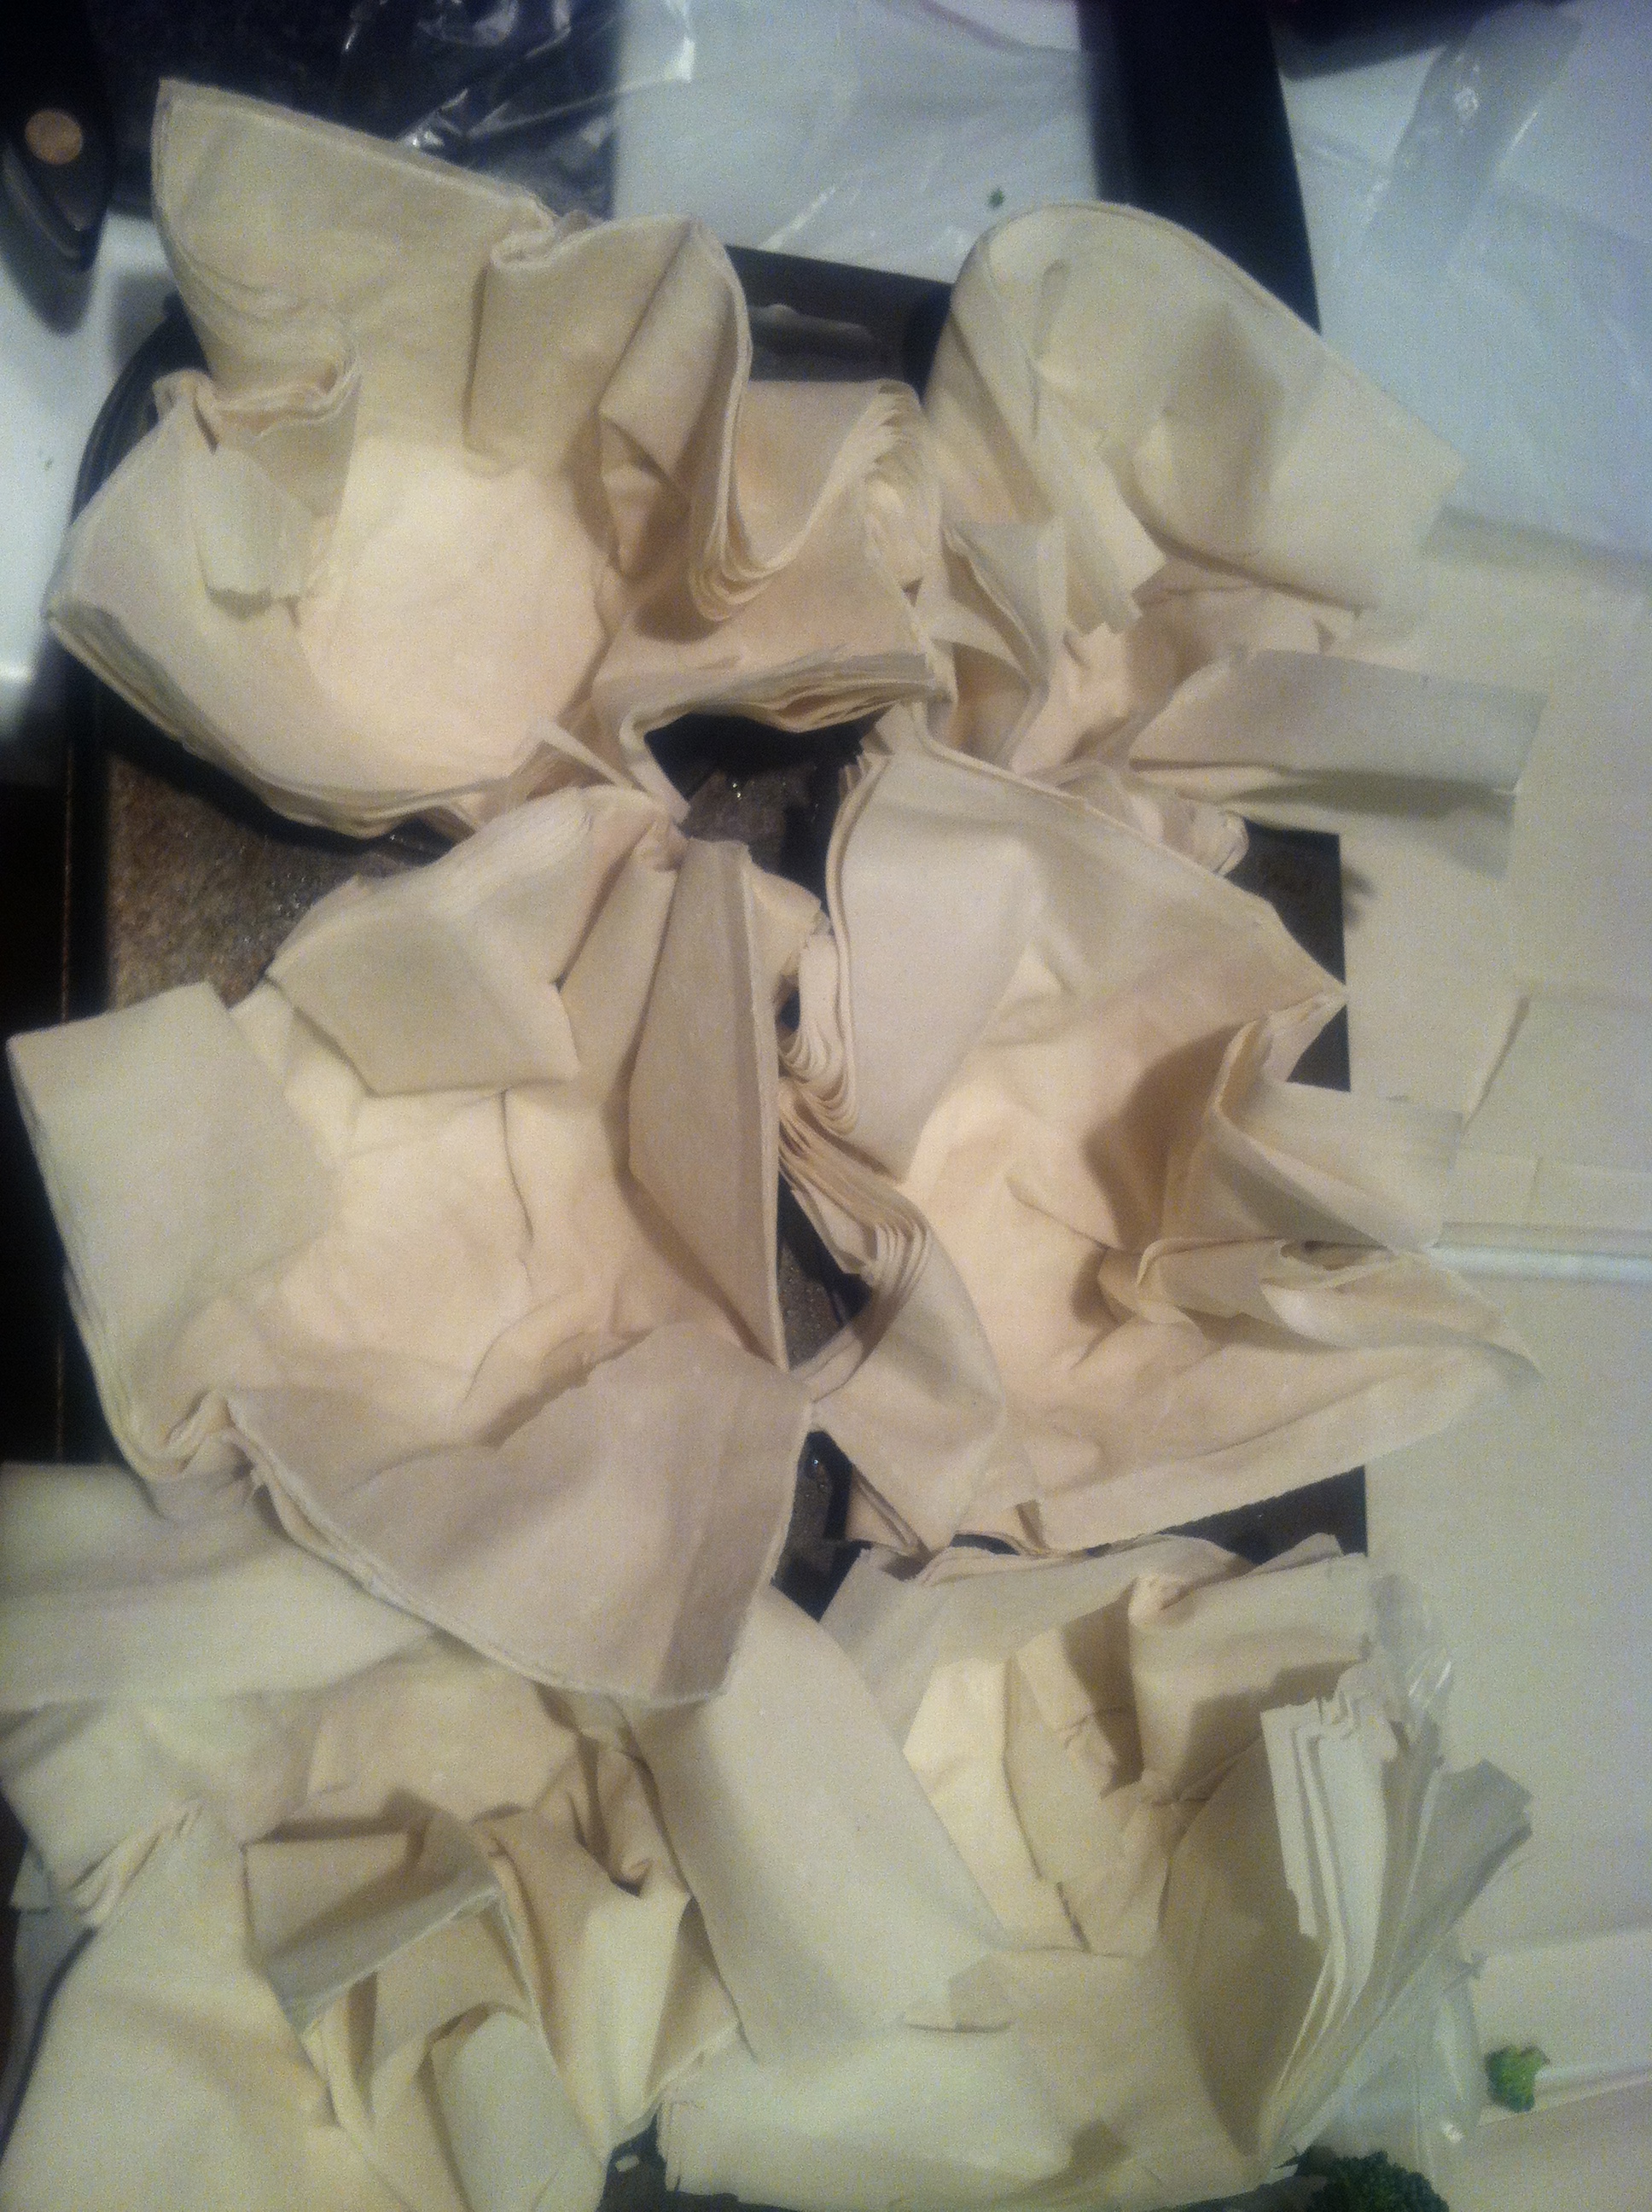
- Chop all veggies into tiny pieces to accommodate the fillo packages that will go in the muffin pan.
- Preheat the oven to 350 degrees.
- Spray muffin pans lightly with olive oil.
- Cut fillo dough into squares twice as large as the muffin tin holes.
- Place at least 3 sheets of the fillo dough square into each muffin tin hole.

- Spray dough with olive oil, sprinkle with Salt, Pepper, and Spices.
- Place chopped veggies and crumbled cheese into each fillo muffin.

- Add 1-2 tsp of optional sauces at this time like Victoria Vegan Roasted Red Pepper Alfredo or Rao’s Marinara.

- Sprinkle tops with more salt, pepper, and spices.
- Bring excess dough to a point and twist. Spray with olive oil and a sprinkle of finishing salt.
Cook!
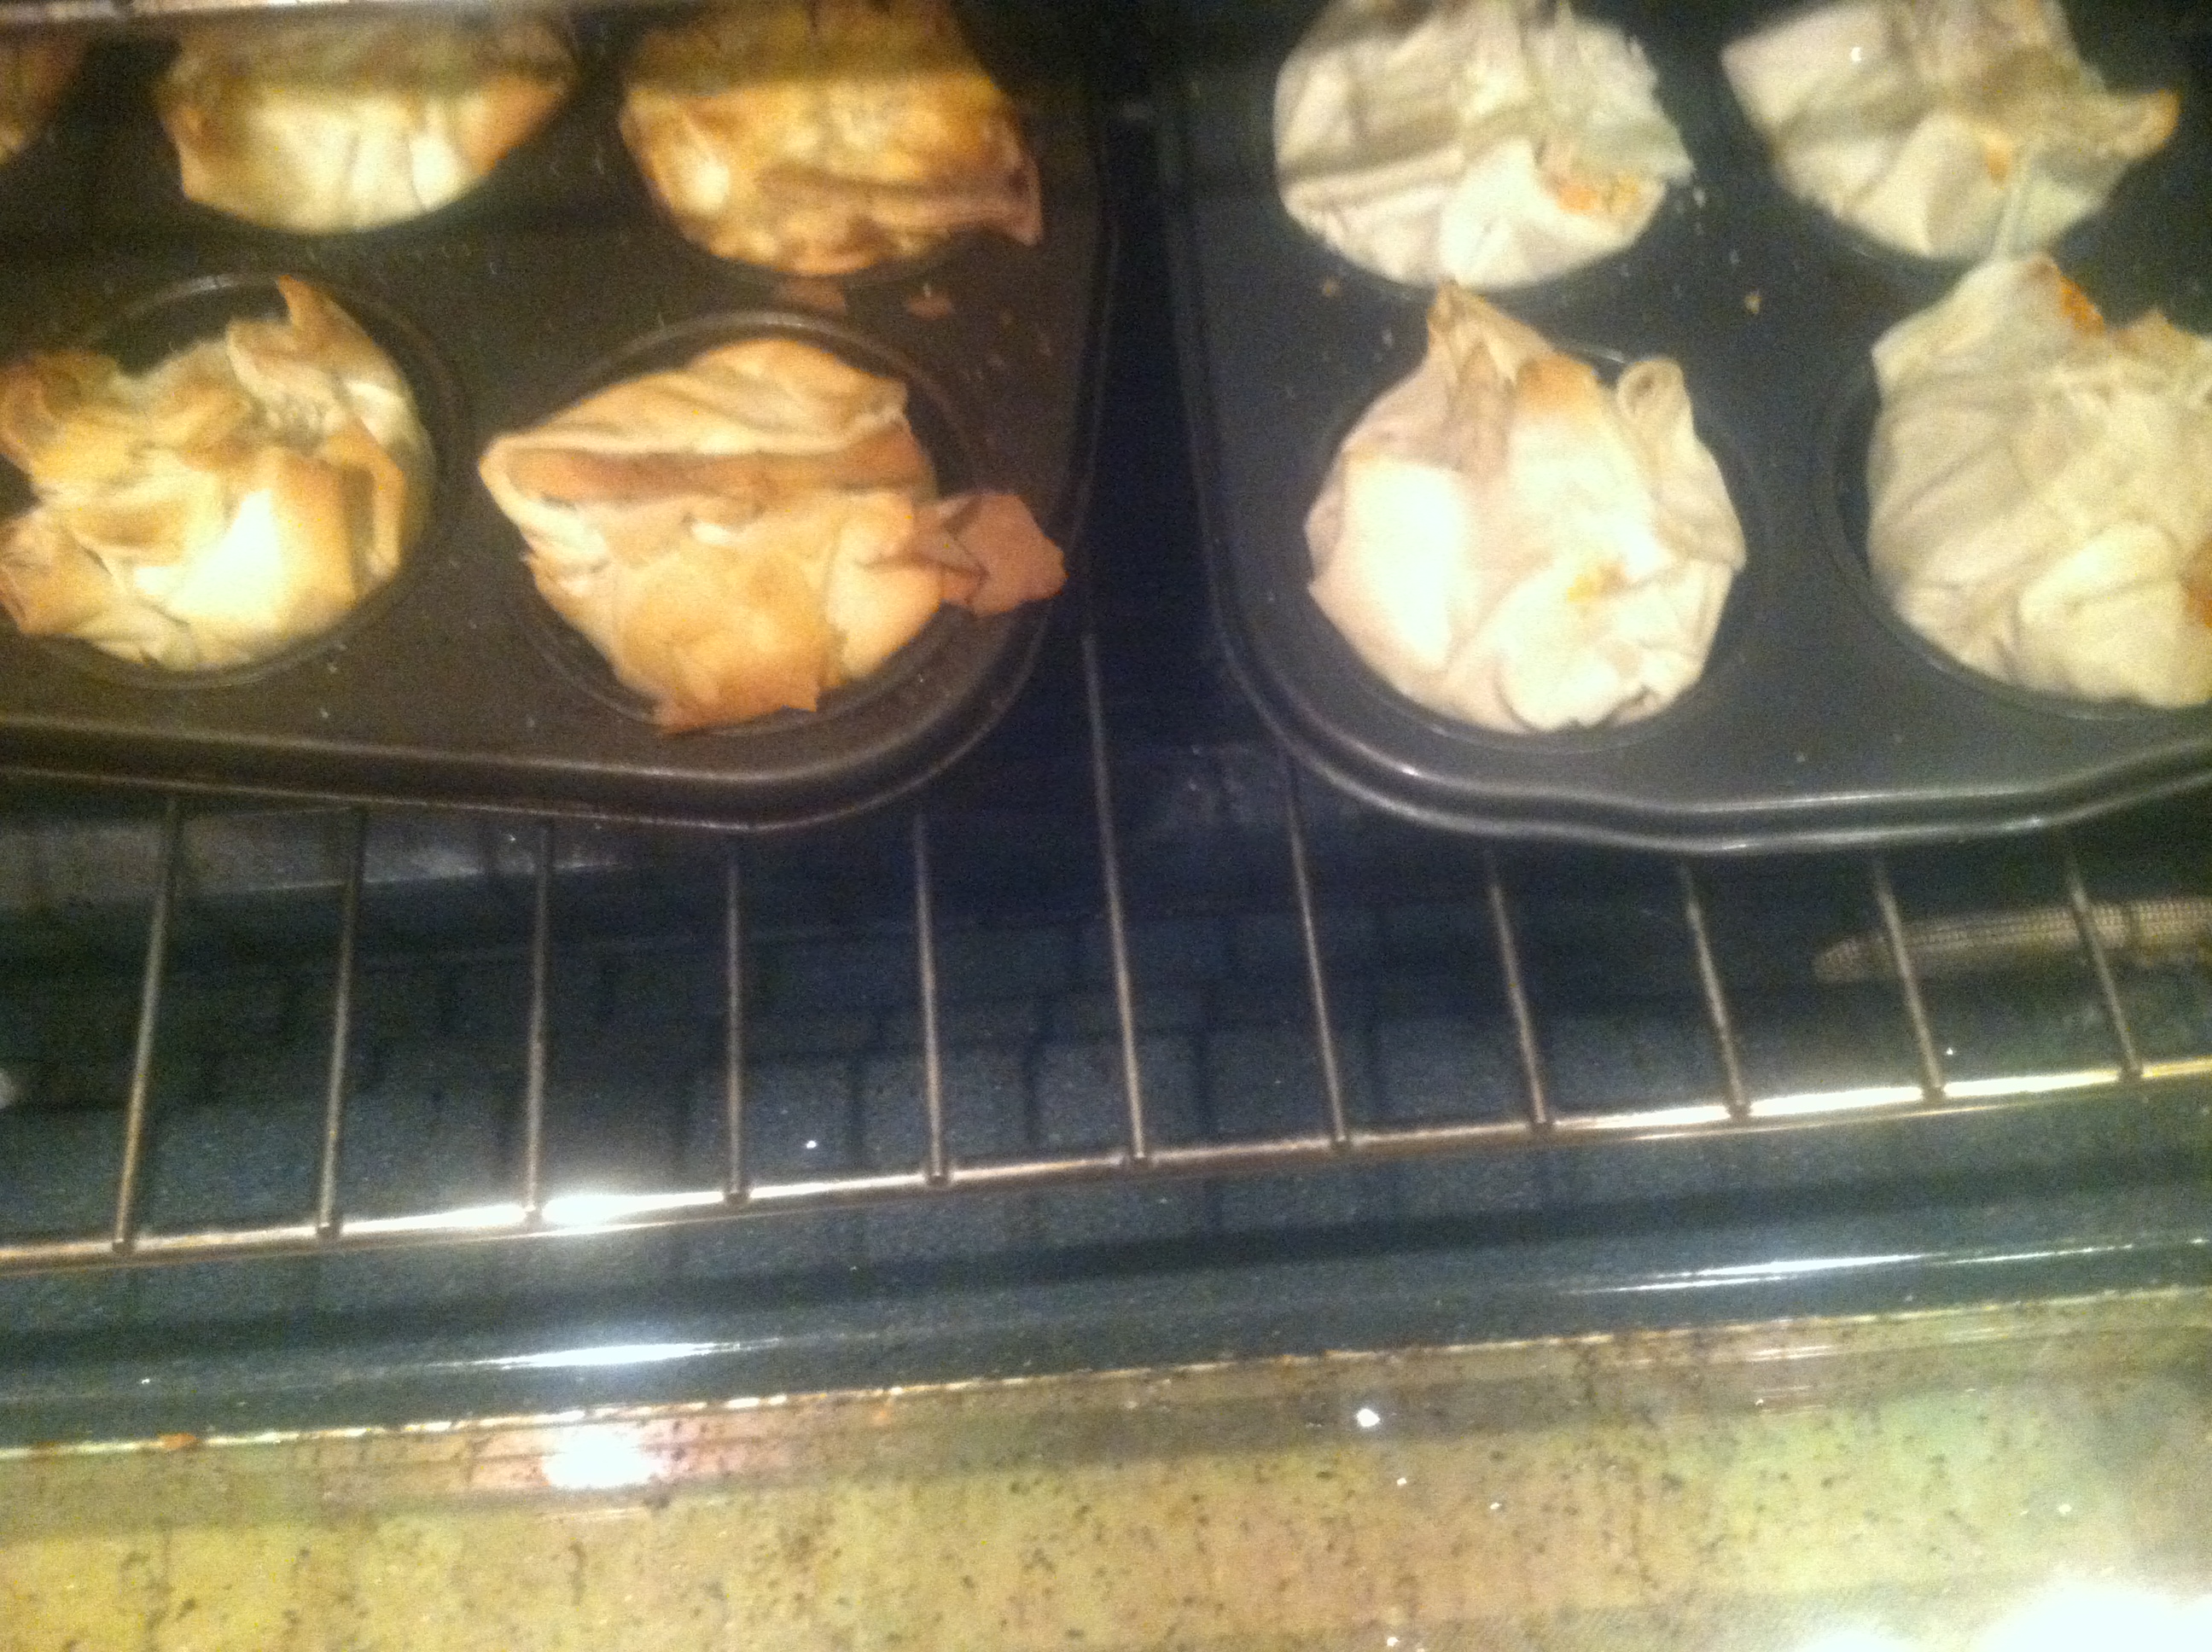
- Bake for at least 15minutes or until the dough on top starts to darken and the dough separates from the sides of the muffin tin. It may take longer depending on how dense your cups and what types of ingredients you filled it with.

- Note: Use more fill sheets for juicier fruits and veggies and less for more dense foods like chicken and broccoli.
- Serve immediately and enjoy!

____________________________________________________________________________________________
XOXOX,
The Hippie Gypsy
