When I was a kid one of my favorite things was watching my mom make meat sauce. I couldn’t see in the pot but I did get to taste test with pieces of white bread. I think I would eat about a half of a loaf of white Wonder bread by the time my mom was done cooking down the sauce. I would wash it all down with some good ol’ vitamin D “red” milk and a big orangey smile. Now that I am a grown up and a vegan… well… this isn’t on my list of things I can do. But I can try to recreate that taste. The only change to my moms sauce is really the meat. The rest was already vegan. So with that, I began my attempt with the use of the new Beyond Meat Crumbles. The only reason I attempted this recipe is because of these crumbles. They have the right flavor and texture and cook the same as regular hamburger would. This was always a problem with other crumbles; they either dried out or got mushy. Not Beyond Meat! So I was so confident making it I made it for dinner without even testing. Just to let you know… they didn’t let me down it, came out perfecto! I love Beyond Meat so so much. You should too. Also, this recipe is super duper simple and low ingredient. It is virtually error proof! Eat up!

________________________________________________________________________________________
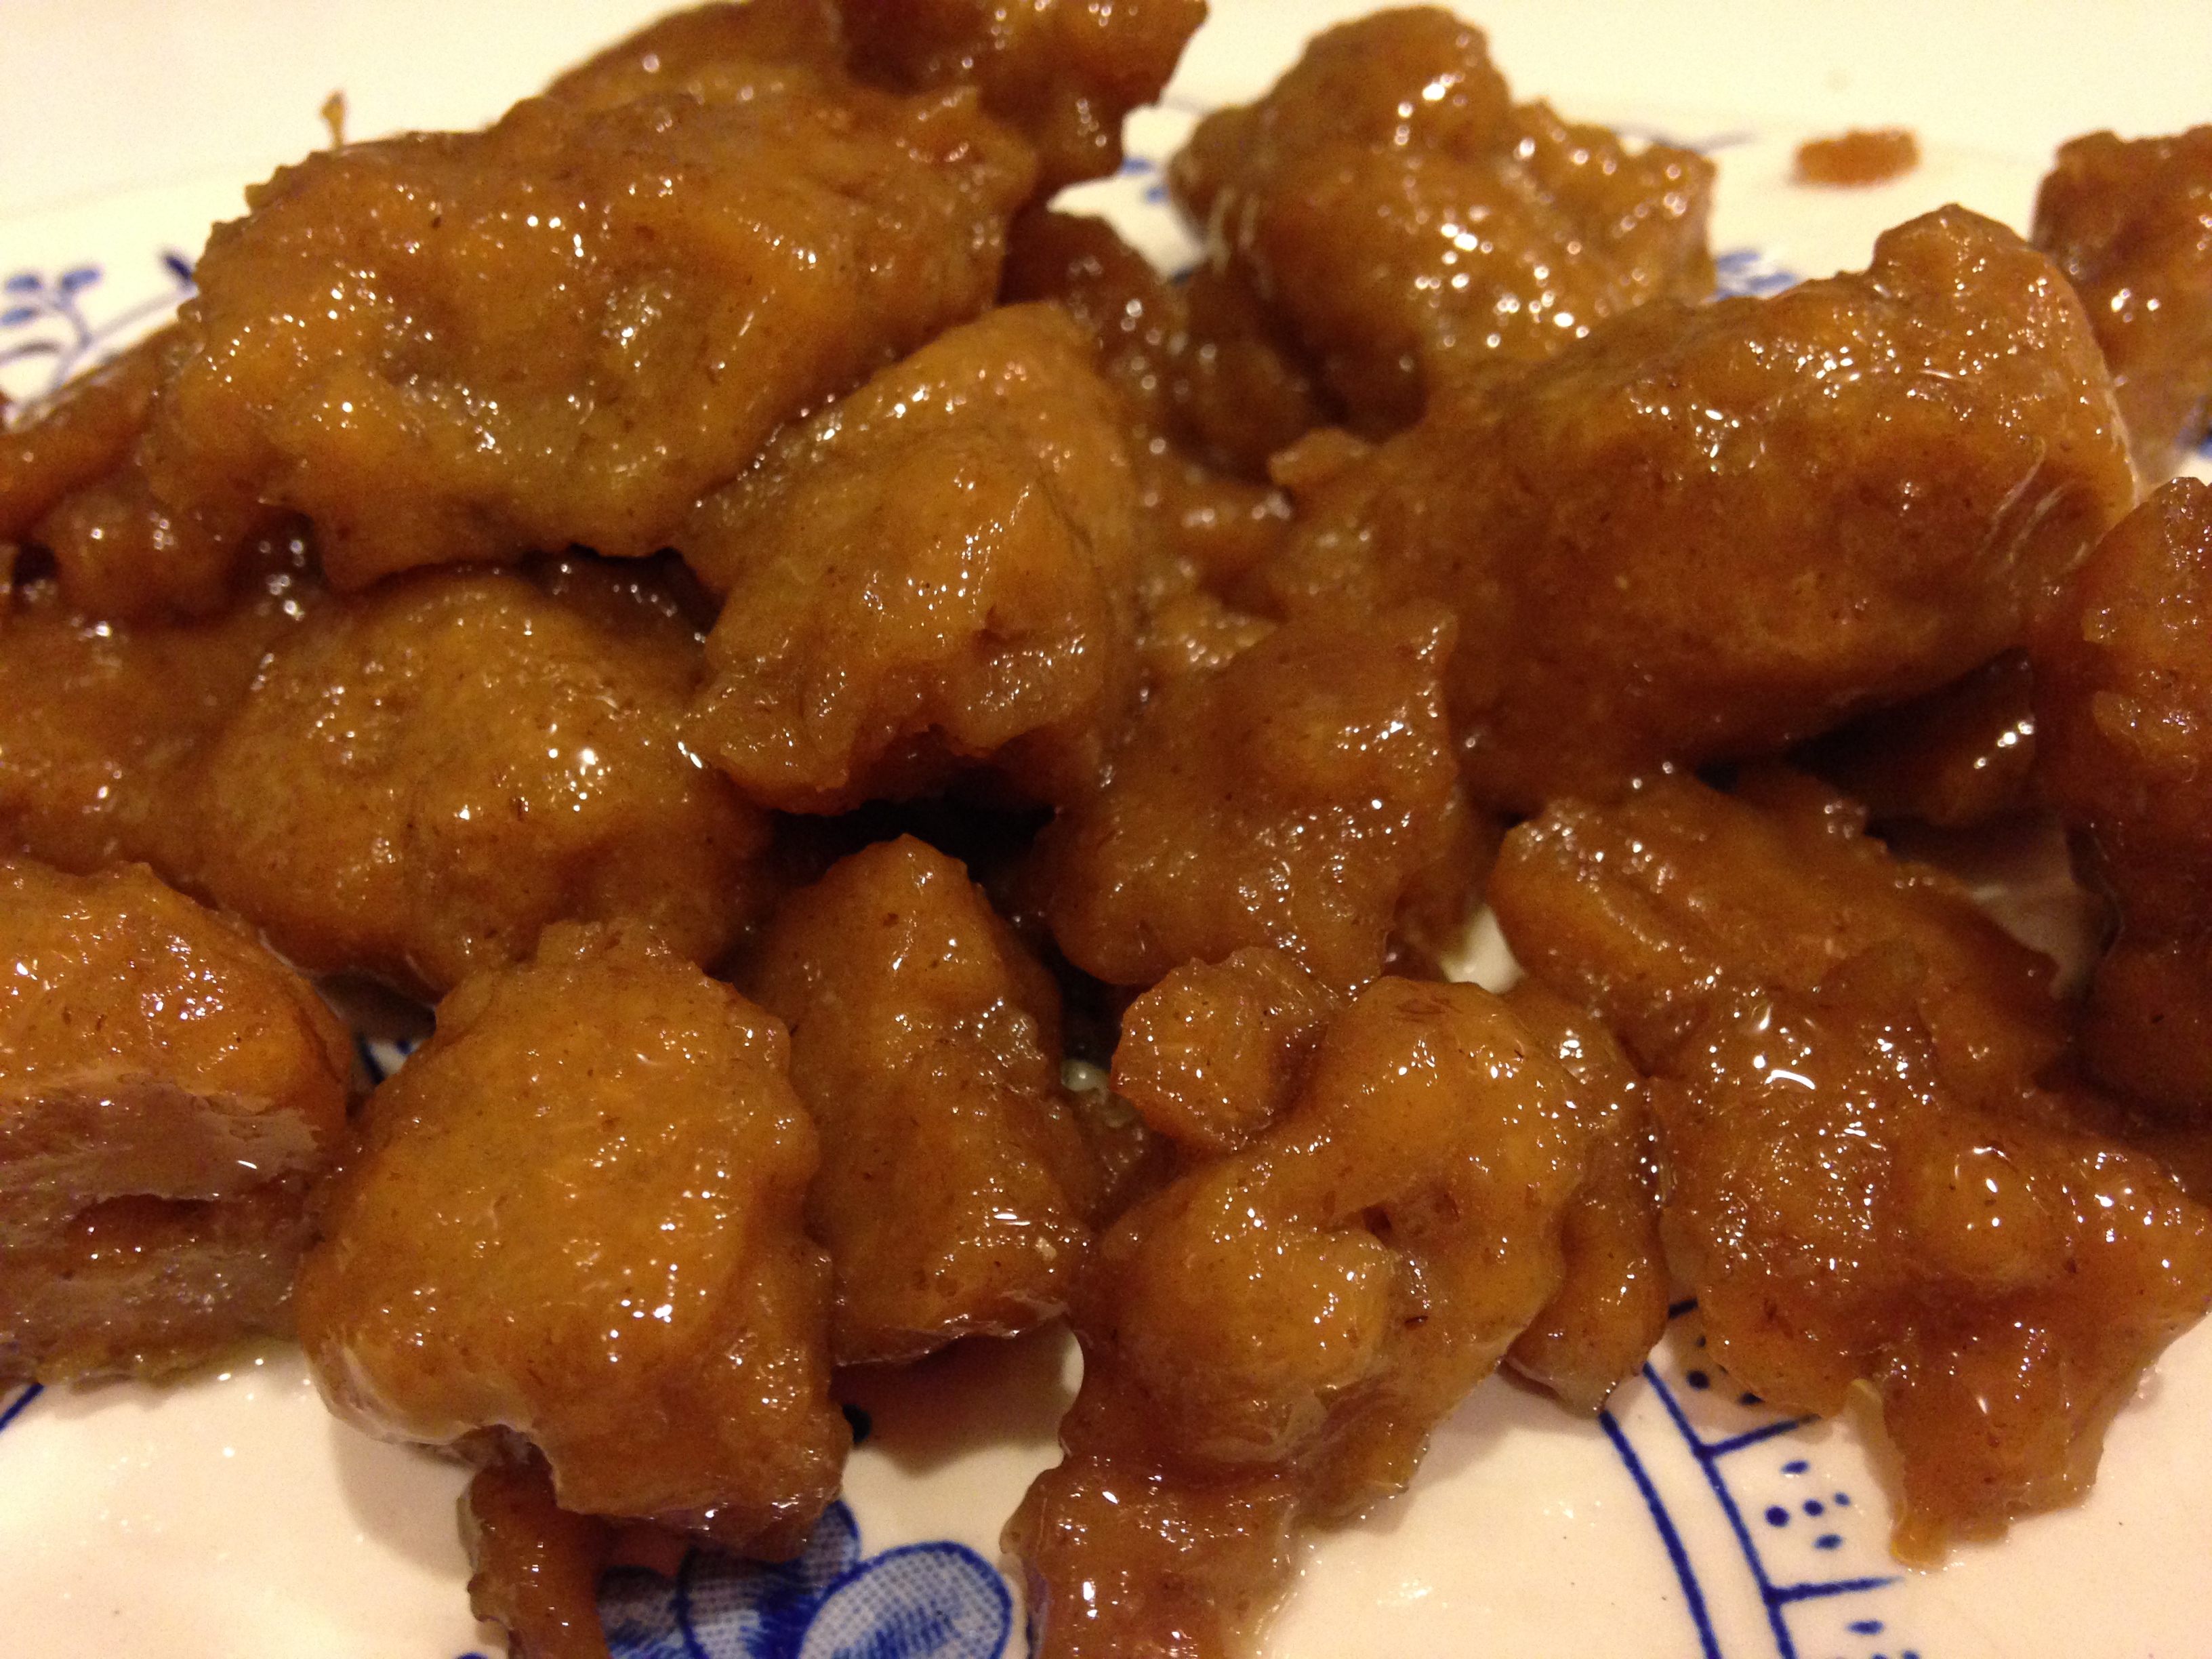
Spaghetti with “Beyond Meat” Sauce
- 1 Extra large can of Crushed Tomatoes
- 1 Extra Large Can of Tomato Puree
- 2 mini cans of Tomato Paste
- 1 package of Beyond Meat Crumbles
- Olive Oil
- Kosher Salt
- Seasoned Salt
- Dried or Fresh Basil
- Granulated Garlic
________________________________________________________________________________________
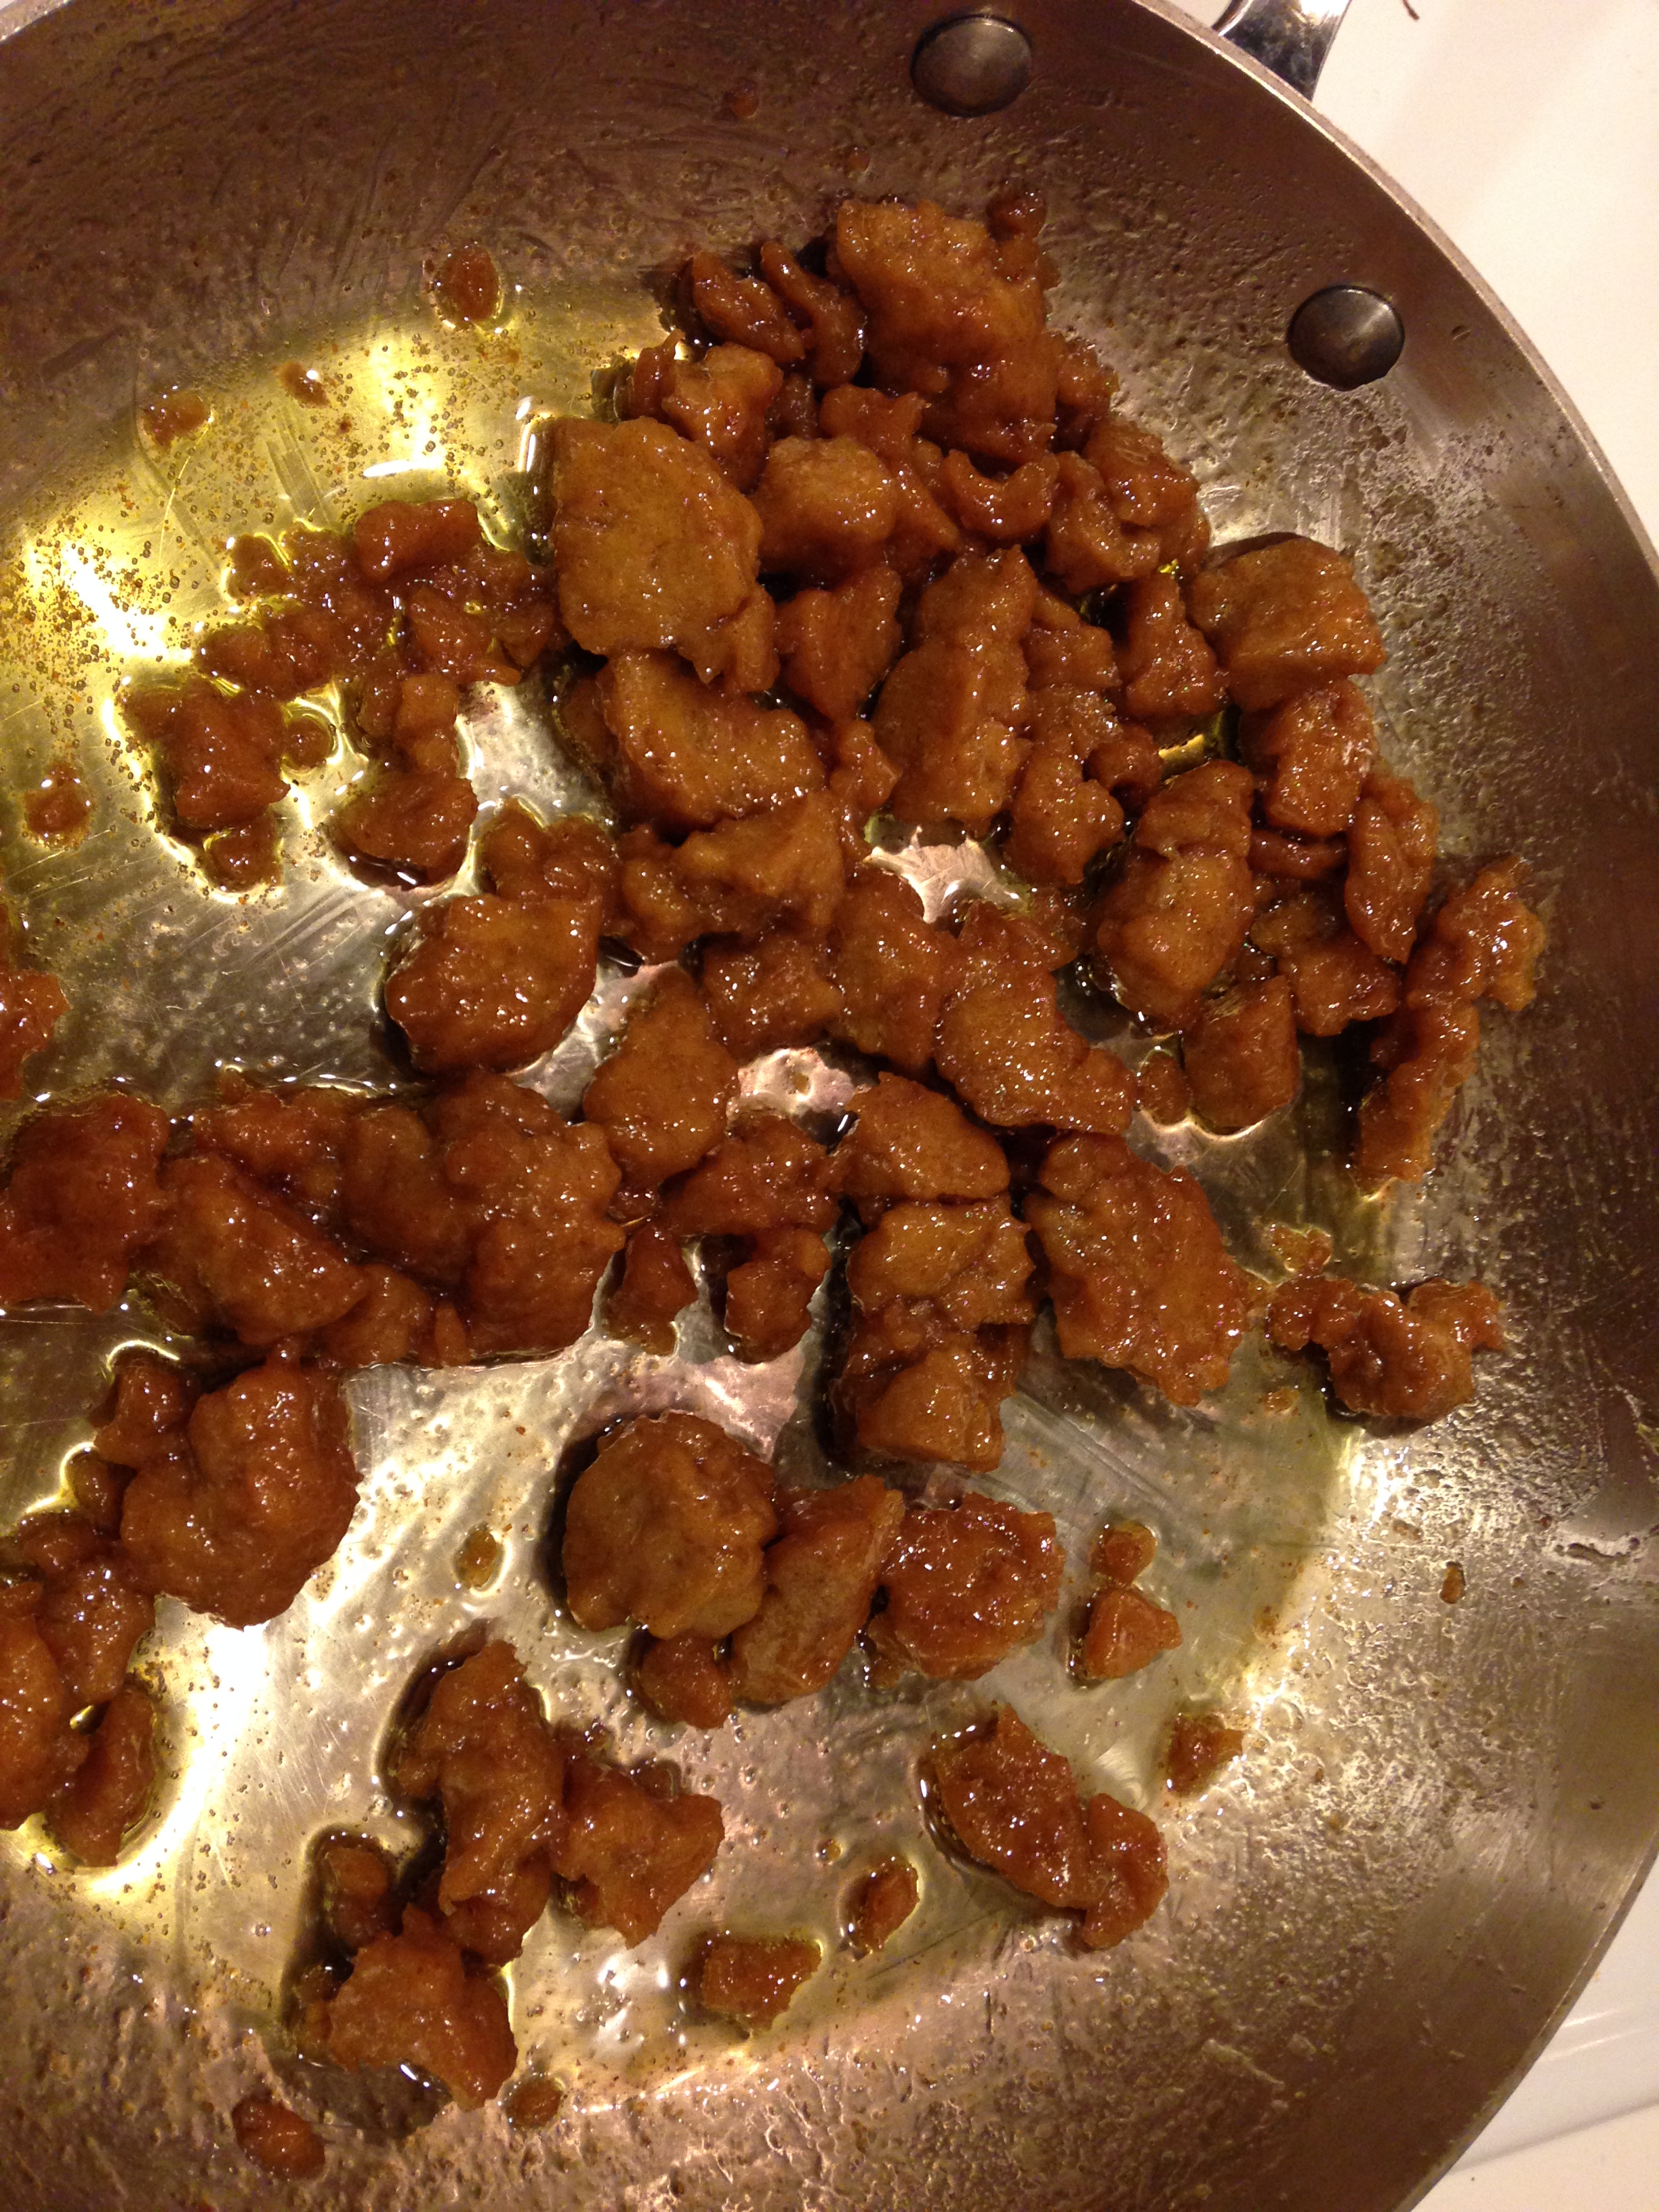
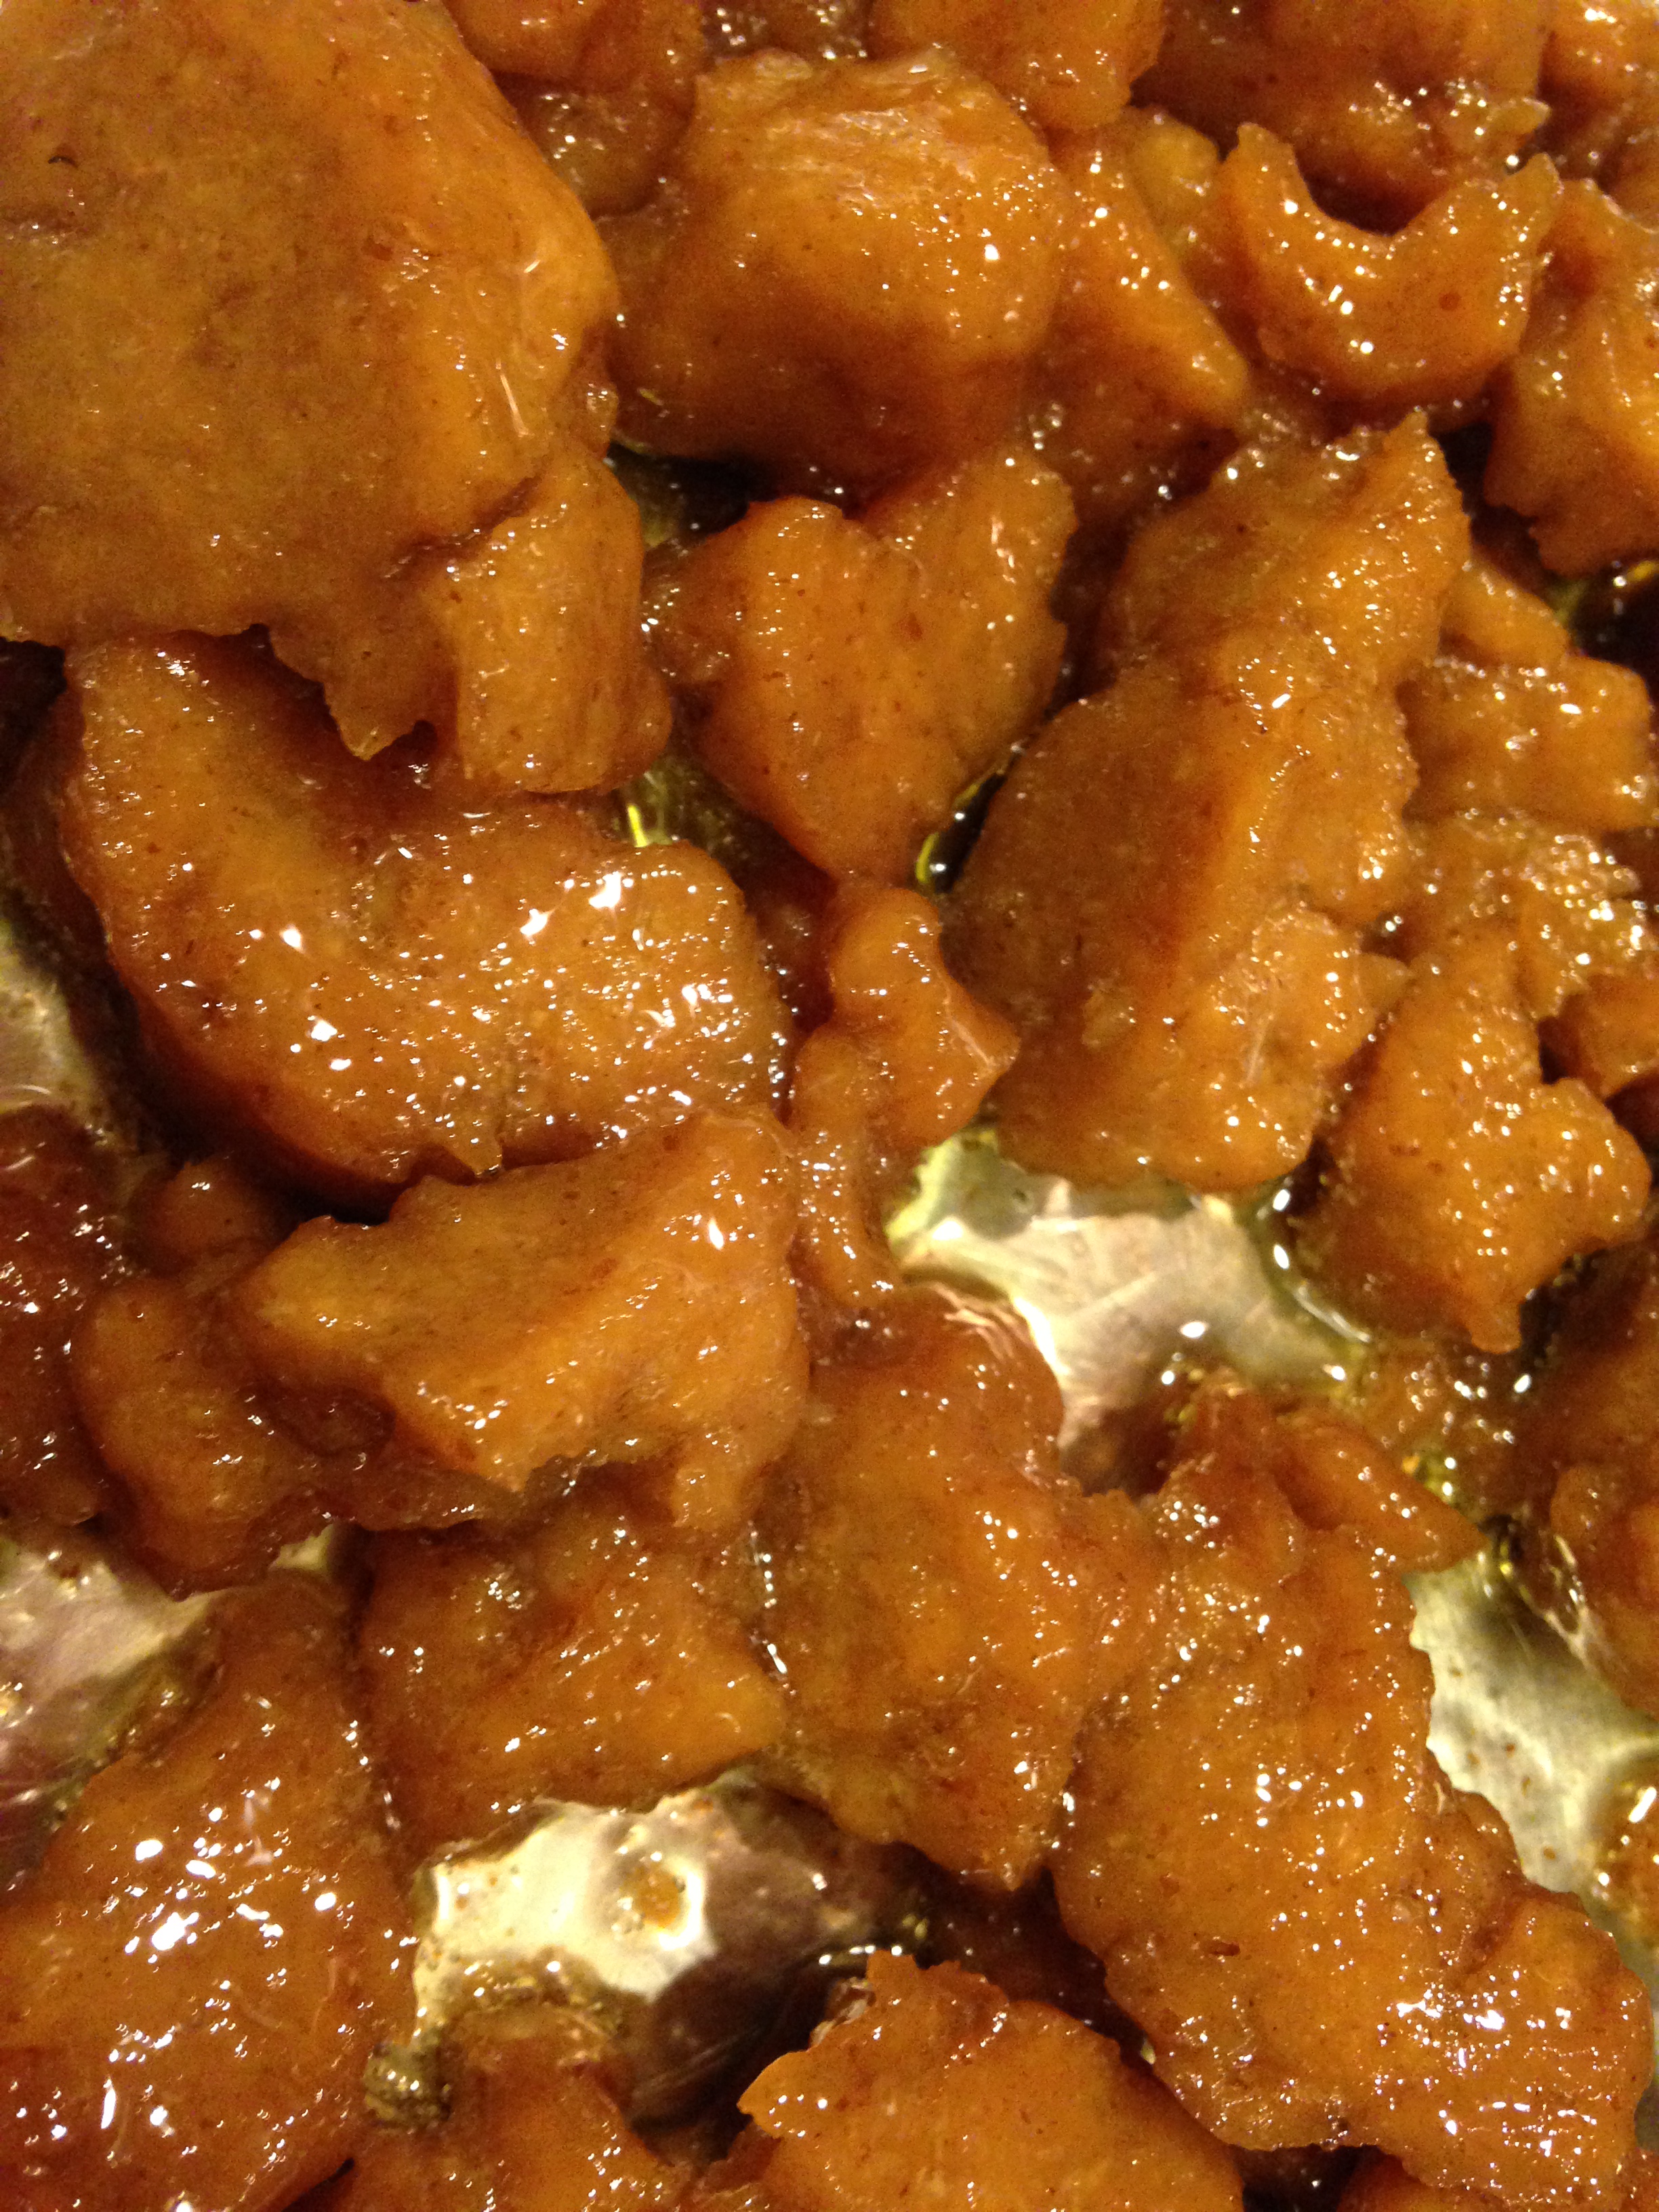
Cooking the Meat!
- Add a small amount of olive oil to an extra large sauce pot and when warm toss in Beyond Meat crumbles and a few pinches of kosher salt.
- Cook until heated and ready to eat.
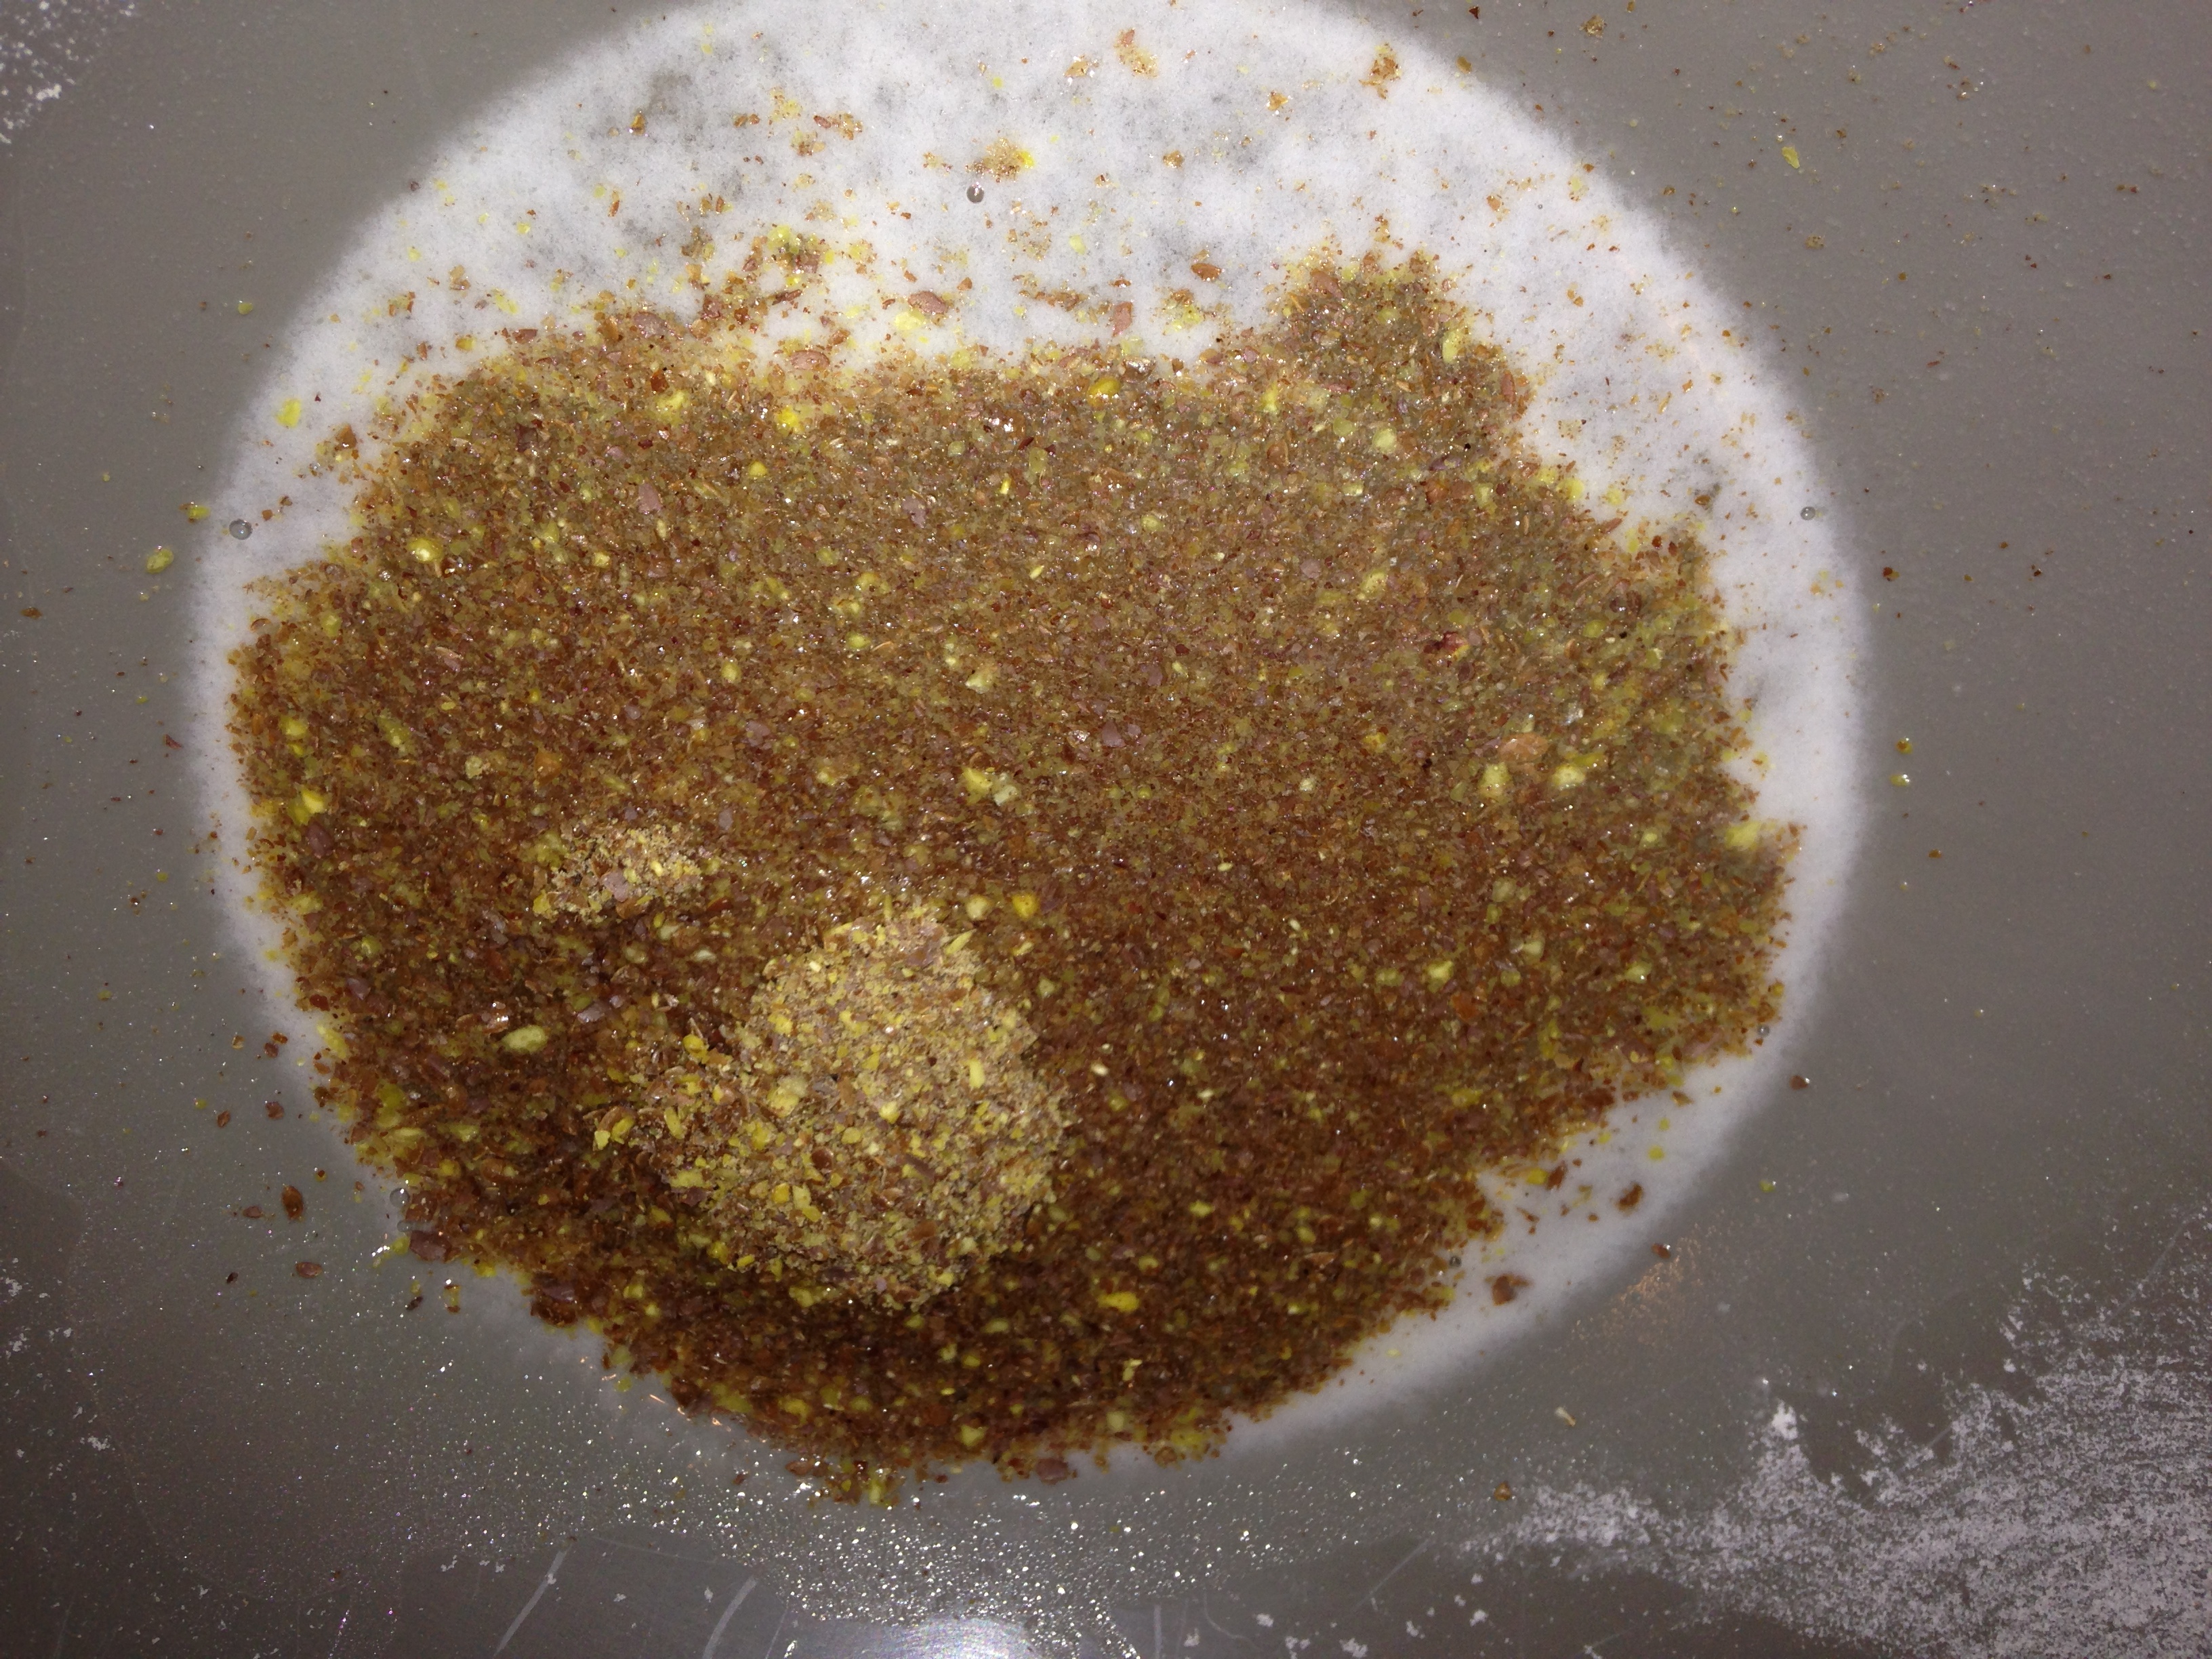
Making the Sauce!
- Add all canned tomato products to meat.
- Sprinkle in Granulated Garlic, Basil, and Seasoned salt to taste.
- Add a little olive oil if you want now.
- Cook down stirring frequently over medium heat until slightly dense. Takes about 30-45 minutes.
- Keep the top on to avoid splatter!
- Serve over pasta of your choice. I prefer ziti with lines or angel hair. Enjoy!
________________________________________________________________________________________
Food is Love. The Hippie Gypsy.


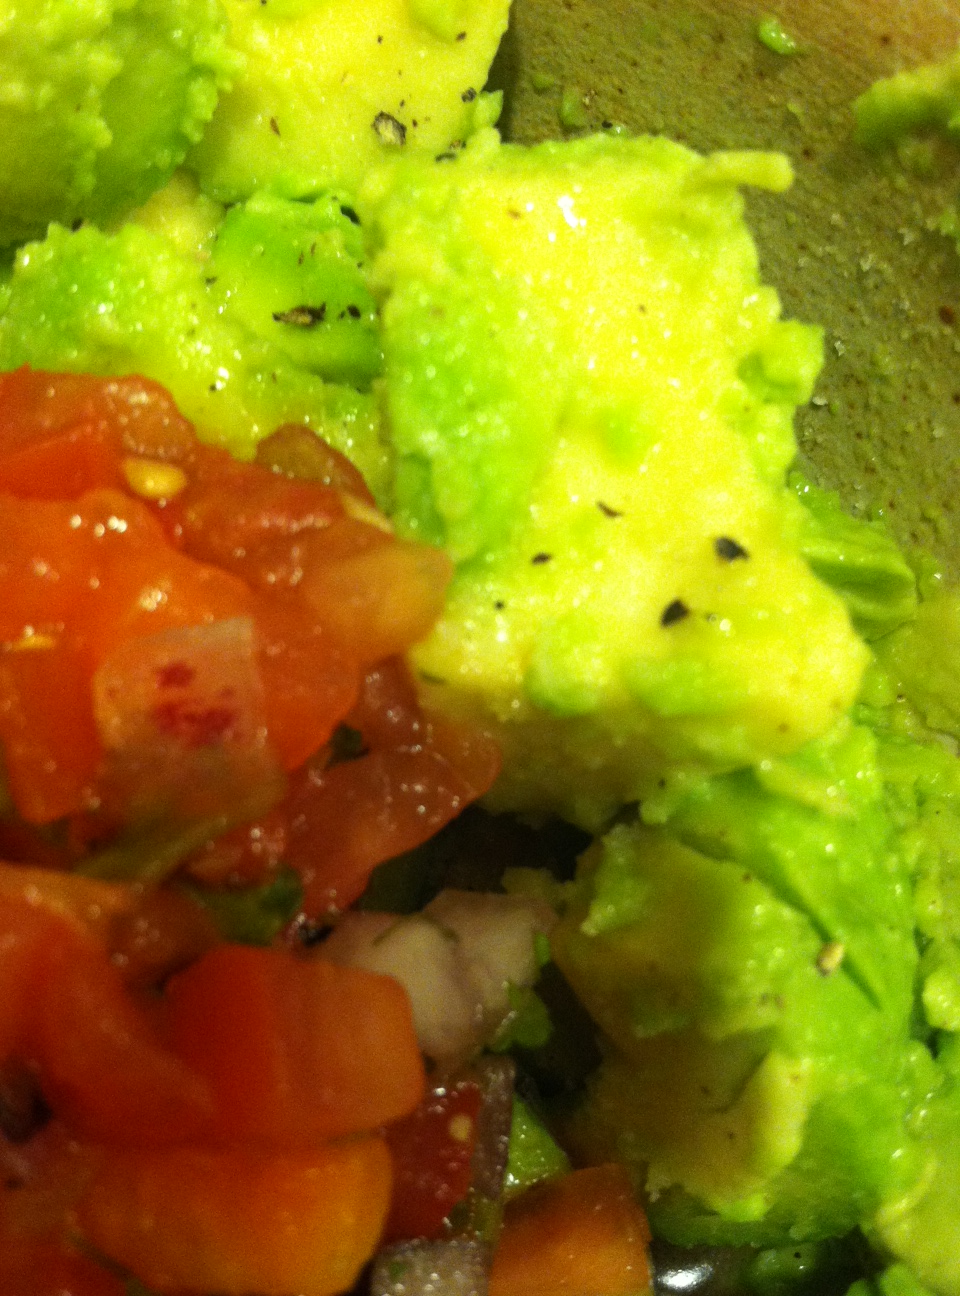
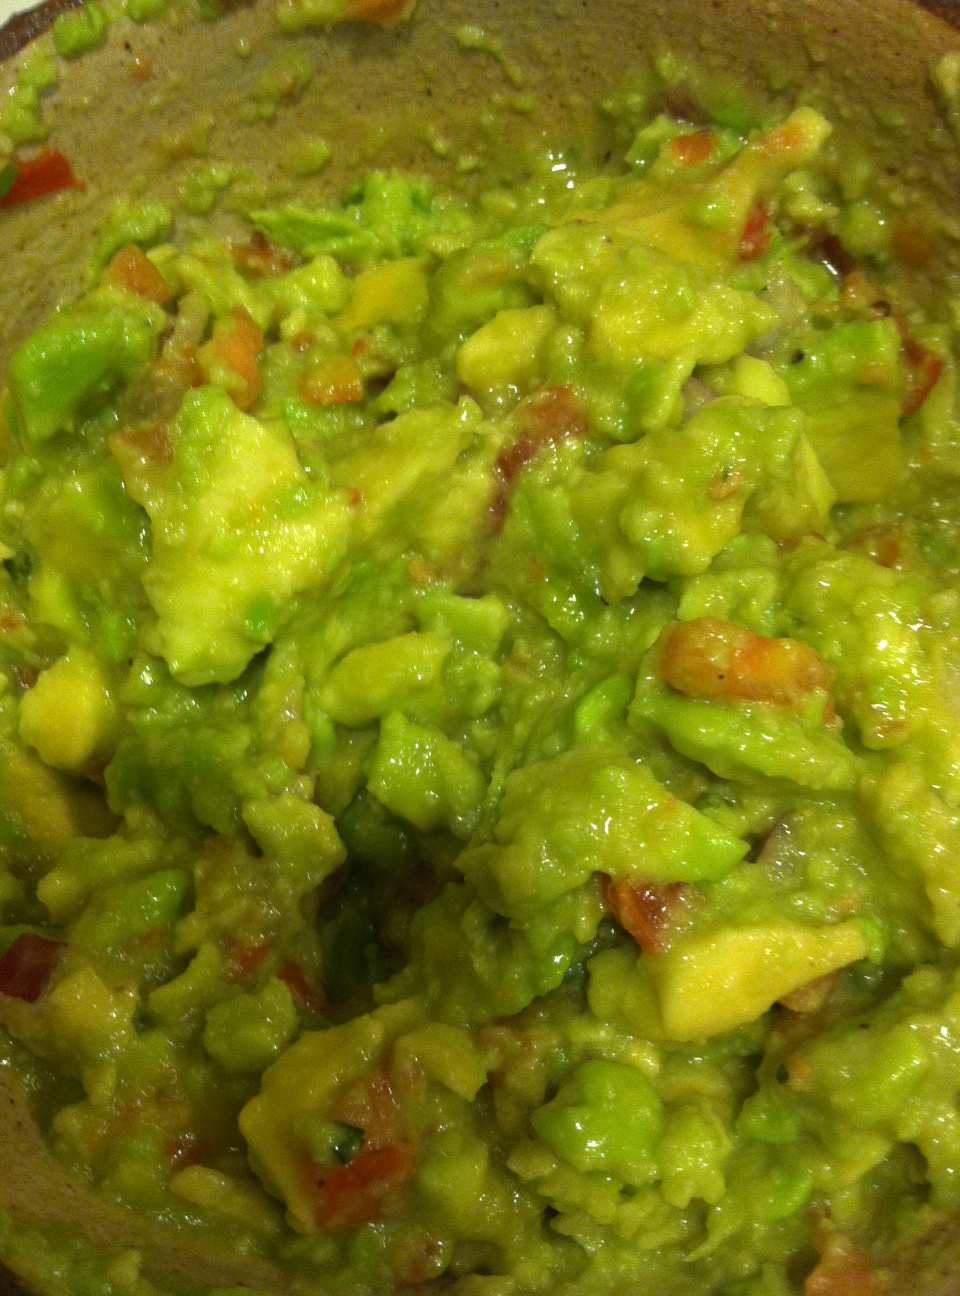
 I made a quick salad with (4) glass and plastic containers out for sorting. layer of kale, layer of spring greens, layer of berries, layer of mango. I then took out the avocados and placed them in a separate bowl, diced with lemon, salt, and pepper. Then took out a measuring cup. I needed 1 cup of cereal in bags for my breakfast. I keep a container of all my cereals mixed together. I think it is more fun than just one type of cereal. I scooped (1) cup portions into biodegradable zipper sandwich bags that I got at Whole Foods a few months back. I keep a cereal bowl at work and then packed myself some extra hazelnut milk and salad dressing. I then cut slices of the bread in half and put a thin layer of Earth Balance on each using the same knife from the avocados. I put the bread in the same type of bags as the cereal. Done. 4 days, 8 meals. I keep reusable utensils and dishes at work that I rinse and wash out in the bathroom. So I was all set. We have a kitchen downstairs too for more complicated cleaning.
  So it really is that easy. If you want a little something more add a rice cup or frozen dairy free gluten free Amy’s burrito to your lunch. I keep Weight Watchers Red Beans and Rice cups in my office just to throw on top of salads. It is easy, vegan, and fills me up. With just 10-15 minutes of planning you have your whole week of healthy yummy food ready. It is also cost effective. Better than $10 at Panera Bread each day or $5.00 for breakfast at Dunkin Donuts! Enjoy! ______________________________________________________________________________________________ Food is Love. The Hippie Gypsy.