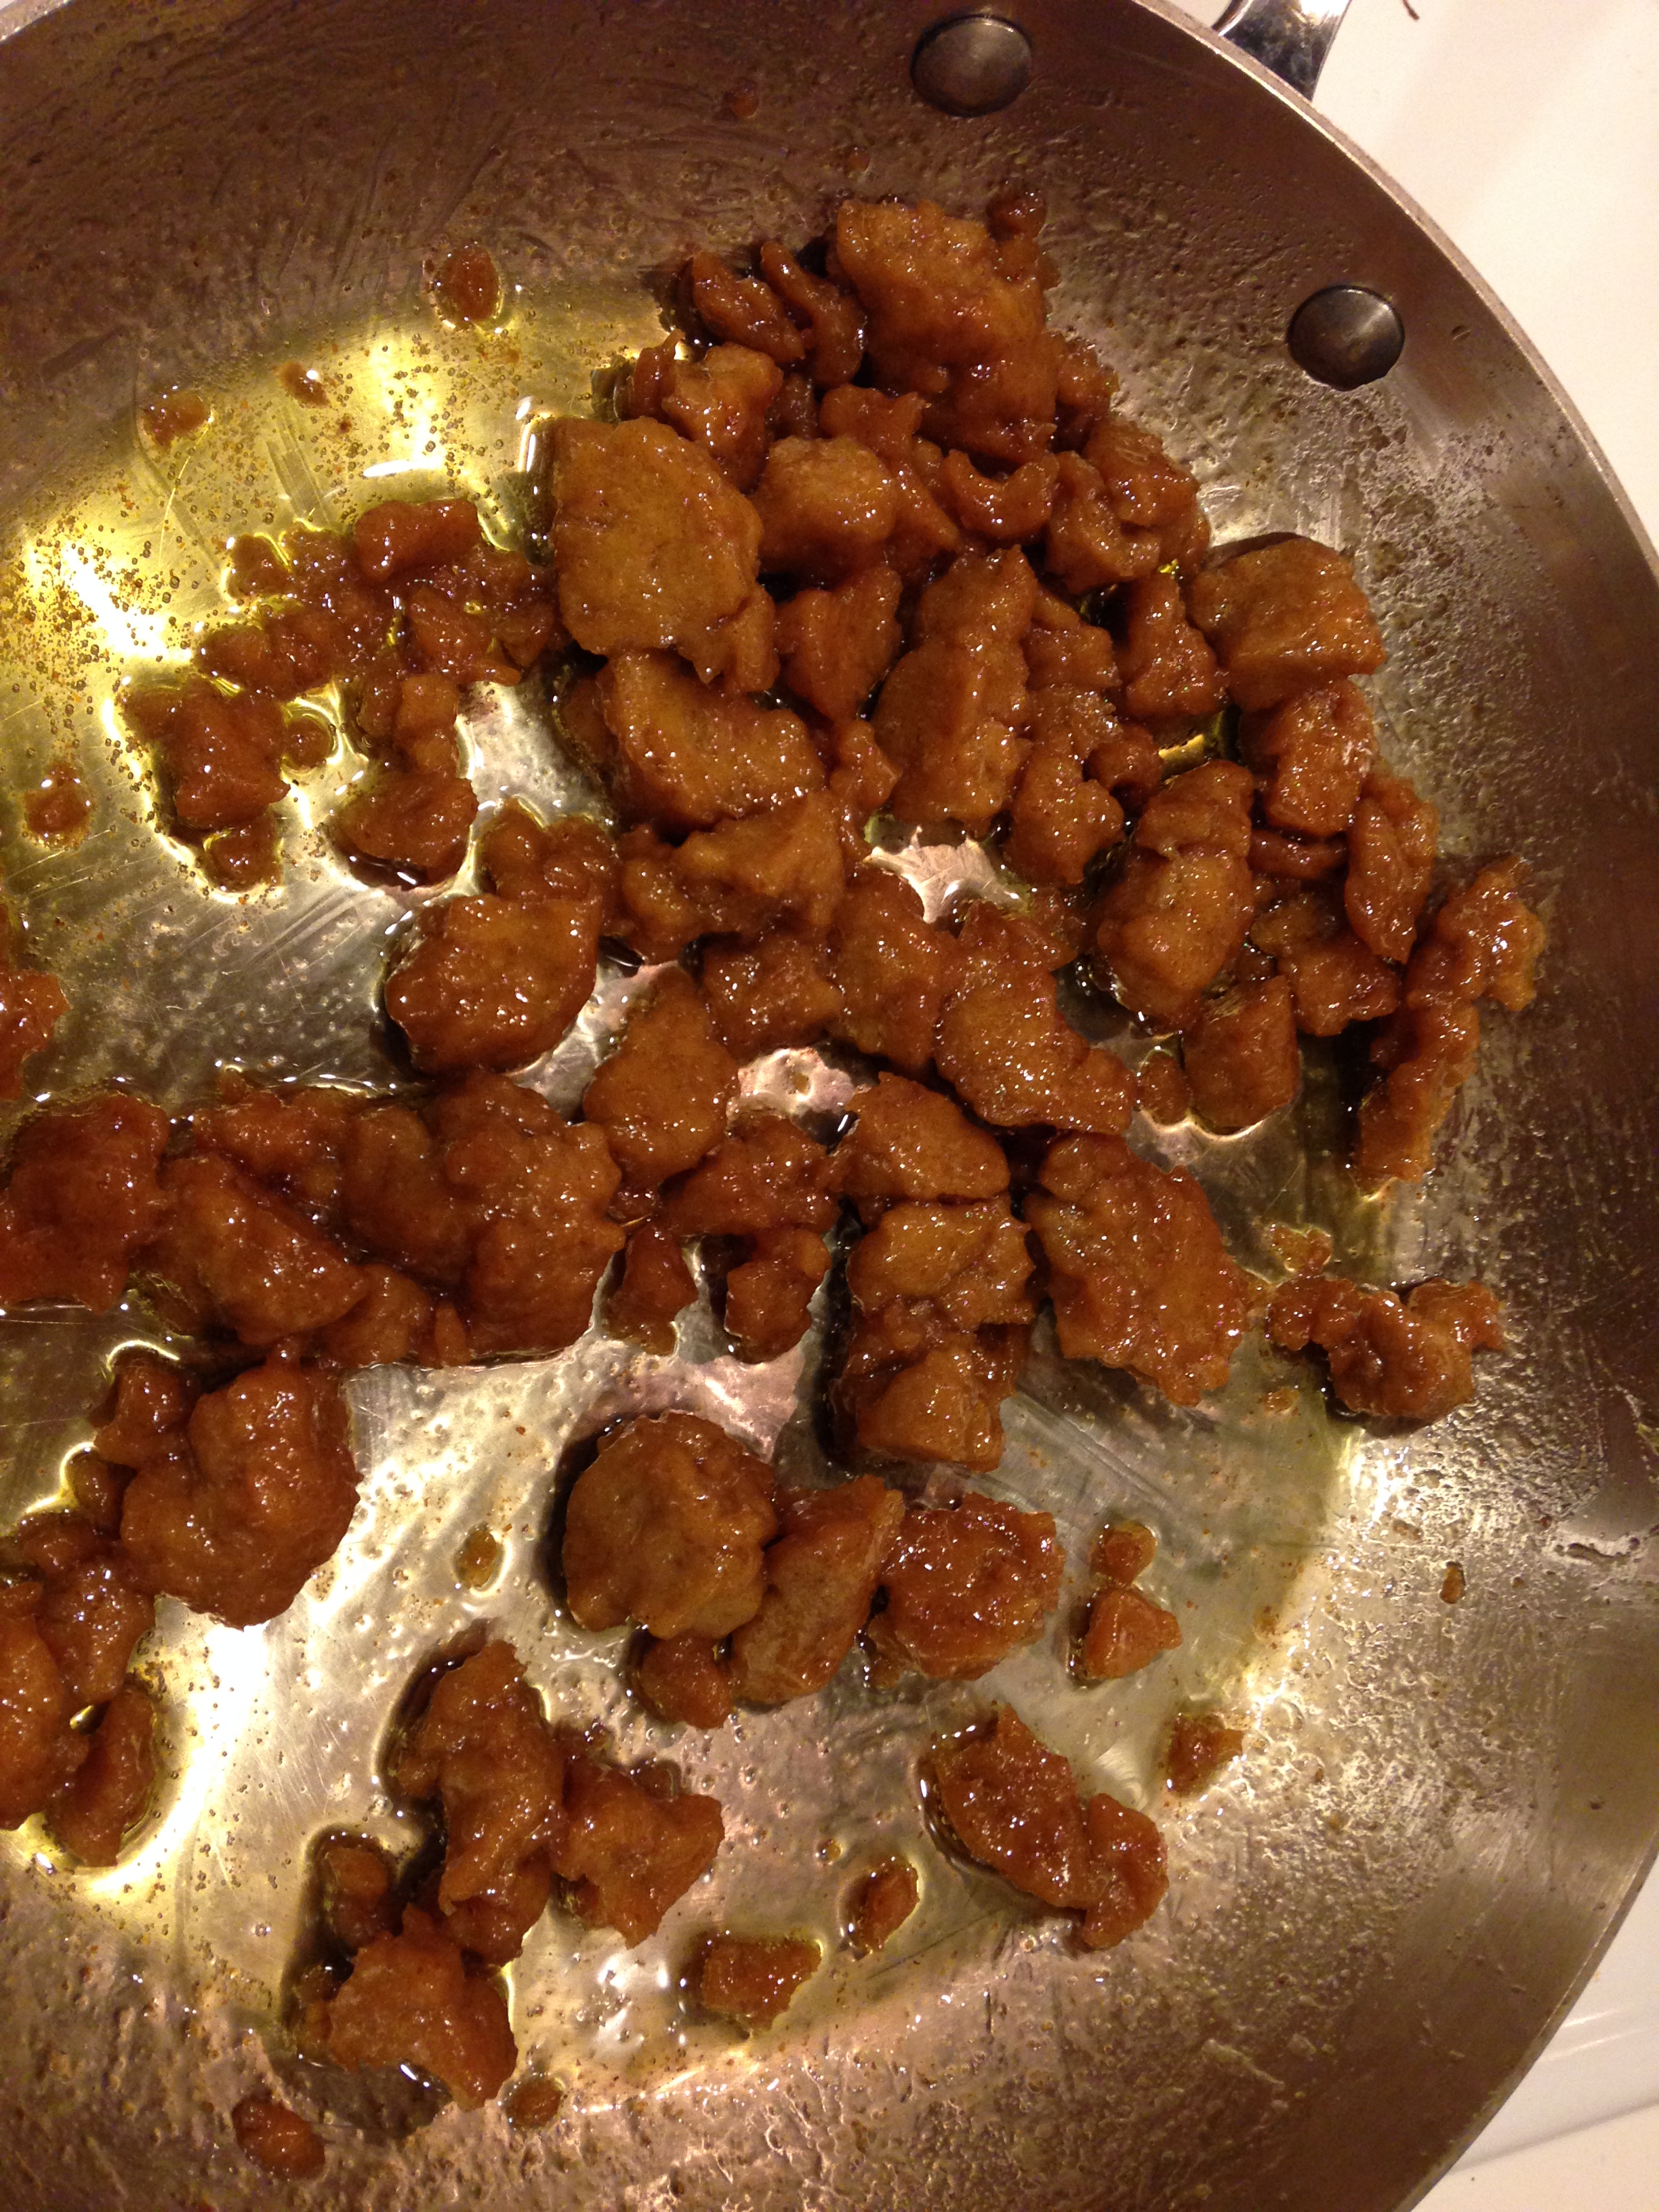
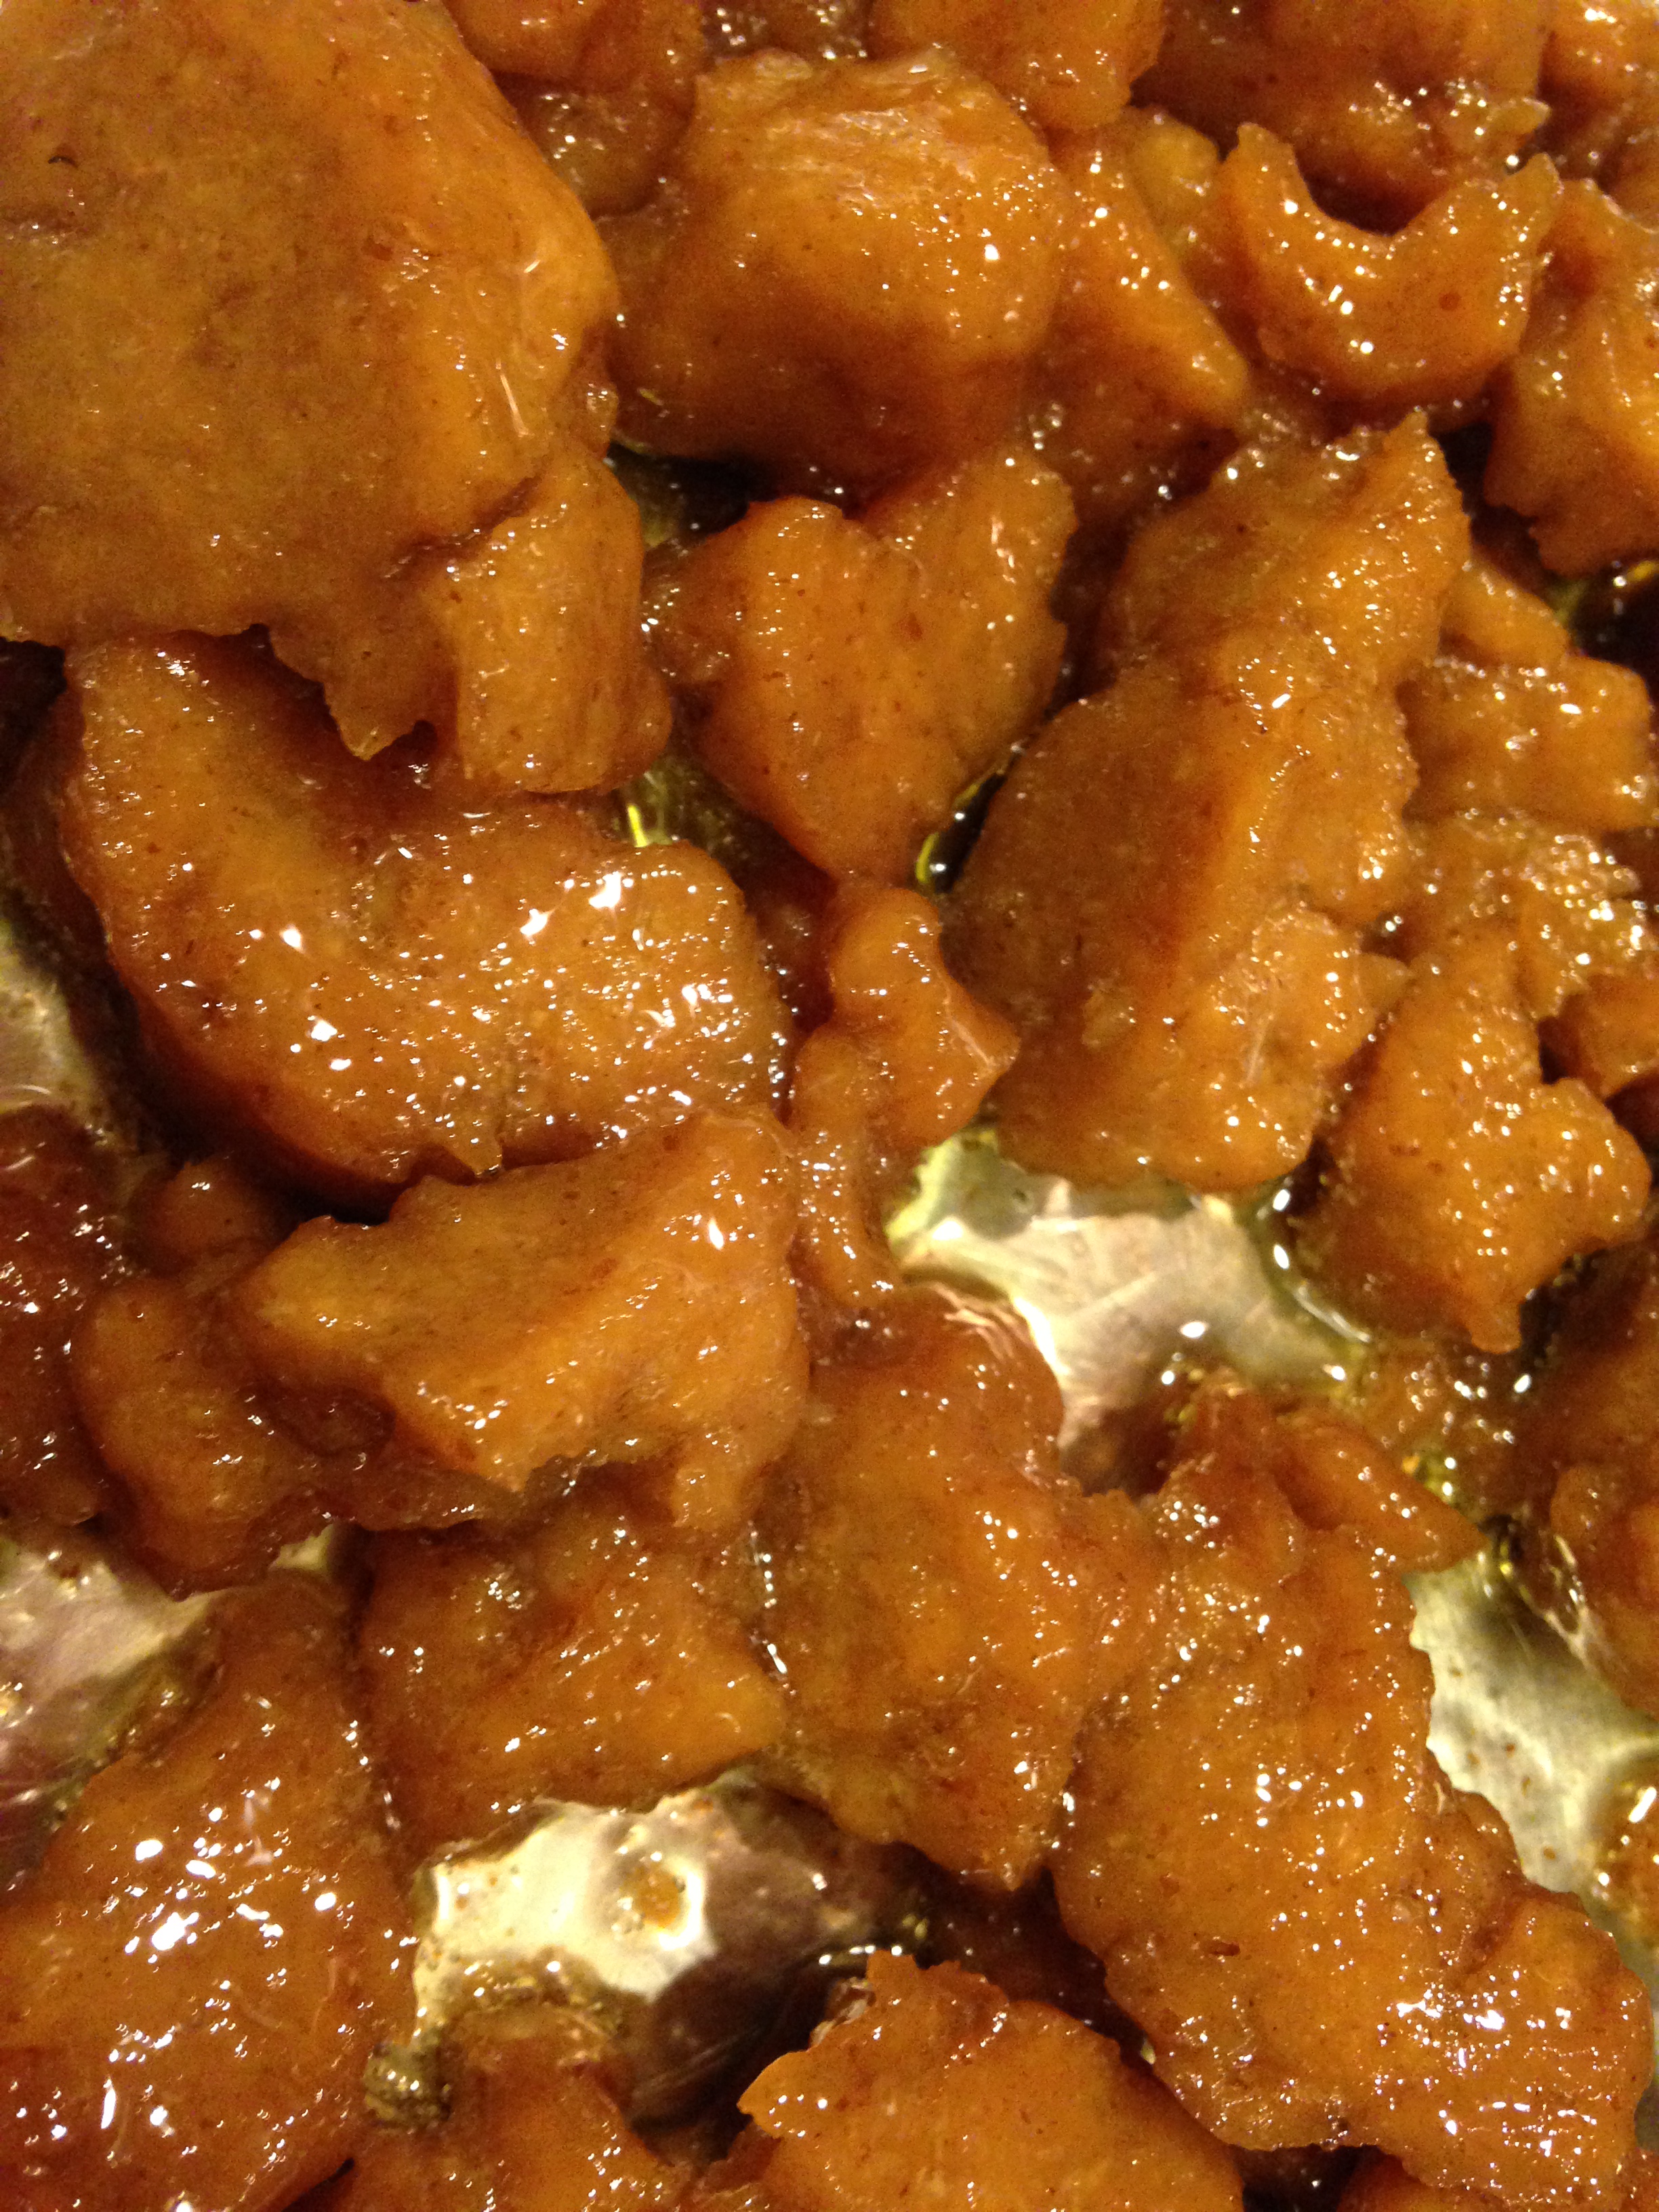
I have wanted a bread machine since the day I saw one in a thrift store in Imperial Beach, California. It was $10 and looked like a deal to me. Although I am bummed I didn’t buy it back then I am glad now because I think I would’ve lost my love for them. The reviews on the cheaper models are terrible. They look like war stories of collapsed breads and mutilated pasta dough. That should be a crime because honestly breads and carbs are the only thing that make people truly happy sometimes and if they do all that work to make them from scratch and not go buy a slice of 8,000 calorie banana bread from the coffee shop, then they should be rewarded with something wonderful. Instead the bread falls in the center creating a volcano of doughy gooey mess that one must carefully discard without losing the little rudder that helps knead the bread in the bottom of the baking pan. (Yes, I have thrown mine out and had to recover it already). That being said over the weekend I was very sick with bronchitis. I think I may have coughed up my lungs. So what better to do when stuck in the house for a few days but bake.
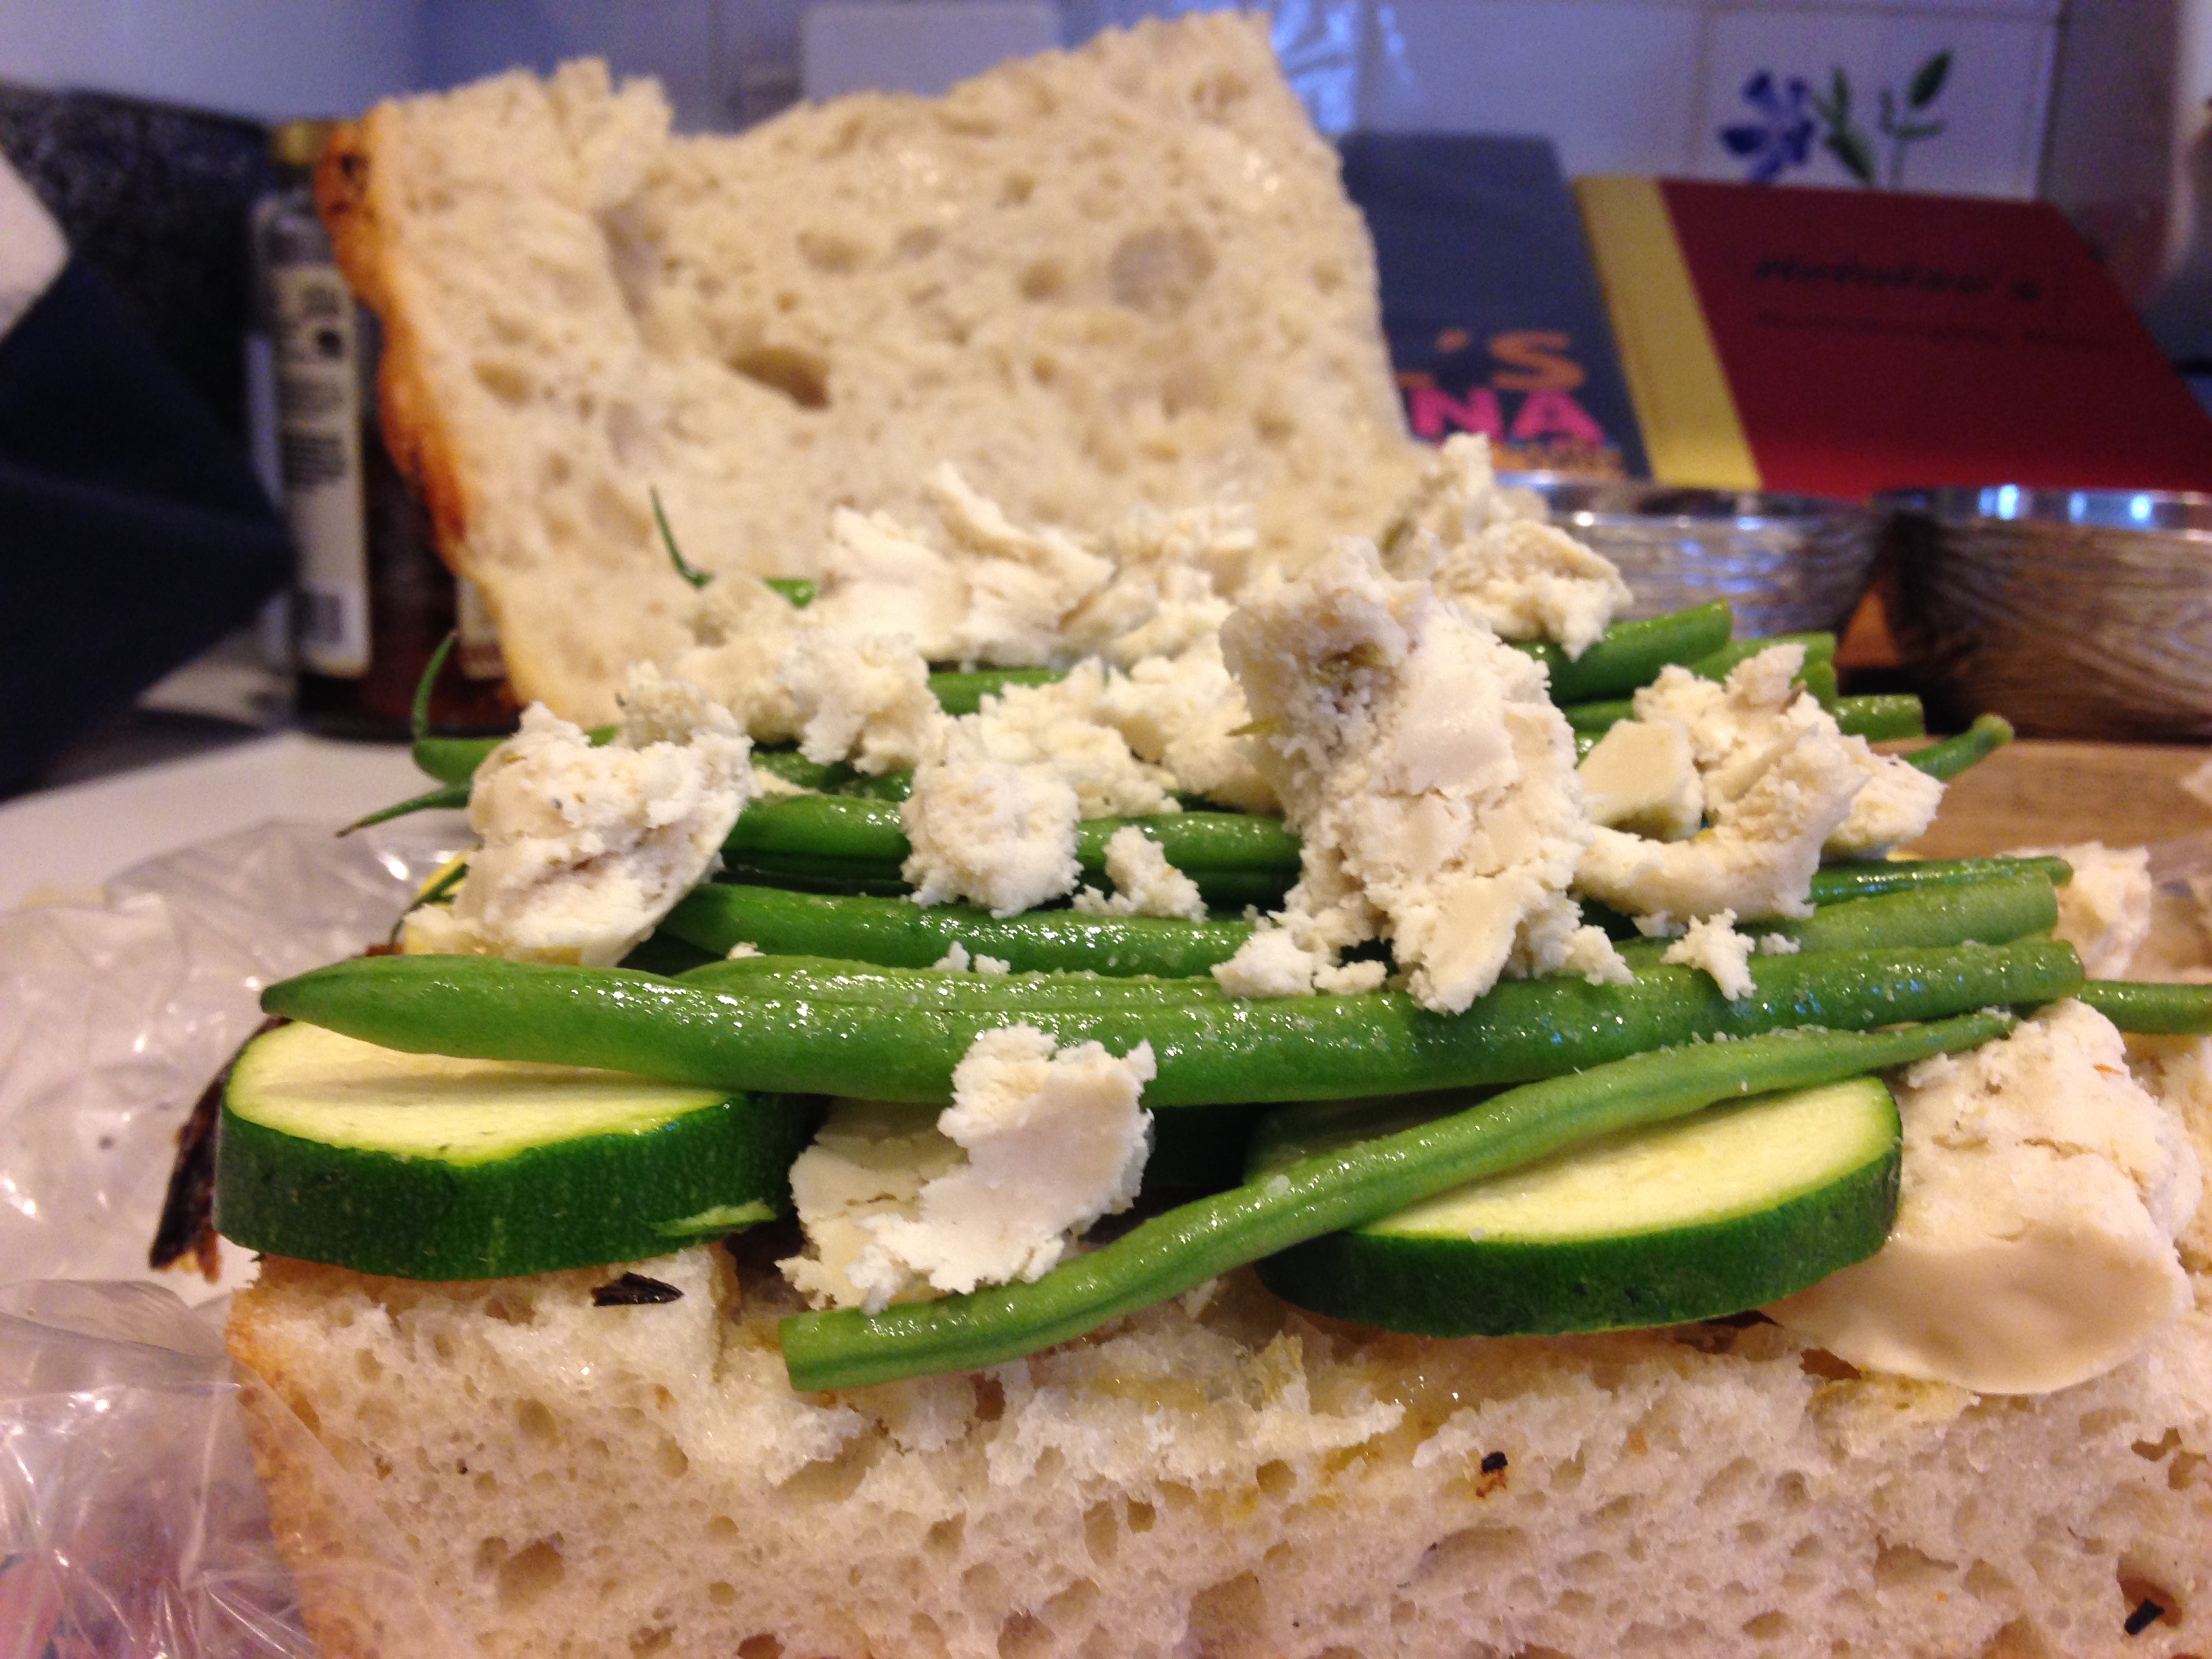
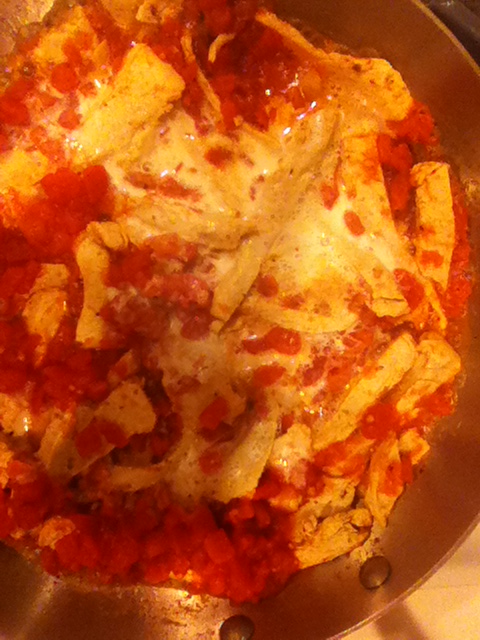
I made a delicious batch of my low ingredient oatmeal cookies with bananas, hazelnuts, and chocolate and I made two breads. Only one of which survived because…. well…. I wasn’t paying attention and forgot the flour (yes the flour) in one of them. It didn’t dawn on me for about an hour and then I went OH COME ON! Because I knew the baking portion had started and the kneading/stirring had passed. So my bread lovers here is my recipe for my very successful and delicious smelling sundried tomato, onion, and rosemary bread.

______________________________________________________________________________________________________________________________
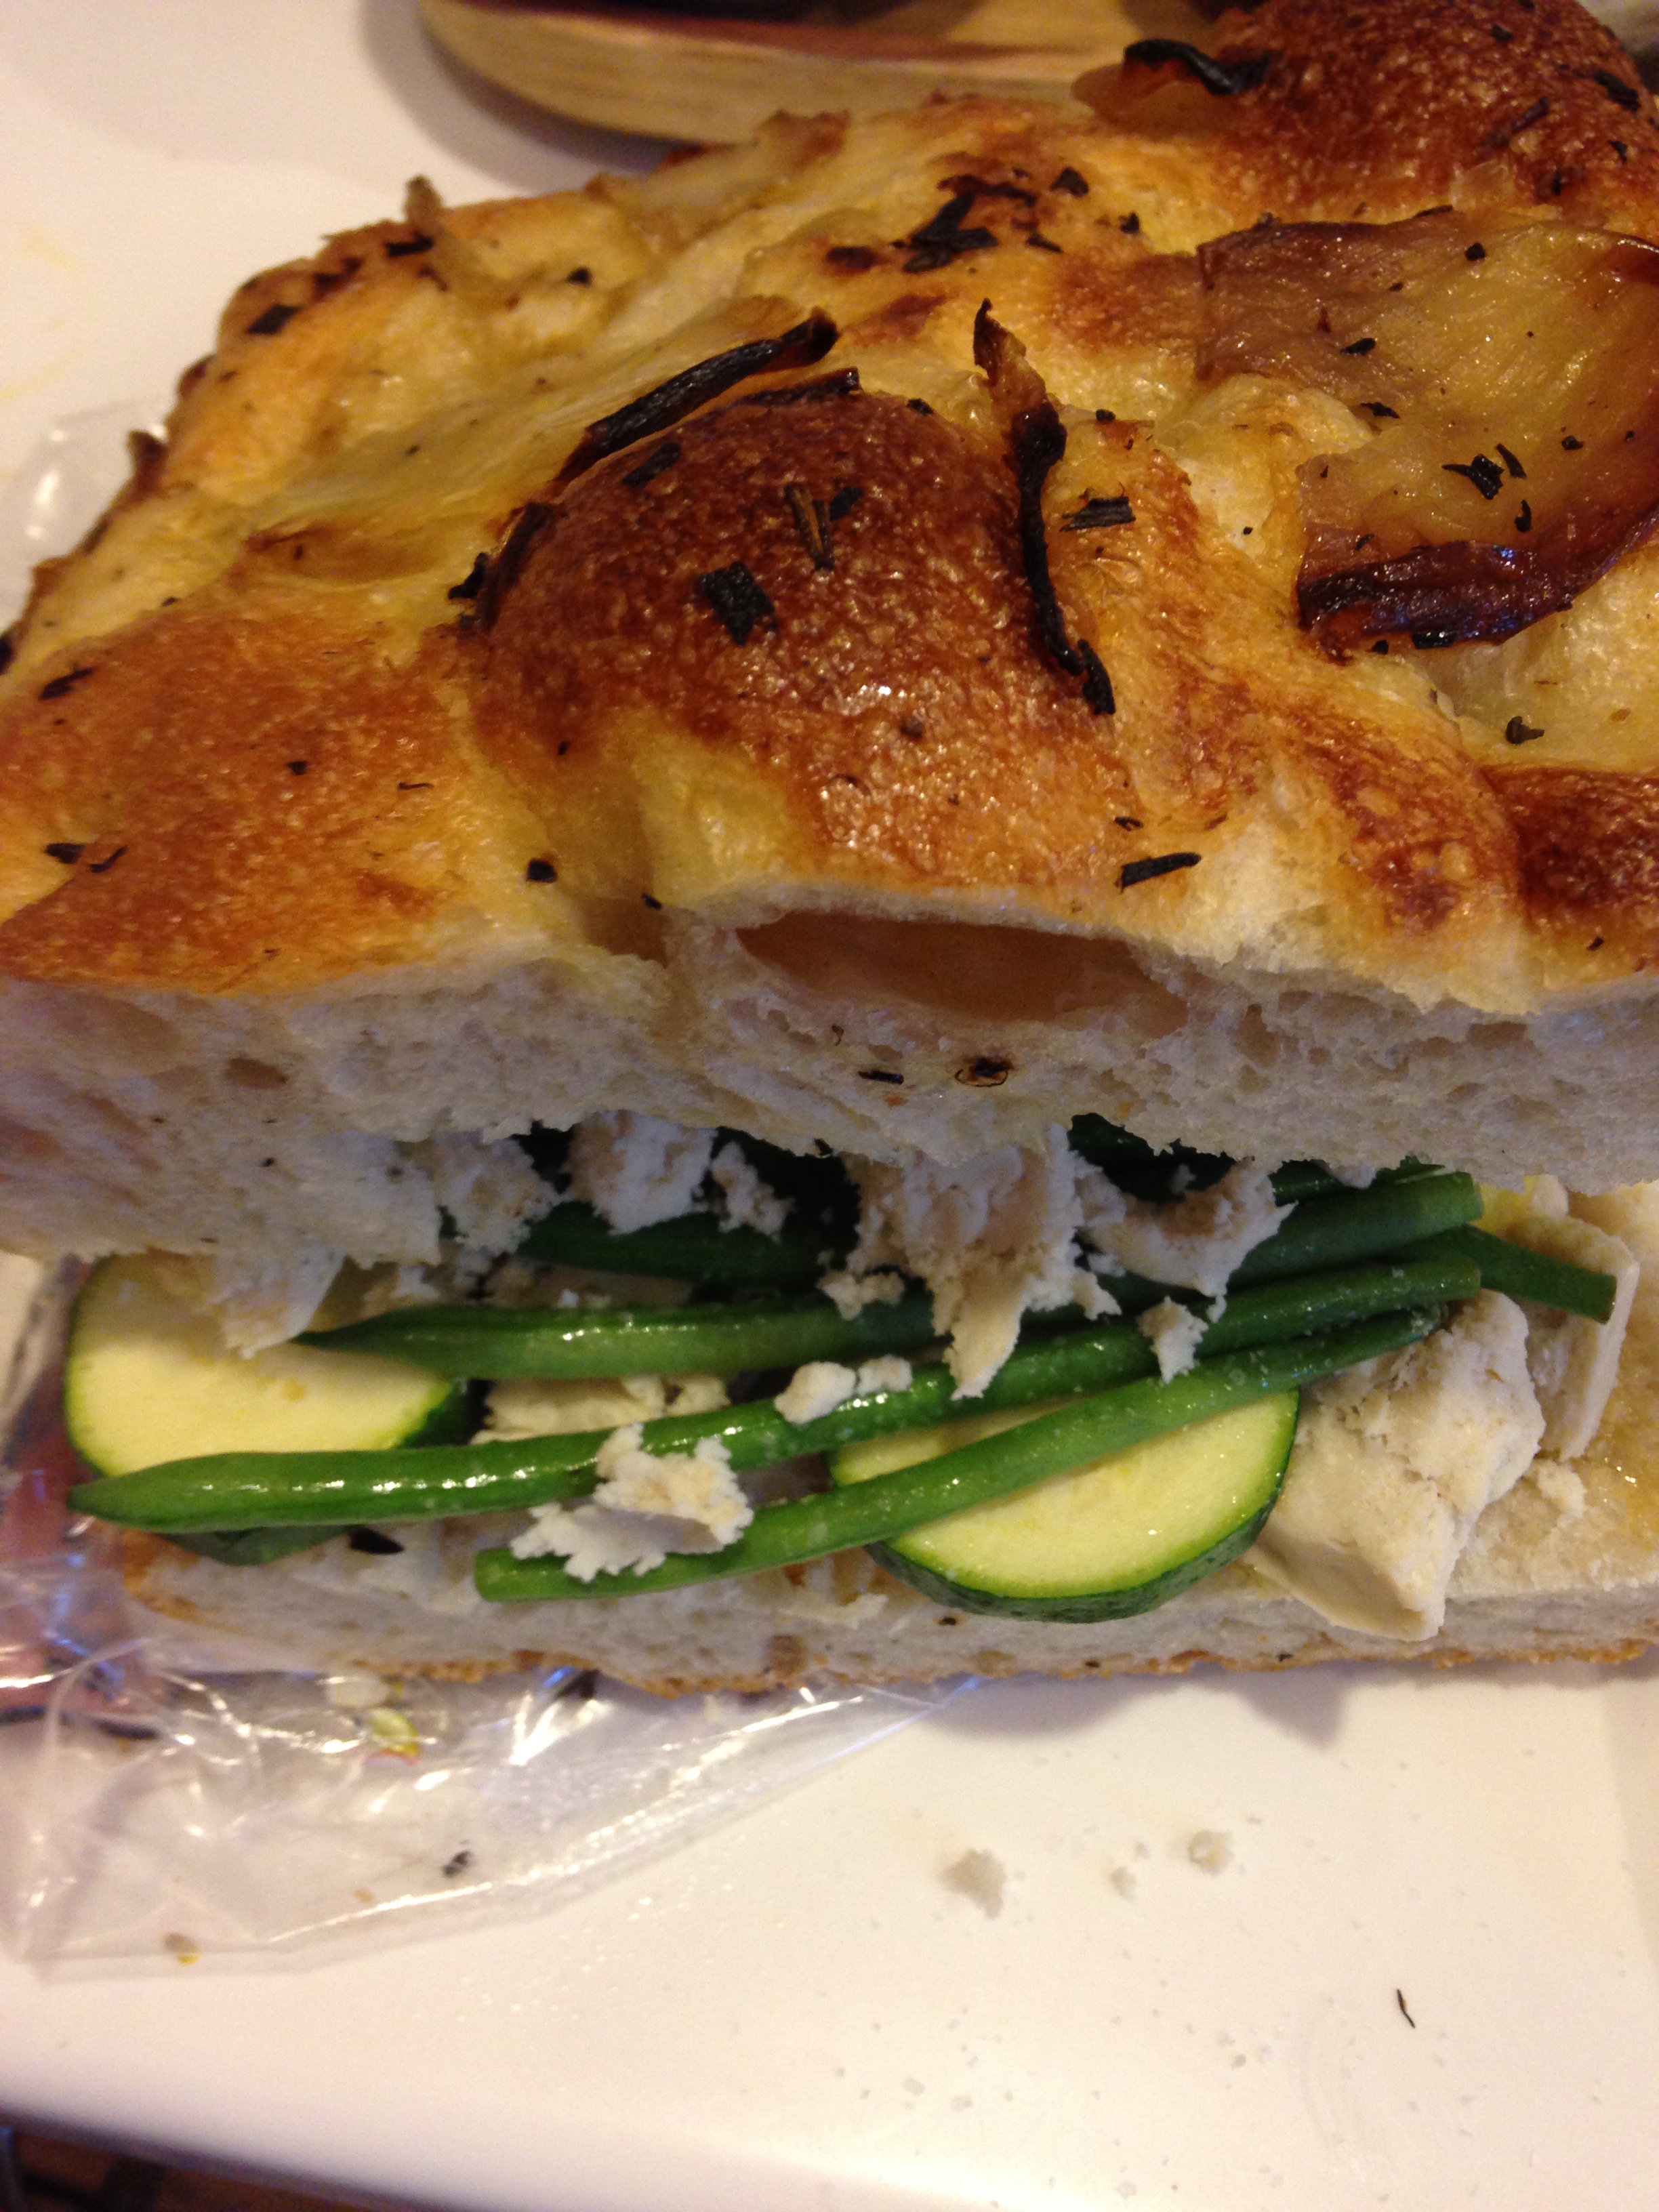
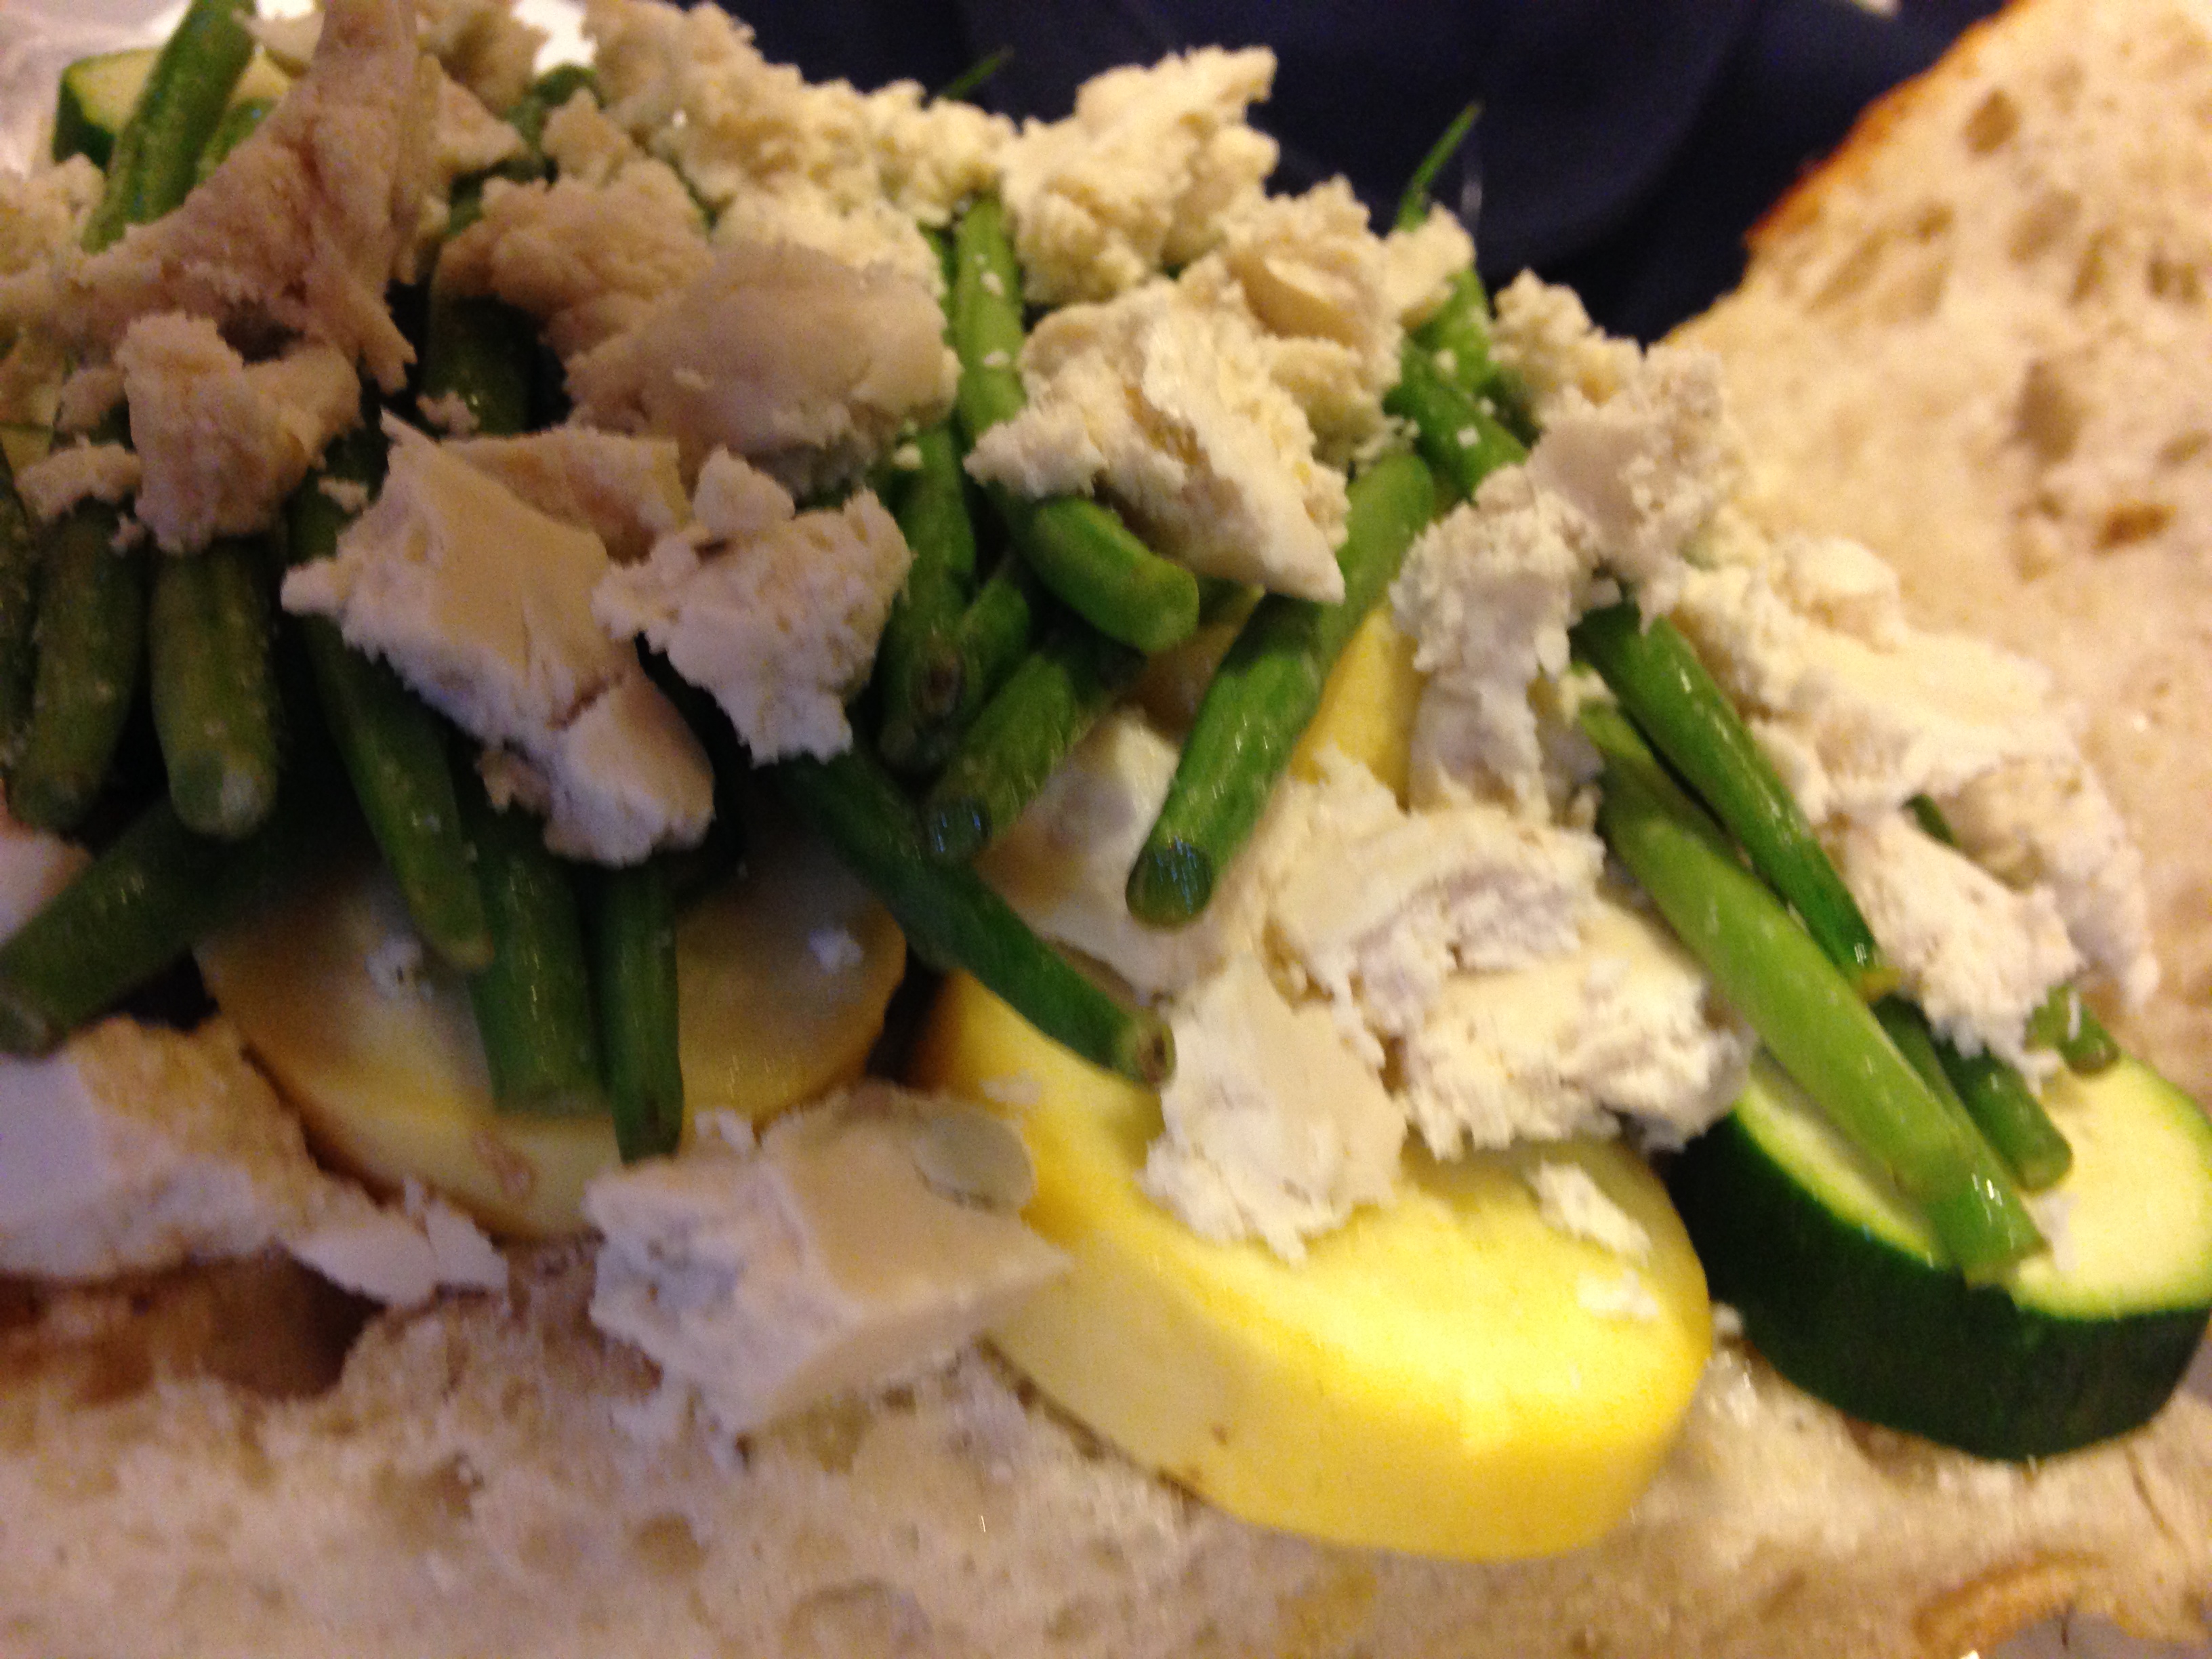
Sundried Tomato, Onion, and Rosemary Bread
Ingredients (see below for sizes and layering):
- Crisco
- (1) White Onion
- Dried Rosemary
- Sundried Tomato Infused Olive Oil
- Sundried Tomatoes in olive oil
- Bread Flour ( I used Gold’s, DO NOT use all purpose)
- Kosher Salt
- Vegan Sugar
- Dry Active Yeast ( I use fast rising or bread only)
- Water
______________________________________________________________________________________________________________________________
Preparation:

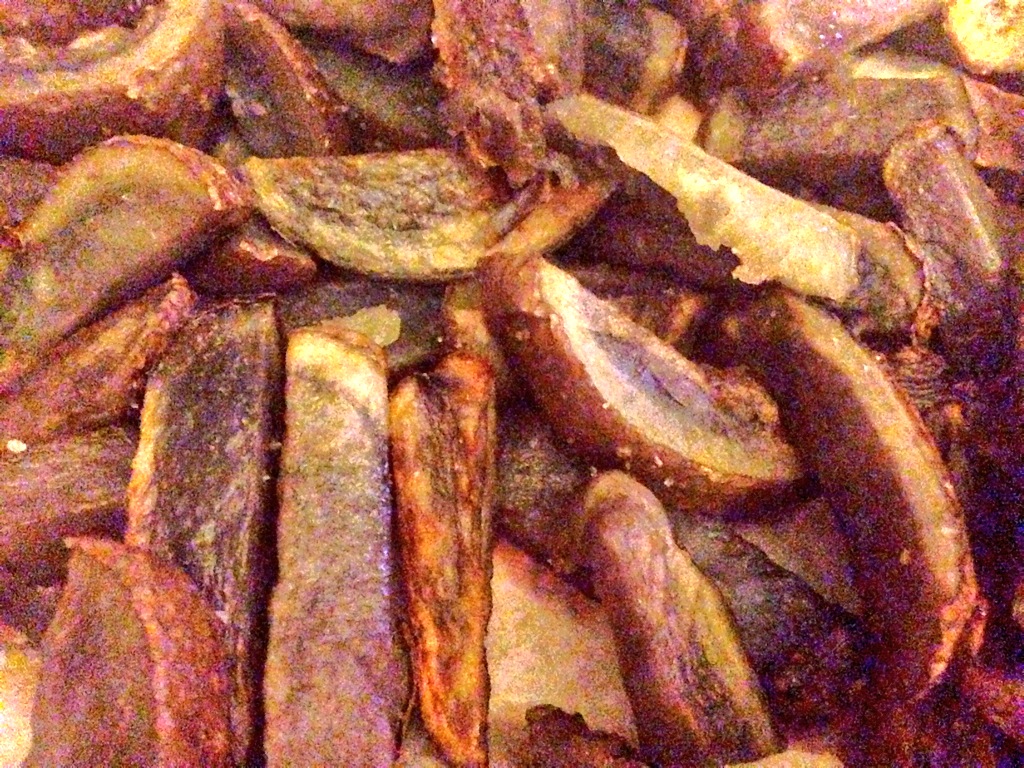
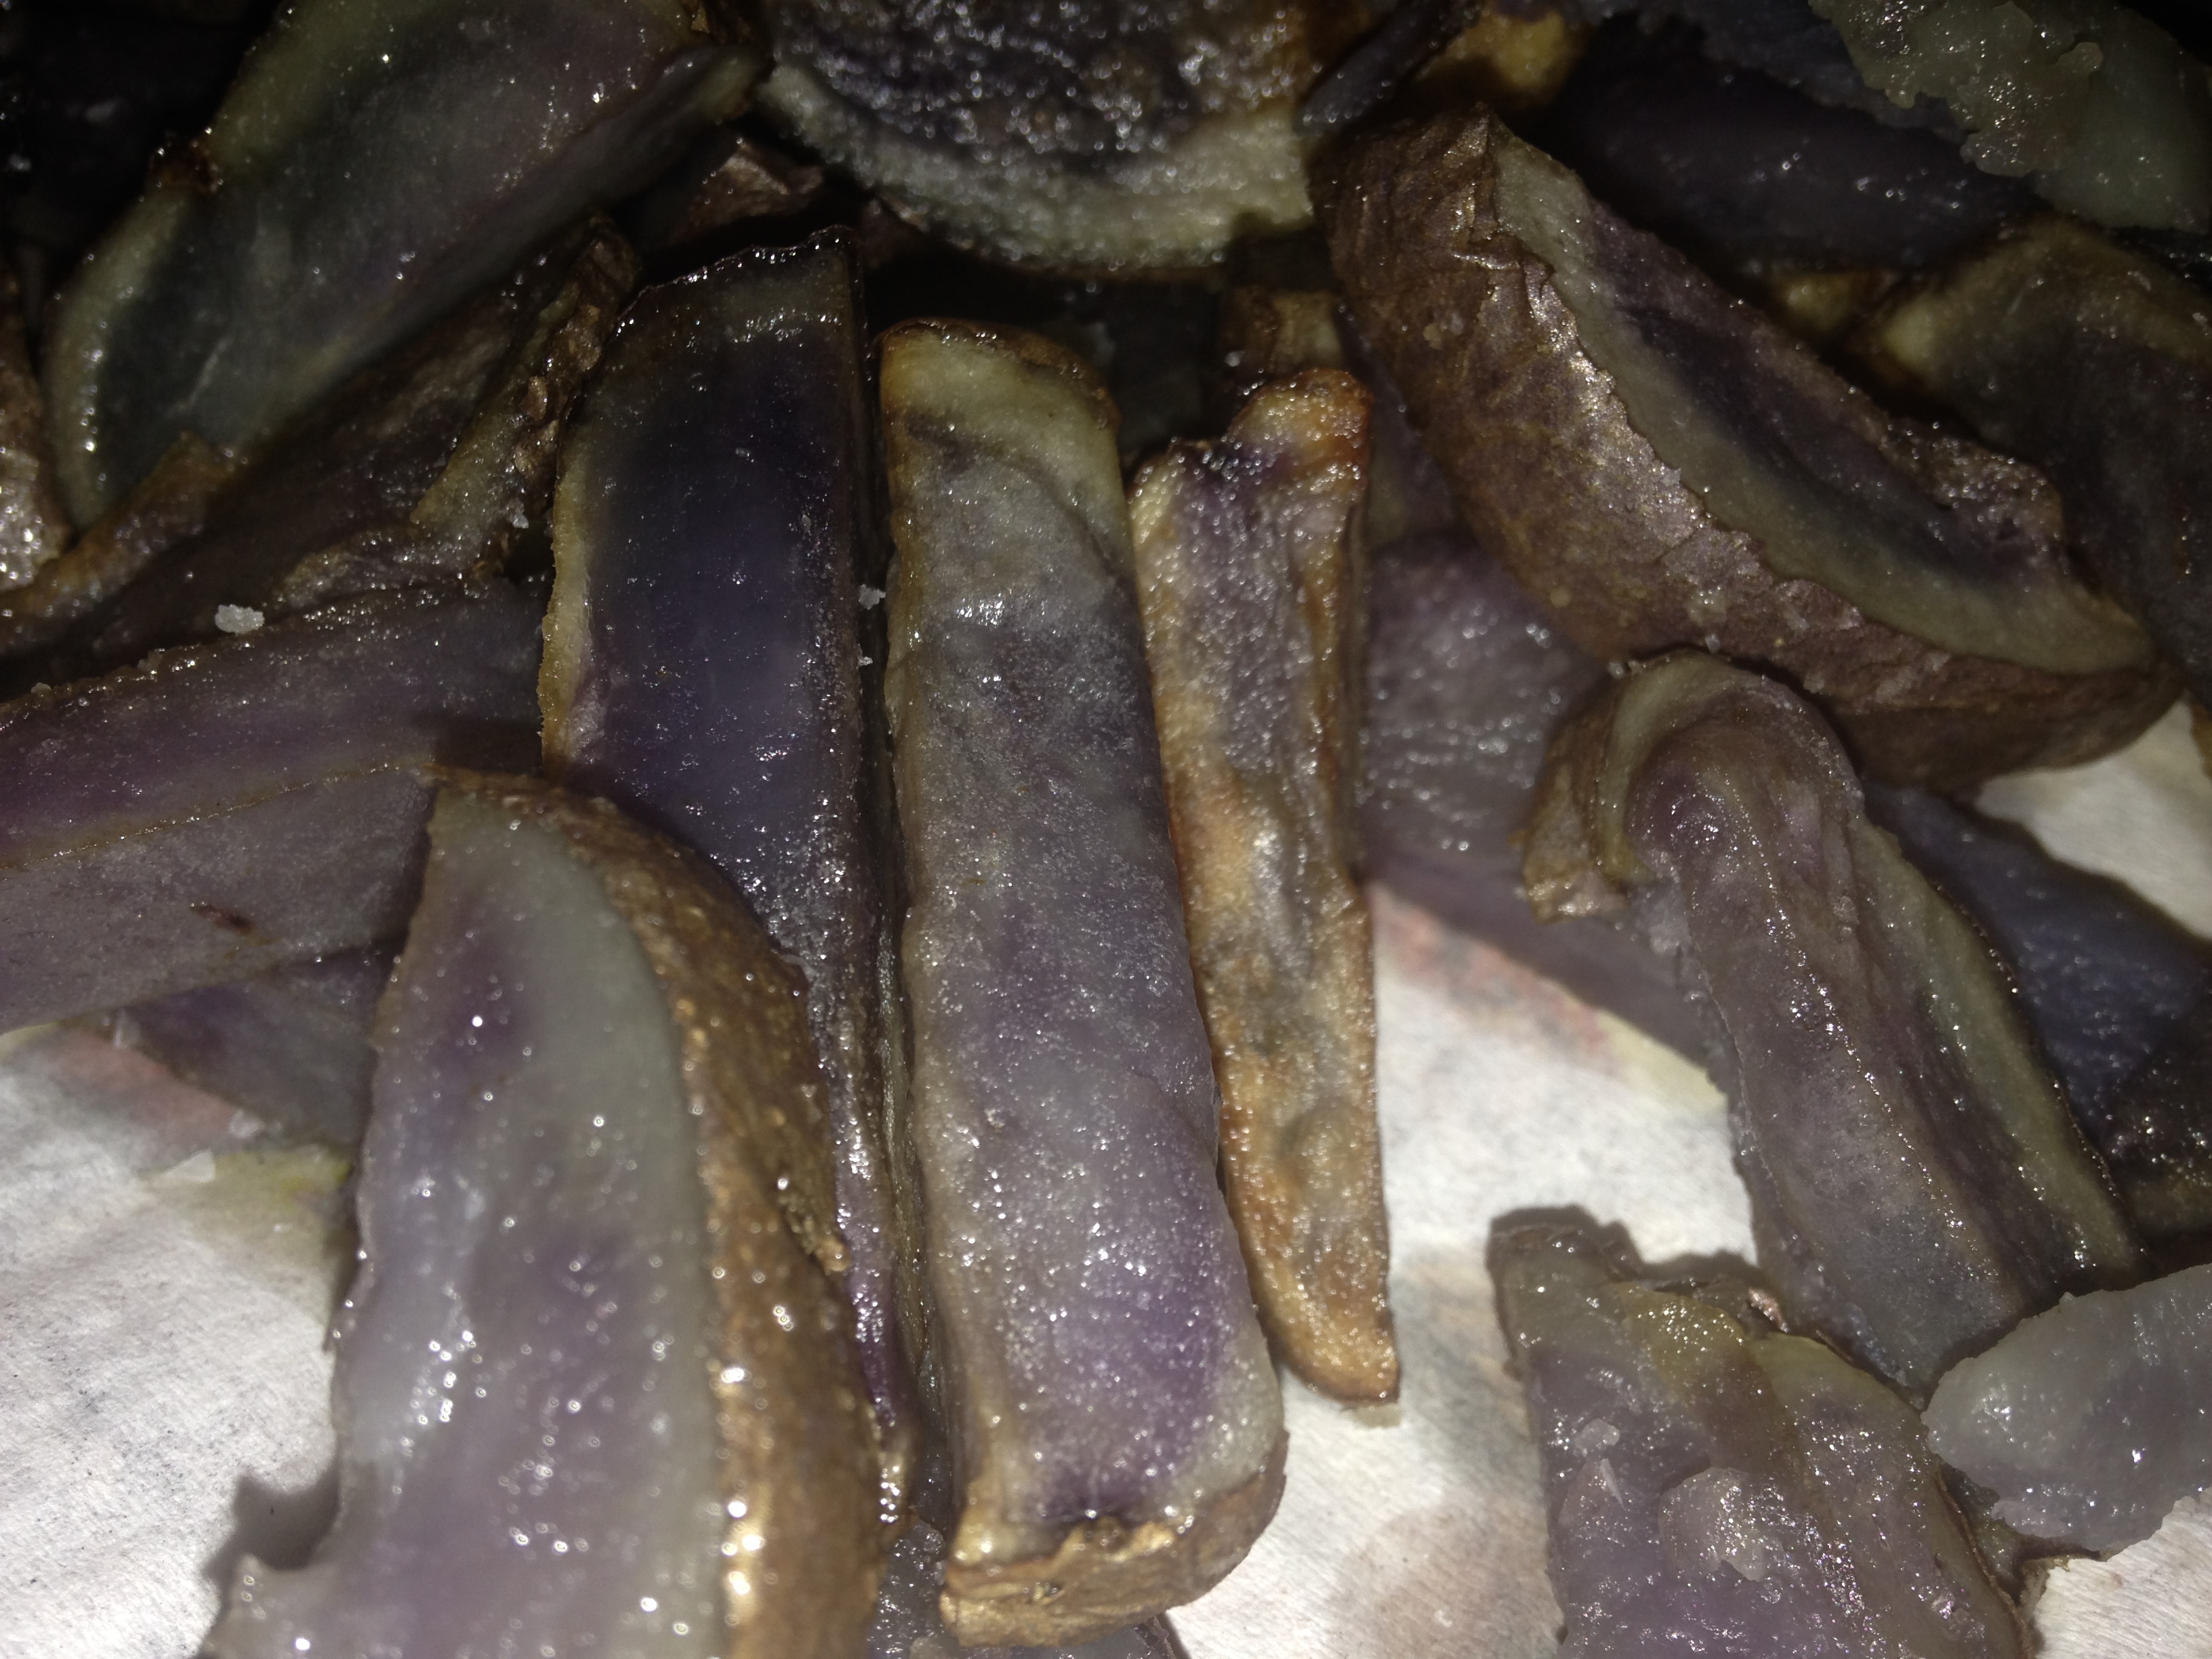
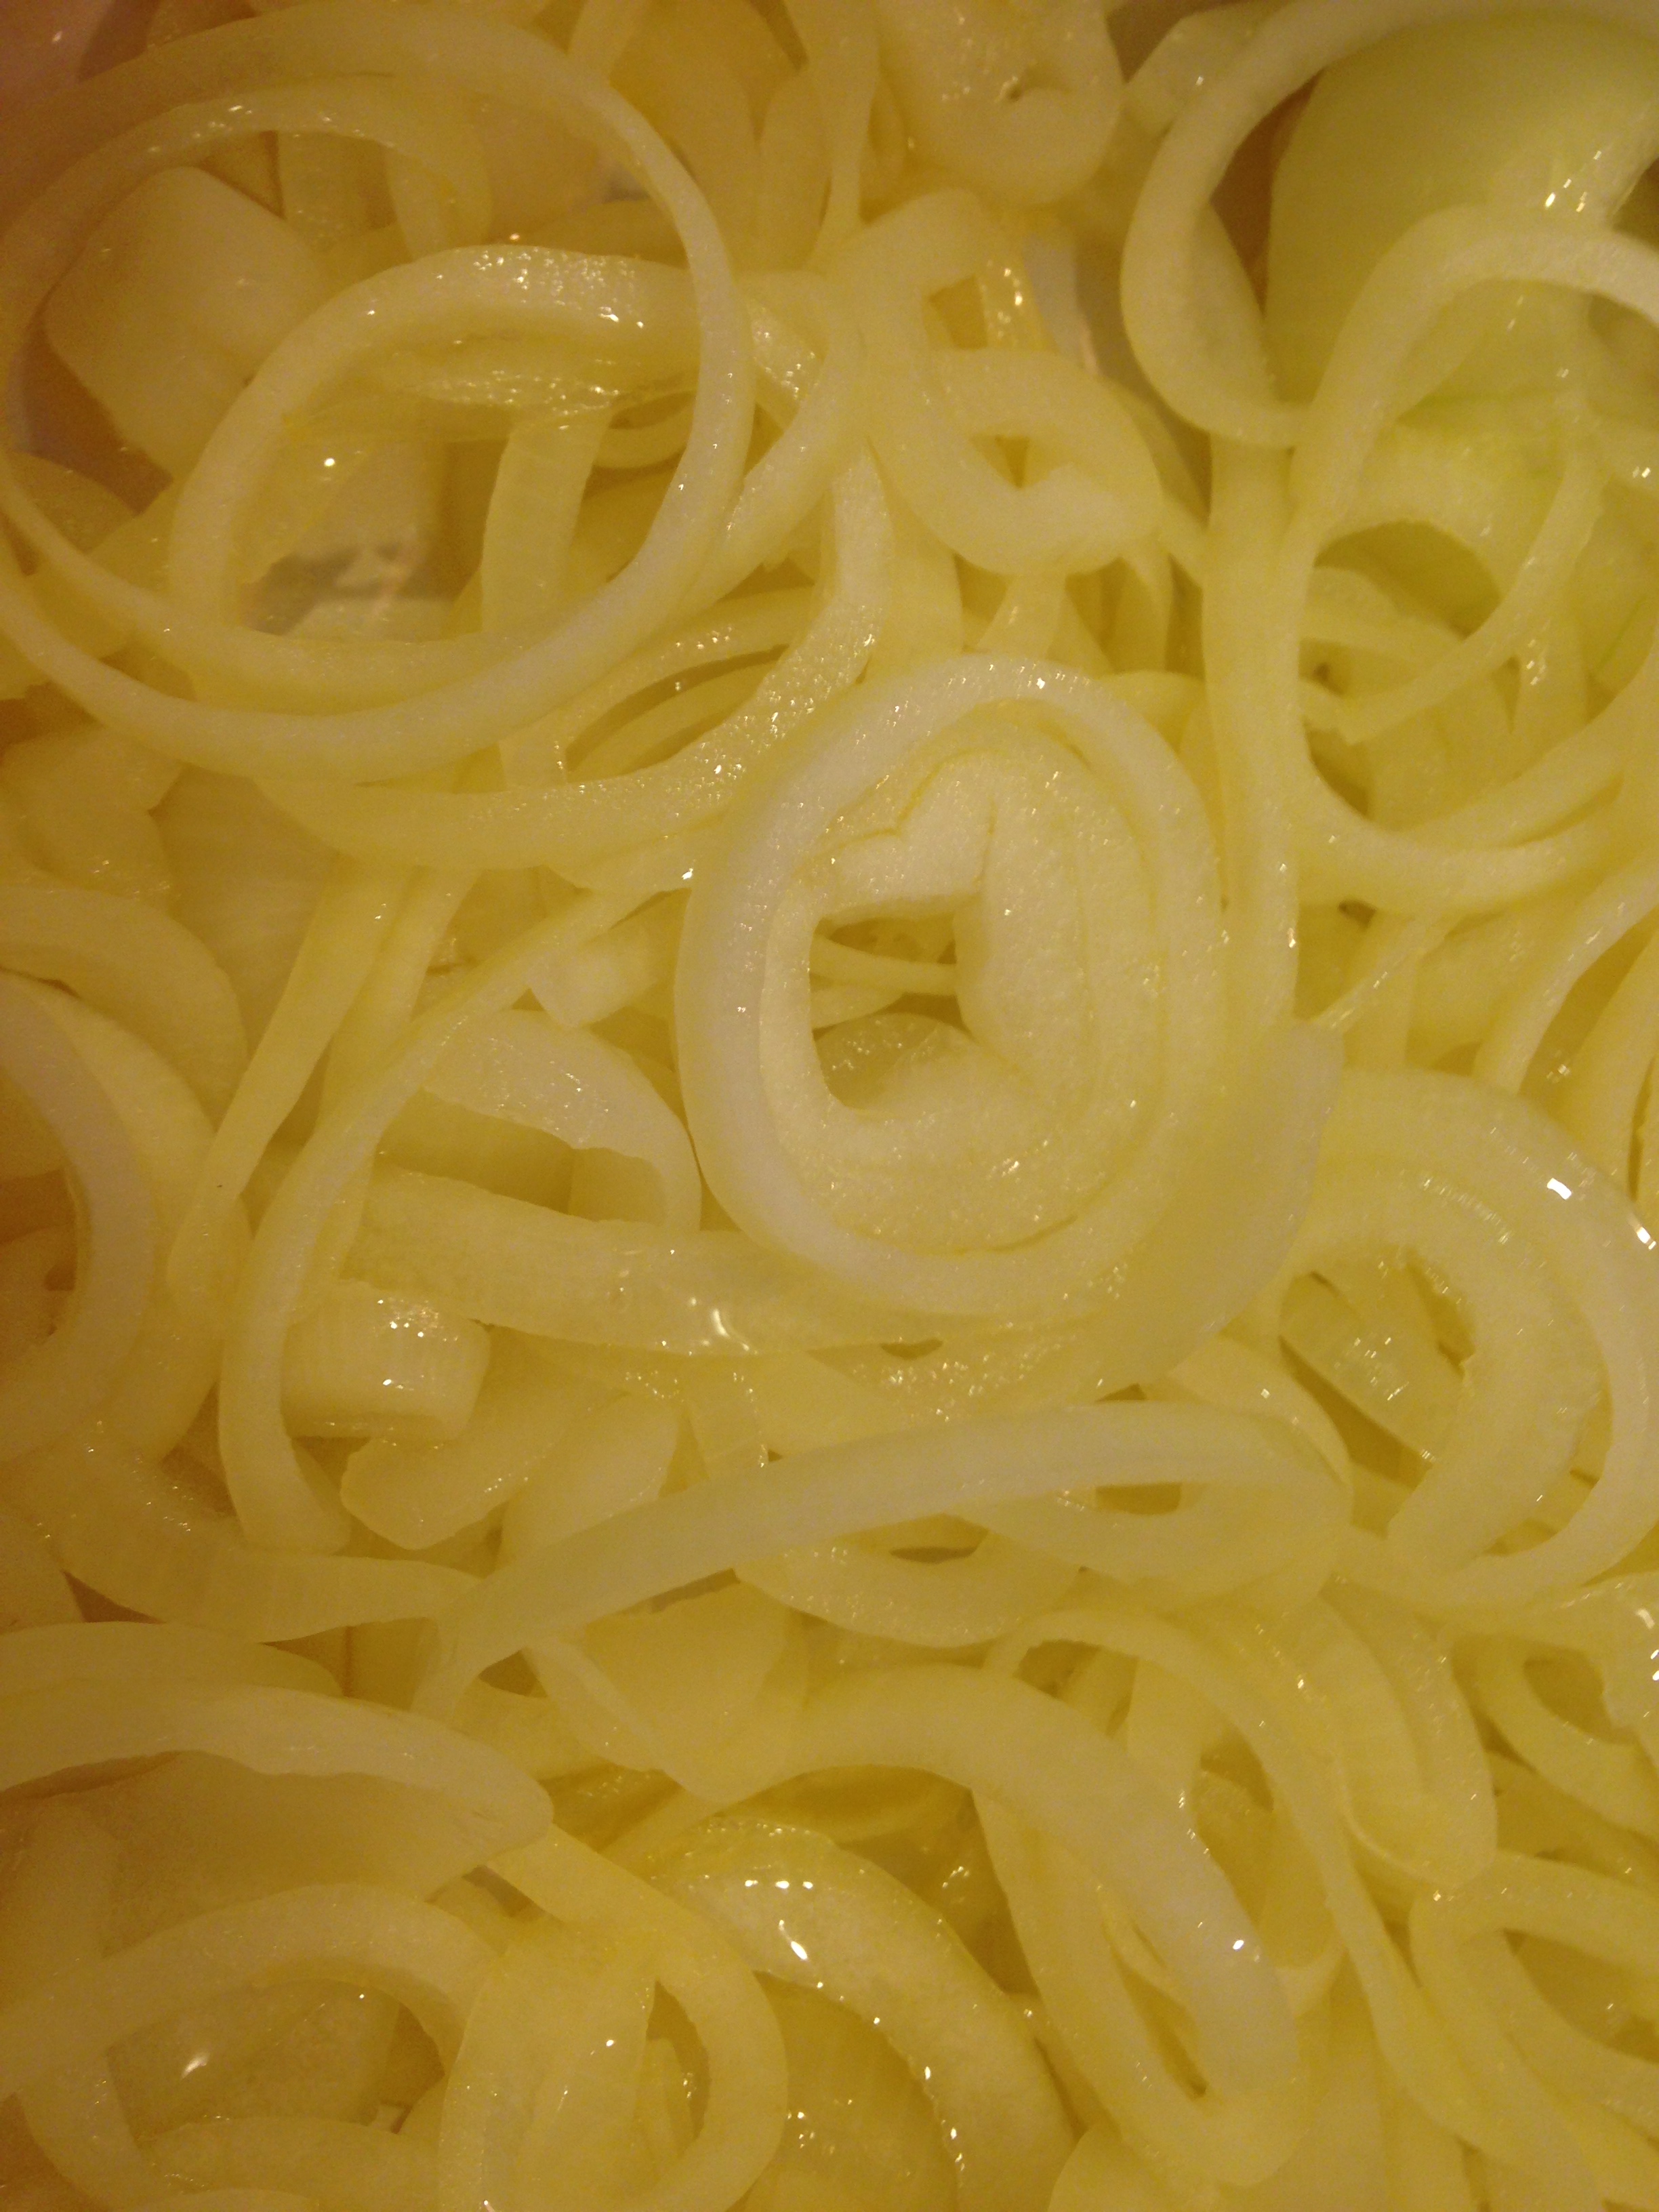
First you need to cook down and puree the onions. Just place chopped onions in a pan with Crisco and a few pinches of salt and cook down until translucent. Then puree with a hand blender or food processor. Place to the side.
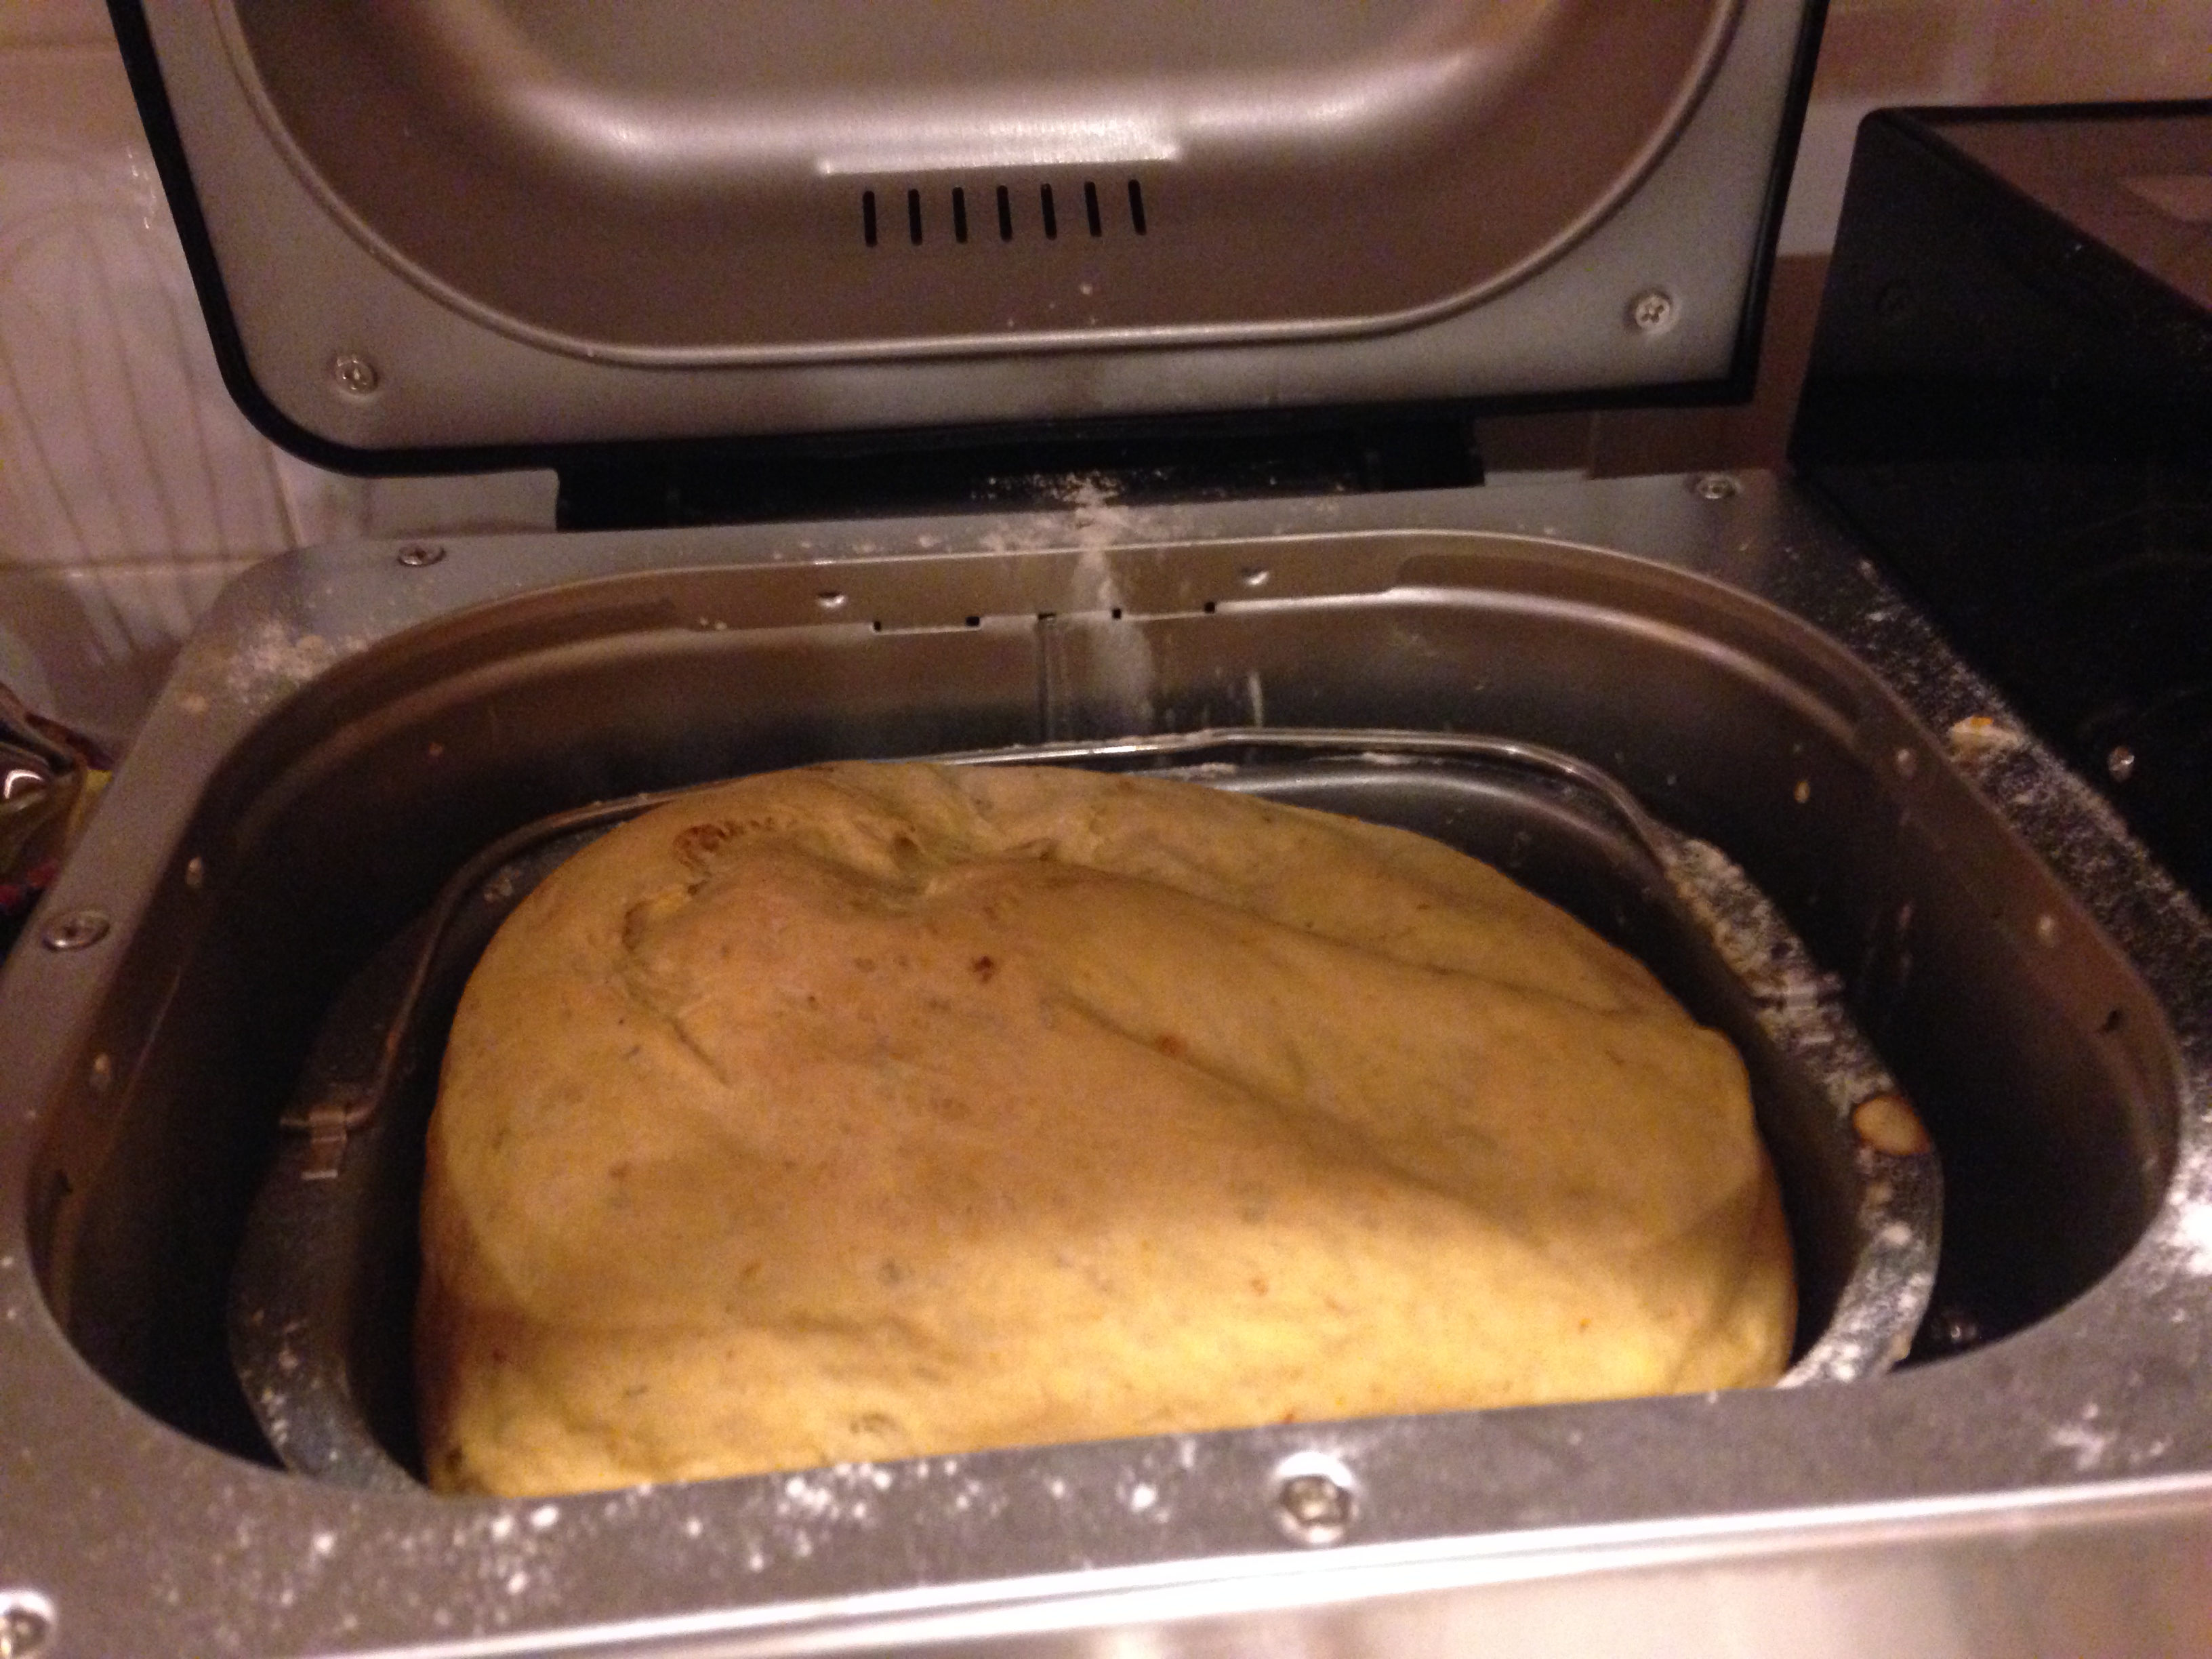
Take the bread baking pan out of the breadmaker and begin layering your ingredients. Many breadmakers come with their own ingredients and settings. I will generally make a 1.5lb loaf in a 2lb machine instead of the max so that any ingredients I add can be incorporated with enough room. I also always use medium settings like a medium crust color. Not light or dark. Moderation helps with a finicky machine I feel.

Layering:
The layering of ingredients for this bread are as follows (read below before you start layering:
- Water (3/4 cup)
- Infused olive oil (2 tablespoons)
- Few pinches of salt (about 1 teaspoon)
- 1/4 cup of onion mixture
- Sugar (1 teaspoon)
- Bread Flour (3cups)
- Dried Rosemary (1-2 teaspoons)
- Optional: dash of granulated garlic or other spices
- Active Dry Yeast (1 packet) (make sure to read below before this layer)
- Sliced Sundried Tomatoes in Oil (1/8 to 1/4 cup)
You will layer the above ingredients one on top of the other in the baking pan to be stirred, kneaded, etc. by the bread machine however when you go to add the yeast there is a small trick. Make a crater in the center so that the yeast can get to the sugar and water easier. Yeast eats sugar so this is helping guide the process. If a recipe doesn’t call for sugar but does for yeast I encourage the same process and 2 pinches of sugar into the dough to help it rise better. Also always use bread flour it is different than all purpose containing more proteins, etc.

BAKING:
Last place the settings on your bread machine to a basic or white bread setting and moderate crust color and size is for 1.5 lbs. If you want you can always take the bread out and knead it a little before the rise setting and add a dash of water or flour if you think it needs it. I do this occasionally. Sometimes I also spray the pan with Pam/Canola or olive oil.
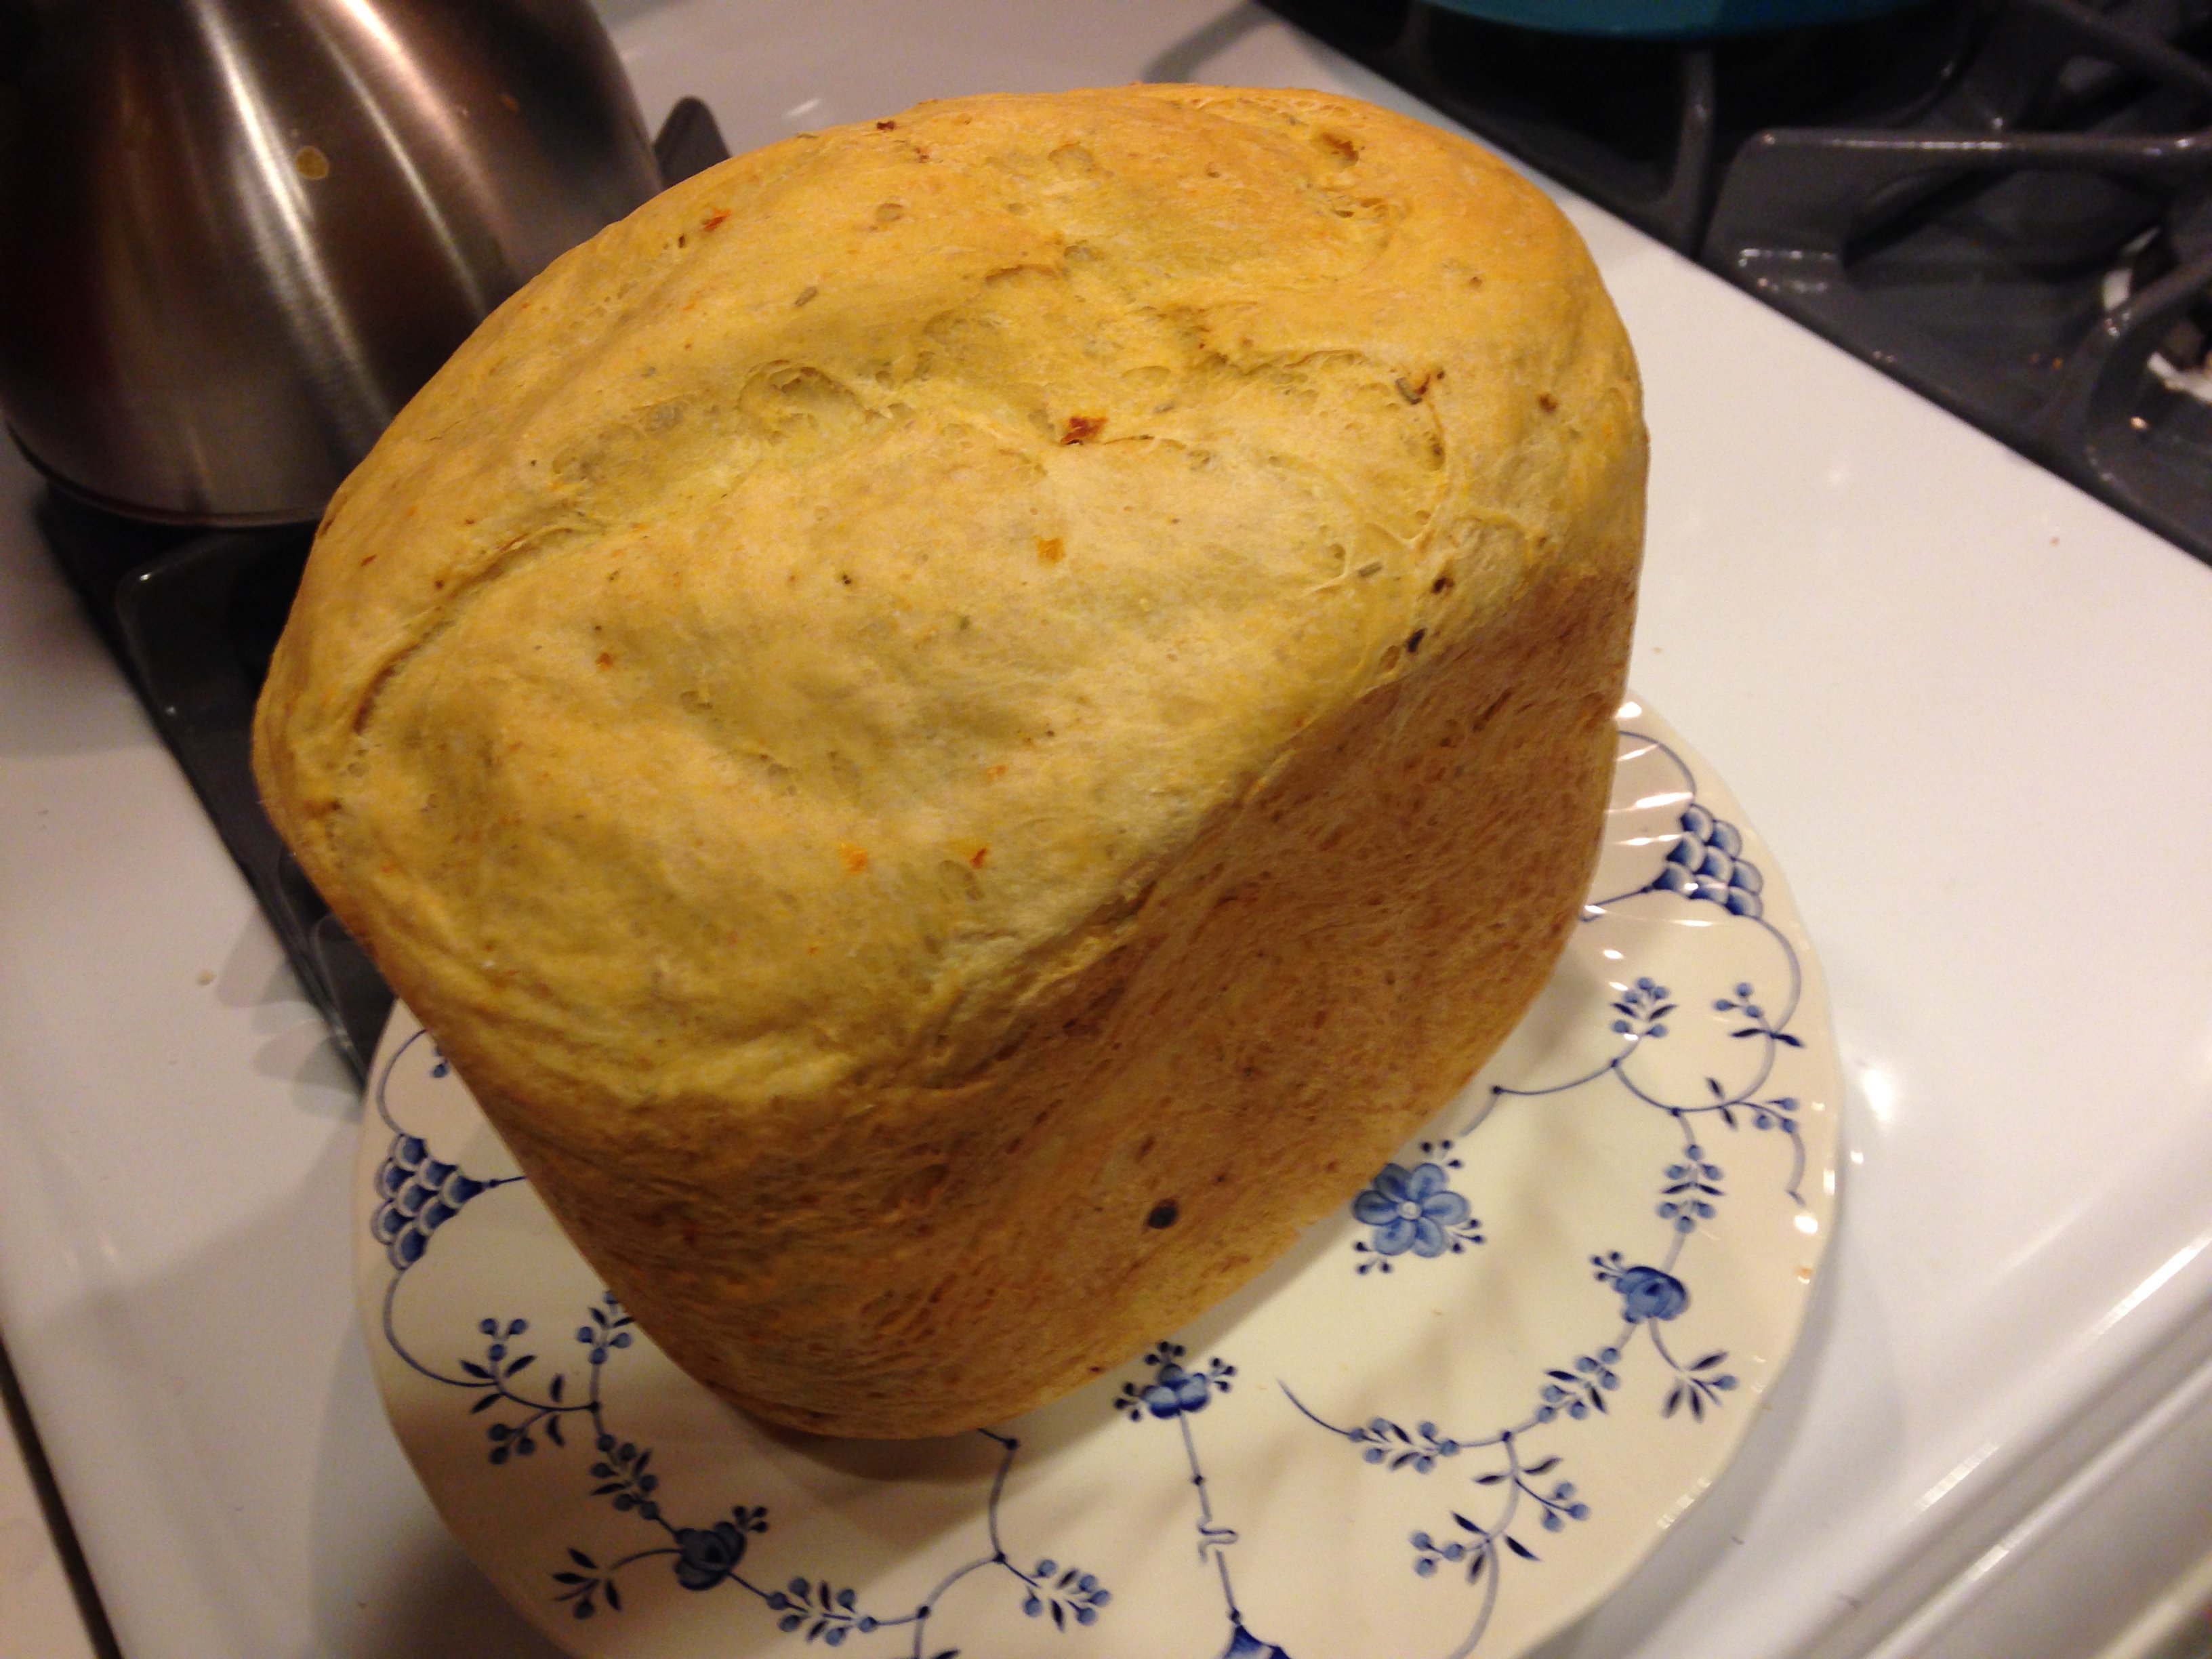
Once it rises and before it bakes add a drizzle of the infused olive oil and a pinch of salt on top. It will make it have a little extra zing on the crust.
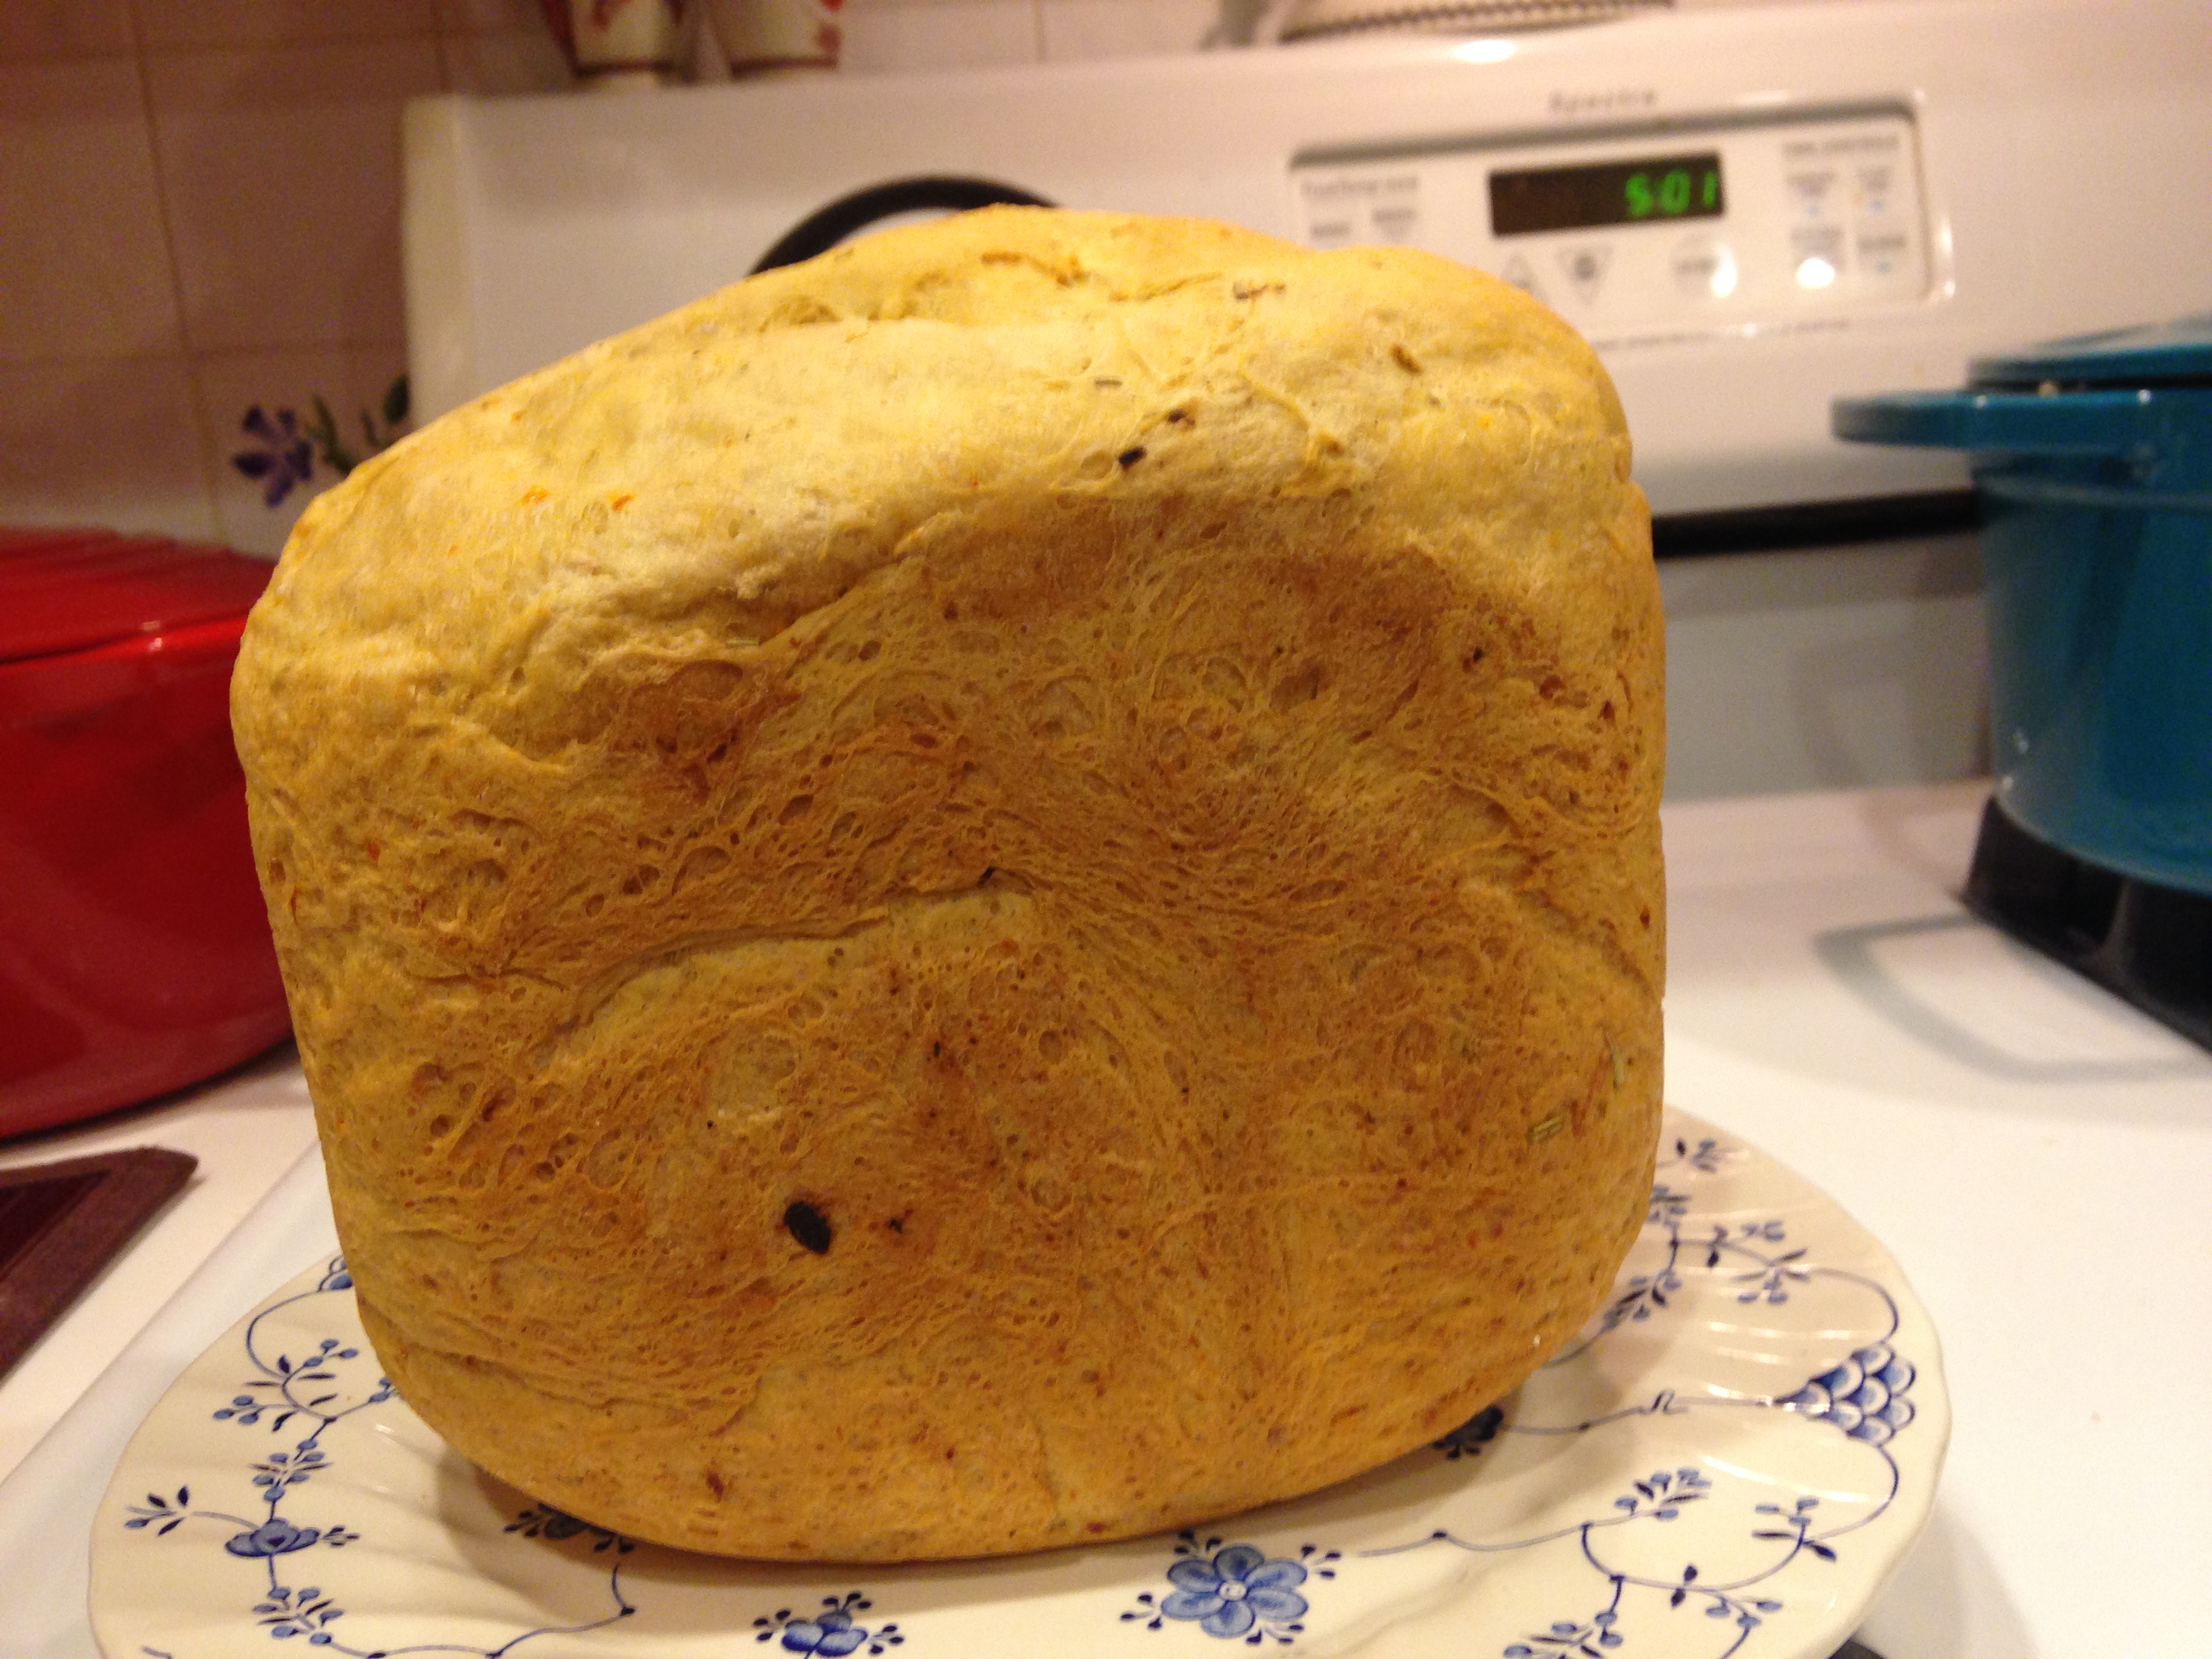
Take out immediately after baking and place on rack. if you are not there that is okay. it will just get a little soggy on the bottom if it auto-shuts off.
Enjoy!


______________________________________________________________________________________________________________________________
Food is Love.
The Hippie Gypsy