The fall weather has officially started here in Coastal Massachusetts. This weekend I started raking, trimming back trees, turned off the Central Air, and opened up all the windows in my house. The cool air made the sheer window coverings sweep the floors from the wind like a chiffon wedding dress. It was a beautiful weekend. I could smell chocolate chip cookies and ocean air from my deck and I even kicked it off with a trip to the Brimfield Antiques Fair which just screams “Welcome Fall”. Together my mother and I picked up a red rocking horse for my nephew Nolan, a few records for my new record player, a set of silverware that completed a set I had inherited which was just dumb luck!, a buddha painted in reds and blues and gold for my side garden to go just underneath the chimes, and a poster from the 1980’s when a friend of mine ran for office which I will make him sign because it was such a fun find! Who doesn’t love a gigantic yard sale? I would be hard pressed to find anyone who doesn’t have a good time at these events. I then went over to my aunt’s to help her pack up her apartment to move to her dream destination. I am so proud of her. I know she appreciates a good dessert. So this weekend I worked on puddings.
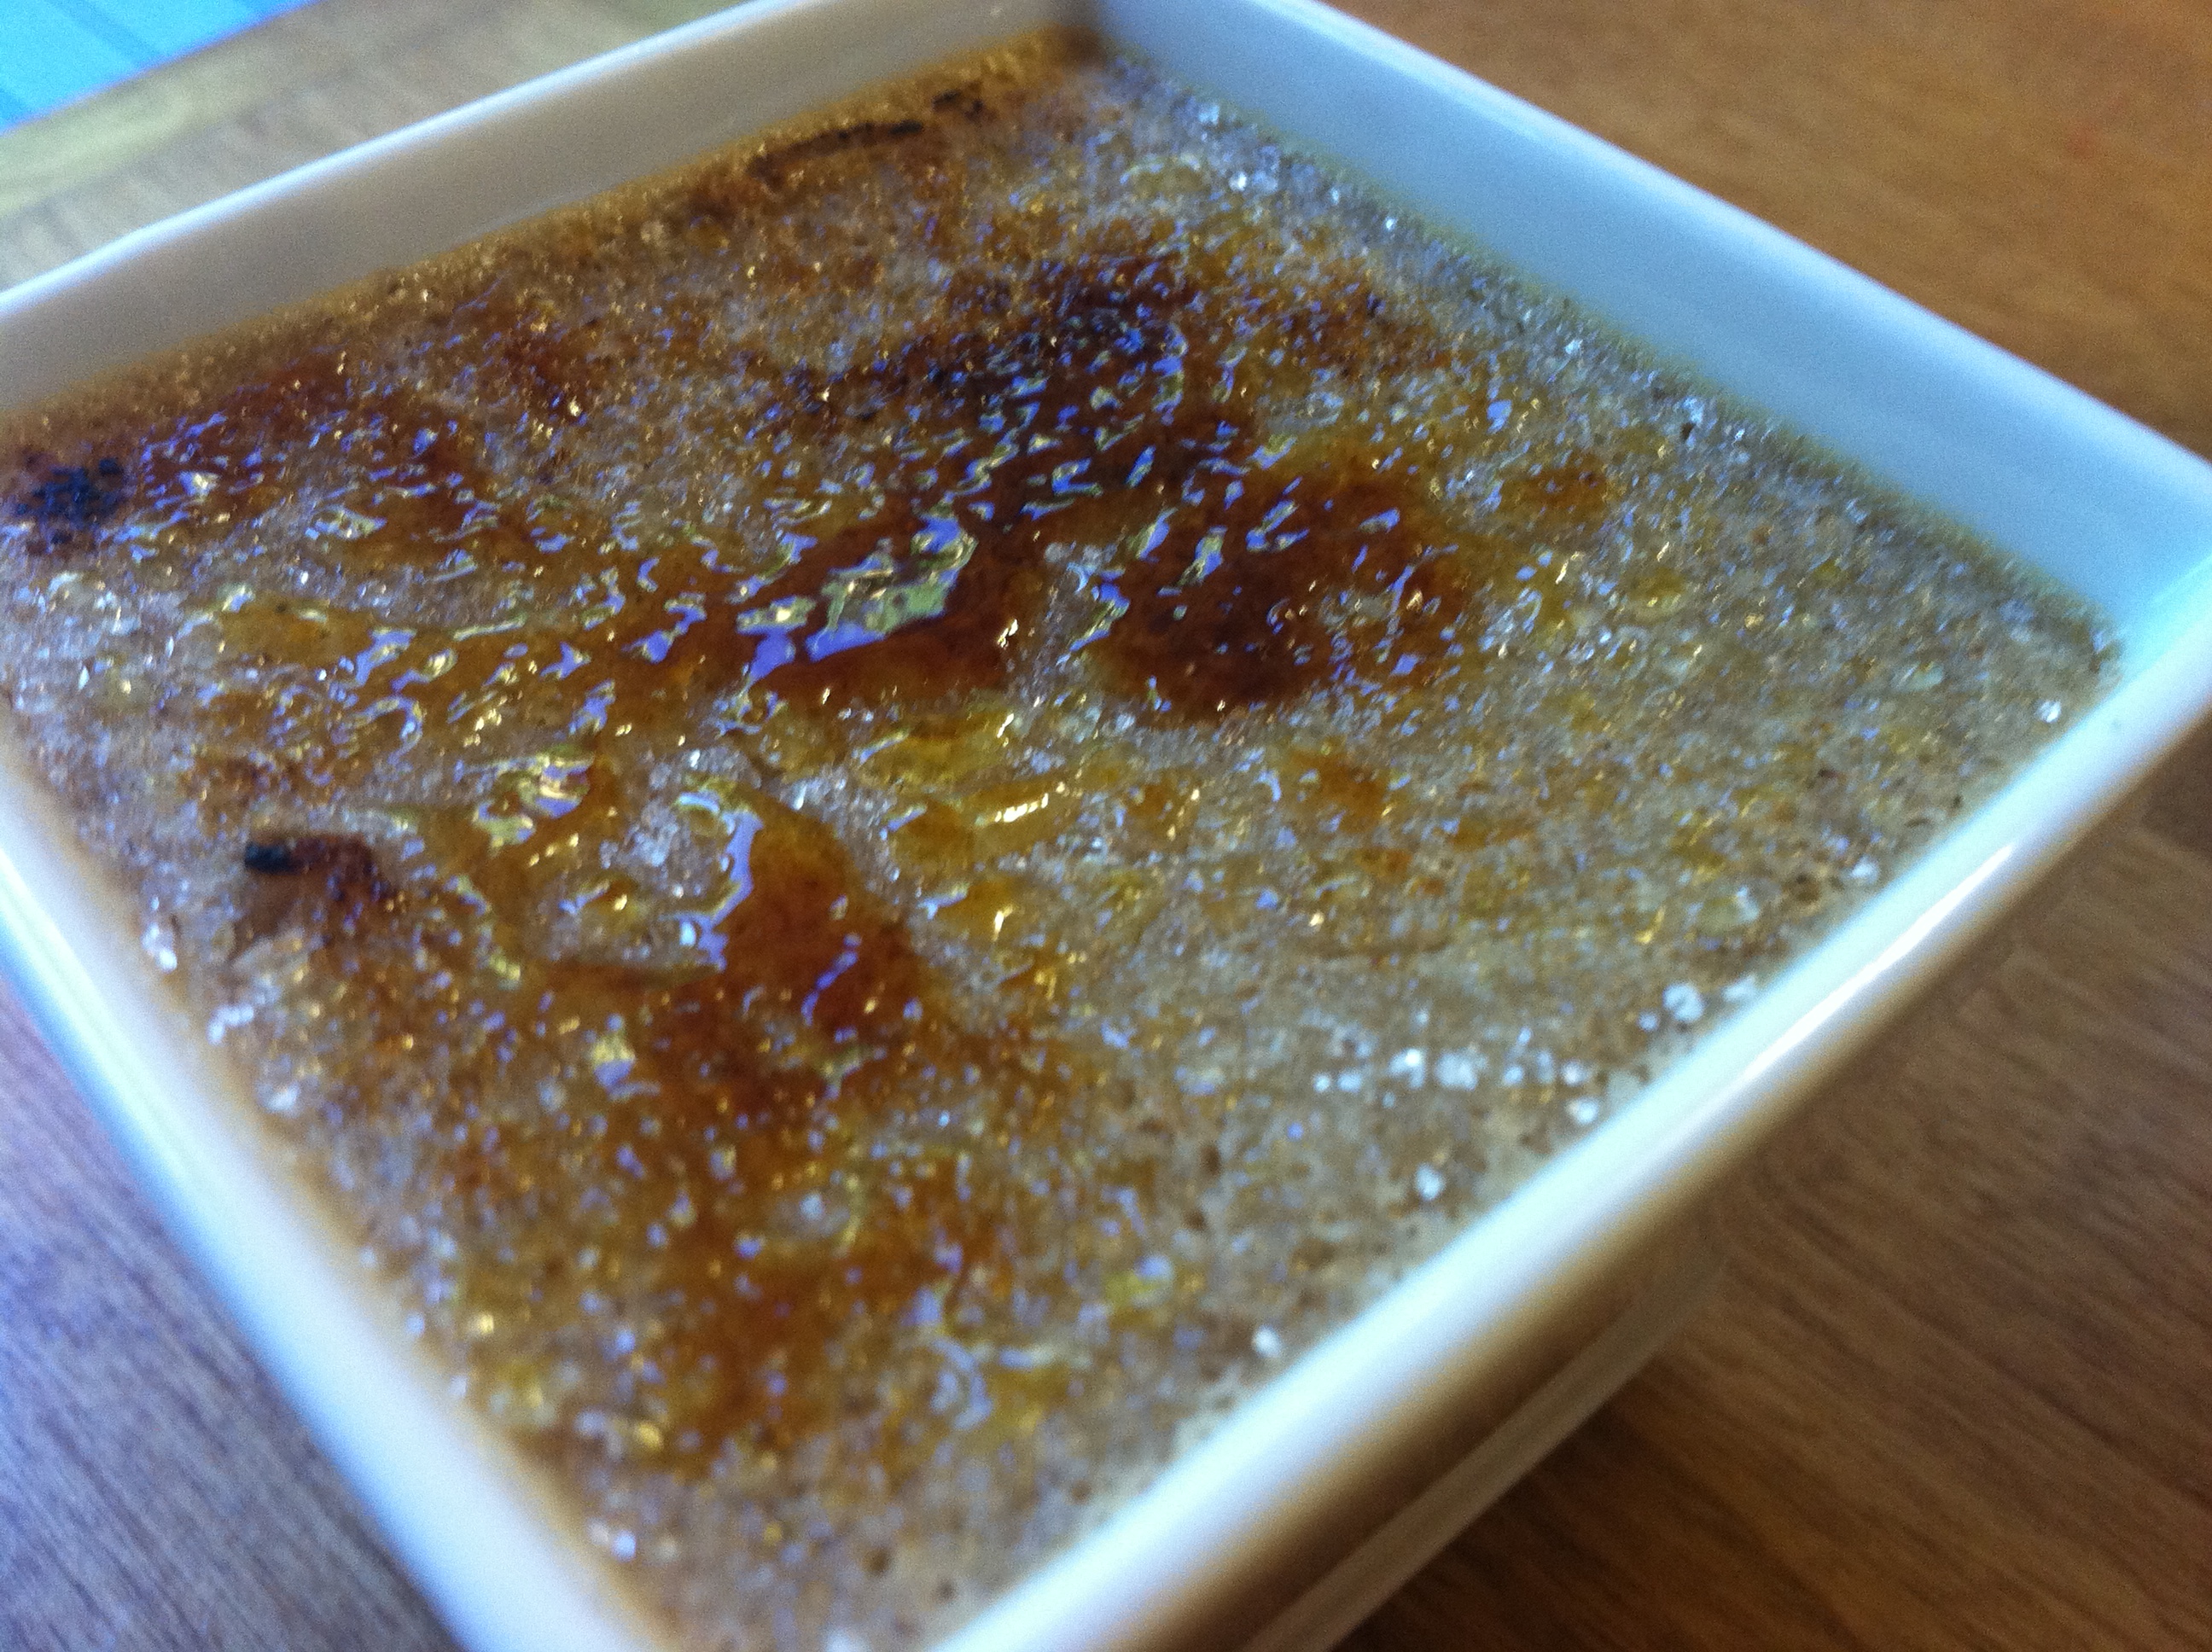
Fall is the time for puddings both warm and cold. There are bread puddings (my mom’s favorite) and the more exciting french puddings like the creme brulee and then there are the puddings I would never eat like black pudding. My favorite has always been a vanilla bean creme brulee with a good crunchy crust and a thick custard filling but not to sweet to offset the brulee. My parents would bring us to brunch on Easter and Mother’s day and I would always run over to make sur ethe hotel had the little ramekins of this dessert. So I tried to replicate it now as a vegan with a few fall fun flavors. This is my first of a series of three I will post this week (all tested and approved by the omnivore husband). They are all easy to prepare (35minutes max) but the cooling process (2hrs min.) causes it to be something you have to make in advance. Since everyone in the office was talking about apple picking on Friday we shall start with apple! Enjoy!

____________________________________________________________________________________________________________________________________________
Apple Cinnamon Cheesecake Creme Brulee
Ingredients:
- 1/2cup raw cashews
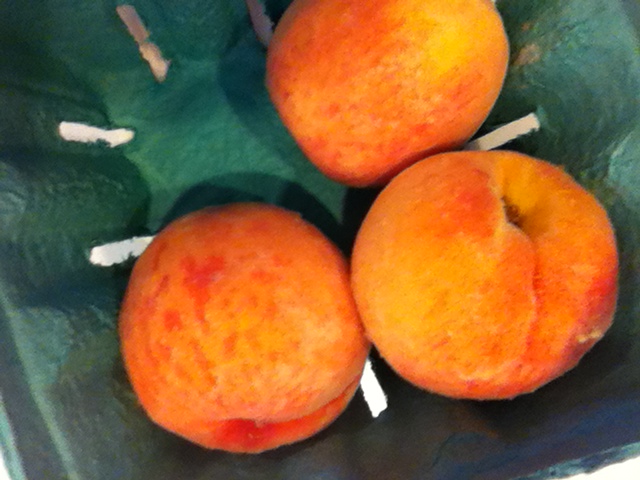
- (2) Macintosh Apples Cored, Peeled, Diced
- 1/4cup maple syrup
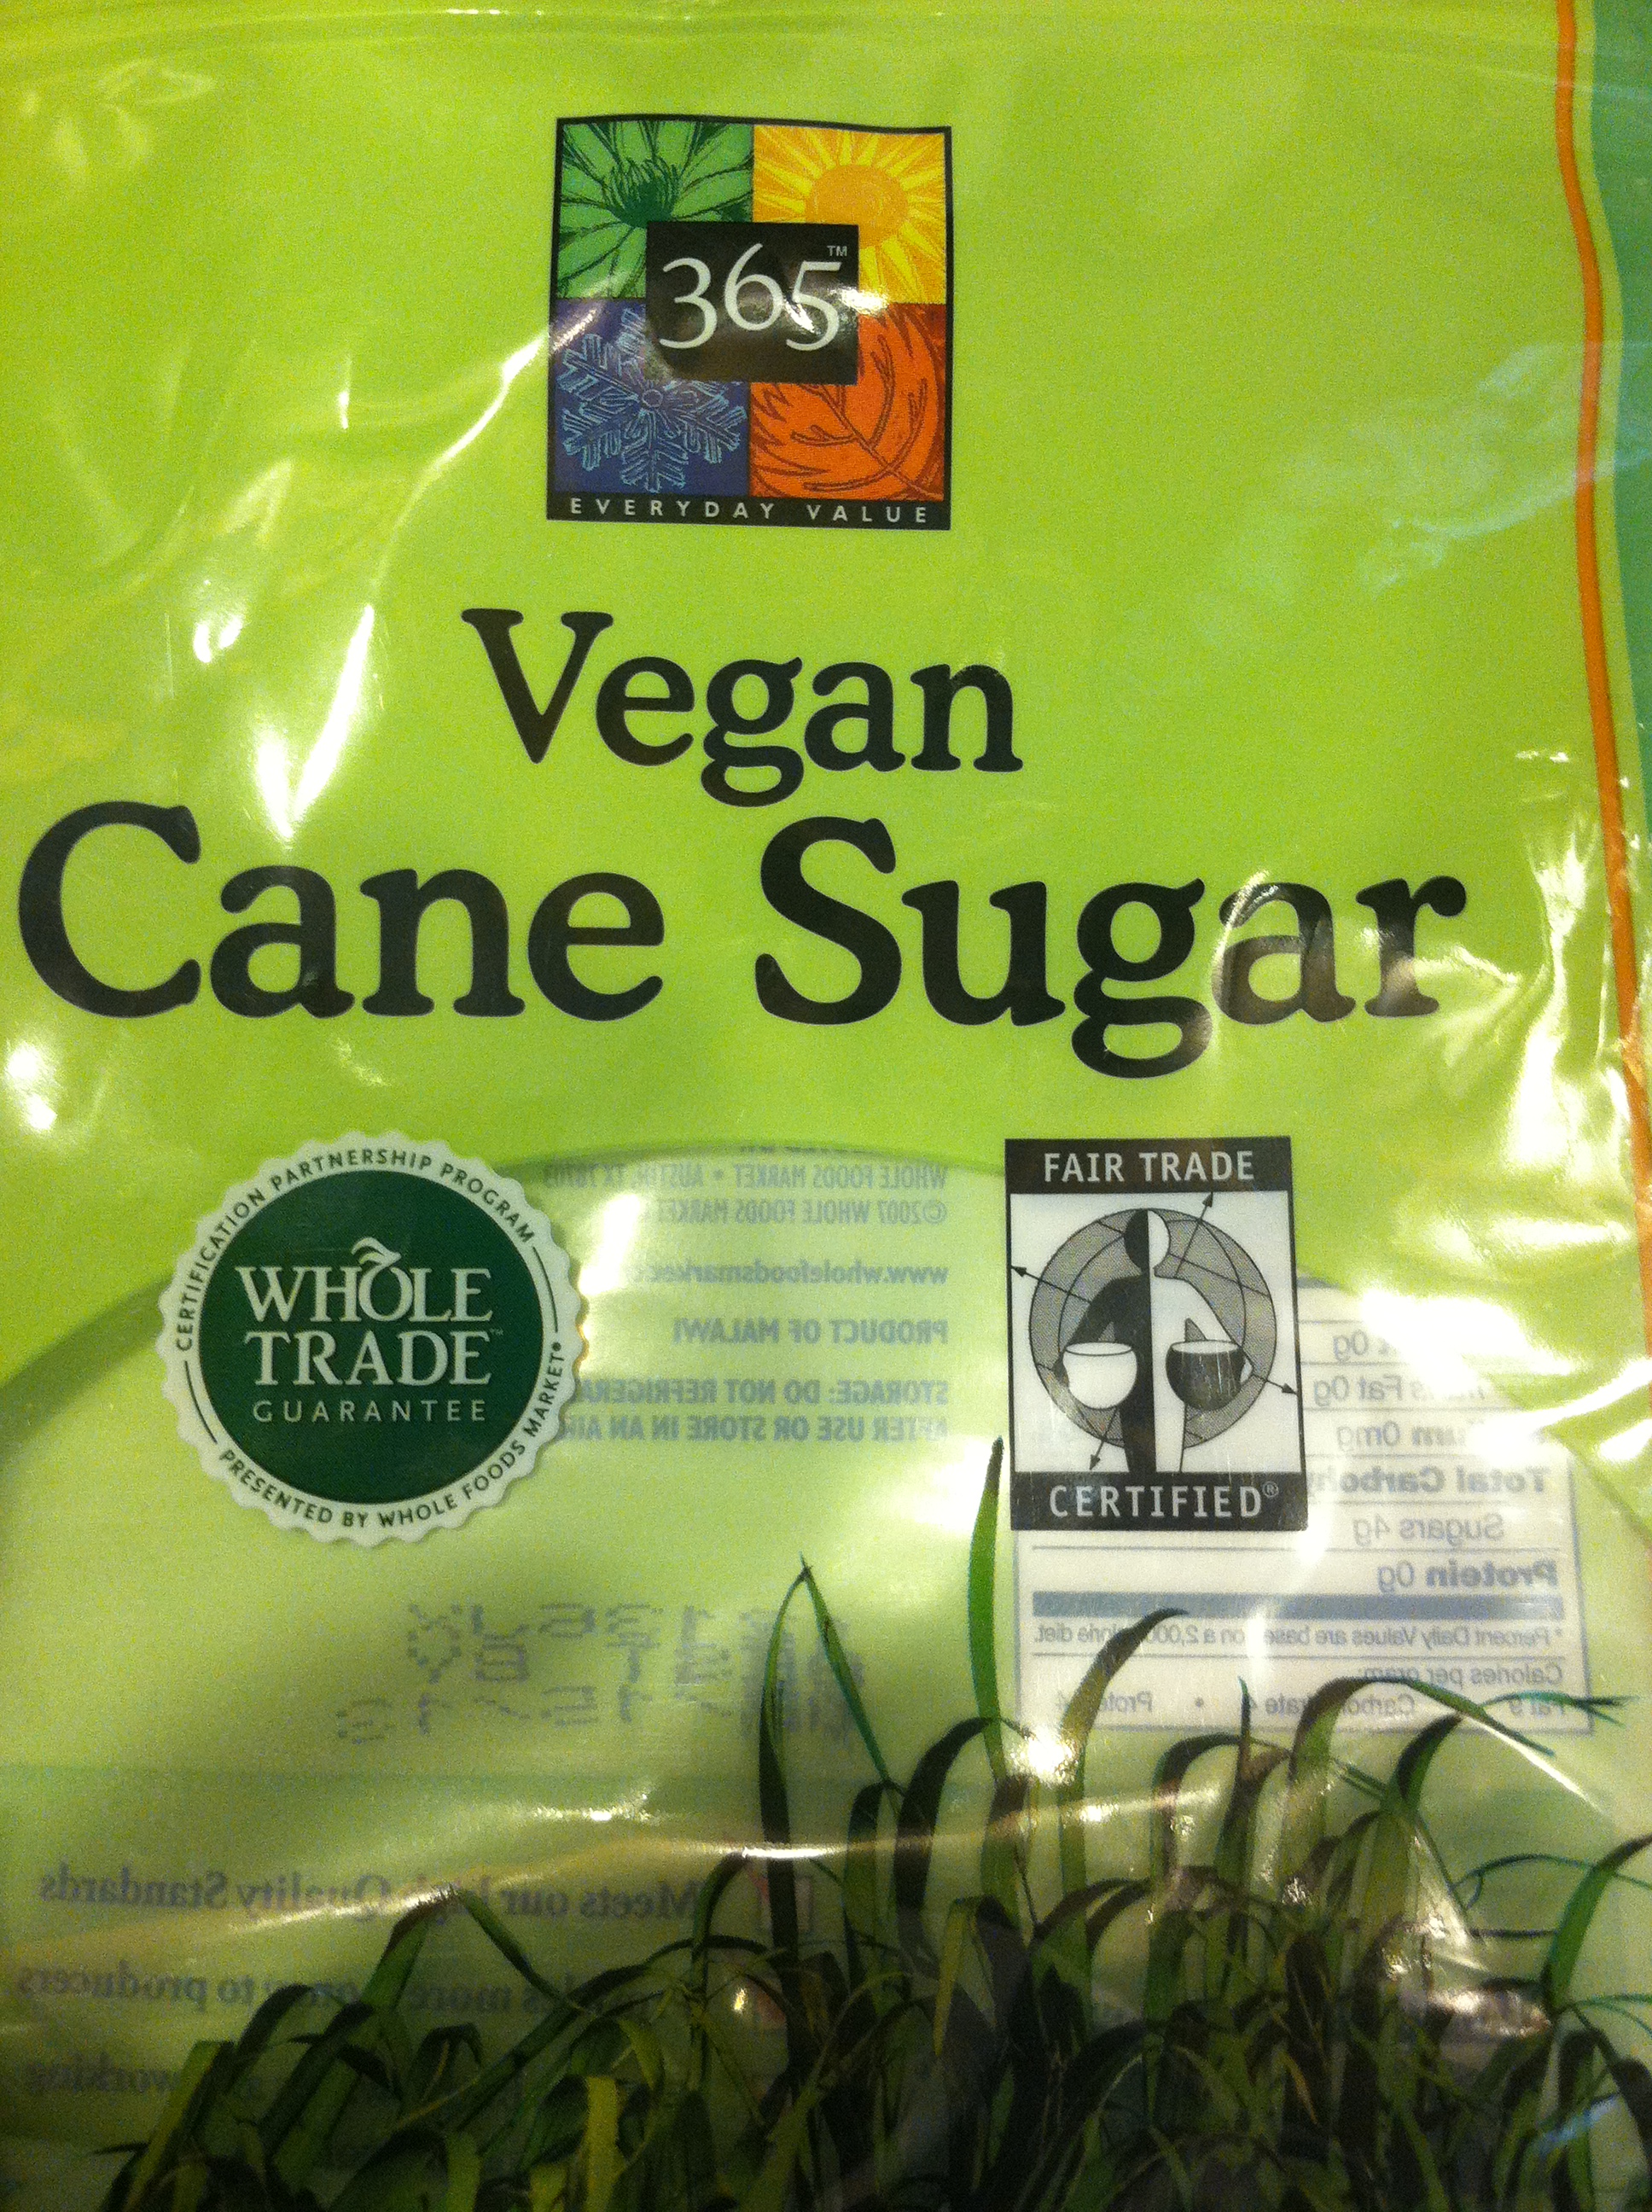
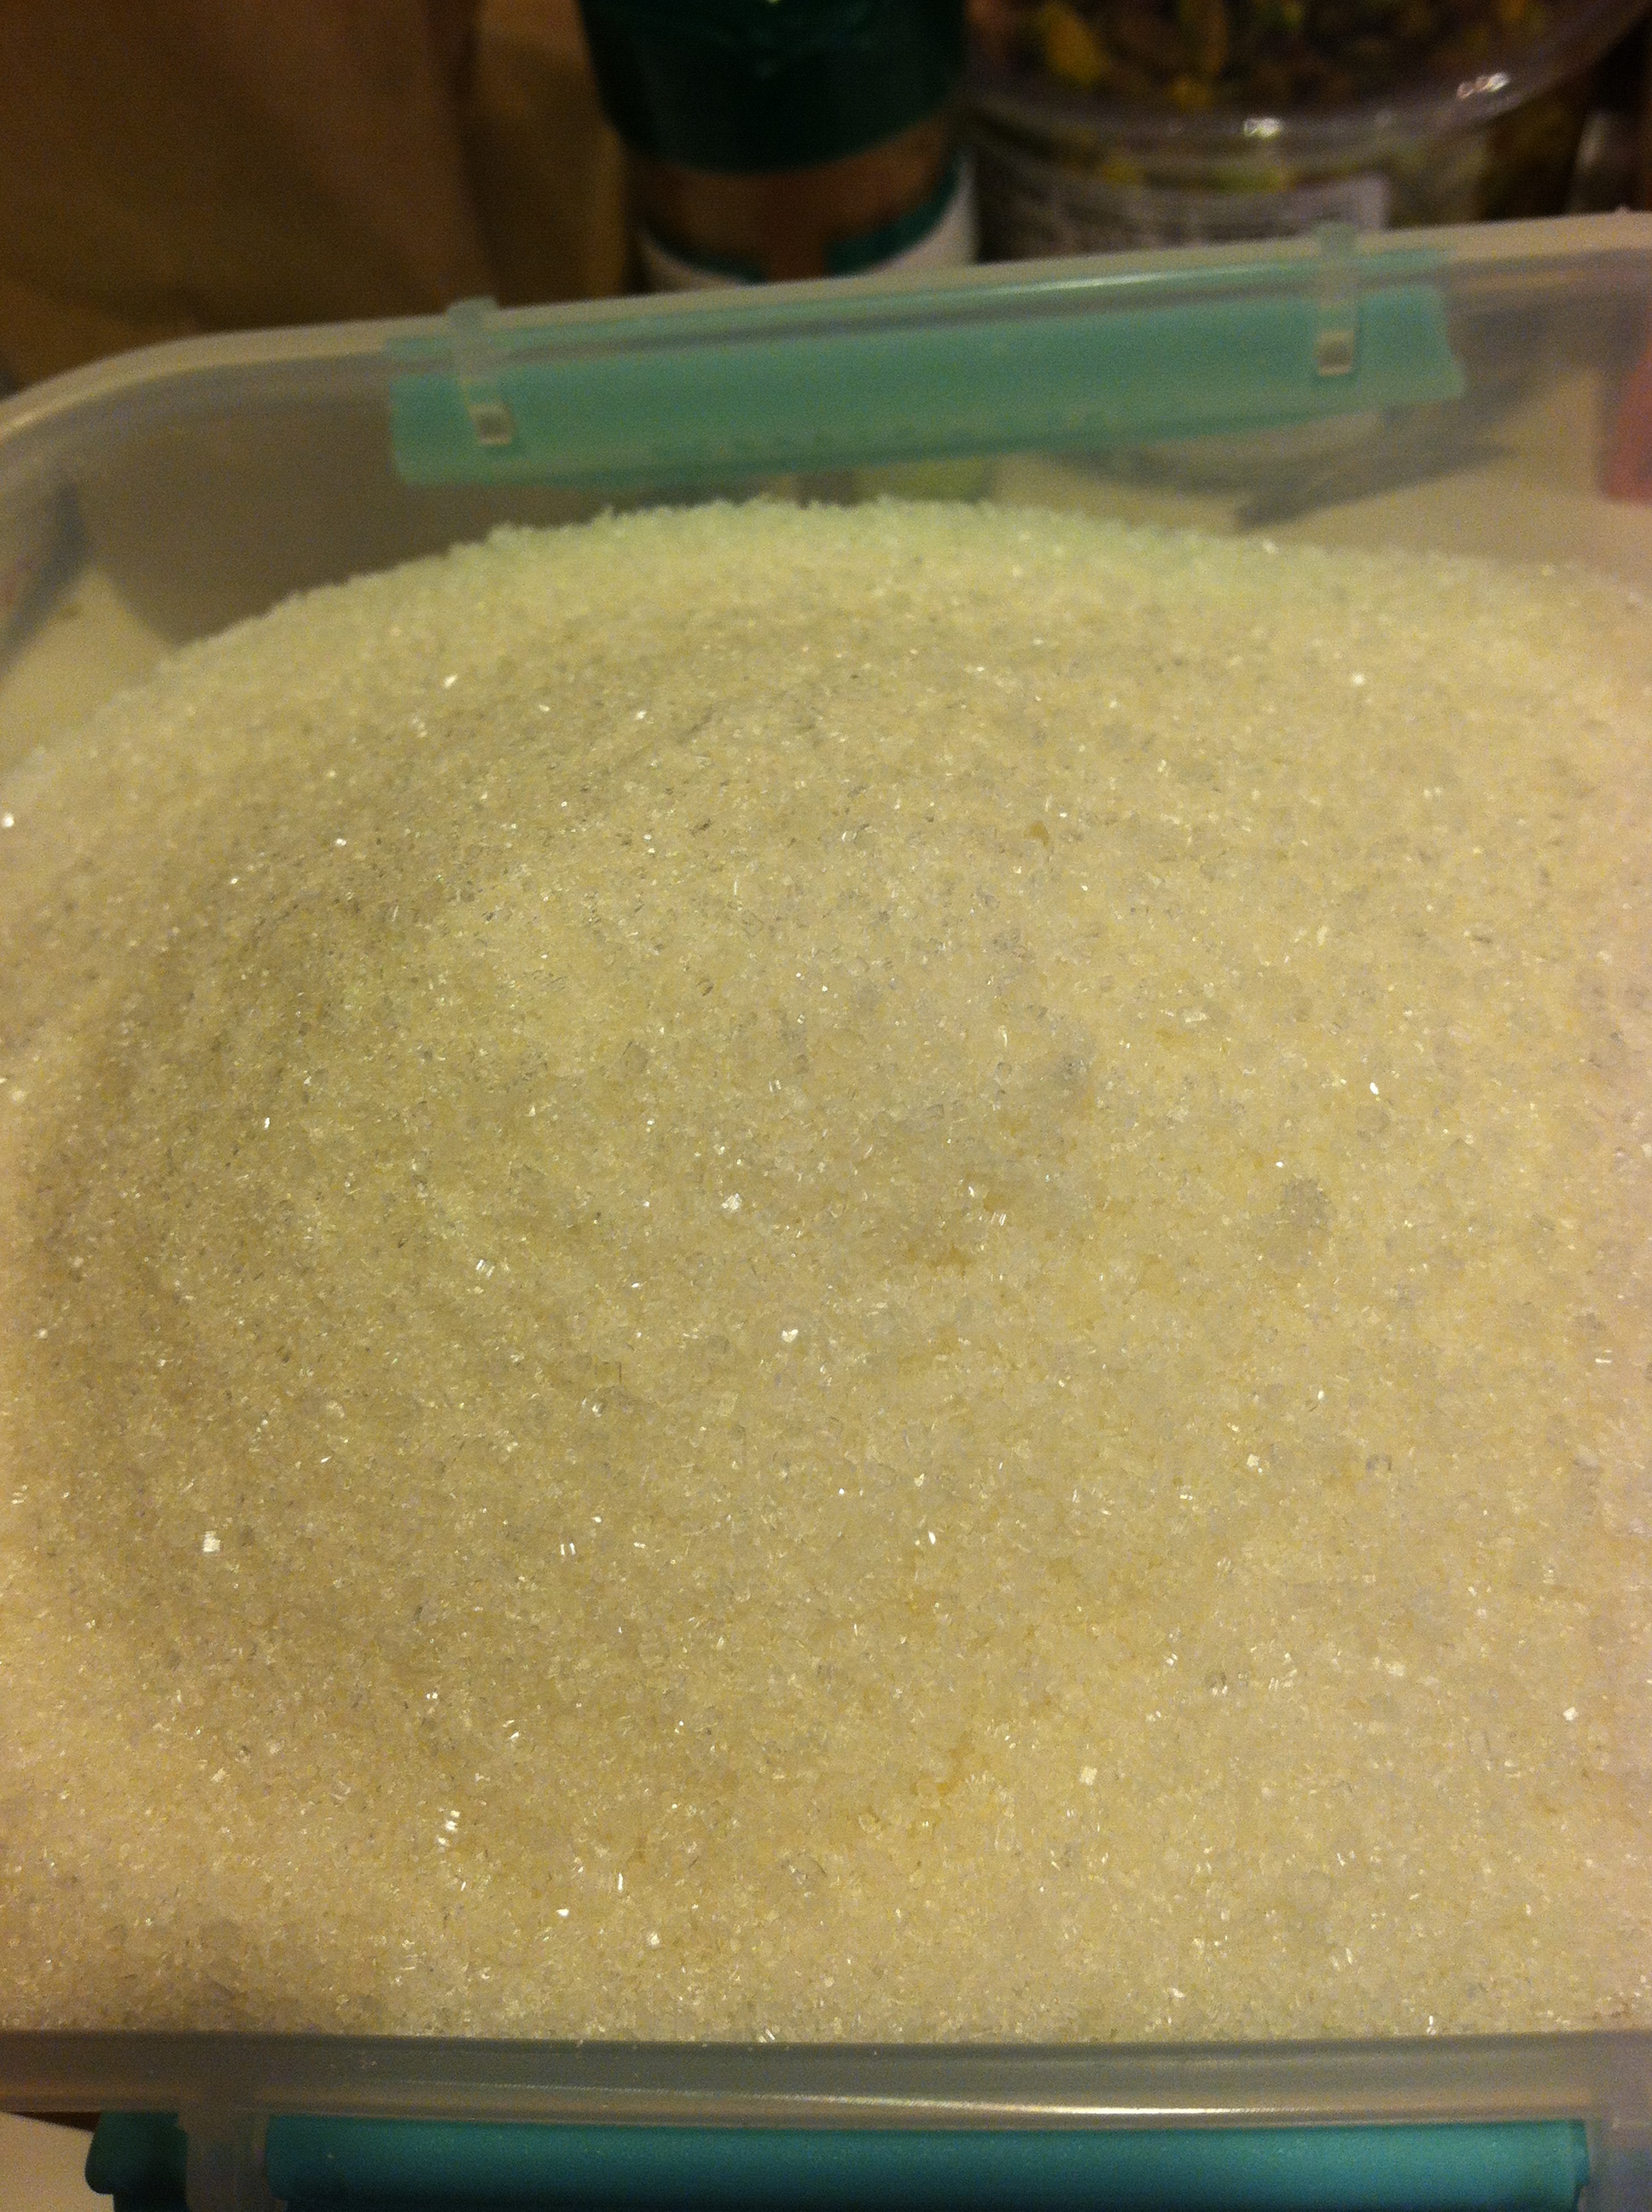
- 1/3cup sugar
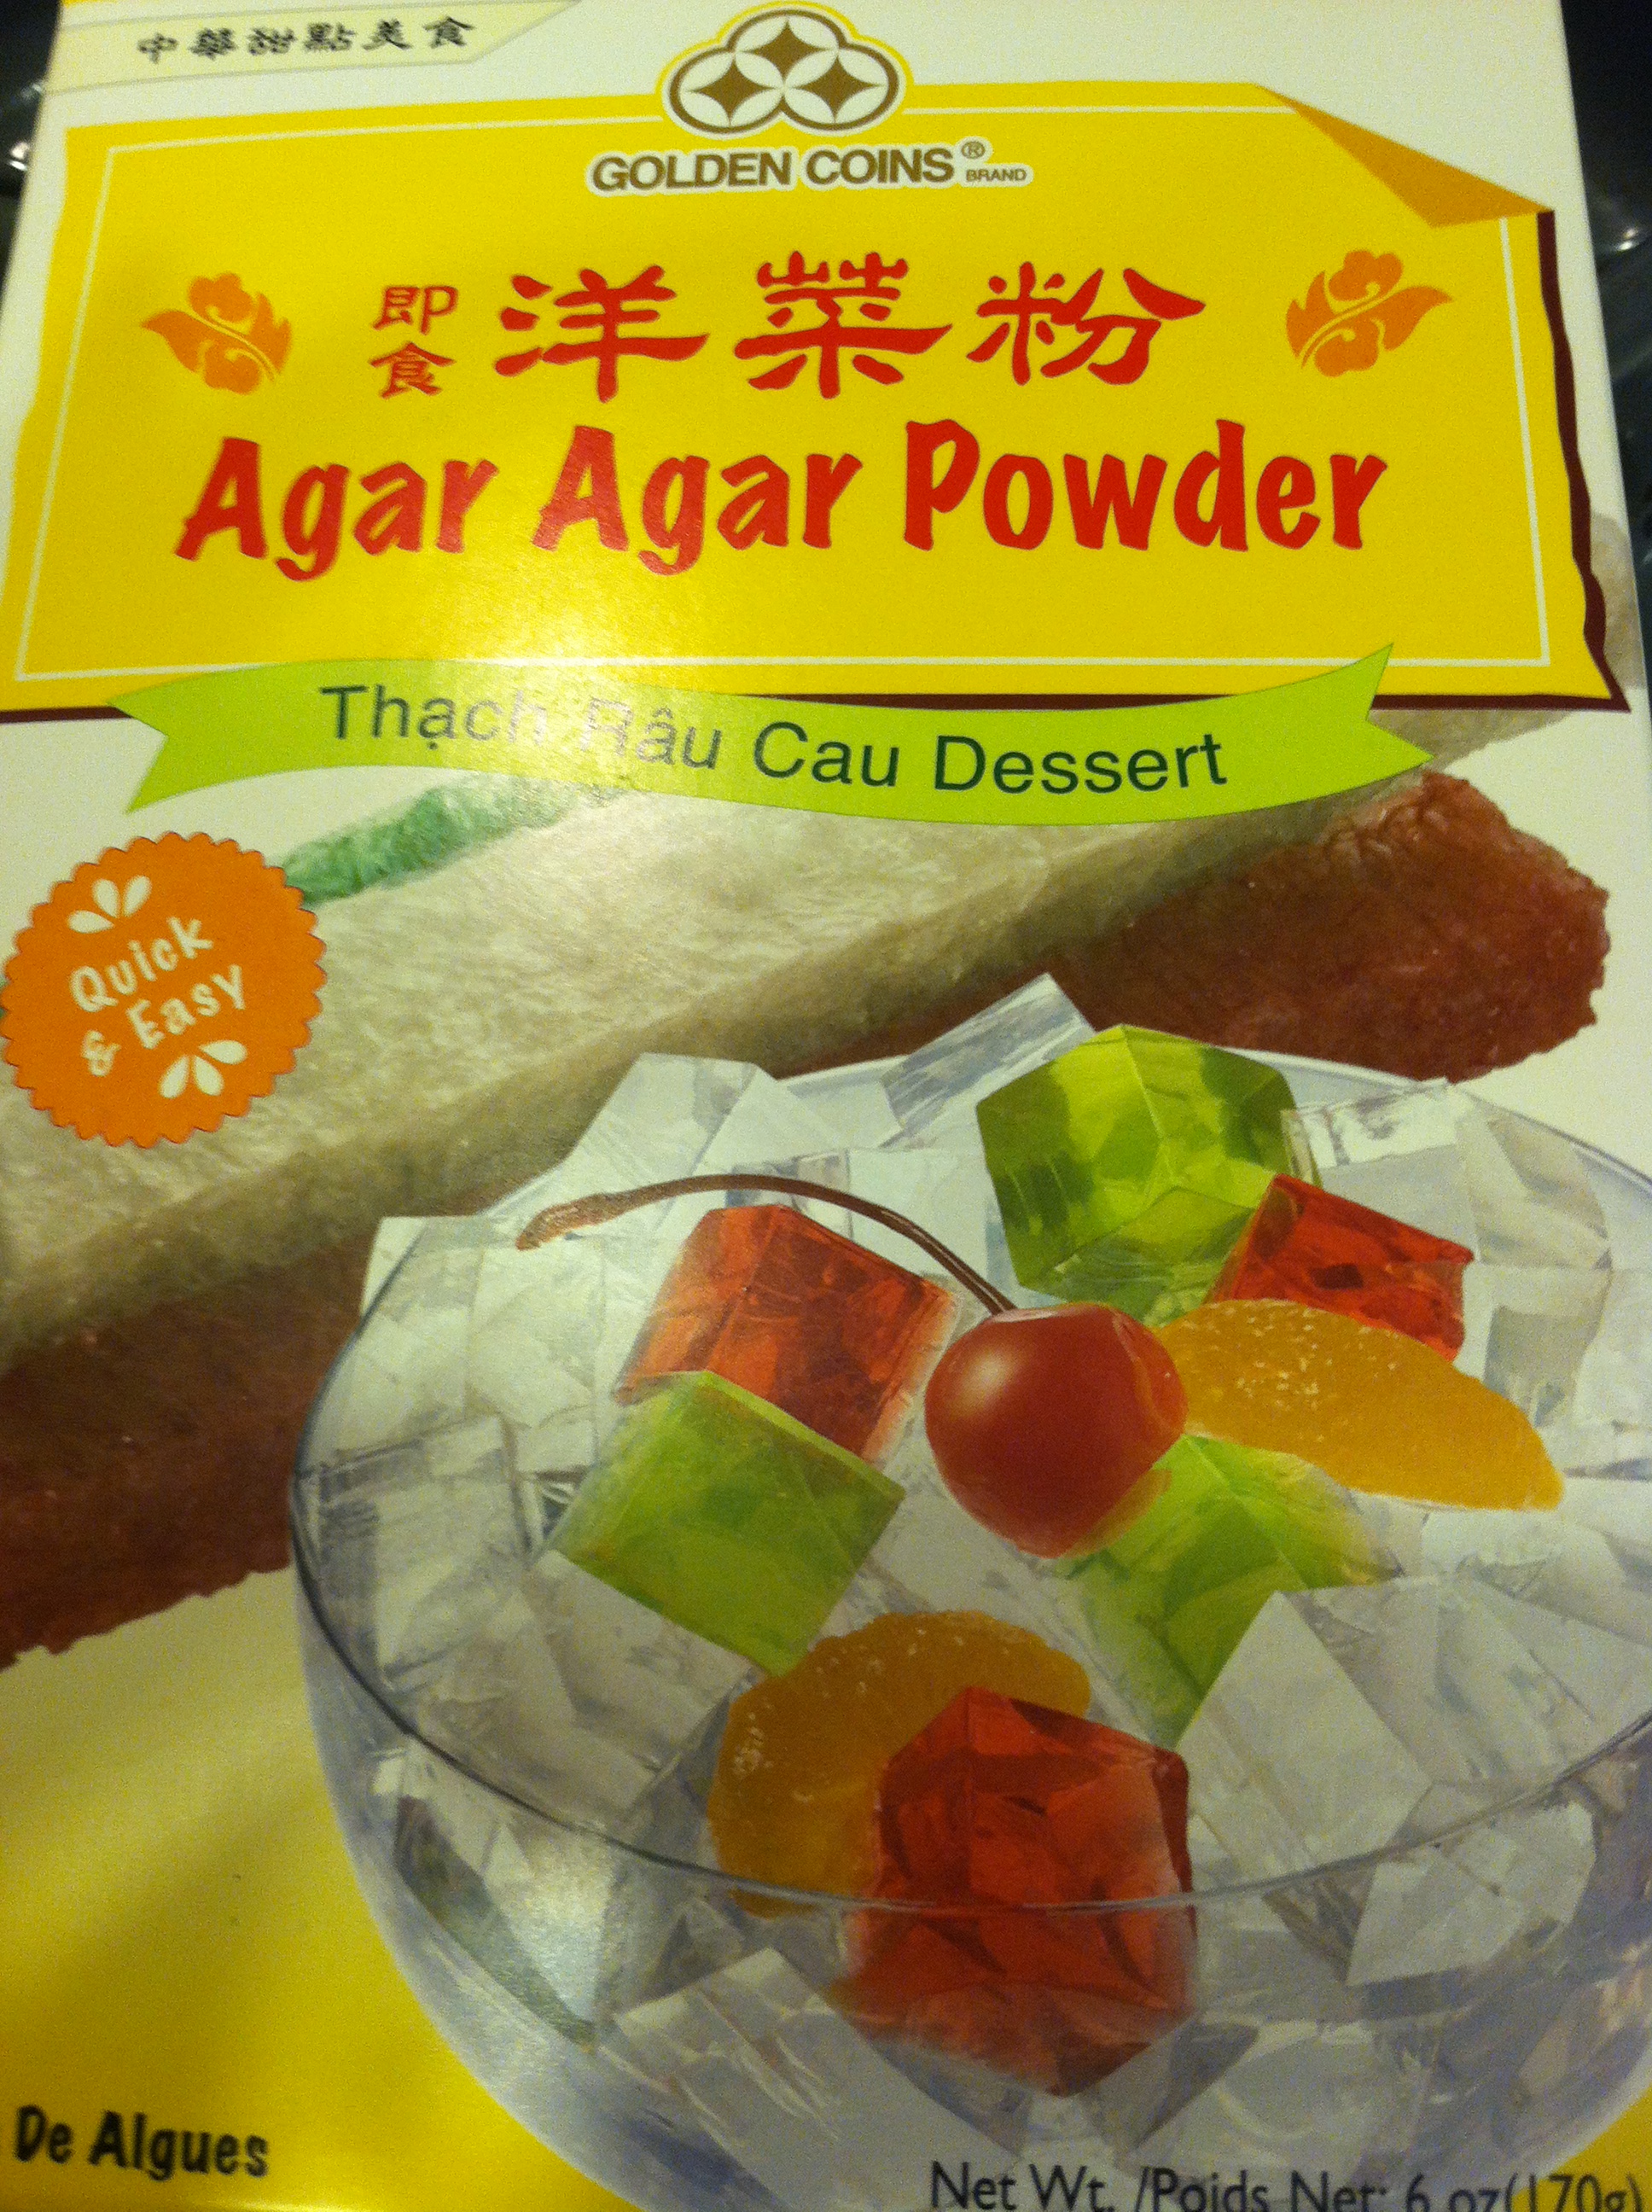
- 1tablespoon agar agar powder (this is vegan gelatin powder found in the asian section of the grocery store)
- 1tablespoon arrowroot powder/starch (don’t use cornstarch due to the high heat, arrowroot is better)
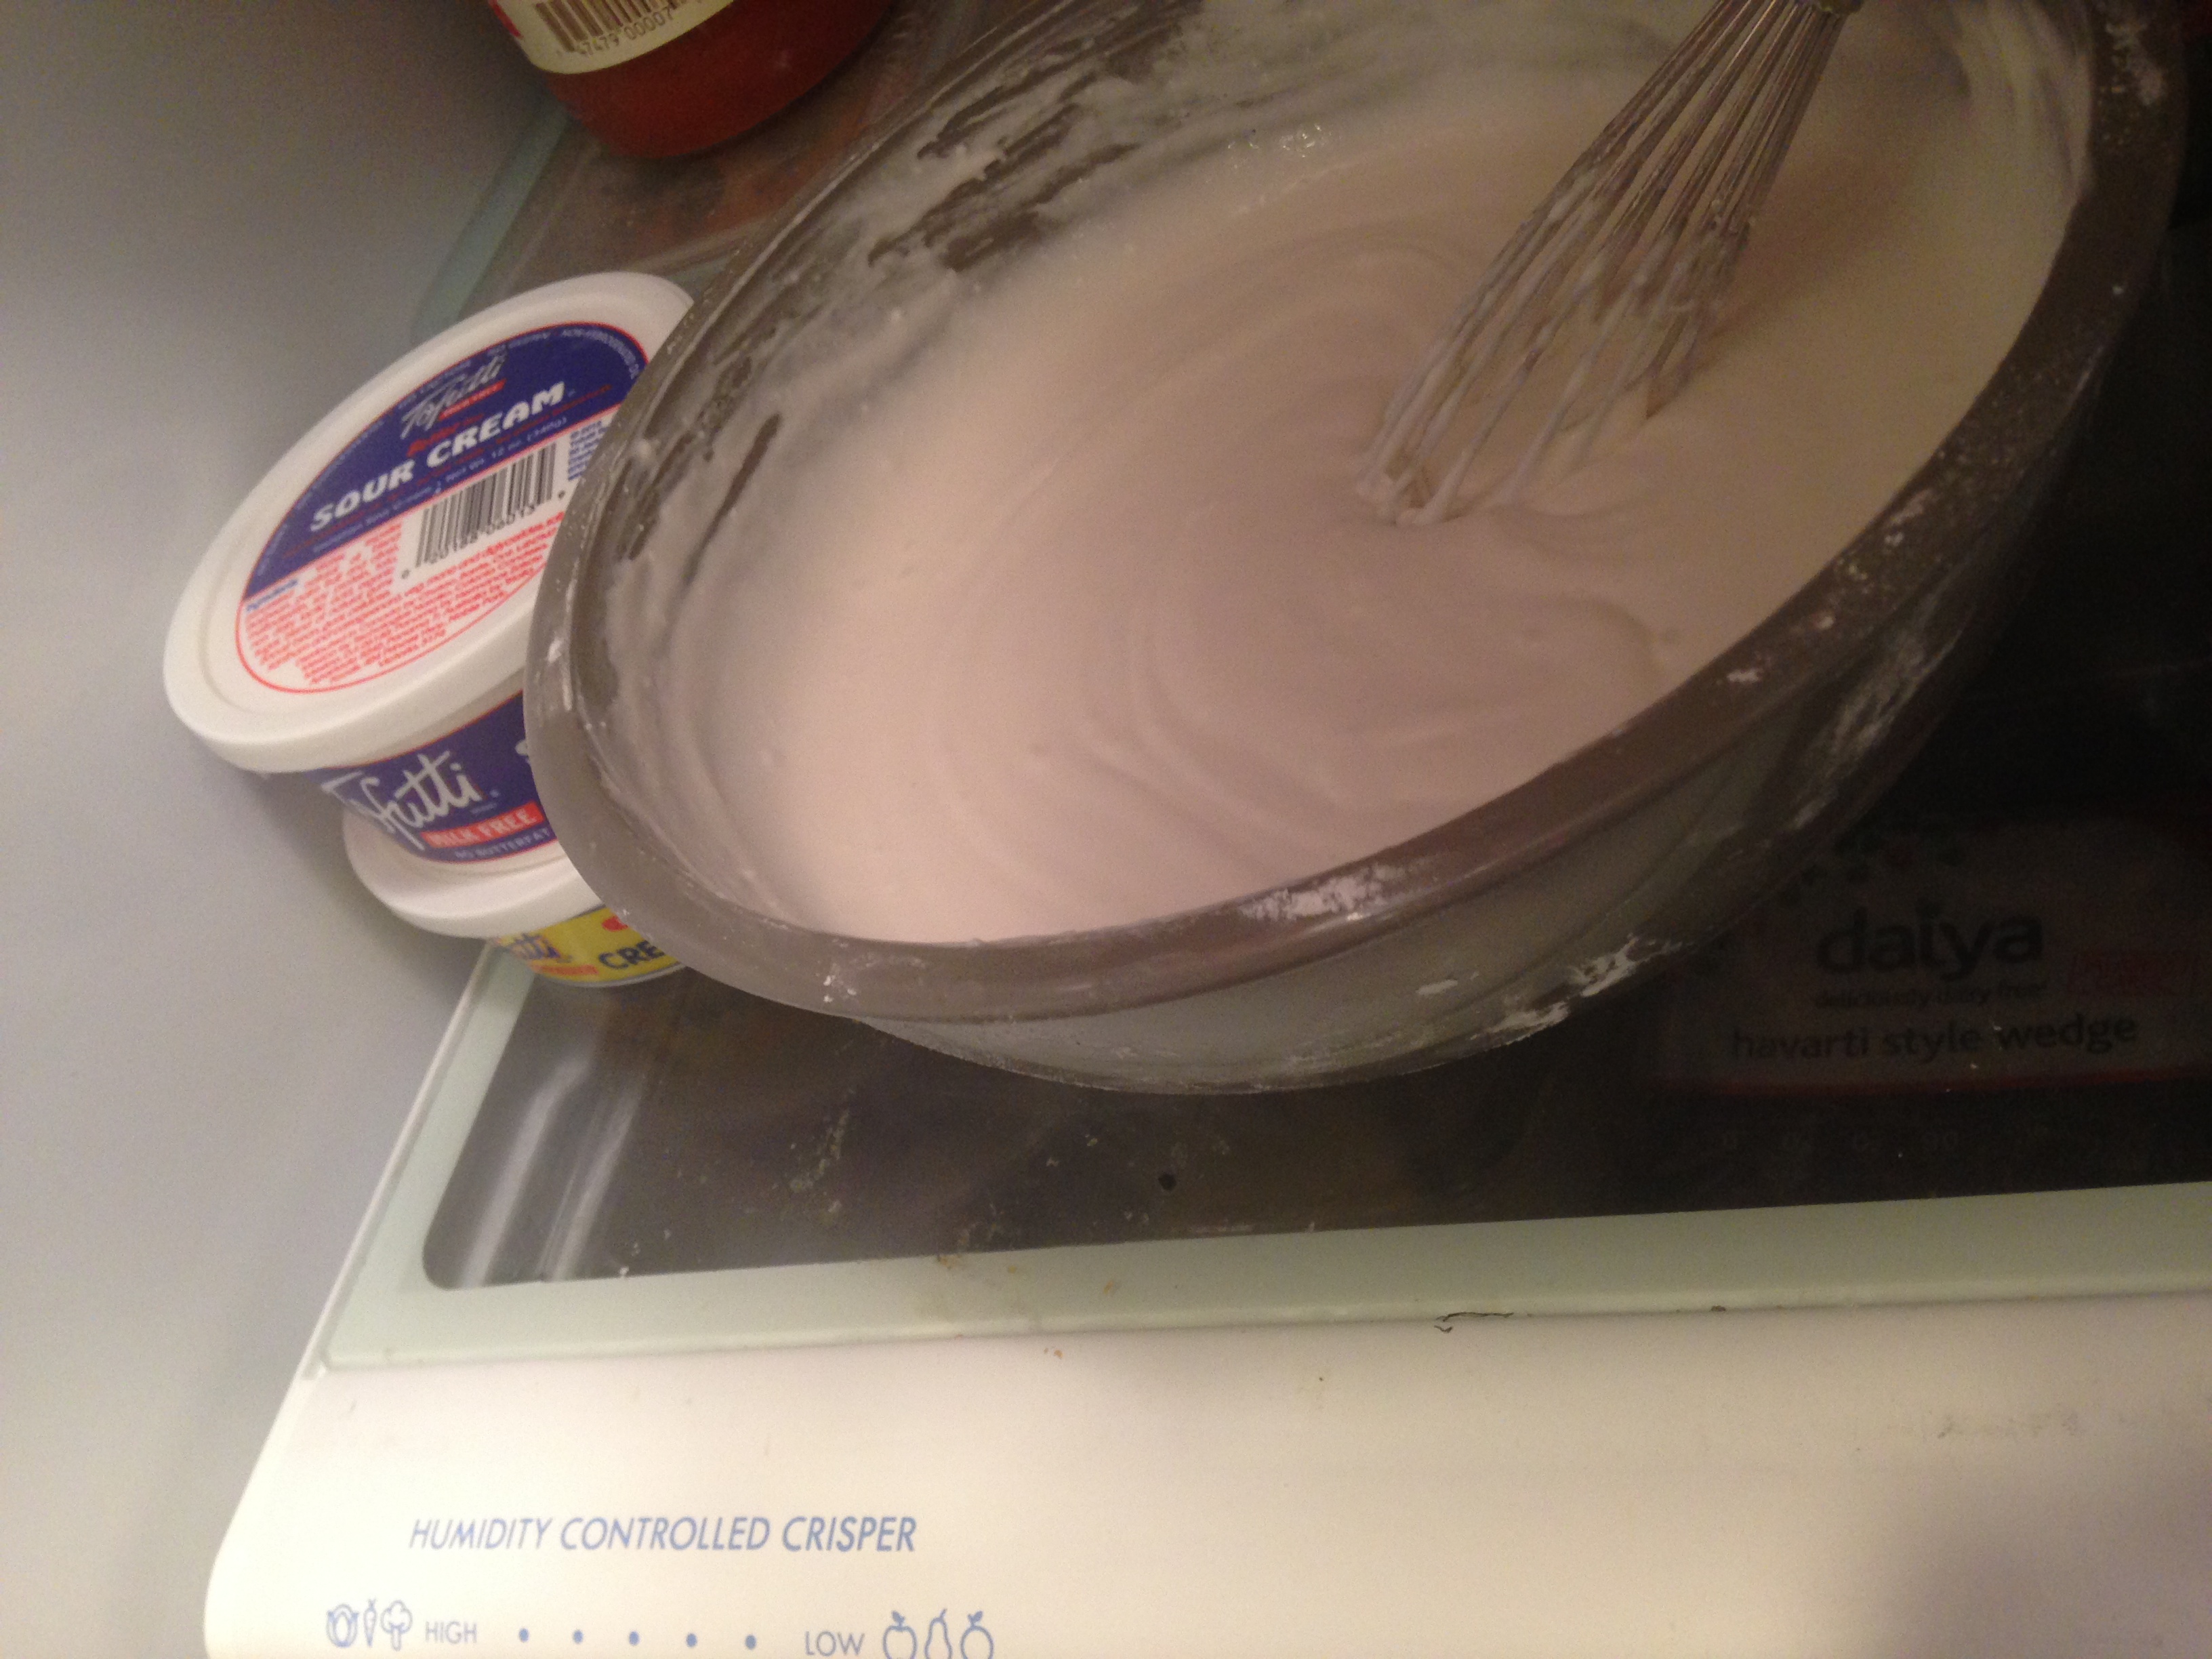
- 1 1/4cups Soy Creamer
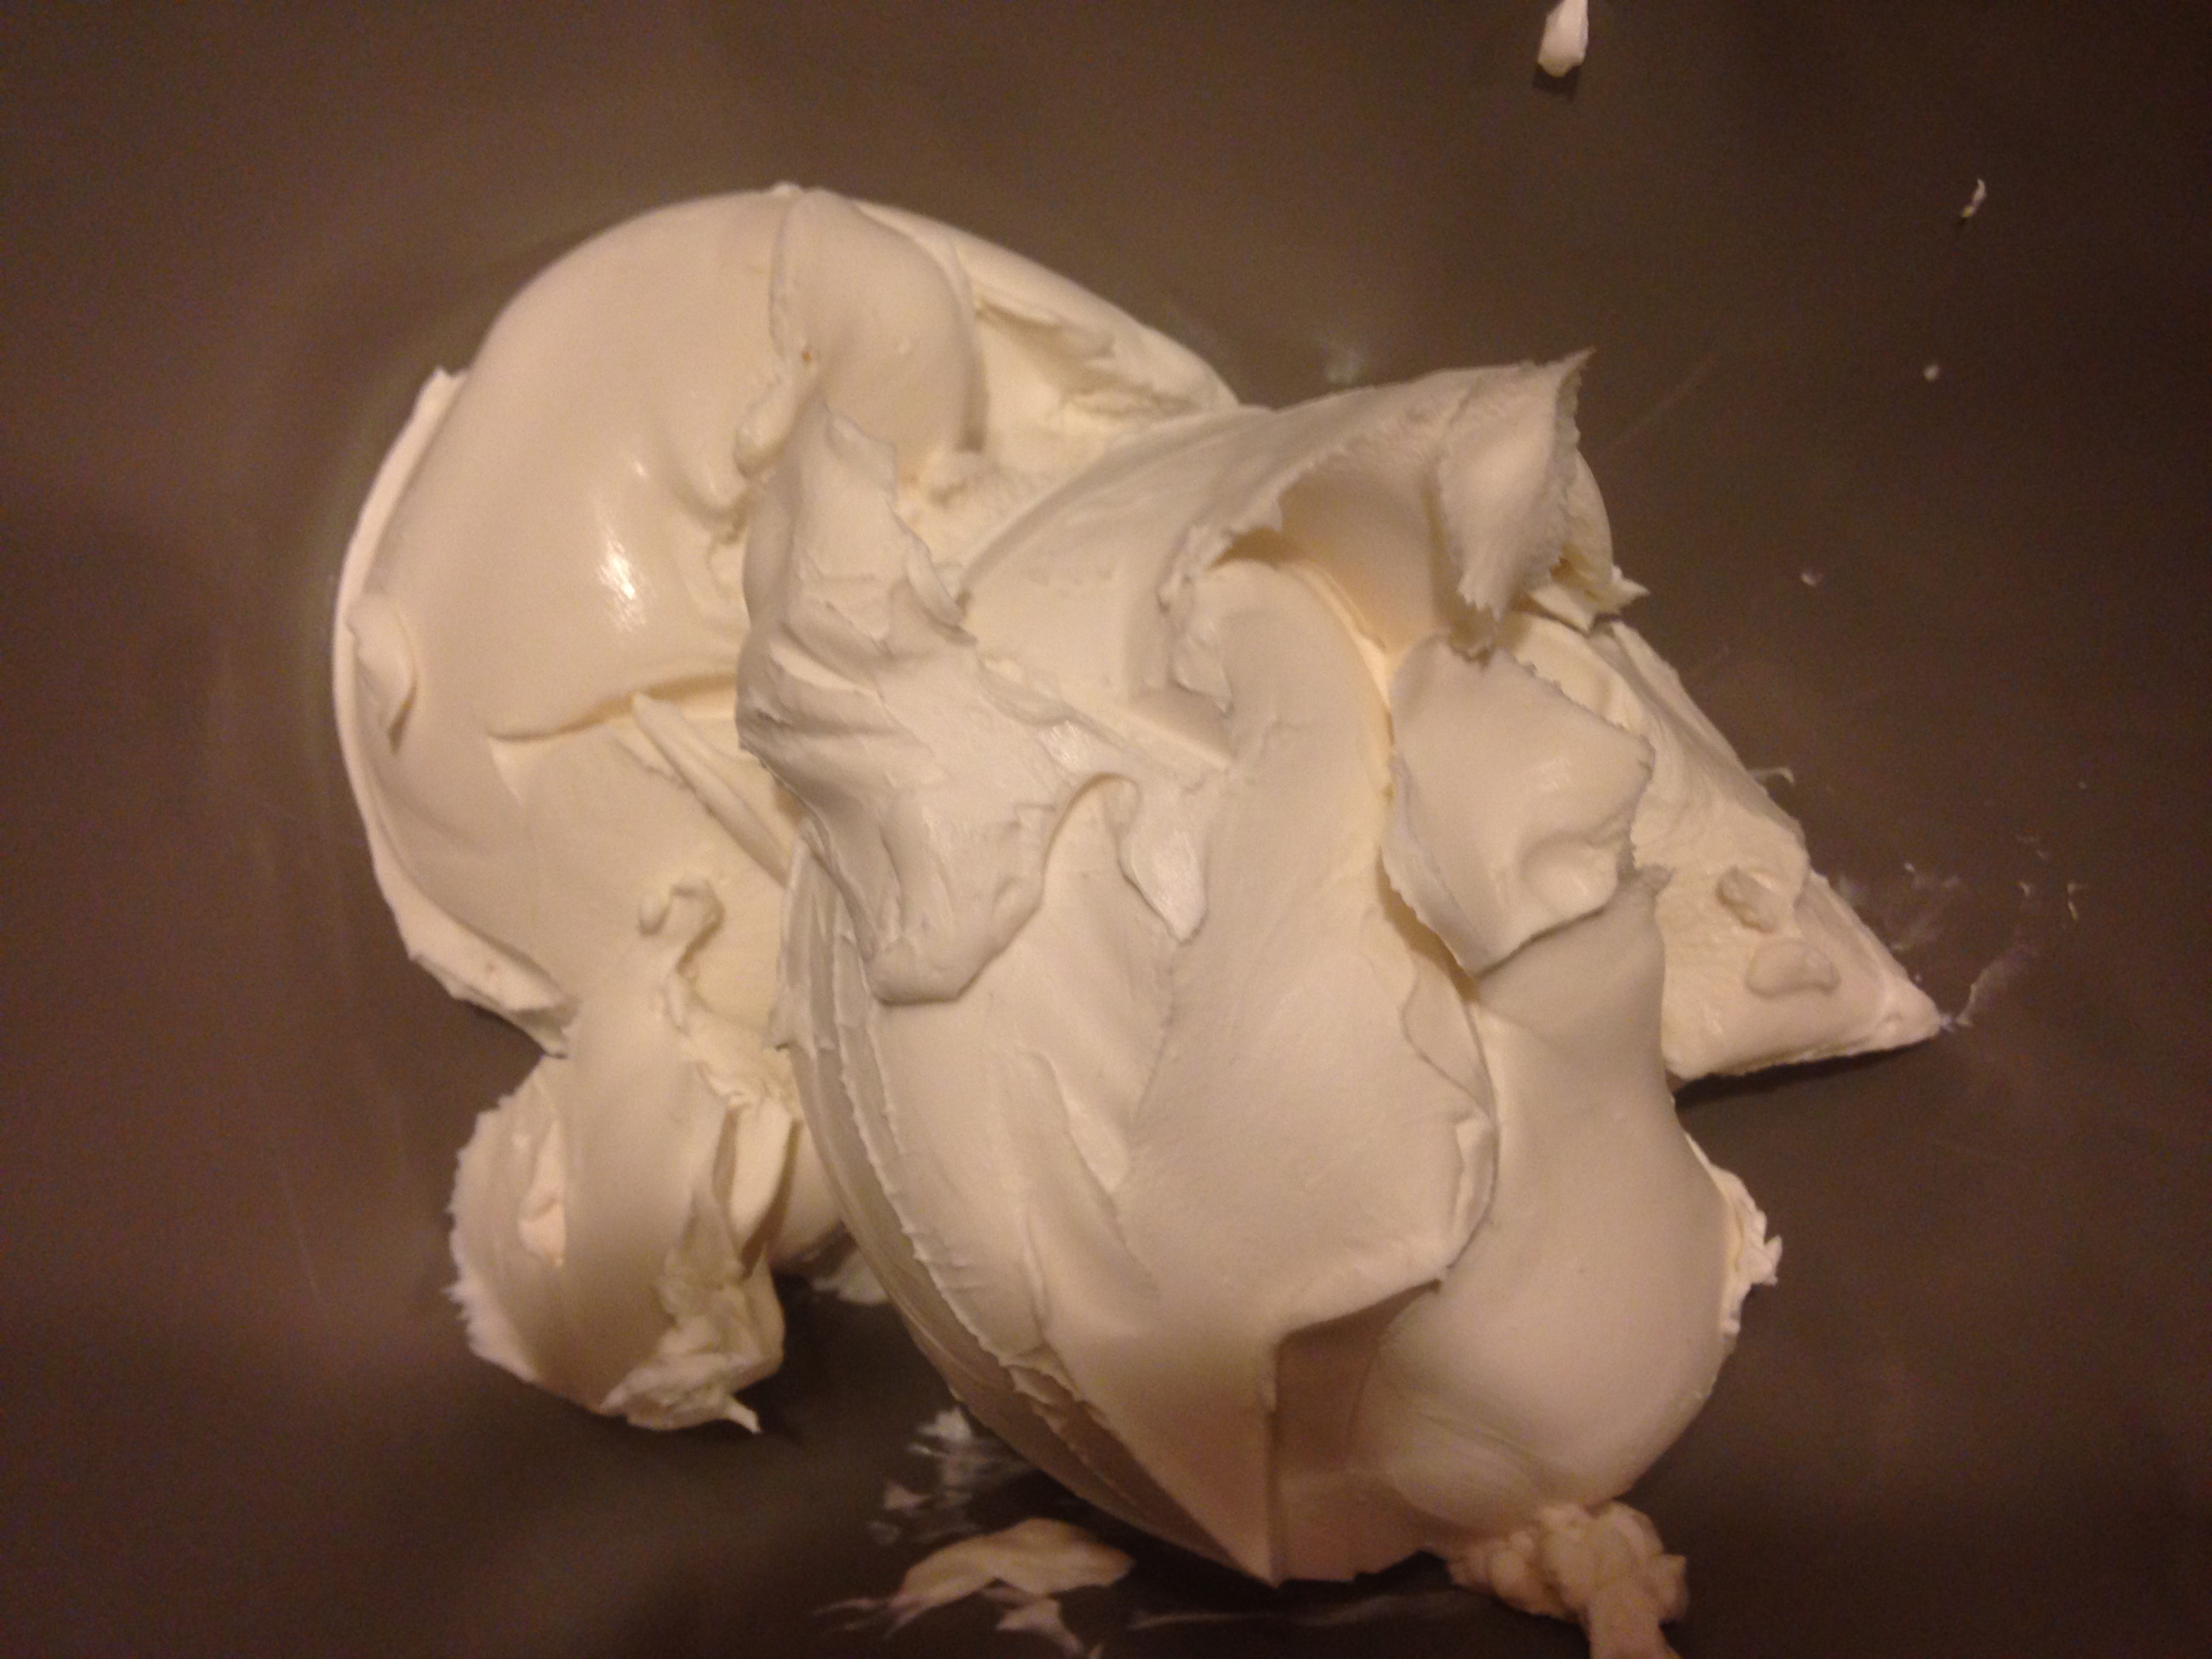
- 2 heaping tablespoons of Tofutti Better than Cream Cheese
- Pinch of Salt
- 1teaspoon Cinnamon
- 1 teaspoon-1tablespoon Apple Pie Spice (depends on your pallet, I use a little more)
- 1/2teaspoon of Vanilla Extract (I use Penzey’s)


_______________________________________________________________________________________________________________________________
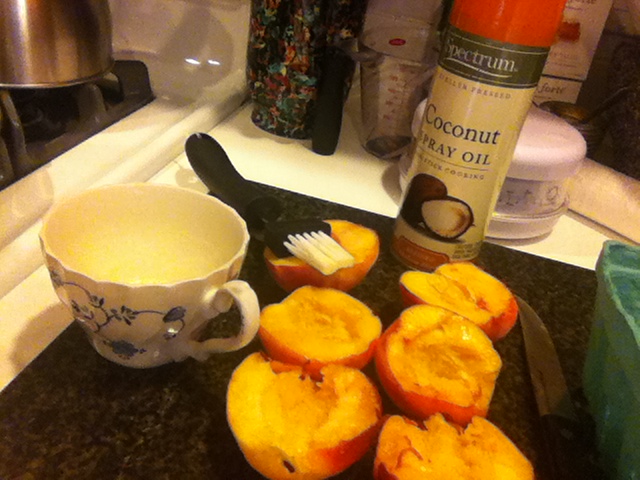
Preparation
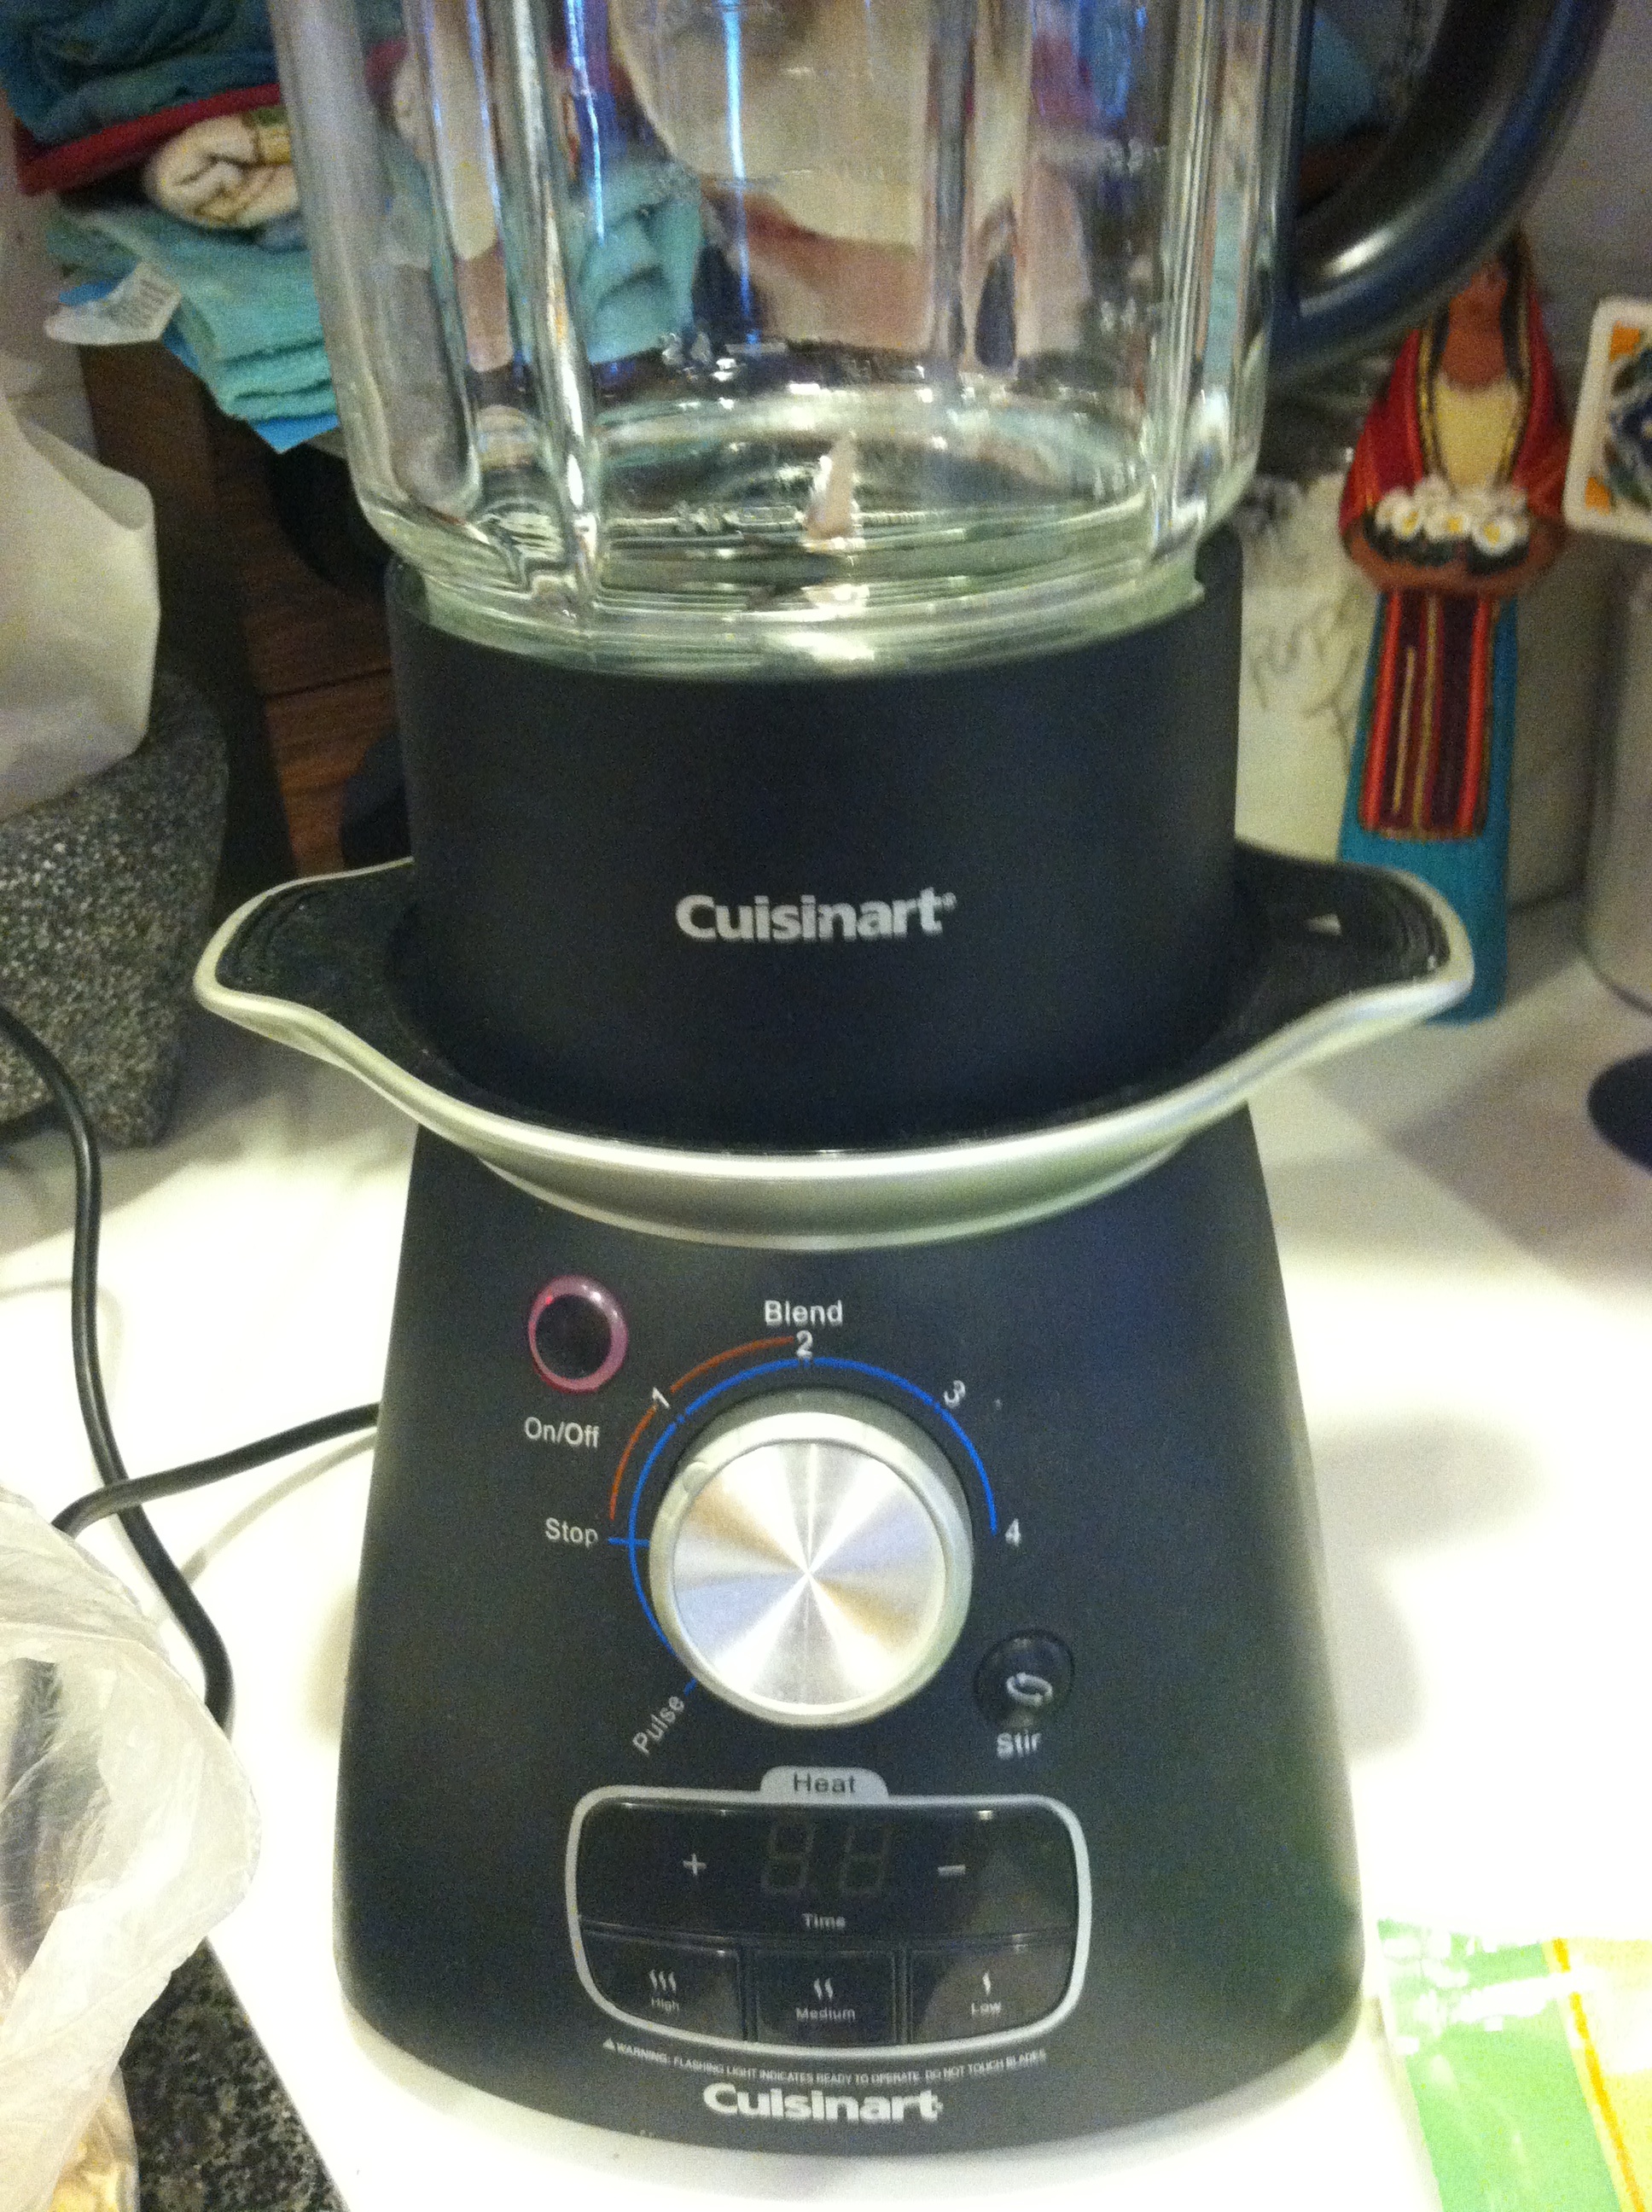
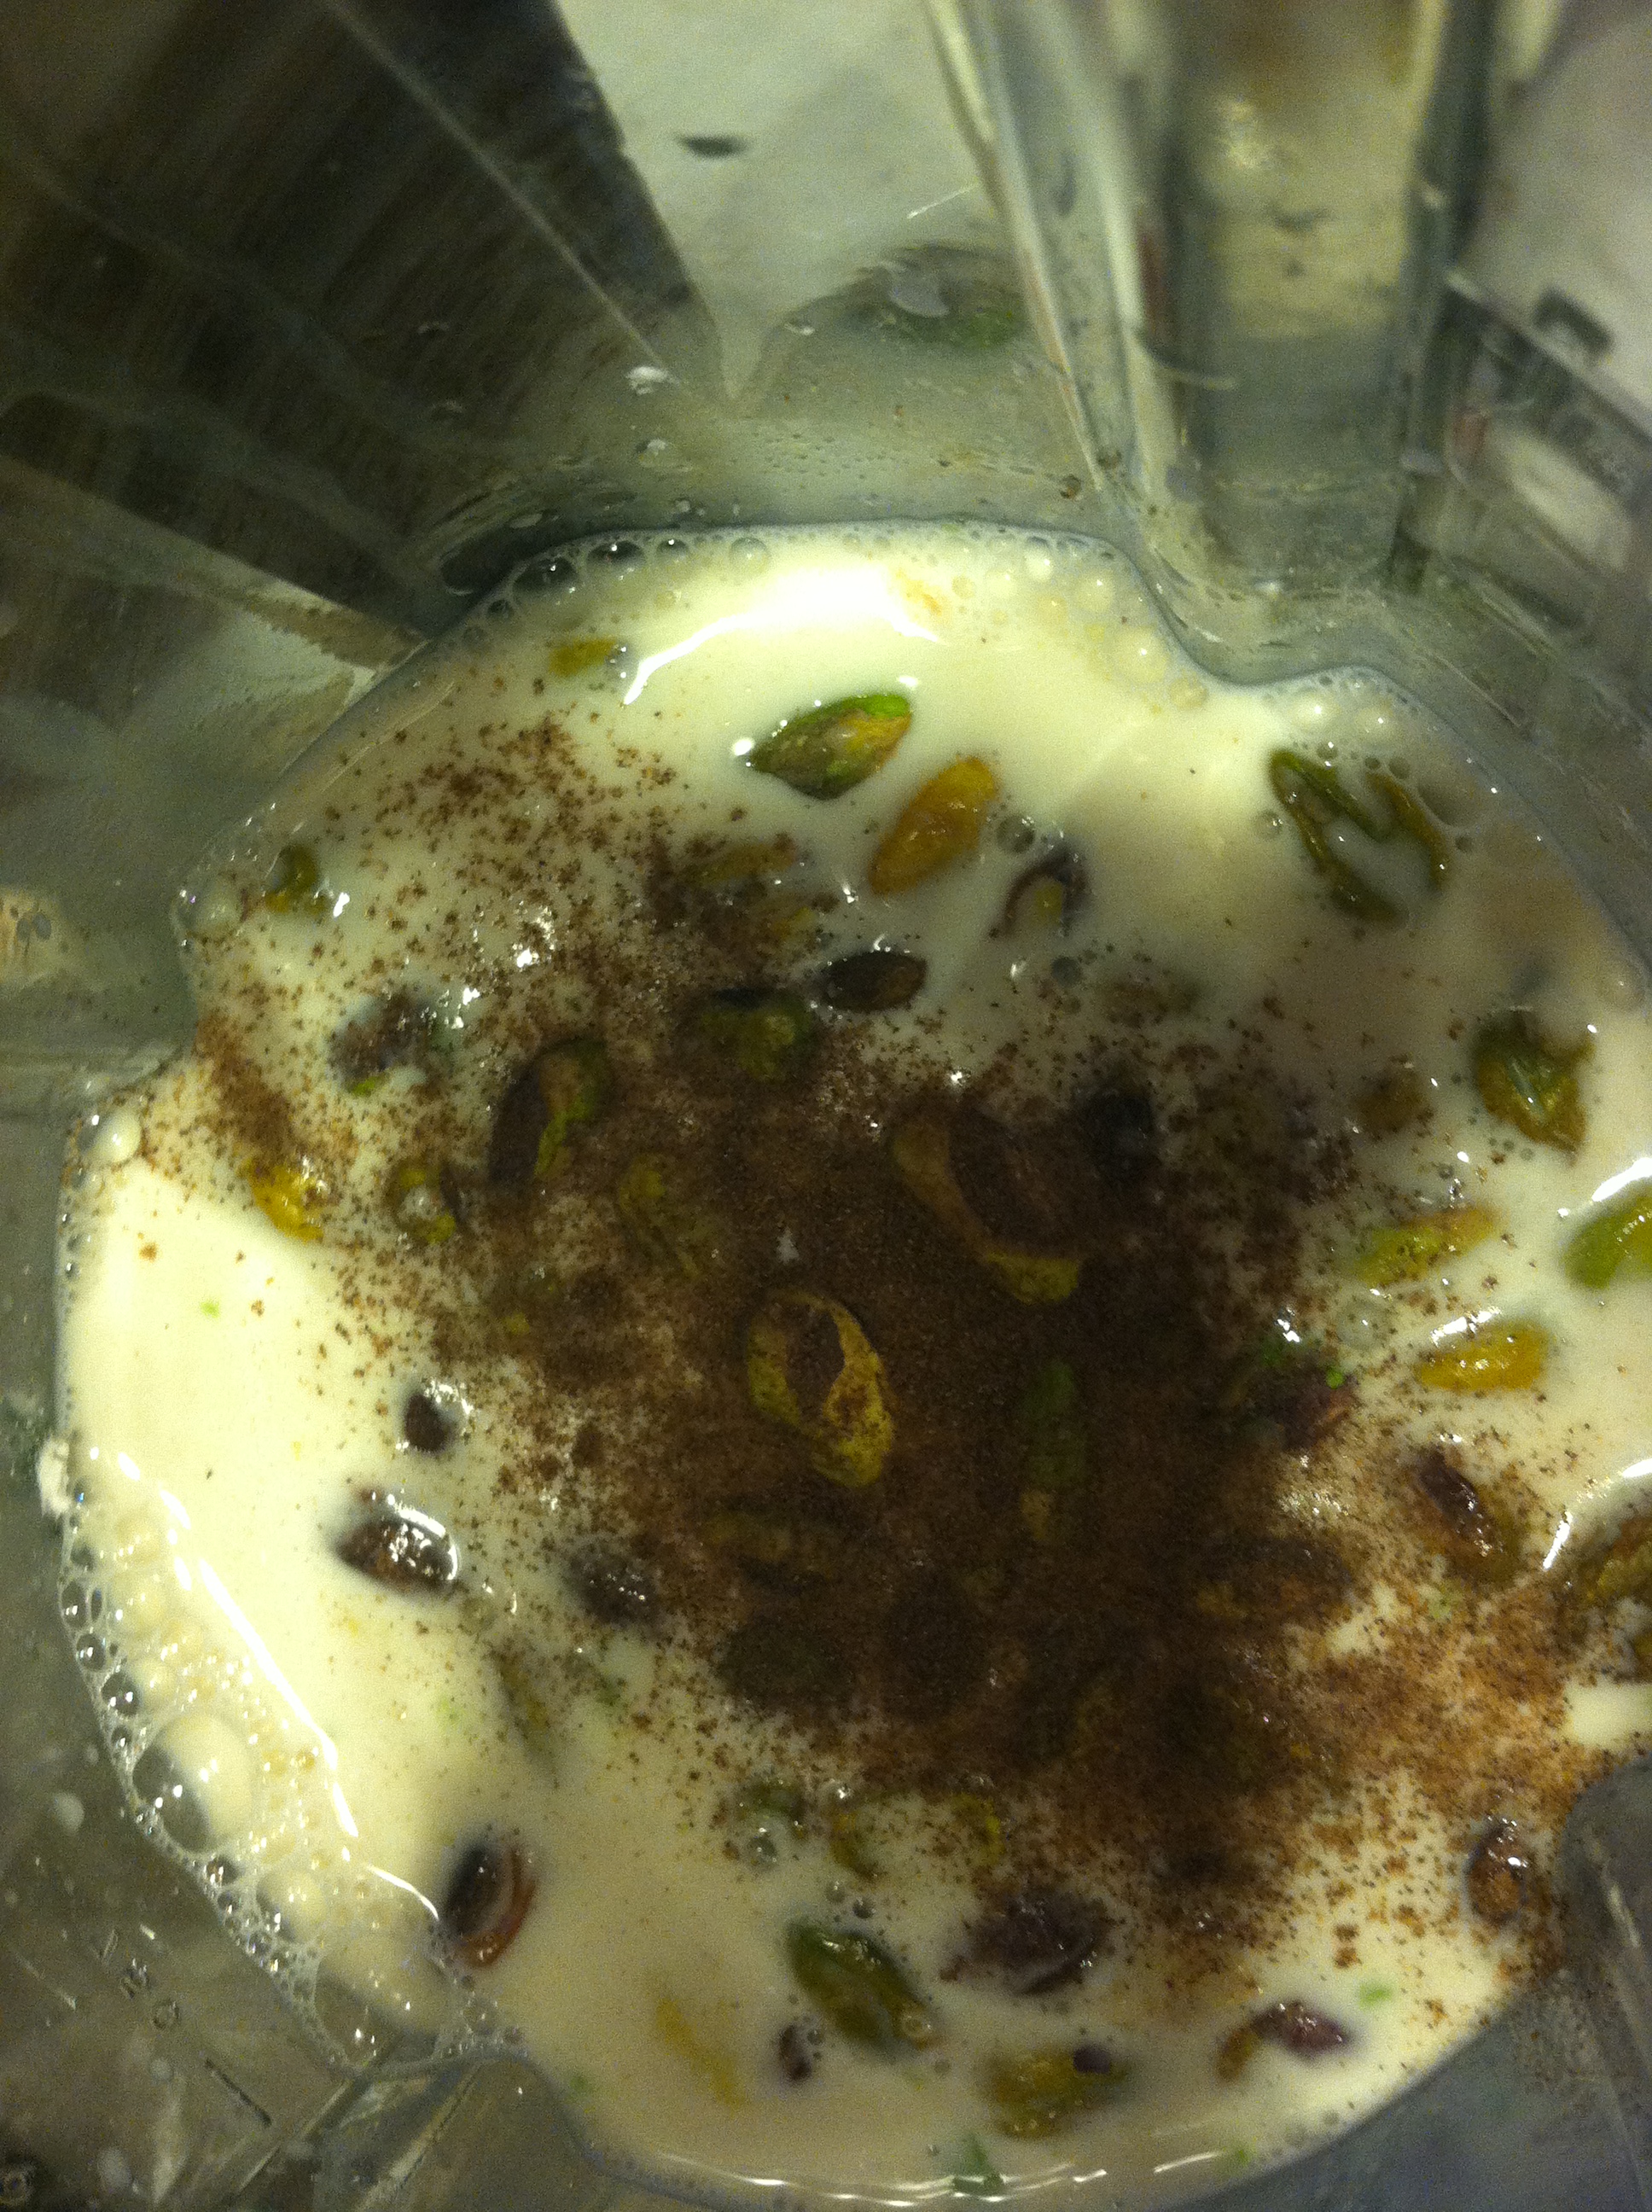
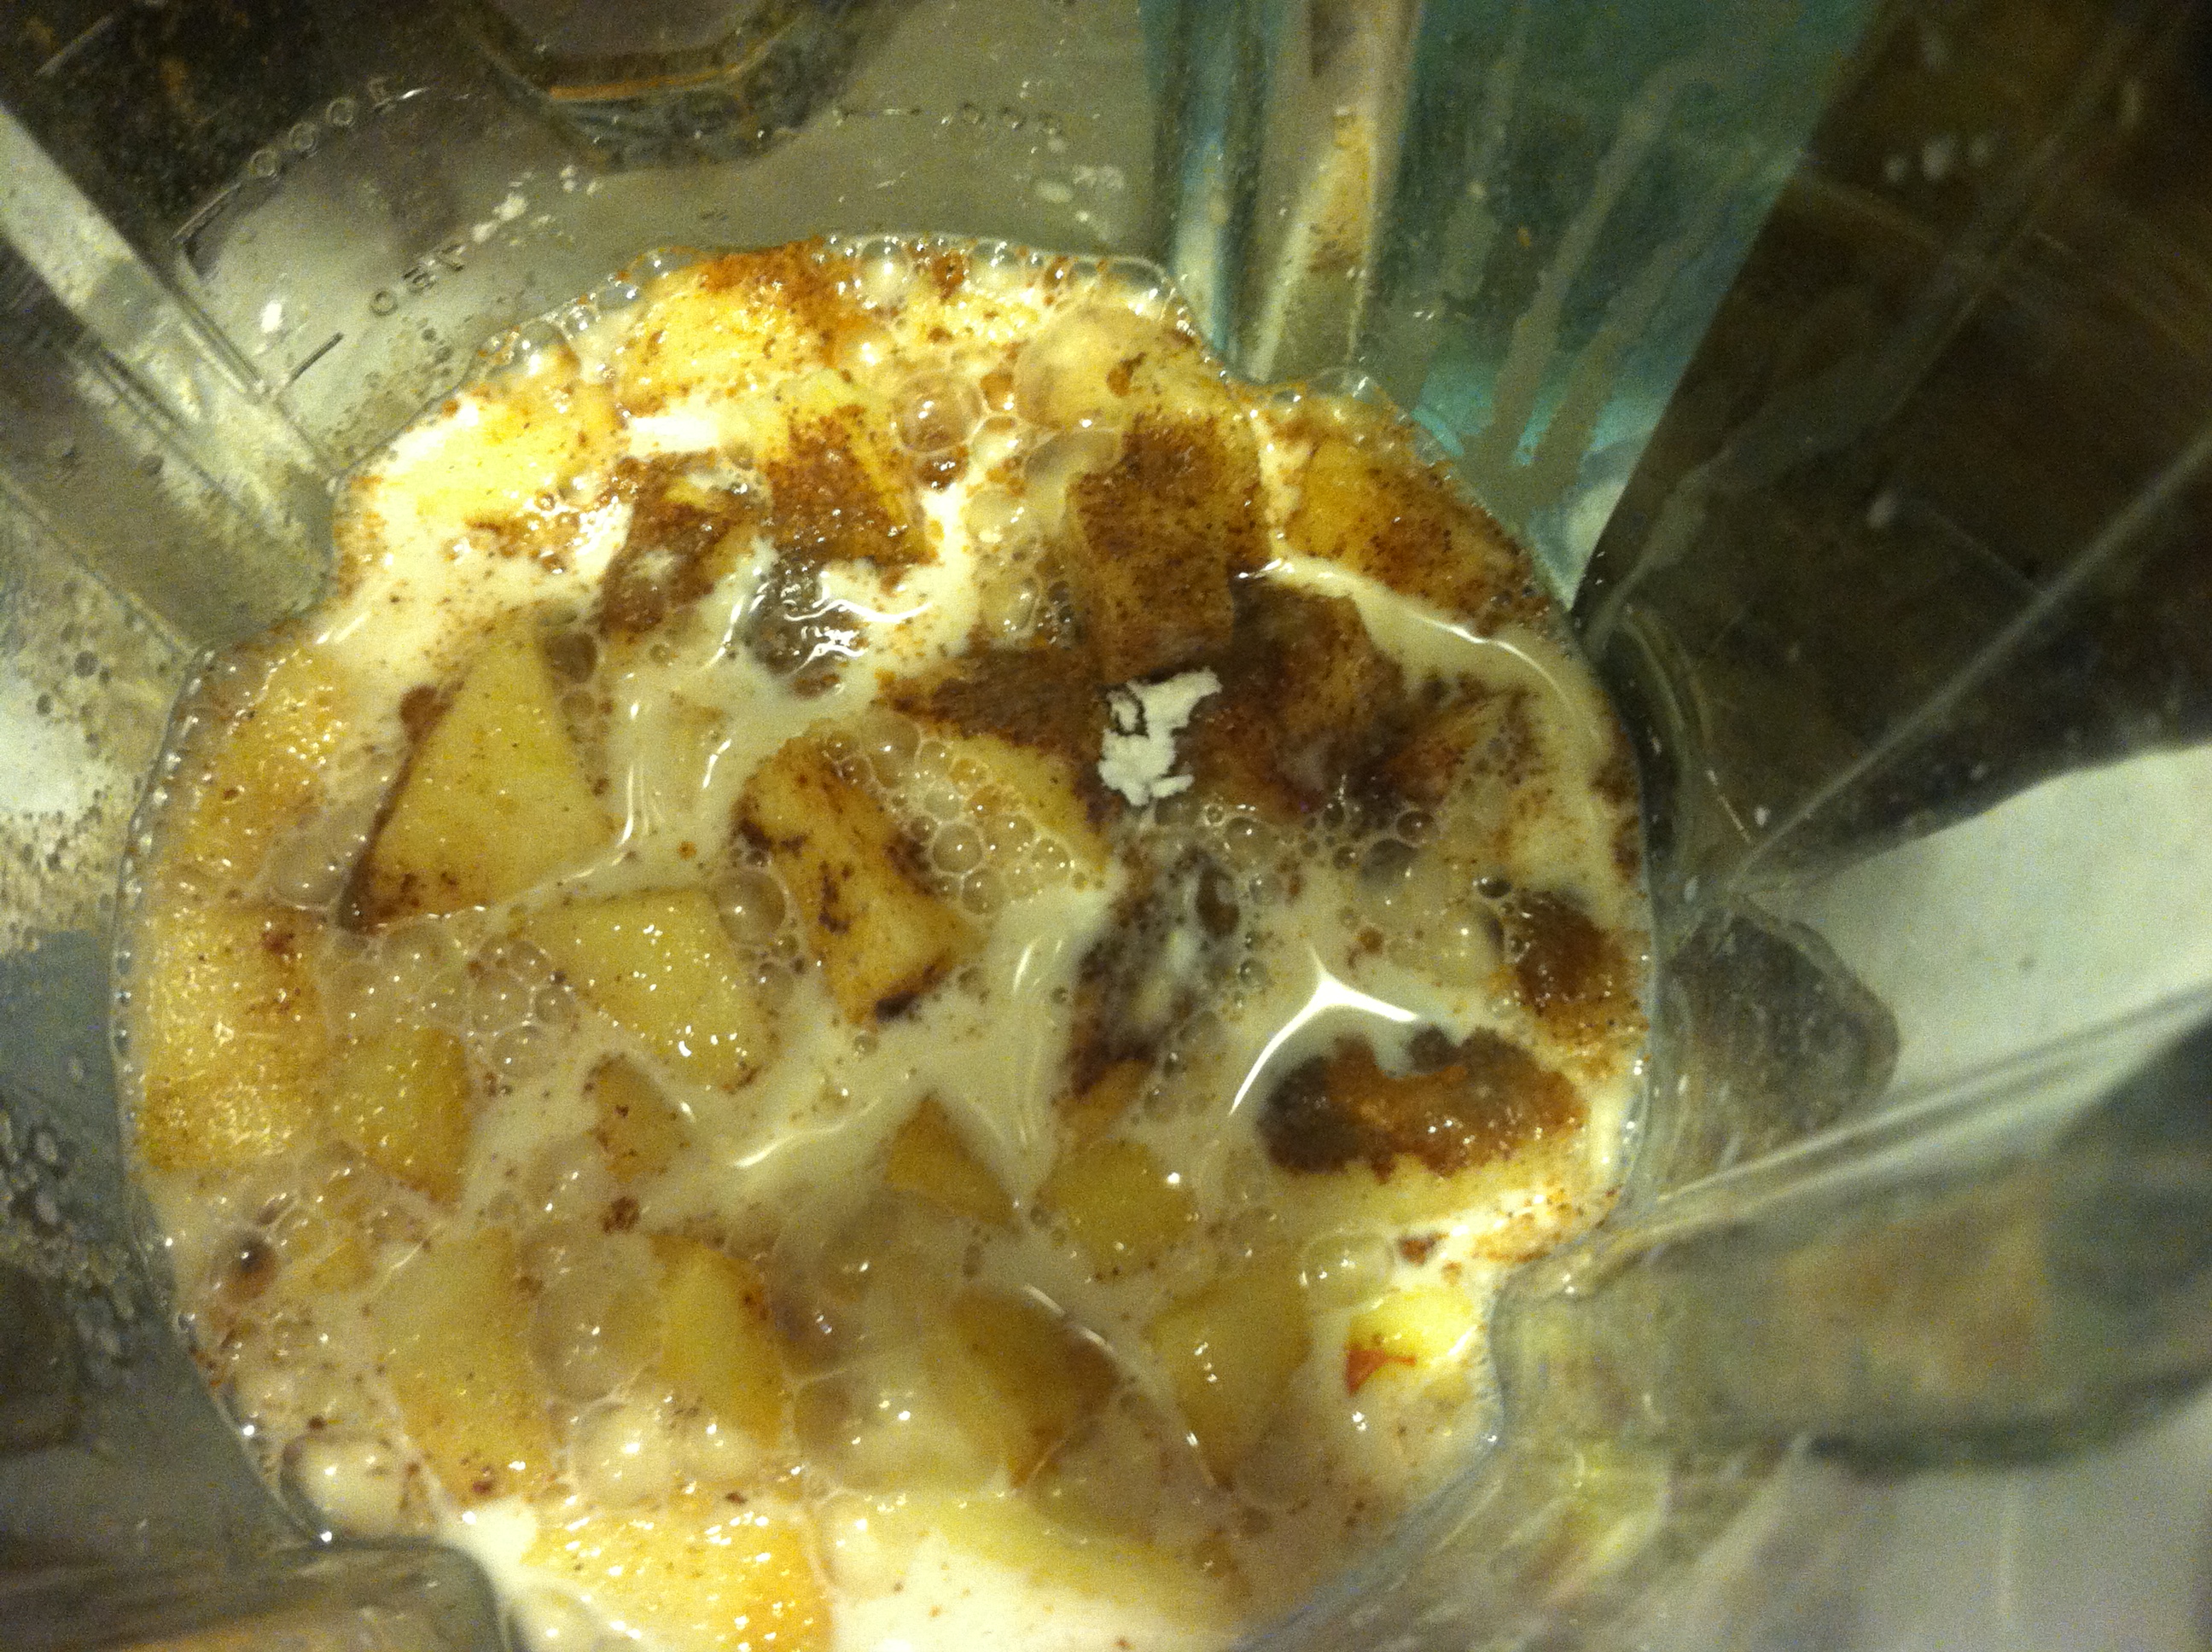
Place all ingredients in a high powered blender or food processor and mix until smooth.


If you do not have a high powered mixer soak cashews for at least 4 hours or overnight so that the batter will not be grainy.


Cook
Preheat oven to 375degrees.
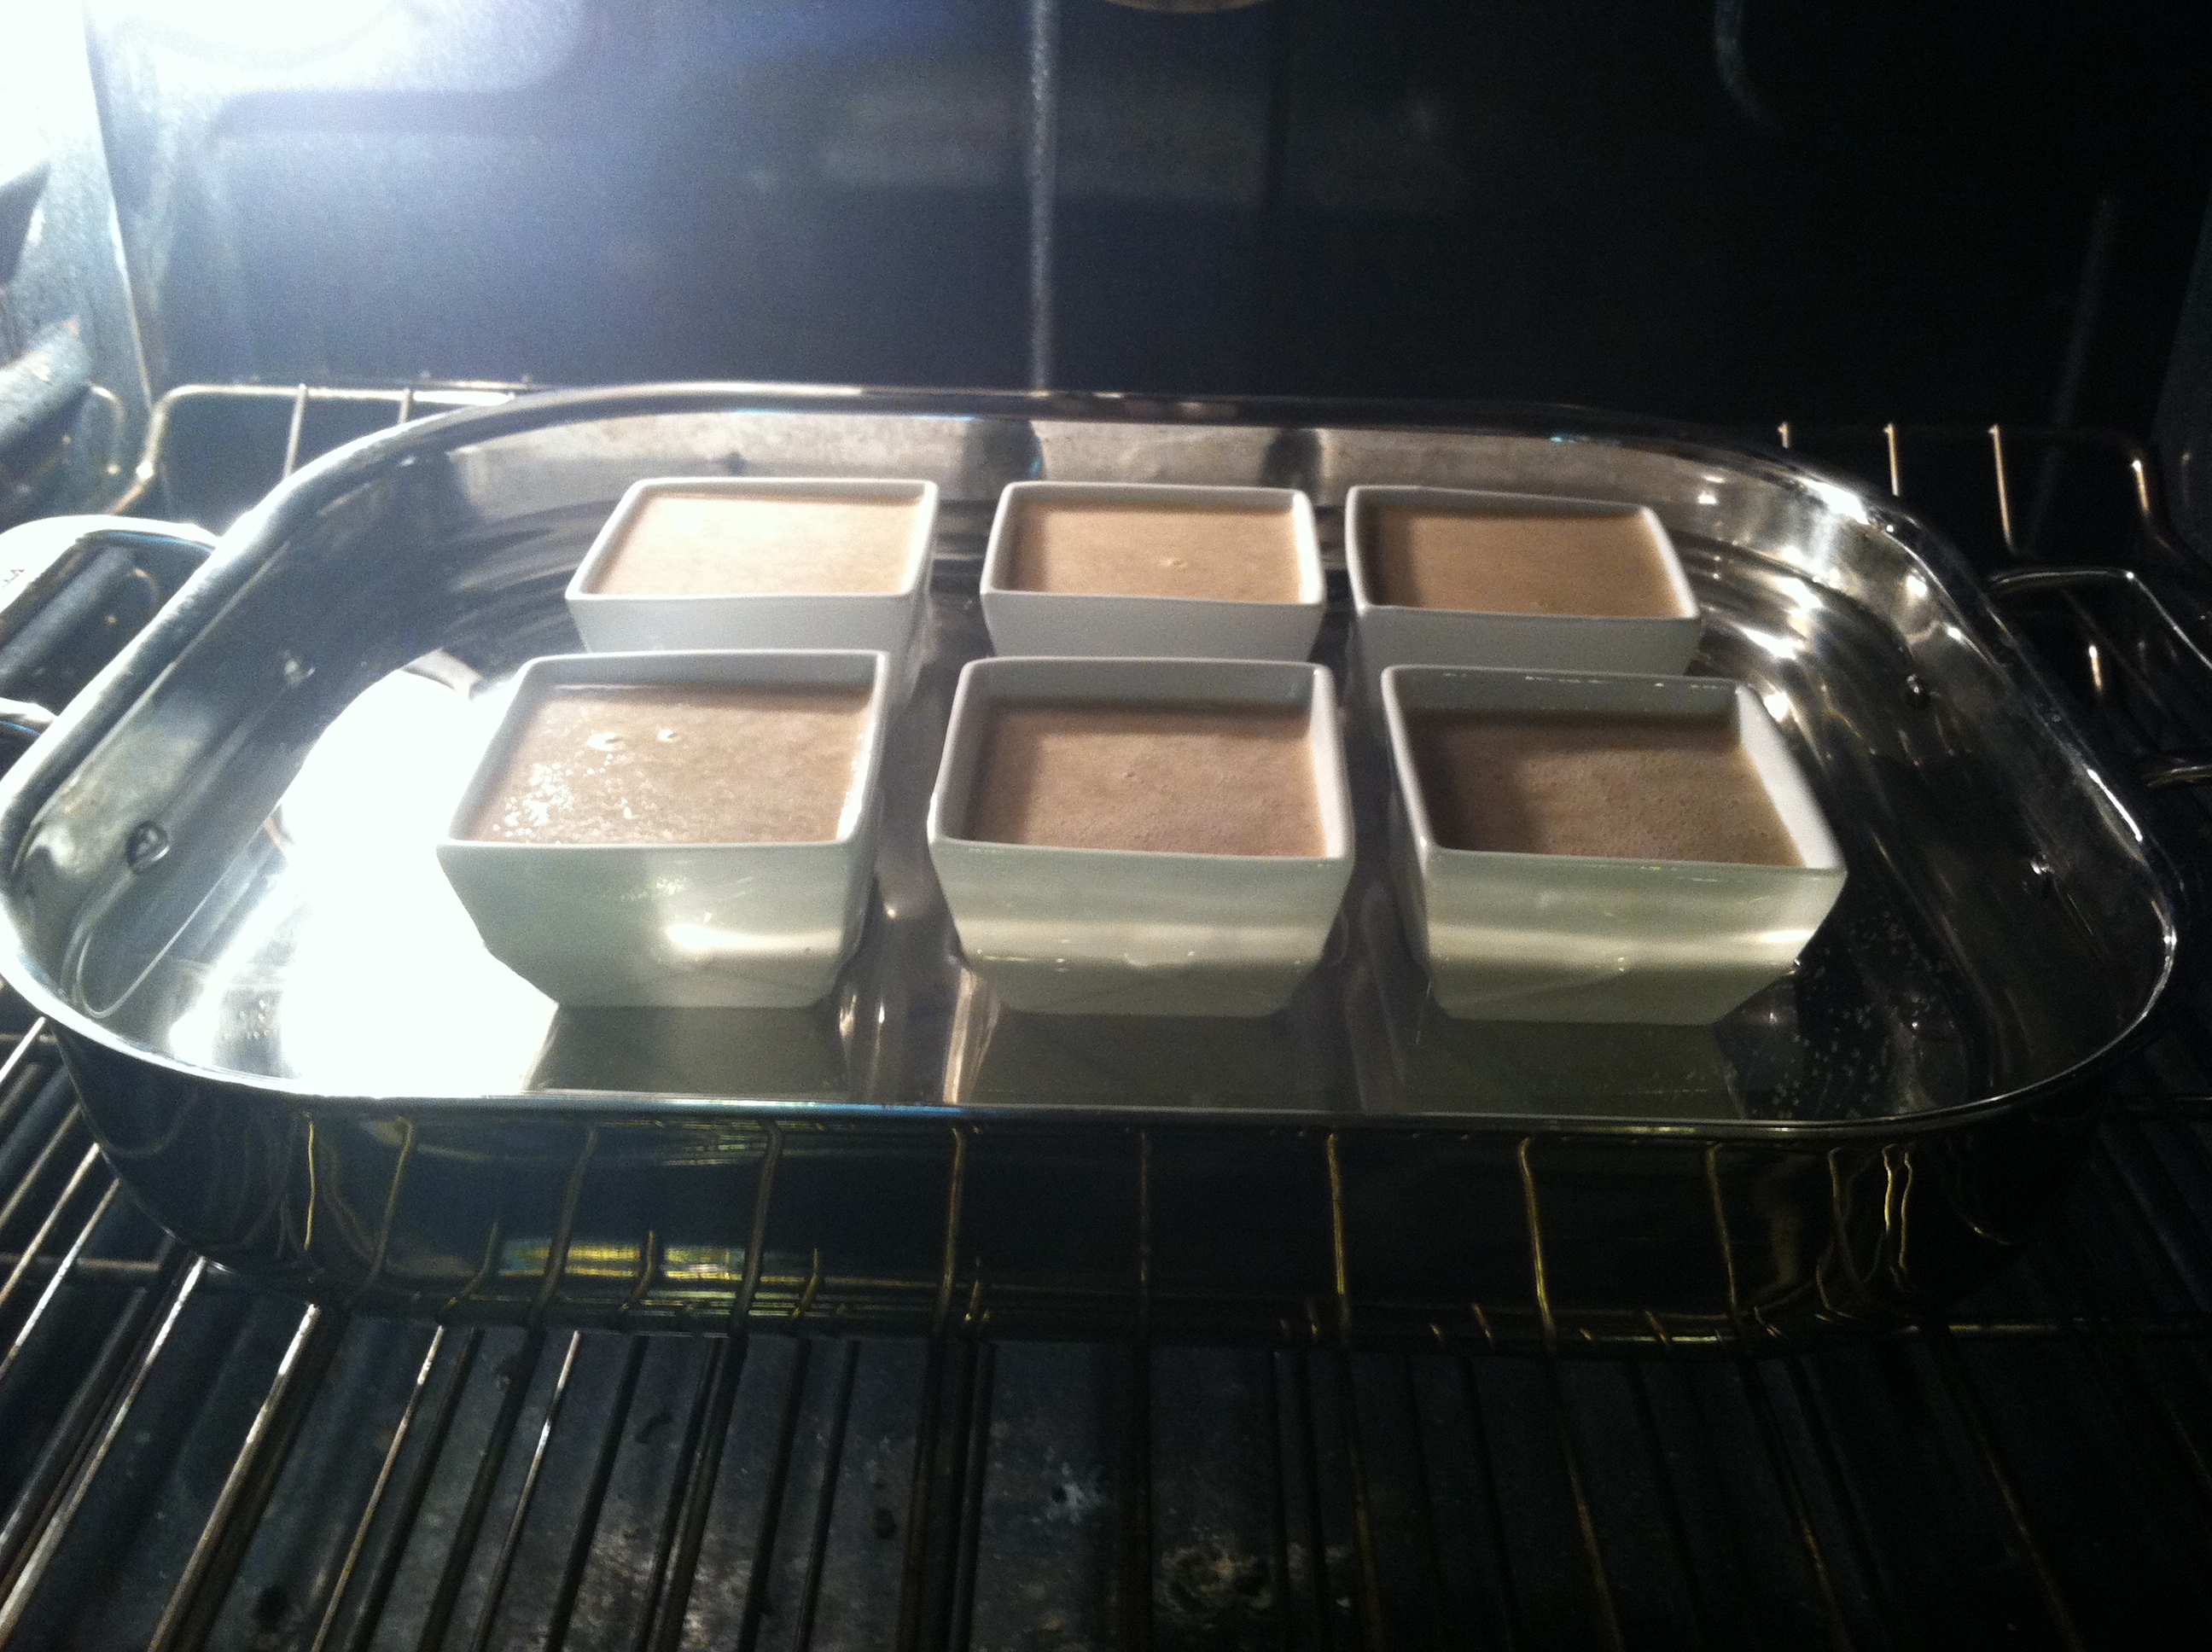
Fill a casserole dish with water to go halfway the height of the ramekins or jars you in tend on placing the brulee mixture in. I have used both mason jars and square ramekins before and both come out well.


Pour batter into each ramekin allowing a little space so that they do not spill over as the casserole dish will be heavy with all the water in it. You need to be careful not to allow water into the ramekins.


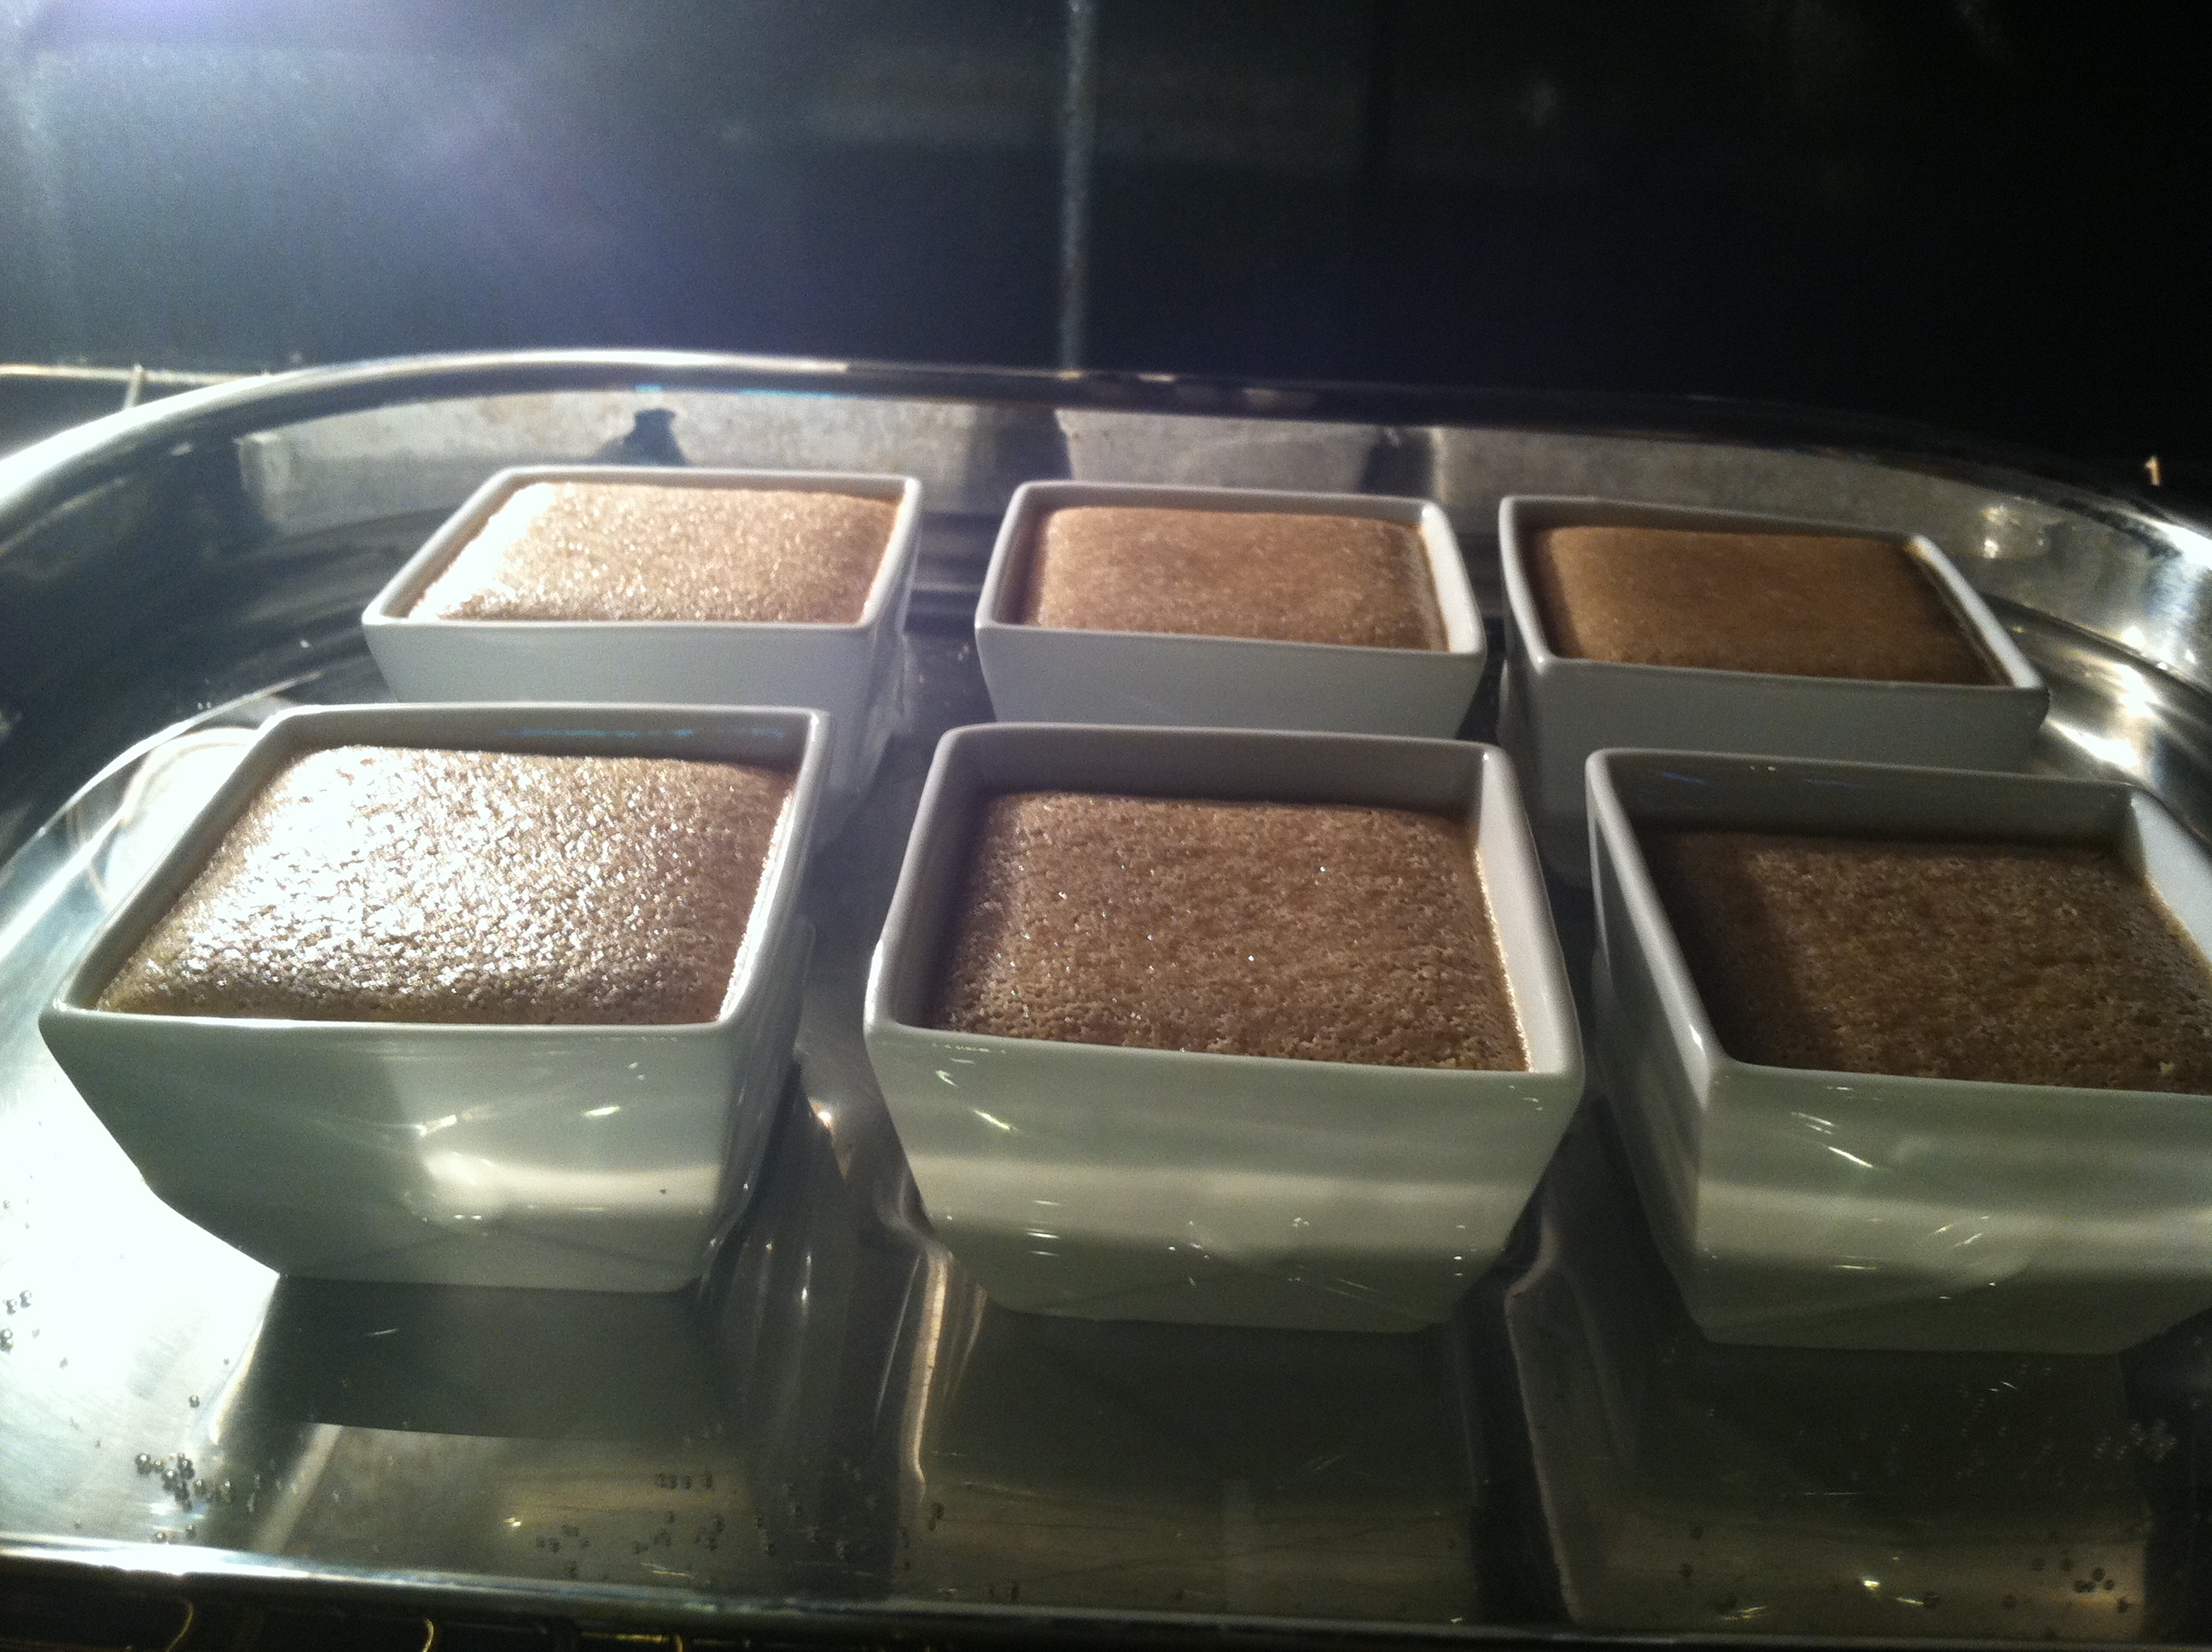
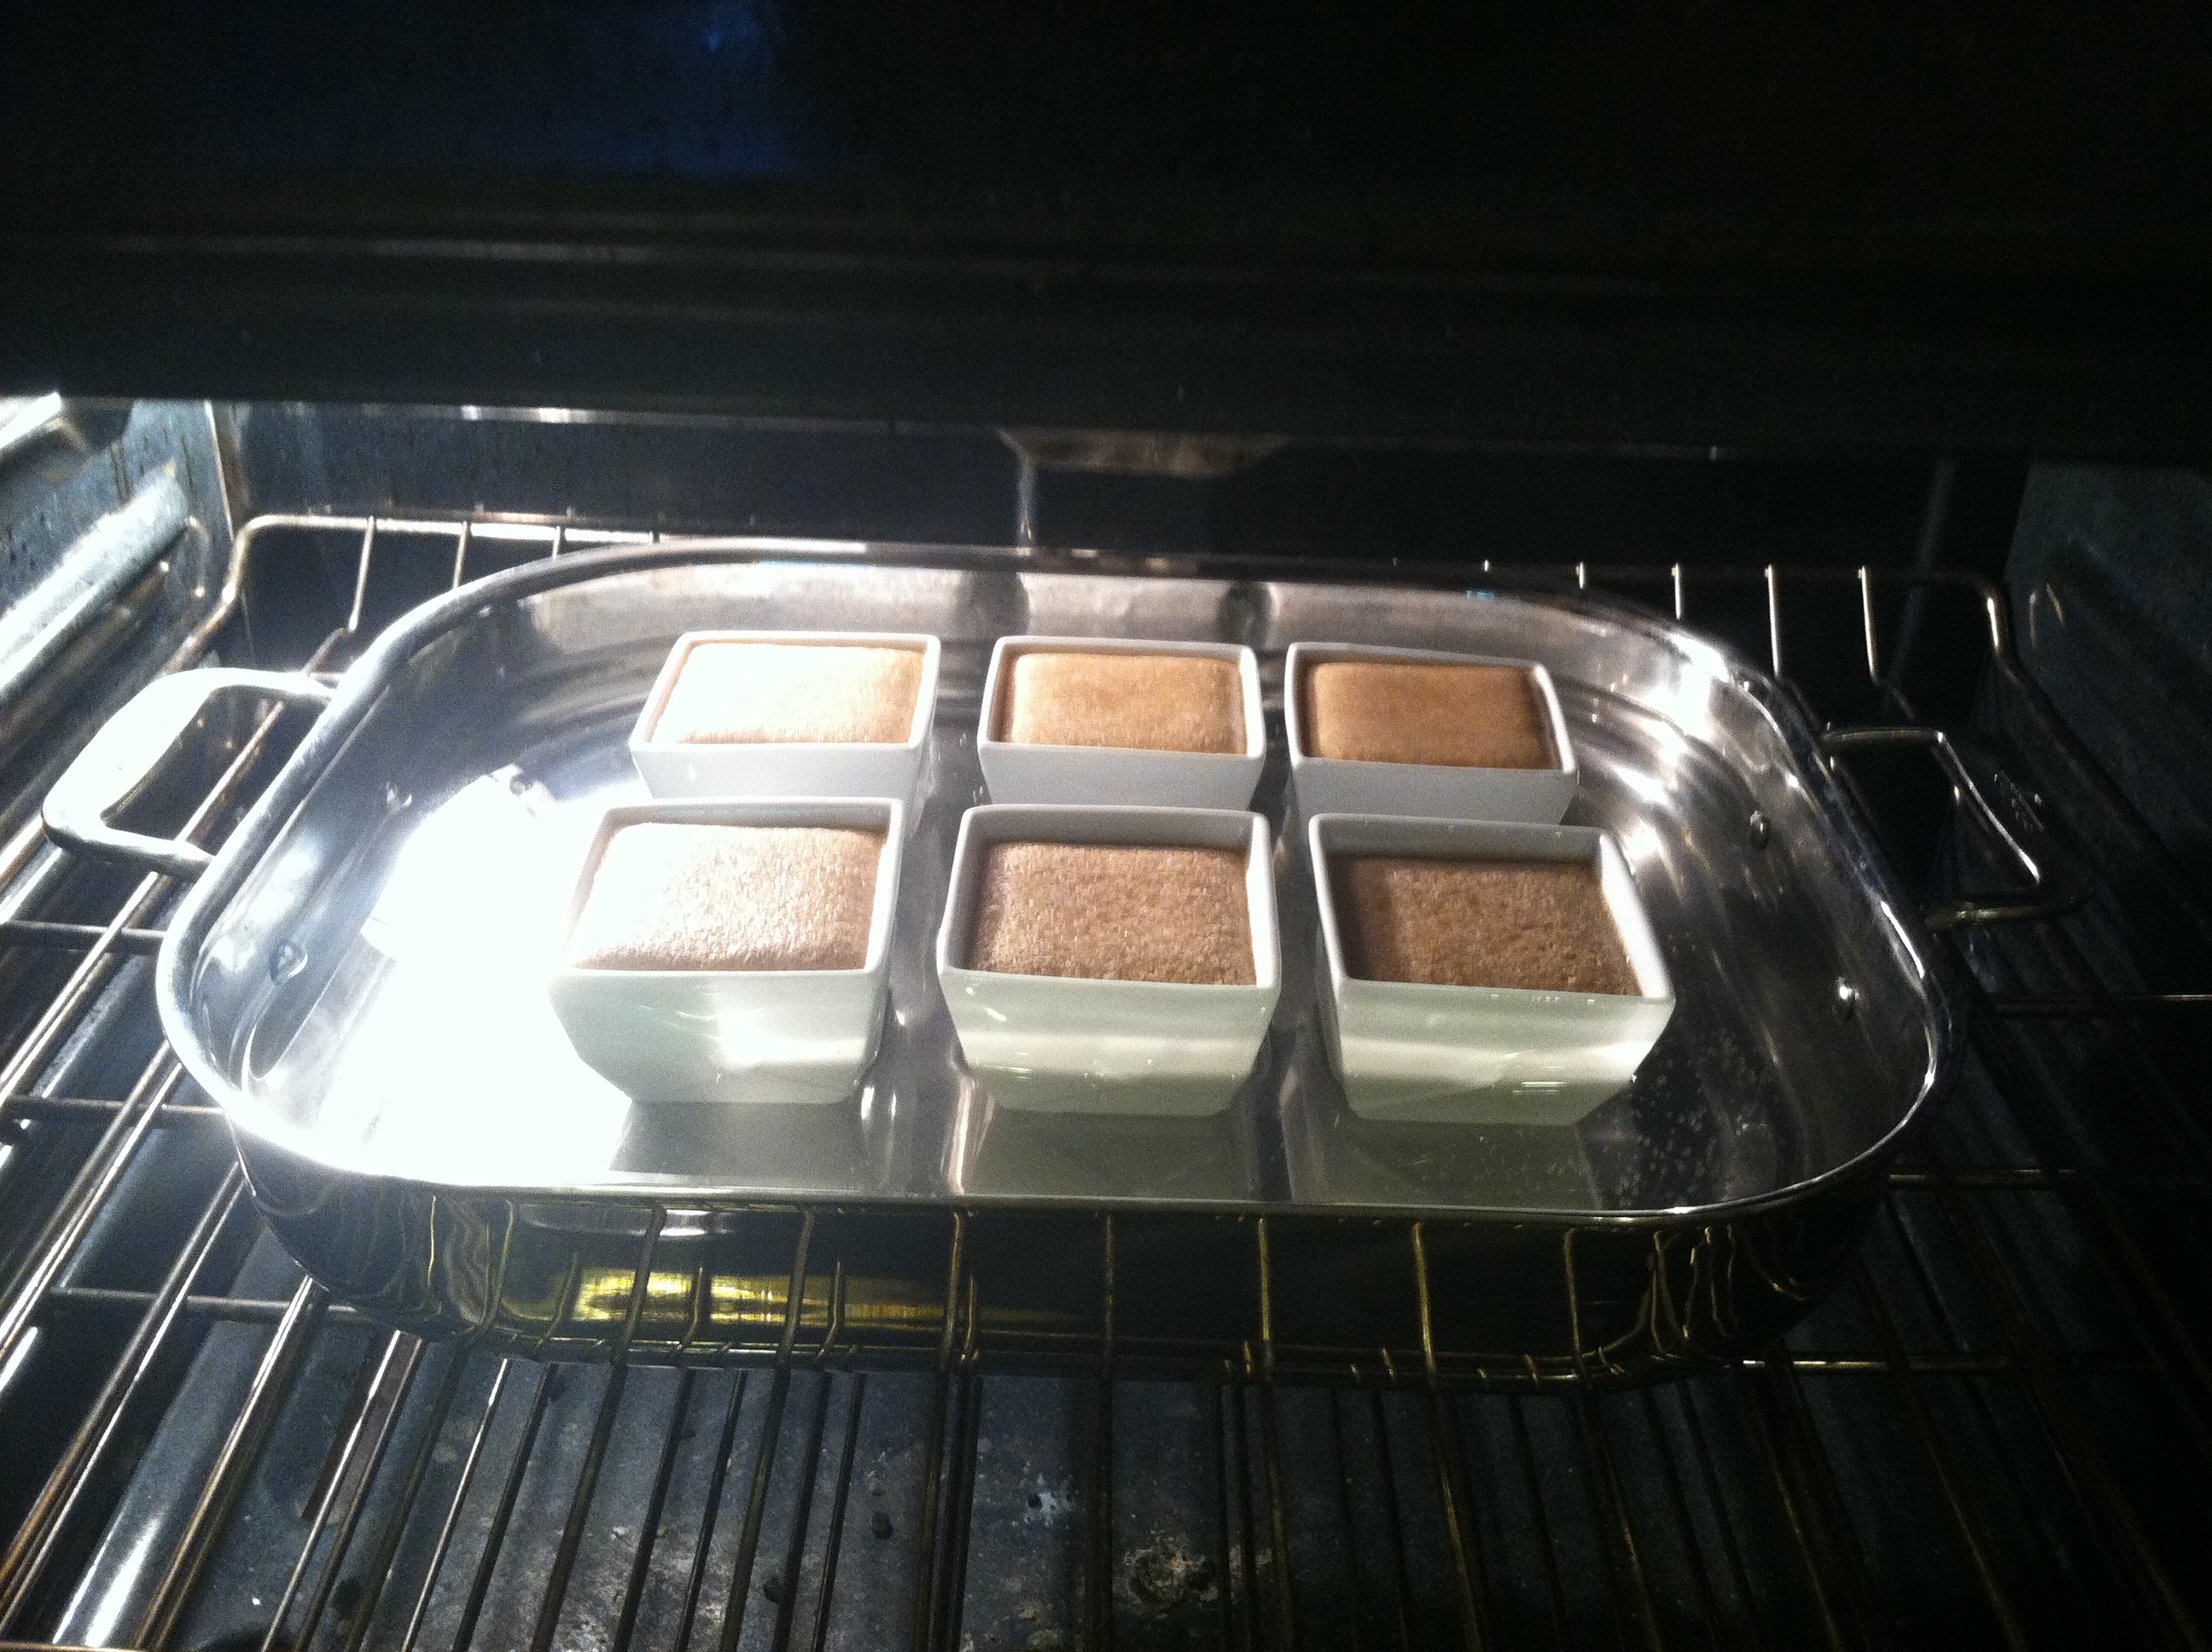
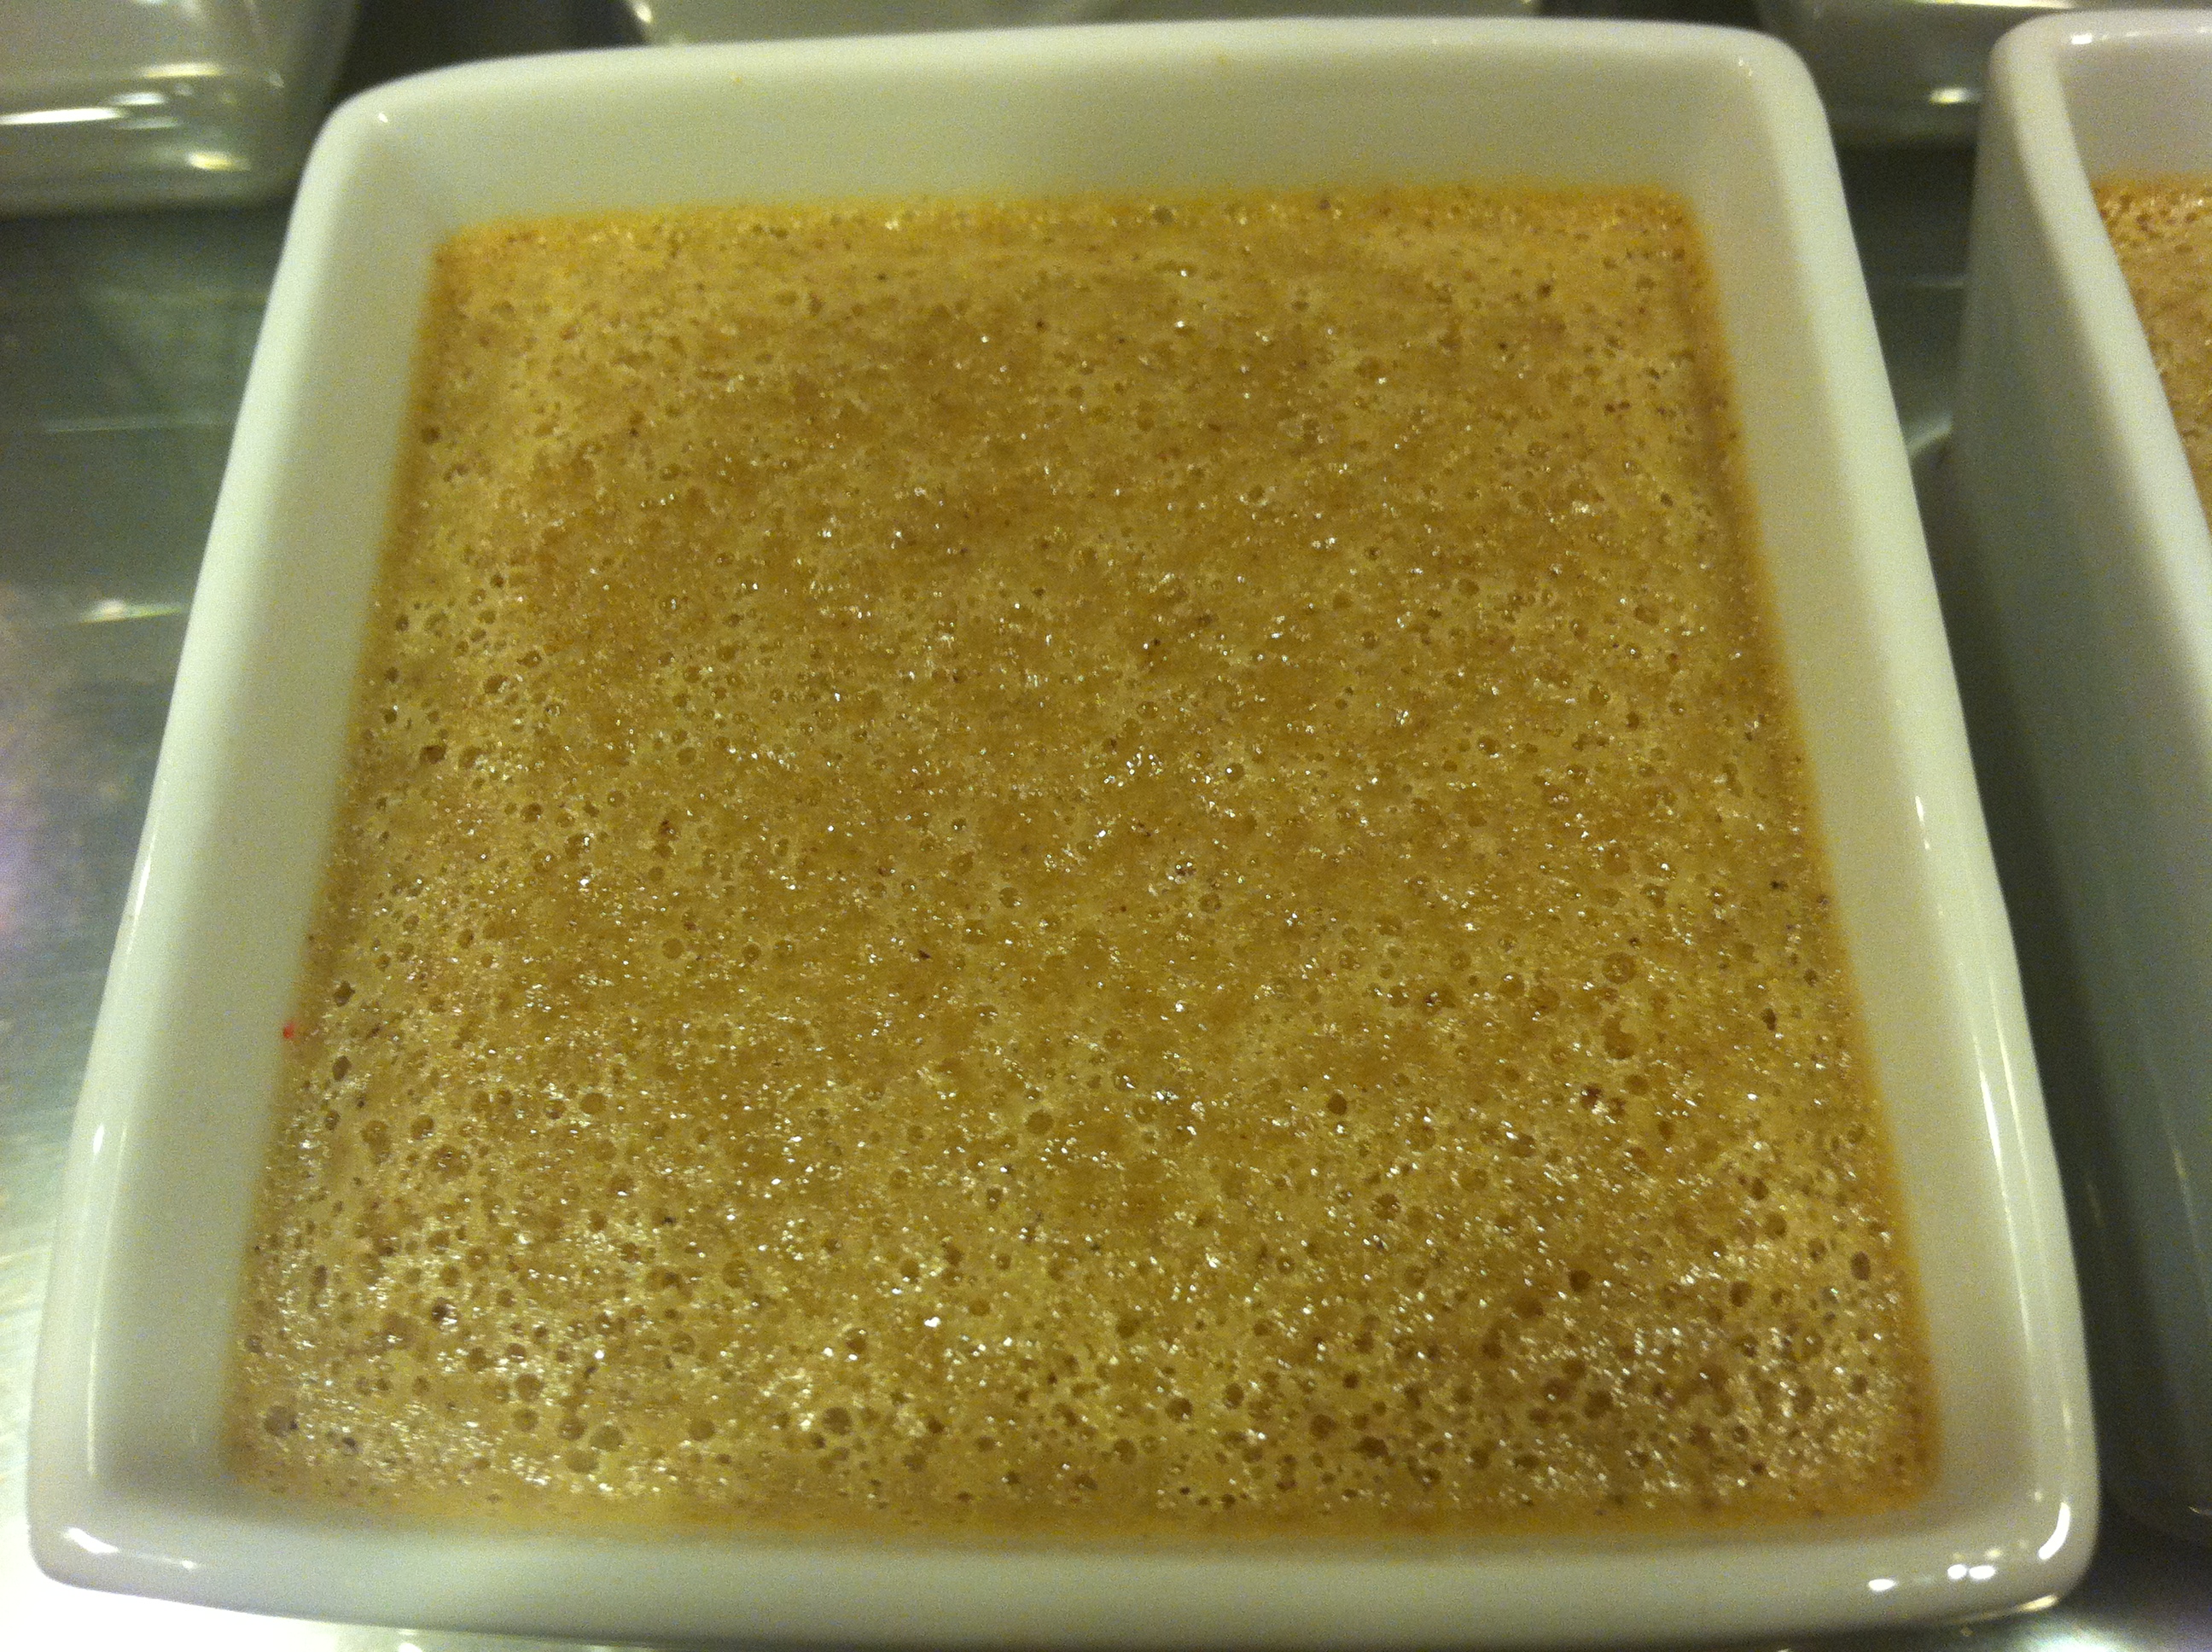
Cook for at least 30 minutes or until the batter is wiggly but not liquidy and slightly firm on top.


Chill
Take ramekins out of the water with tongs and place on a towel on a drying rack. Let cool 15 minutes and then transfer into the refrigerator for 2-4hours.


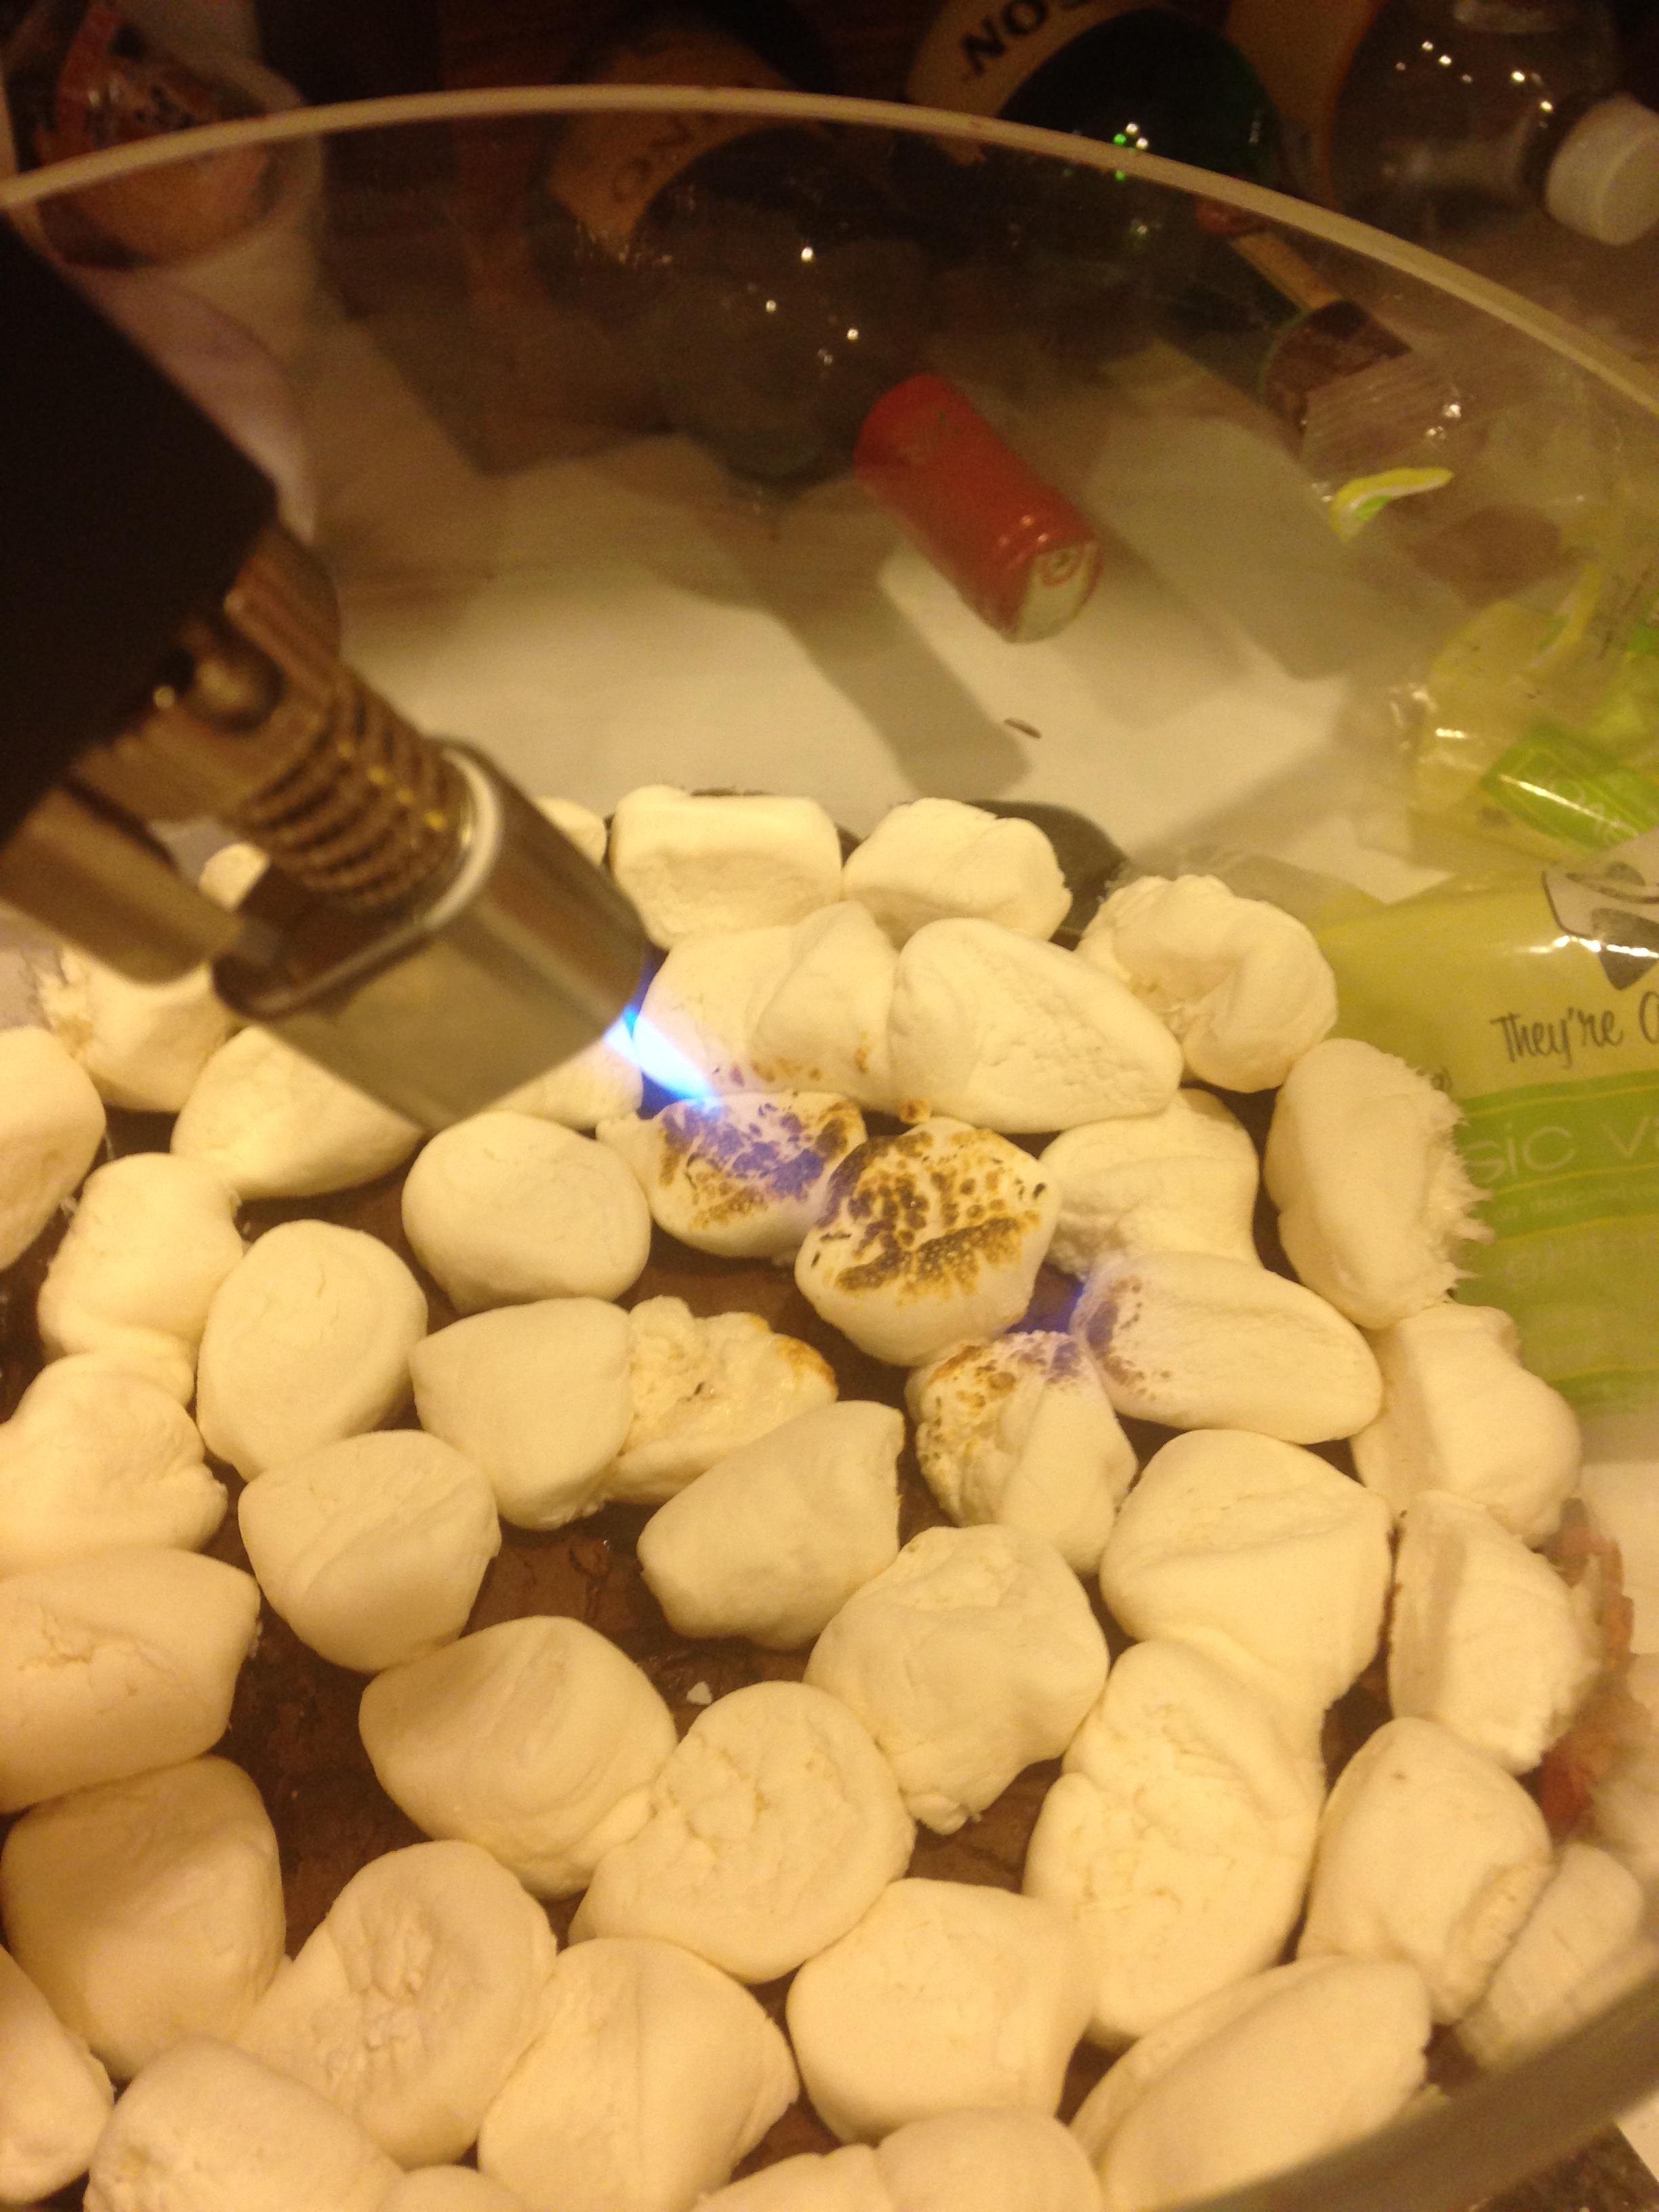
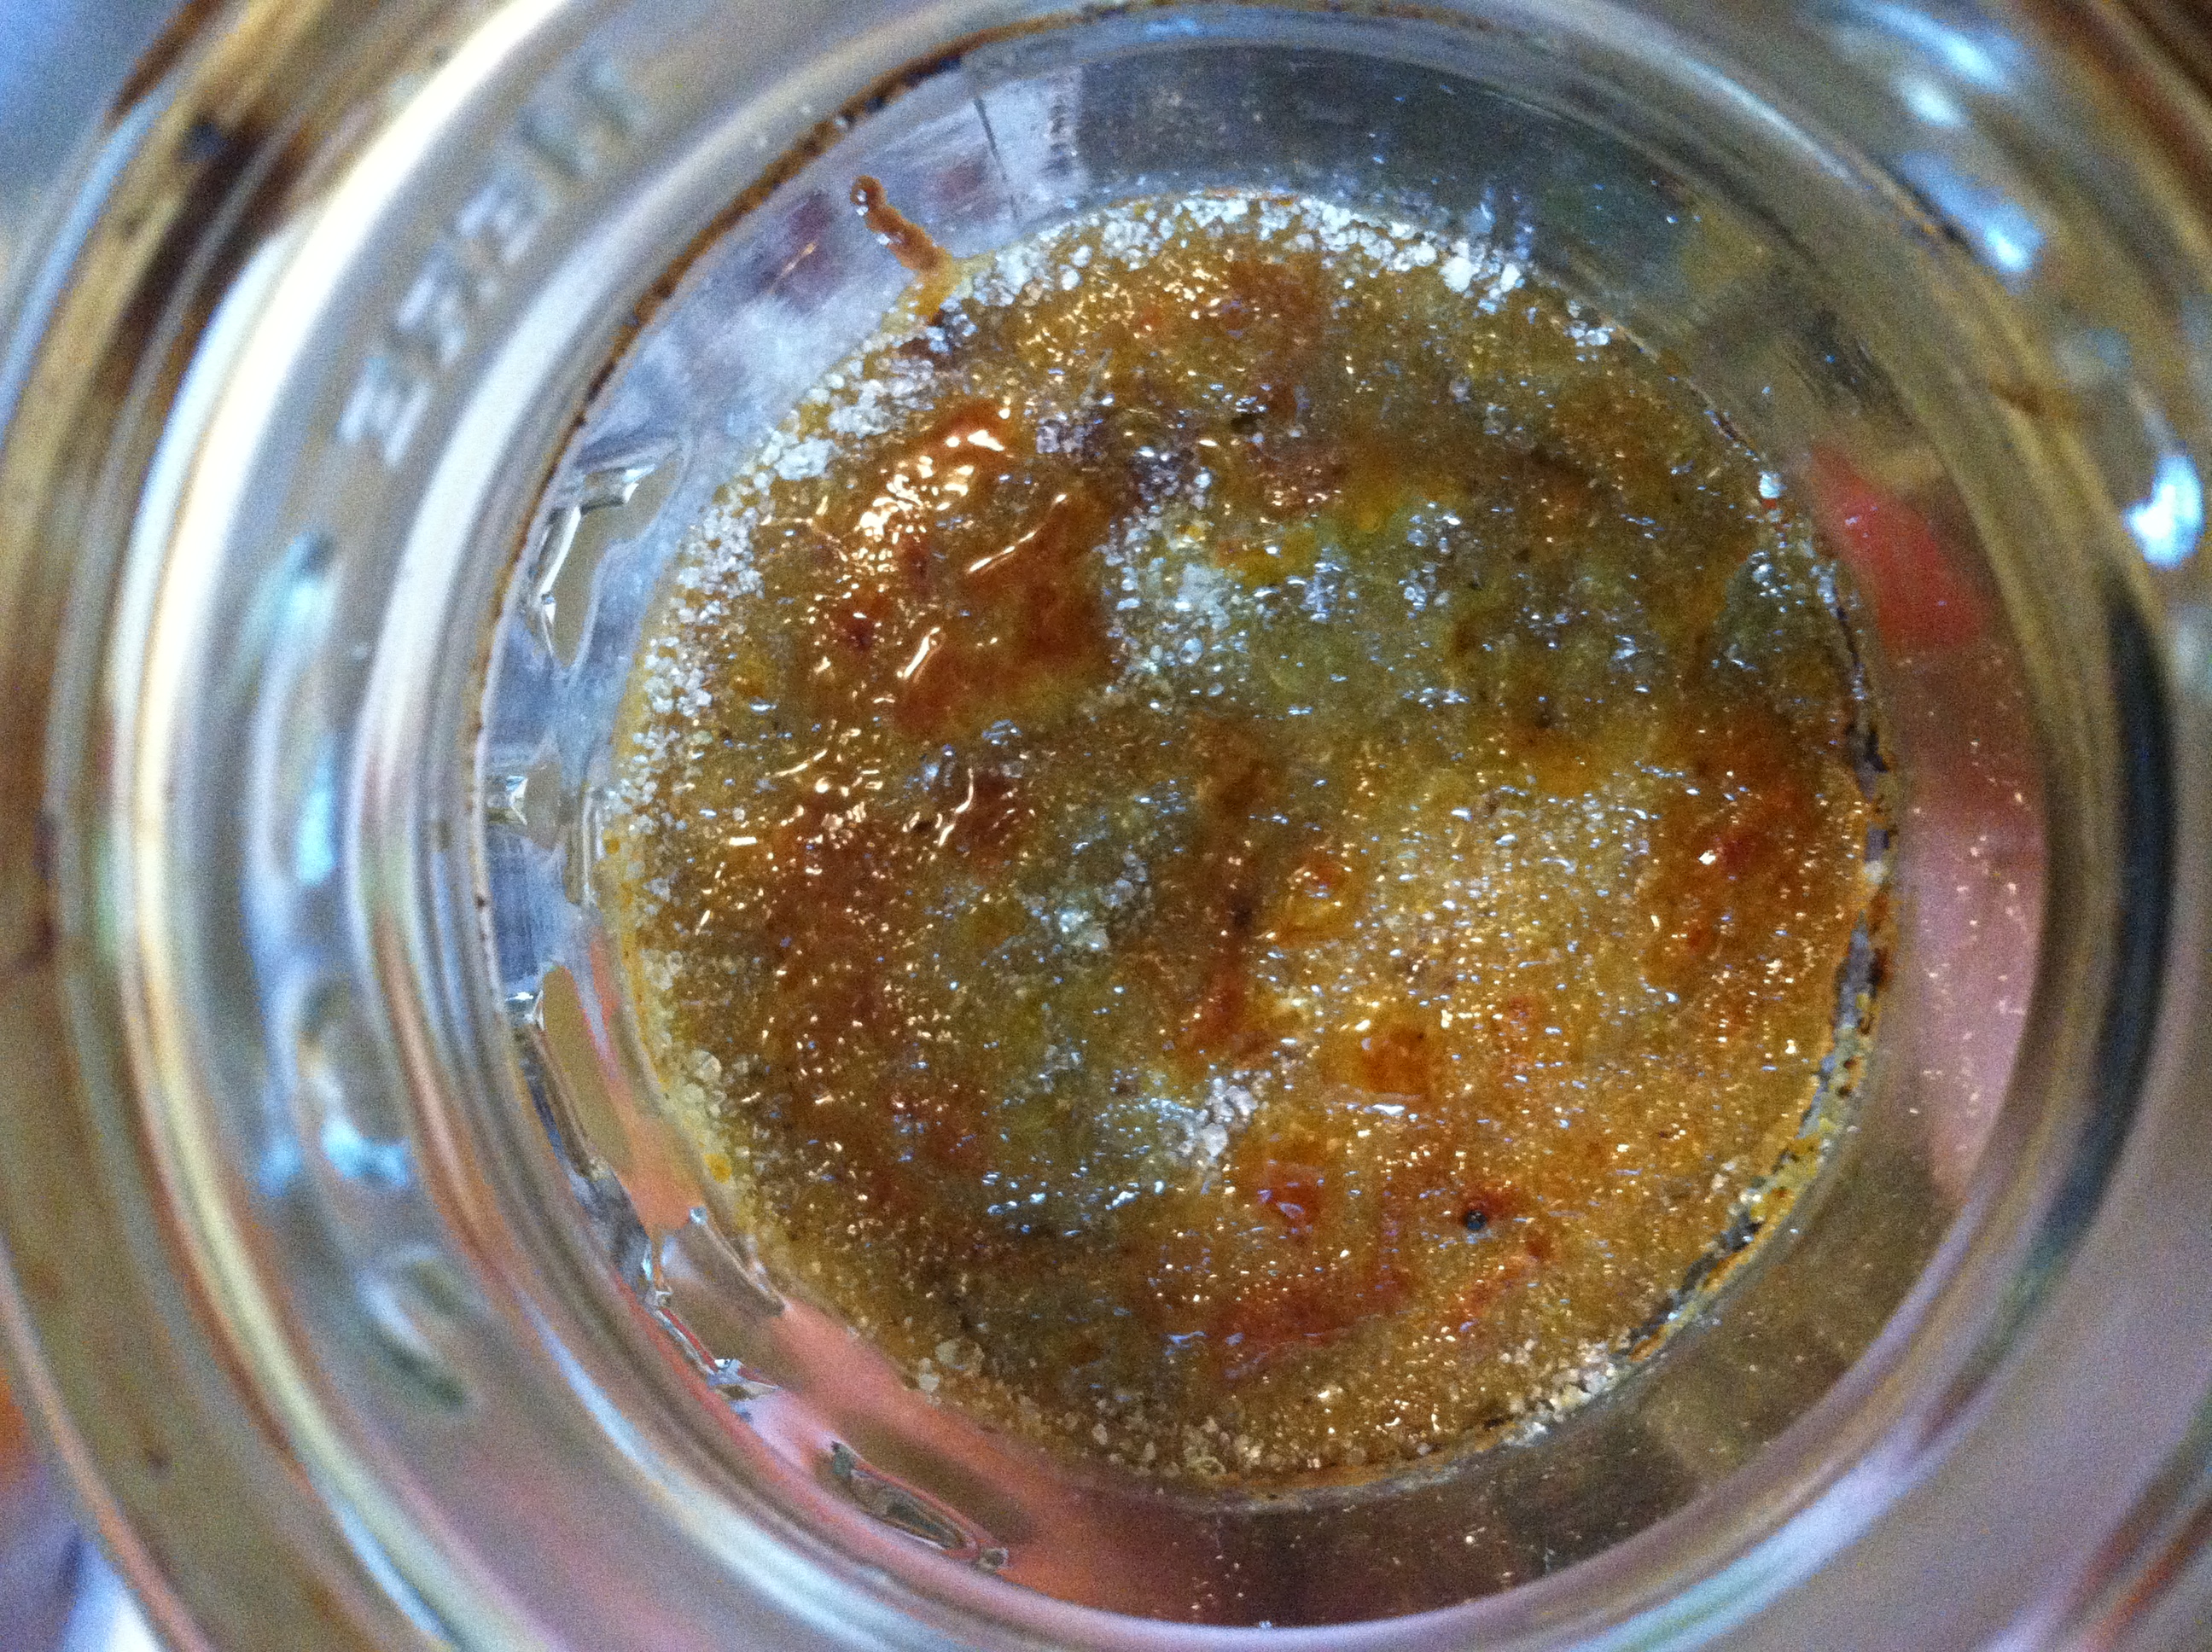
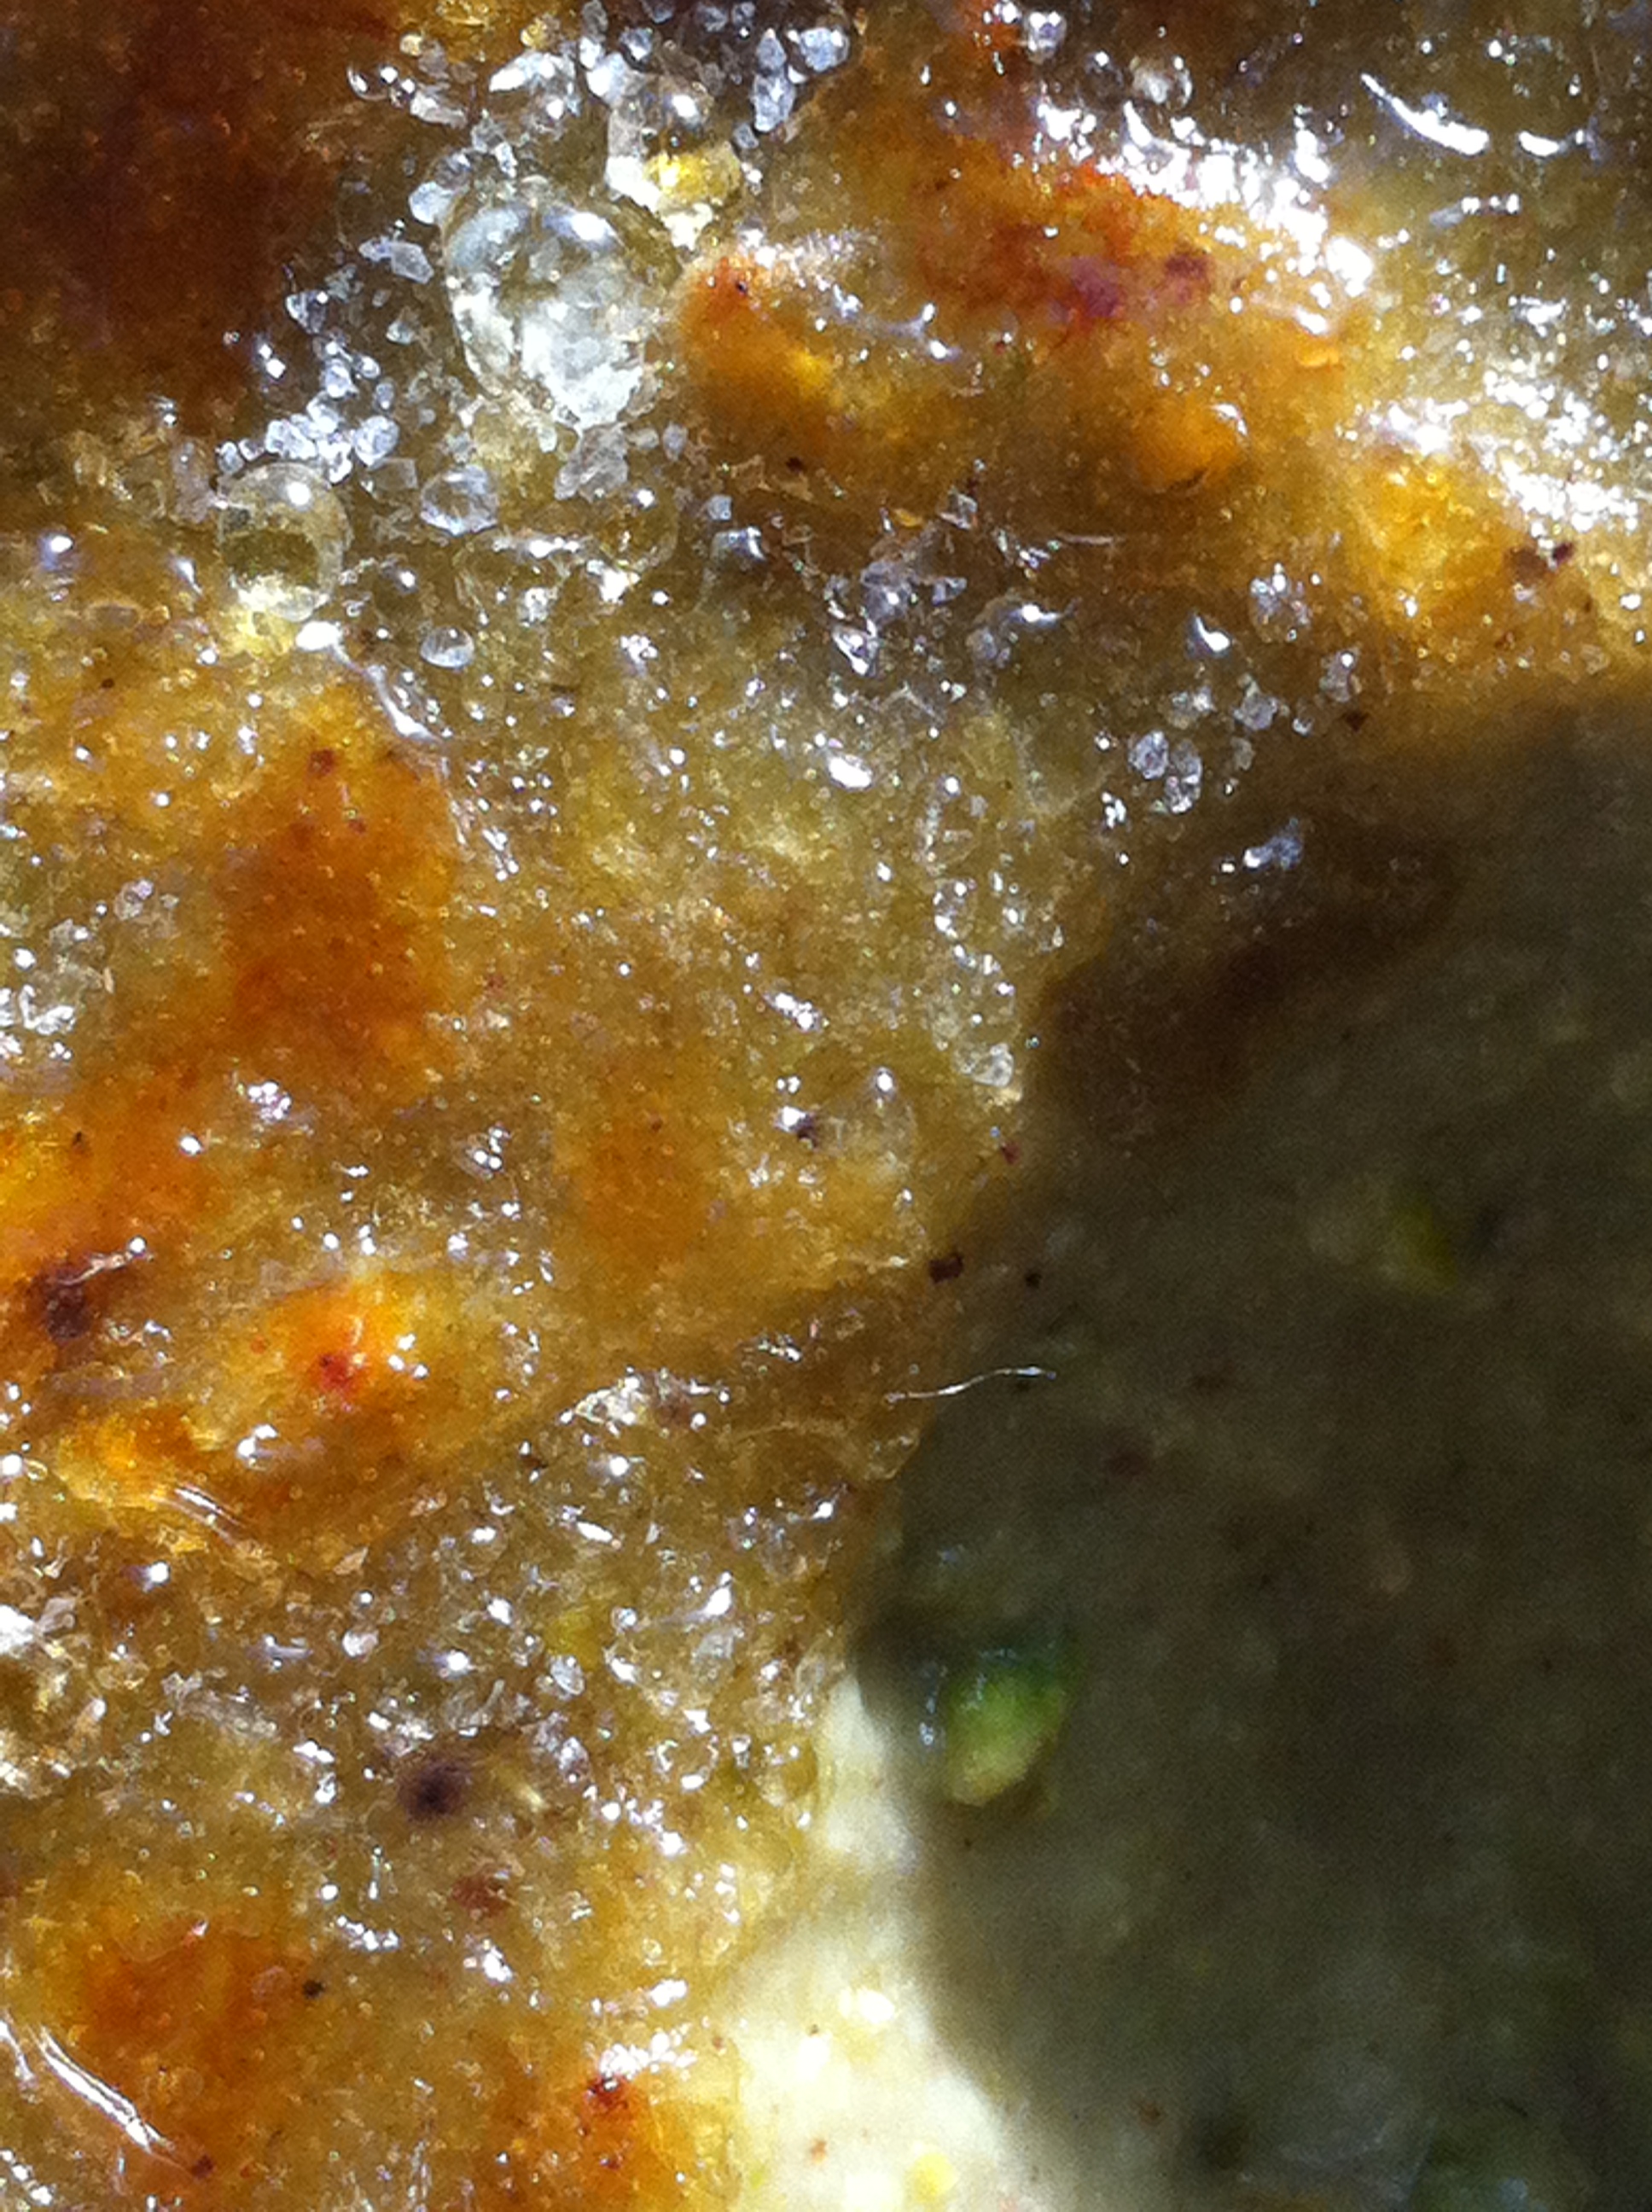
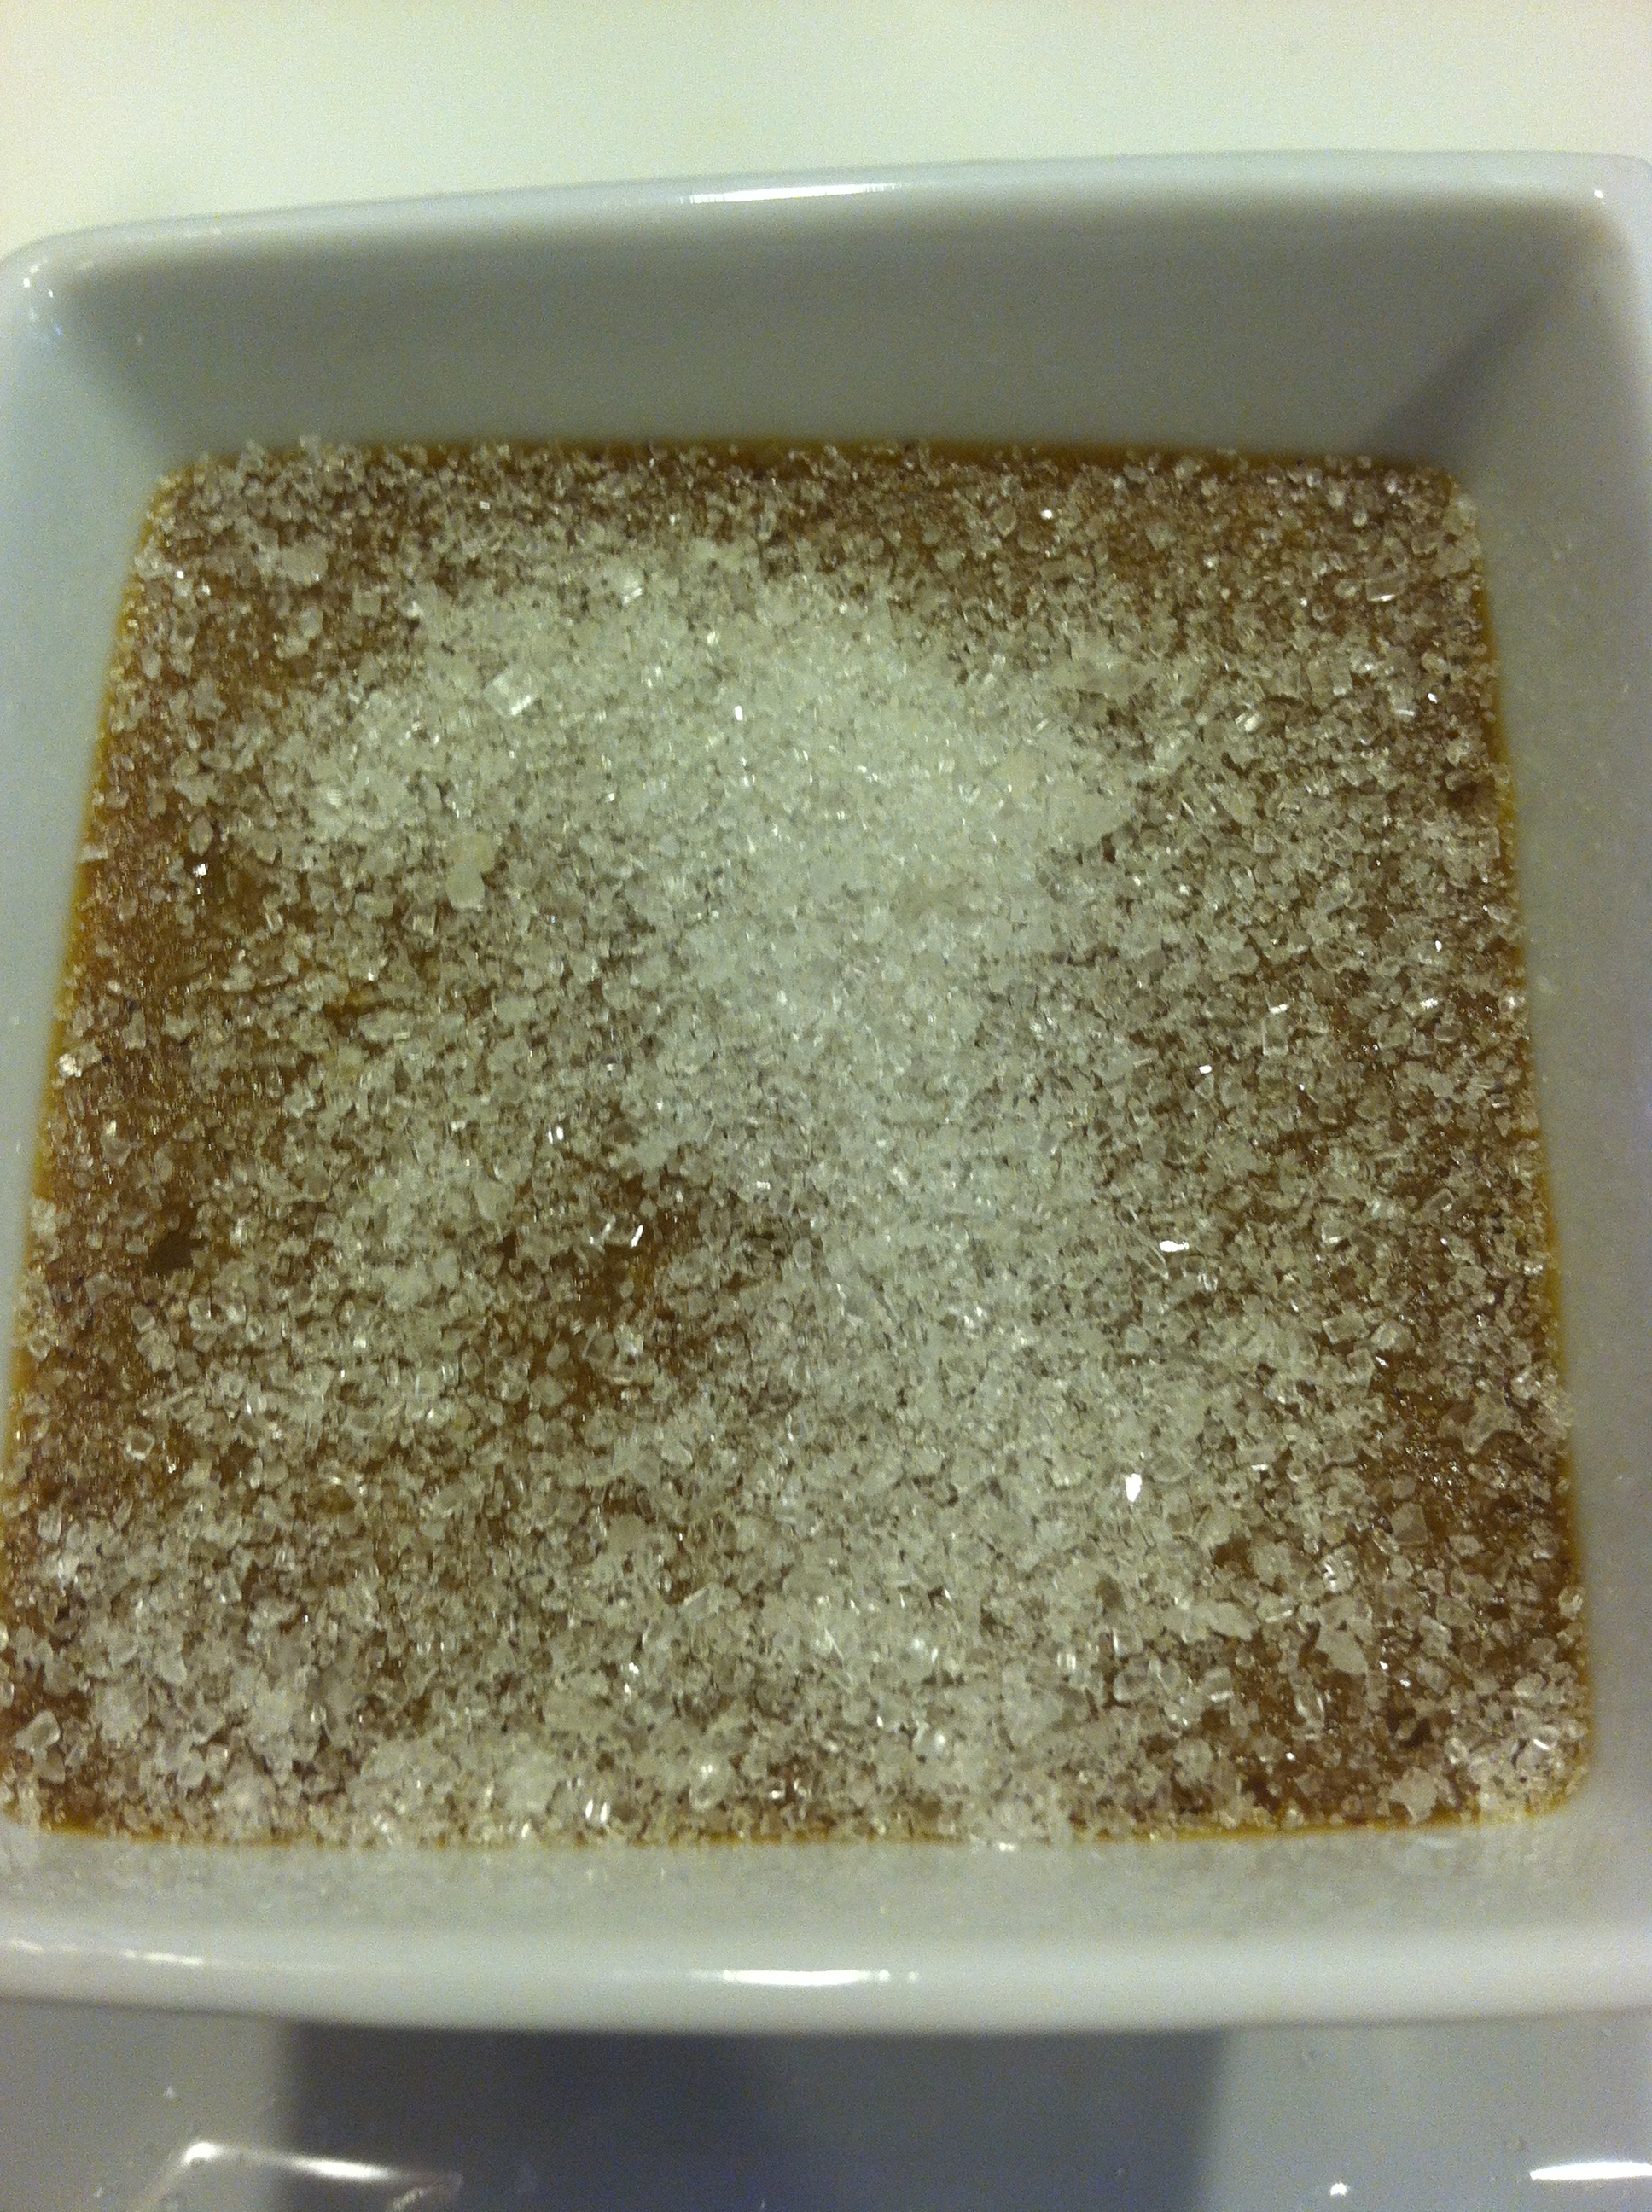
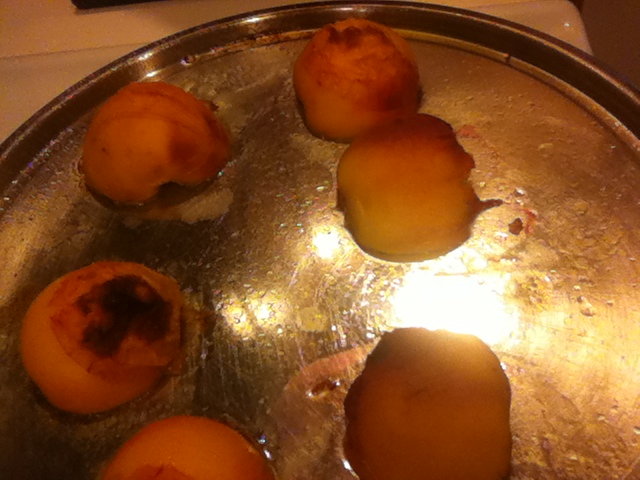
Brulee
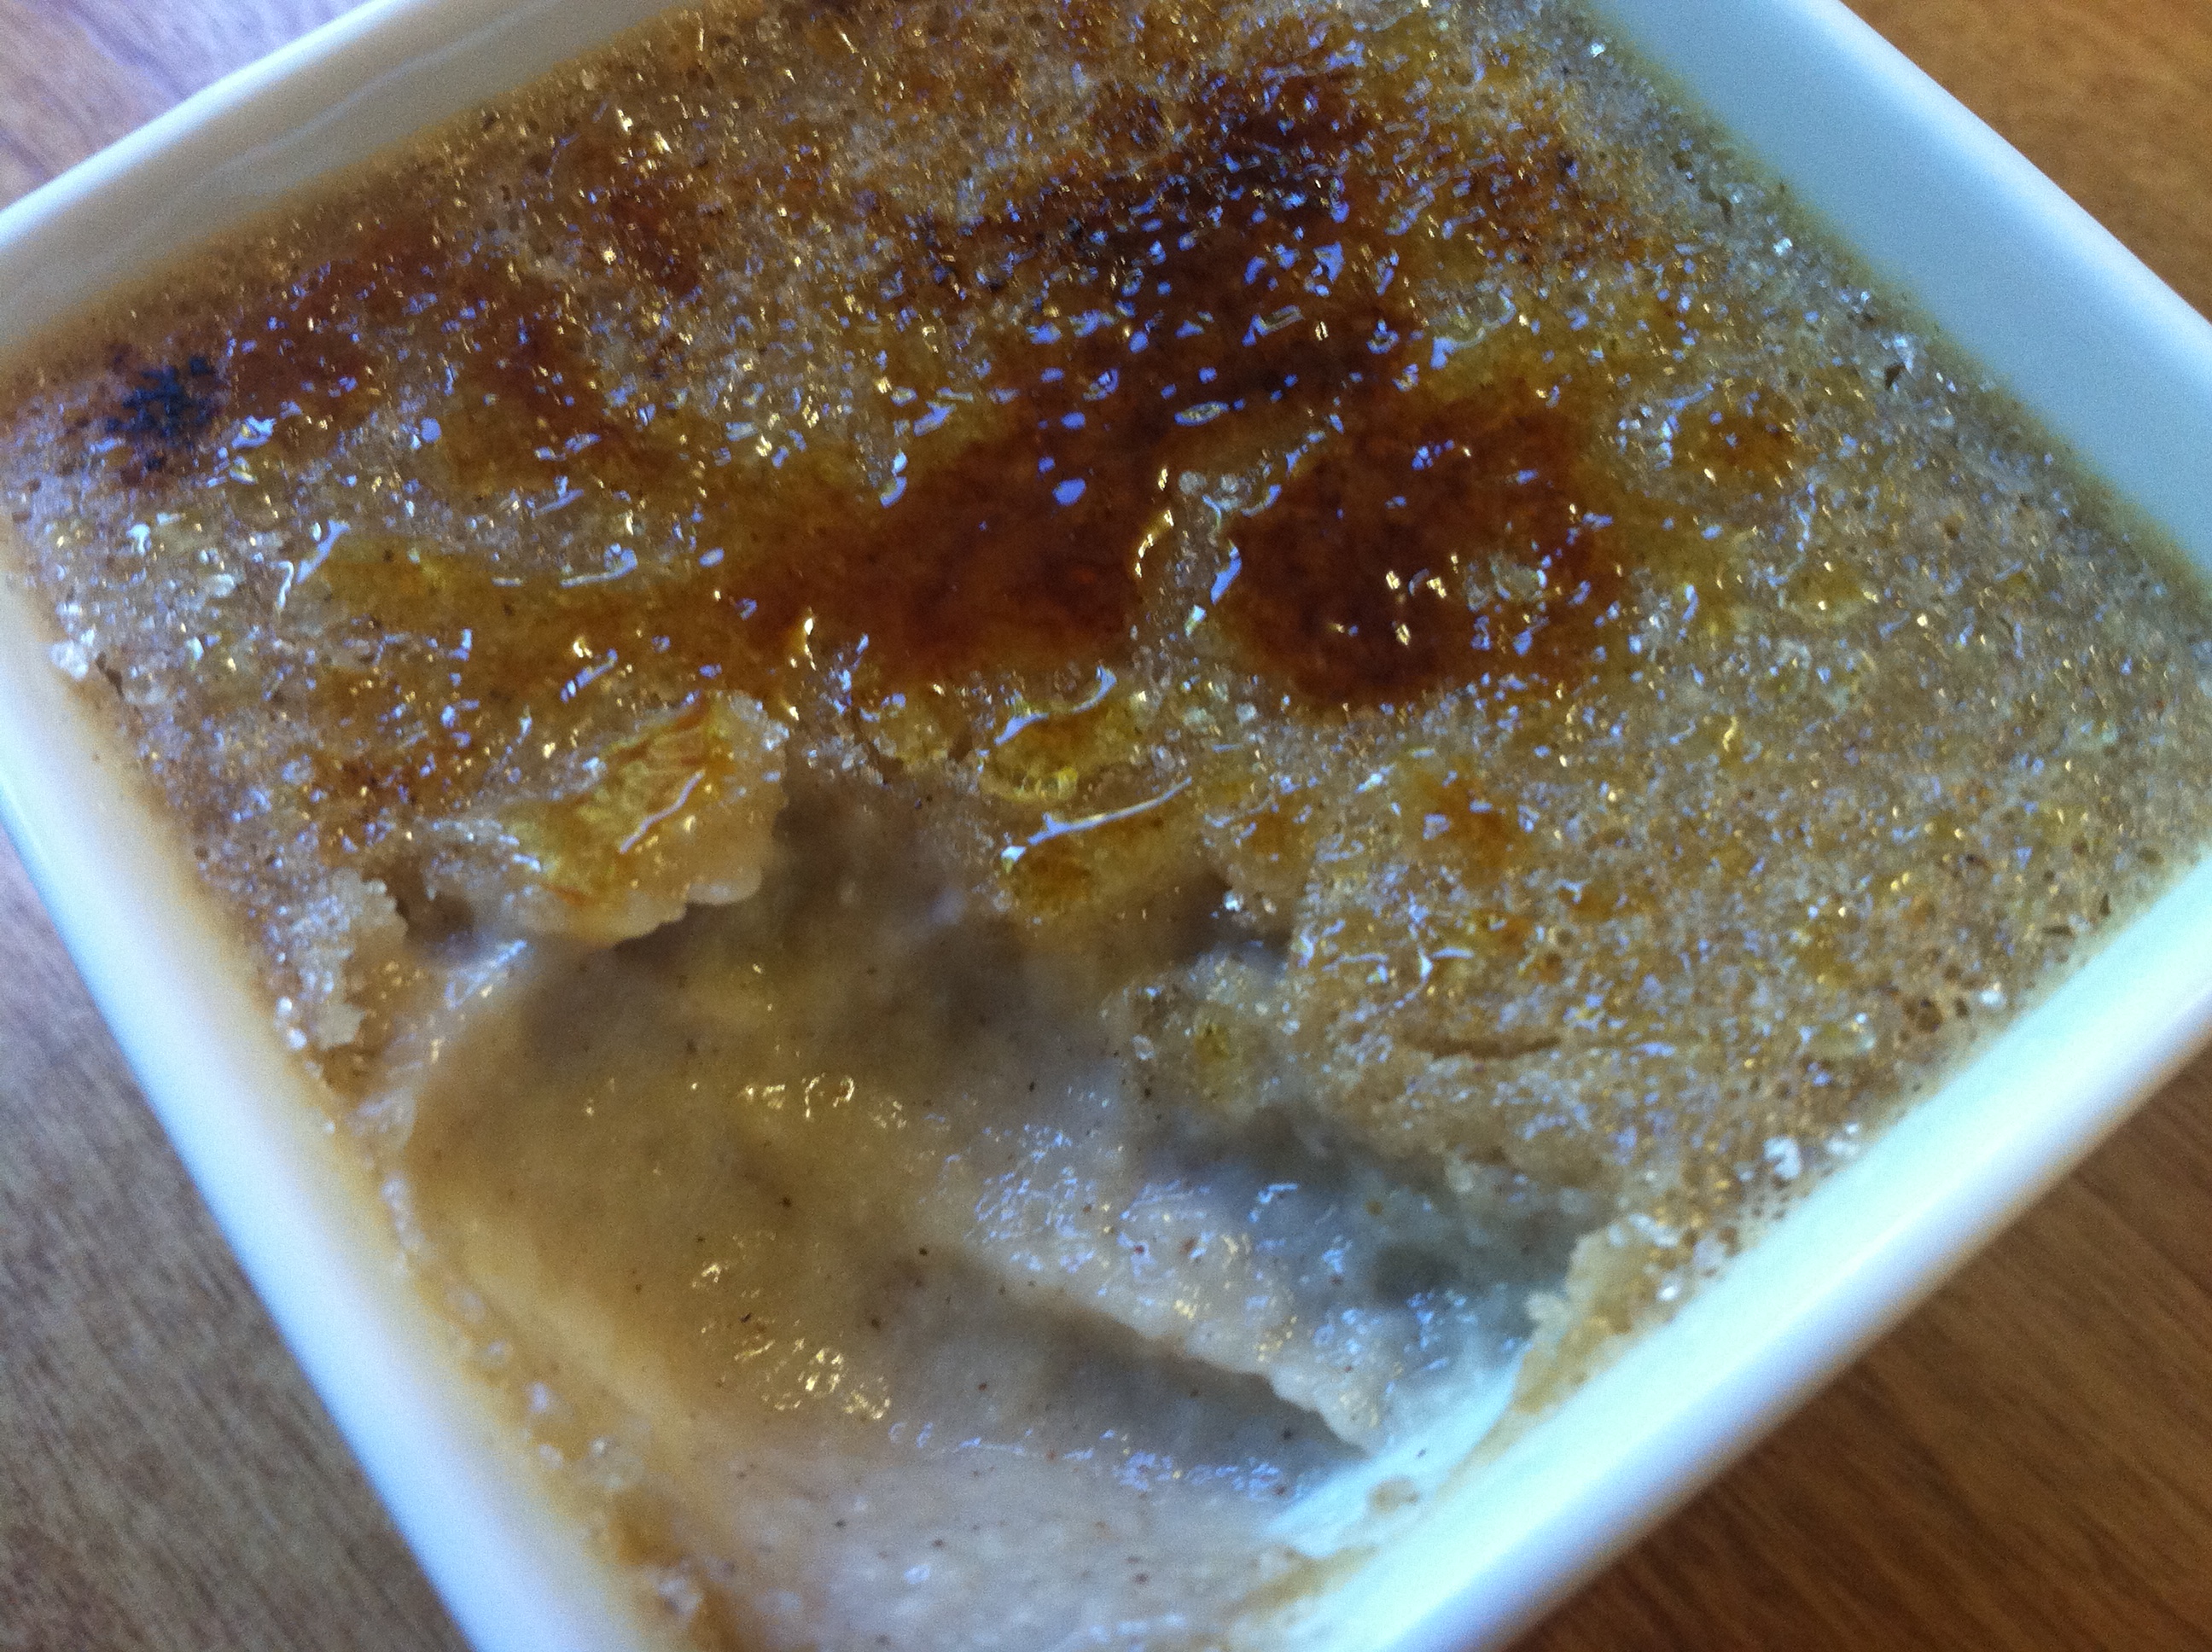
After the creme is completely firm and chilled through and you are ready to serve. …Take sugar, sprinkle a good layer on each creme top, and brulee with a hand torch until the sugar bubbles, browns, and quickly hardens.


Serve Immediatly.


Serves 6. WW Points 6.
____________________________________________________________________________________________________________________________________
XOXOX,
The Hippie Gypsy


