
I joined the Wellness Committee at my work a few months back. I thought it was important to have a truly opposite opinion to the mainstream ideas of health in such a group. One that focused not on conventional “healthy” recipes and ways of being “well” but one that is a little more alternative. I am obviously a vegan but I am also a bit of a hippie and very interested in how wellness is also about being mentally well and taking care of the earth to result in healthy food and a healthy planet. This holiday season we had a Christmas/Holiday/Seasonal get together/luncheon at work. The Wellness Group sponsored it and although it was healthi-er I think we have a long way to go. I must say that I did prepare a not so perfectly healthy trifle for the baking contest so I am as much at fault as anyone on the healthiness of this luncheon. To me this recipe is far from healthy but for the group, I think they will find it the healthiest option on the table with all things considered. Take a look and Happy Holidays! (PS I won the contest!)
______________________________________________________________________________________________________
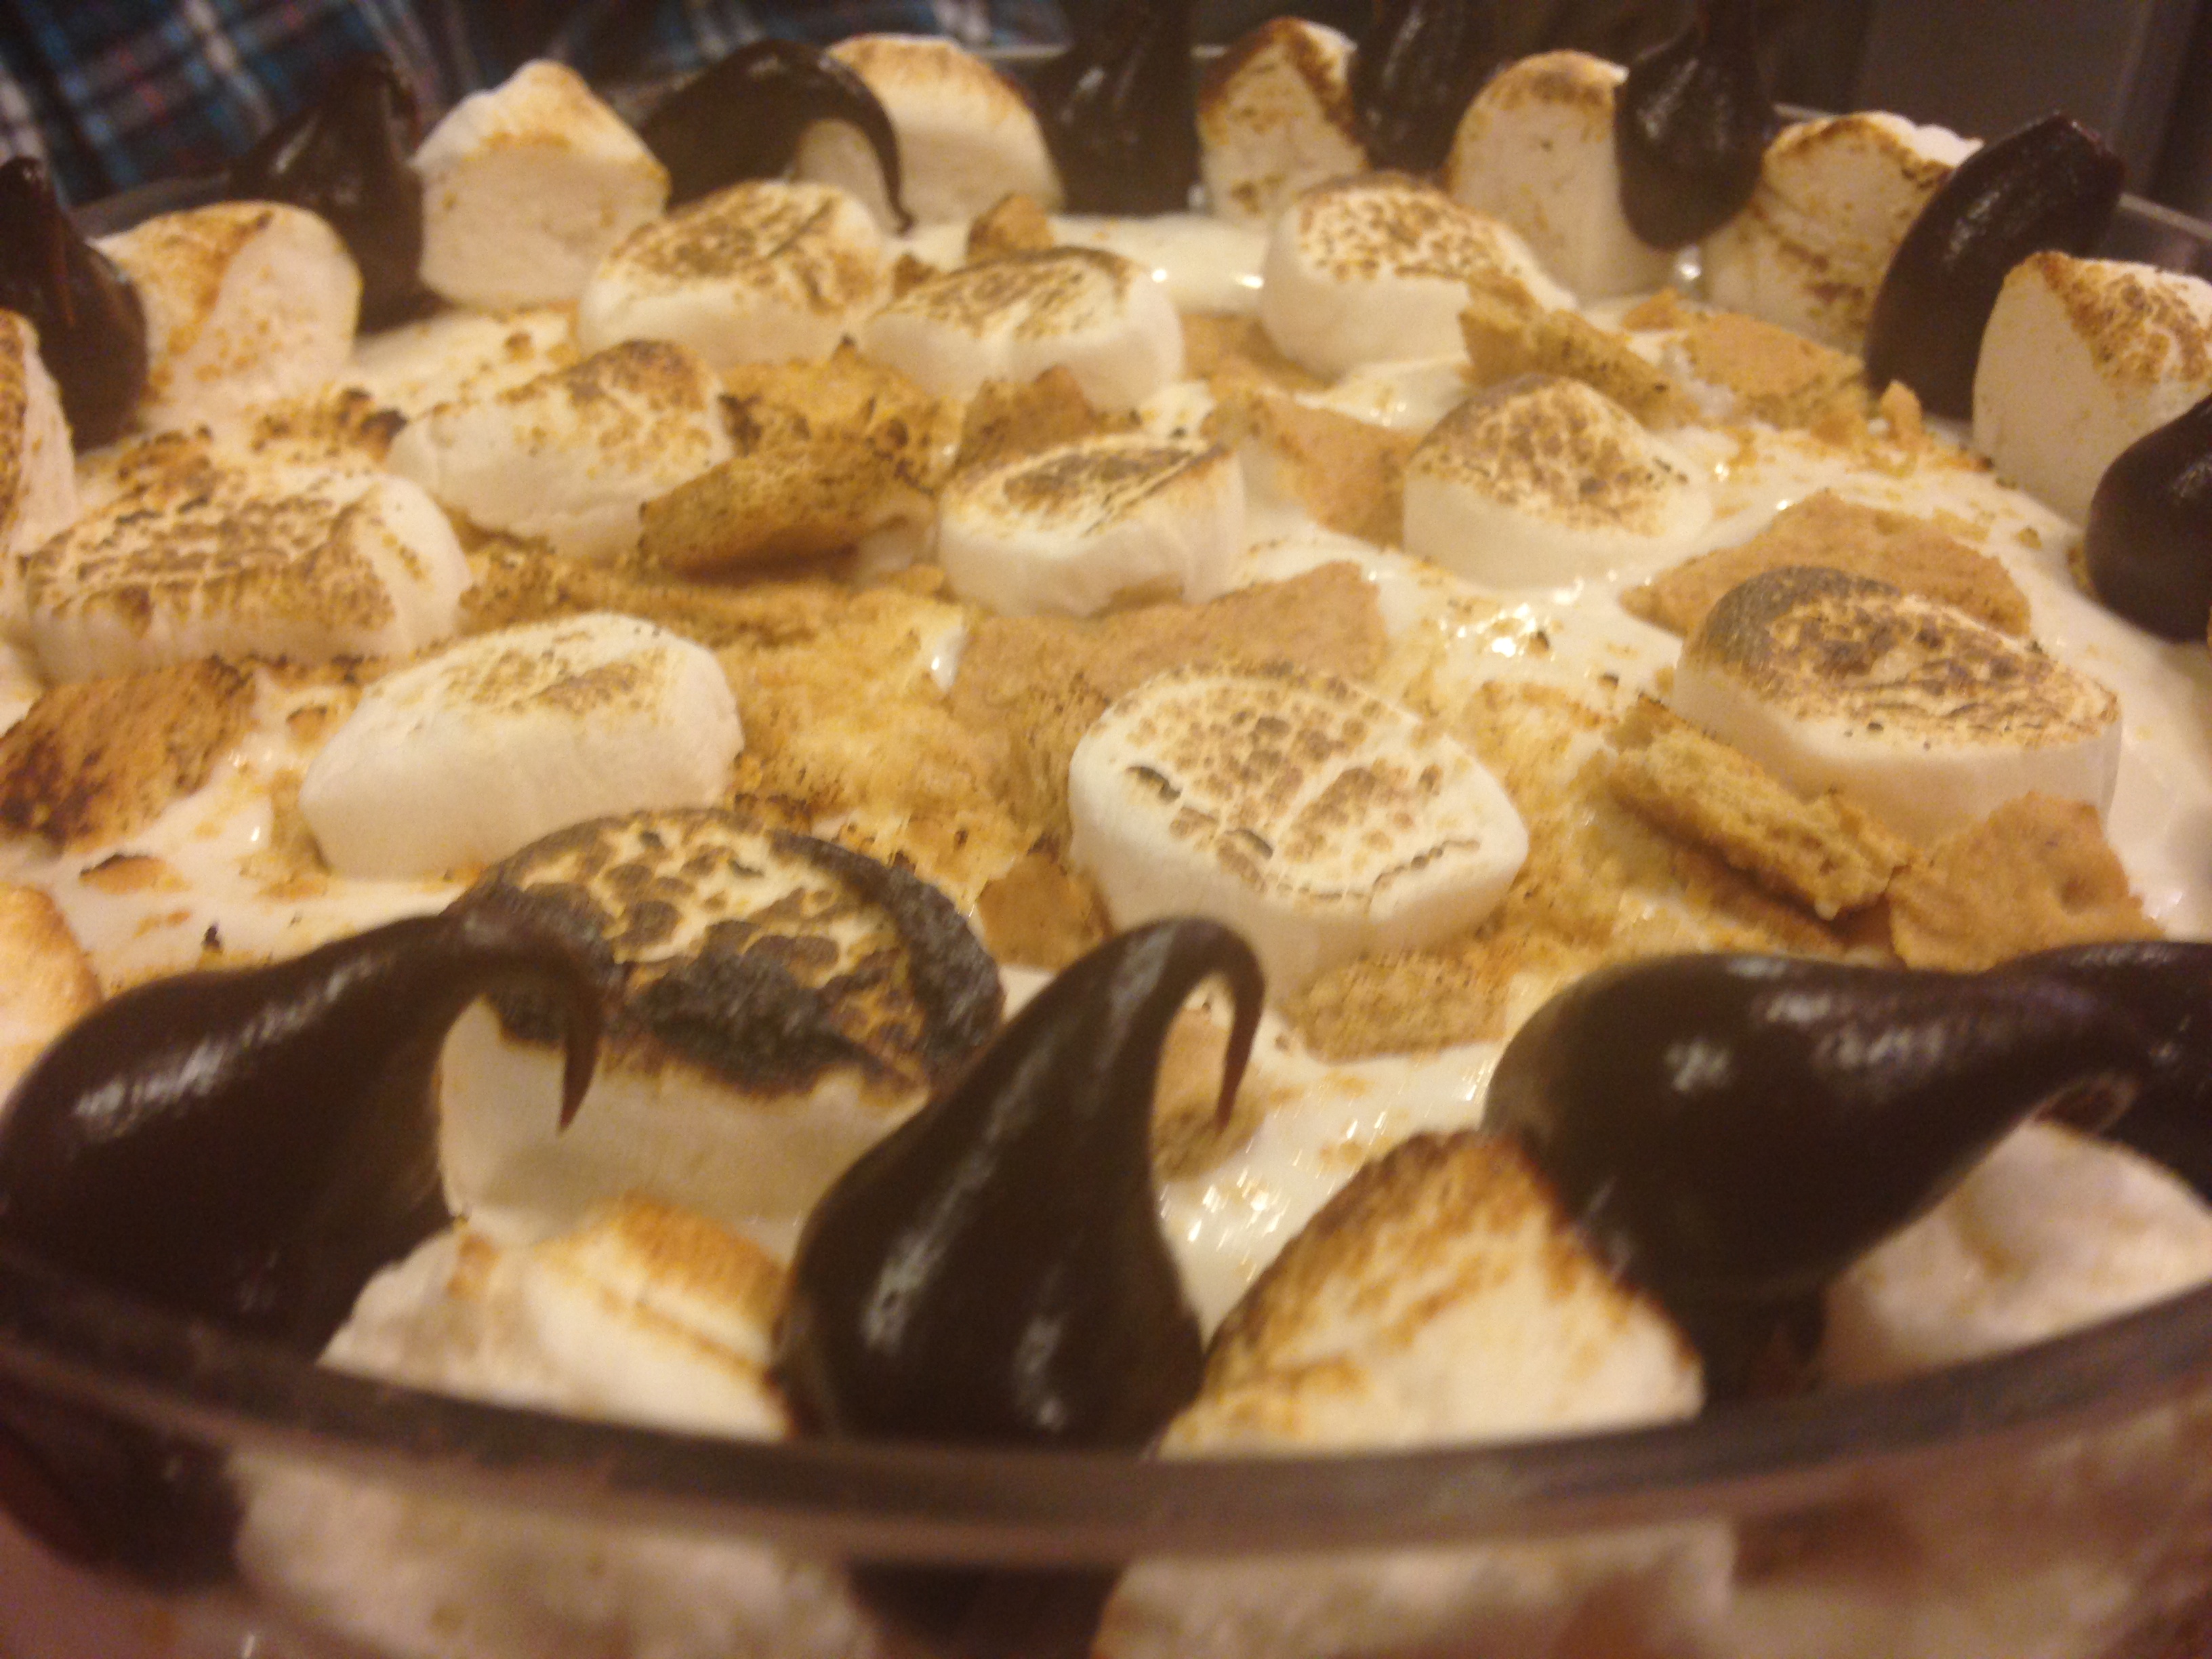
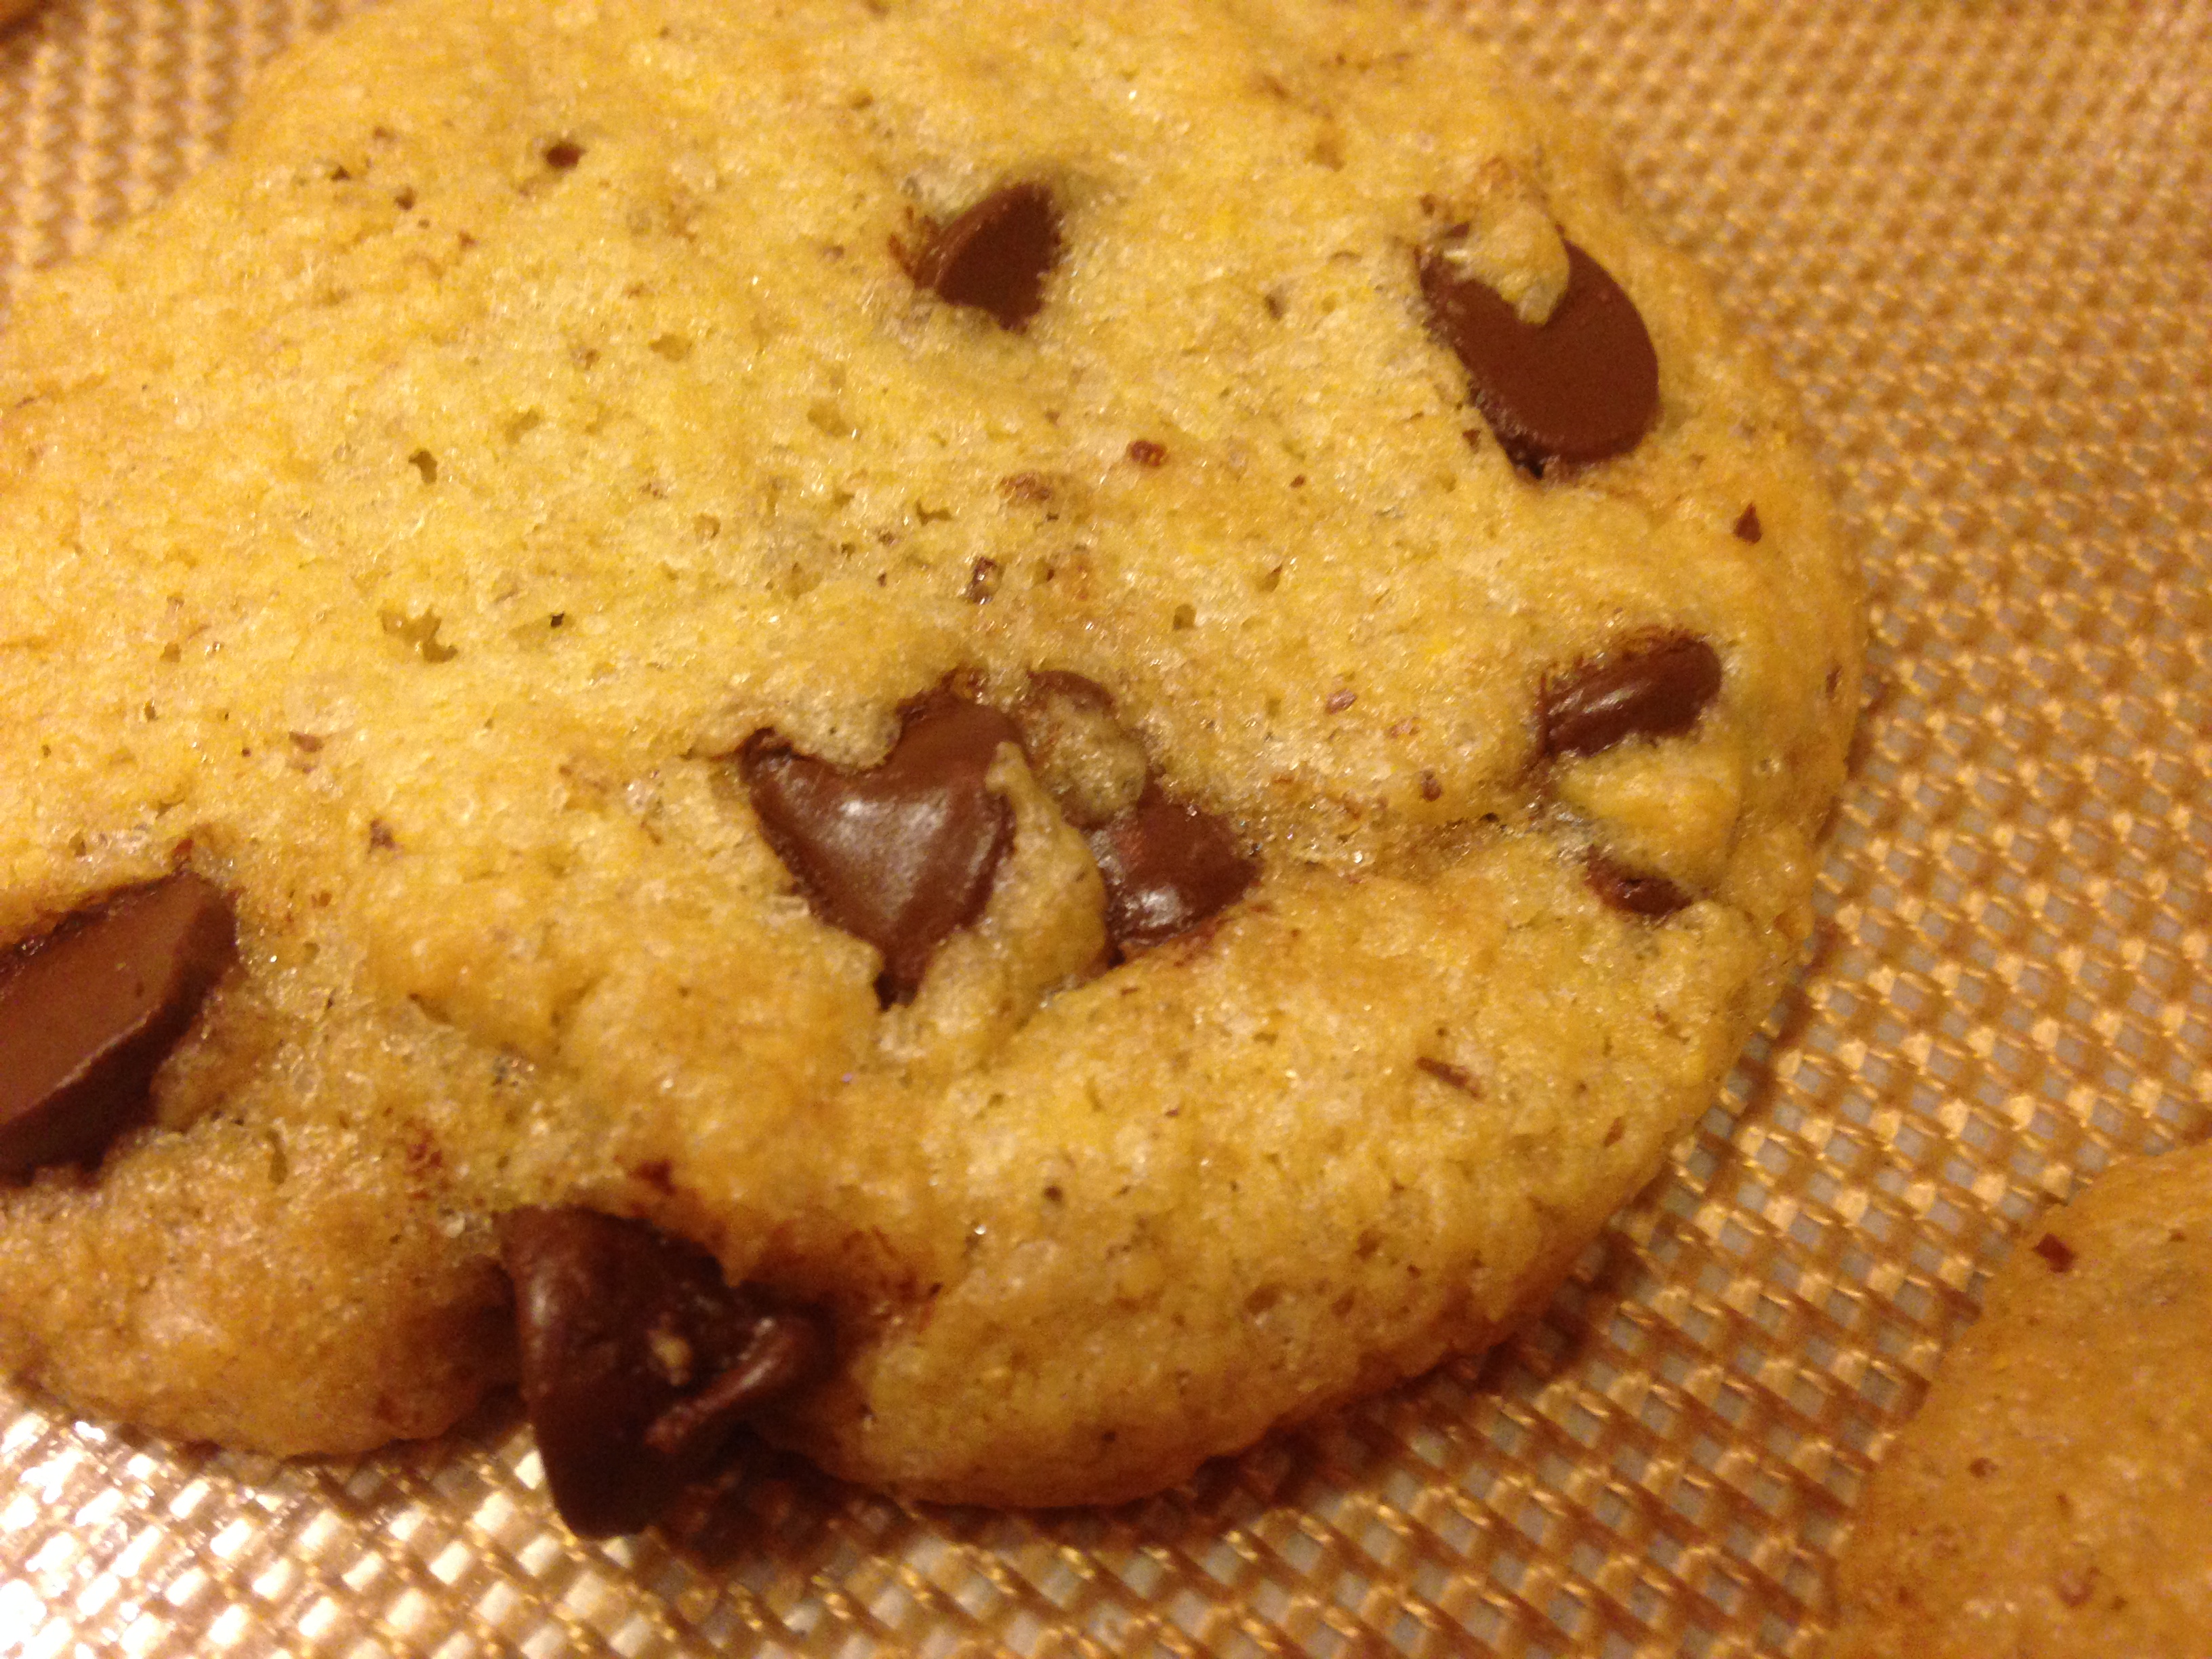
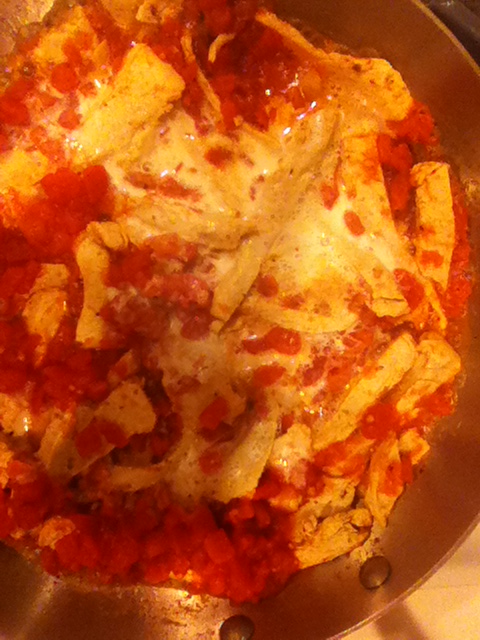
S’mores Cheesecake Trifle
Ingredients:
- 2 packages Vegan Marshmallows
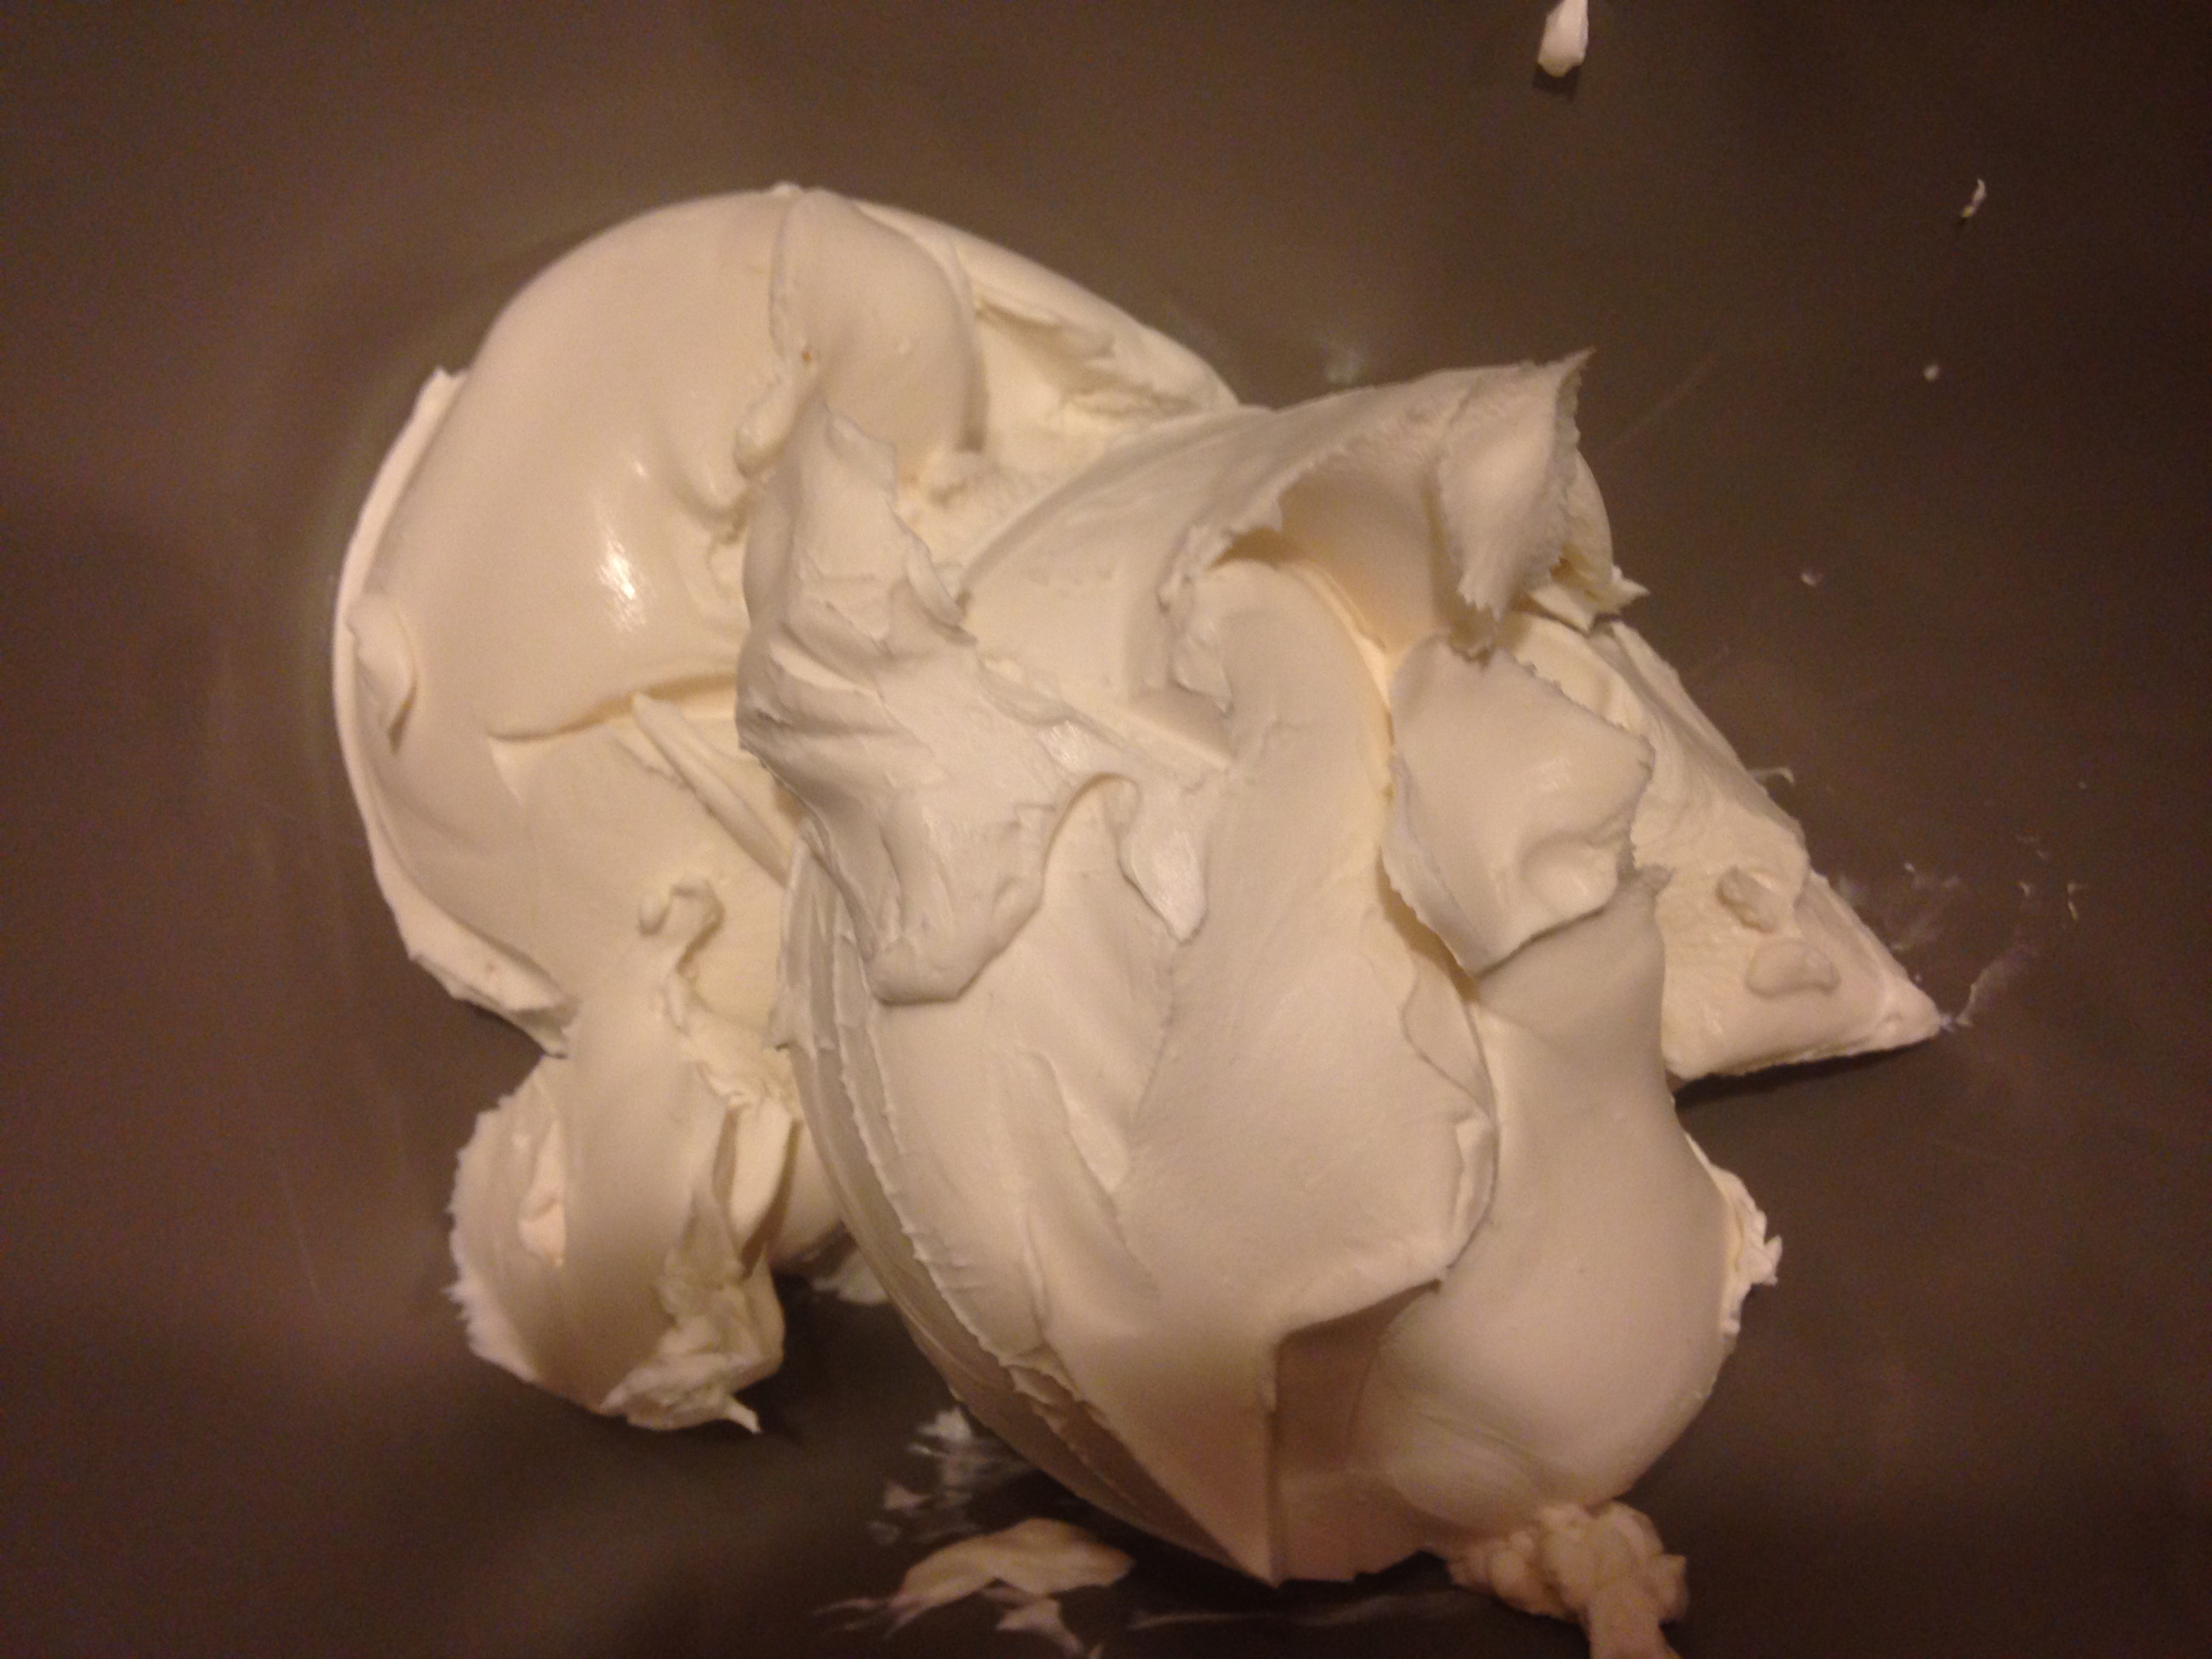
- 2 containers Tofutti Better than Cream Cheese
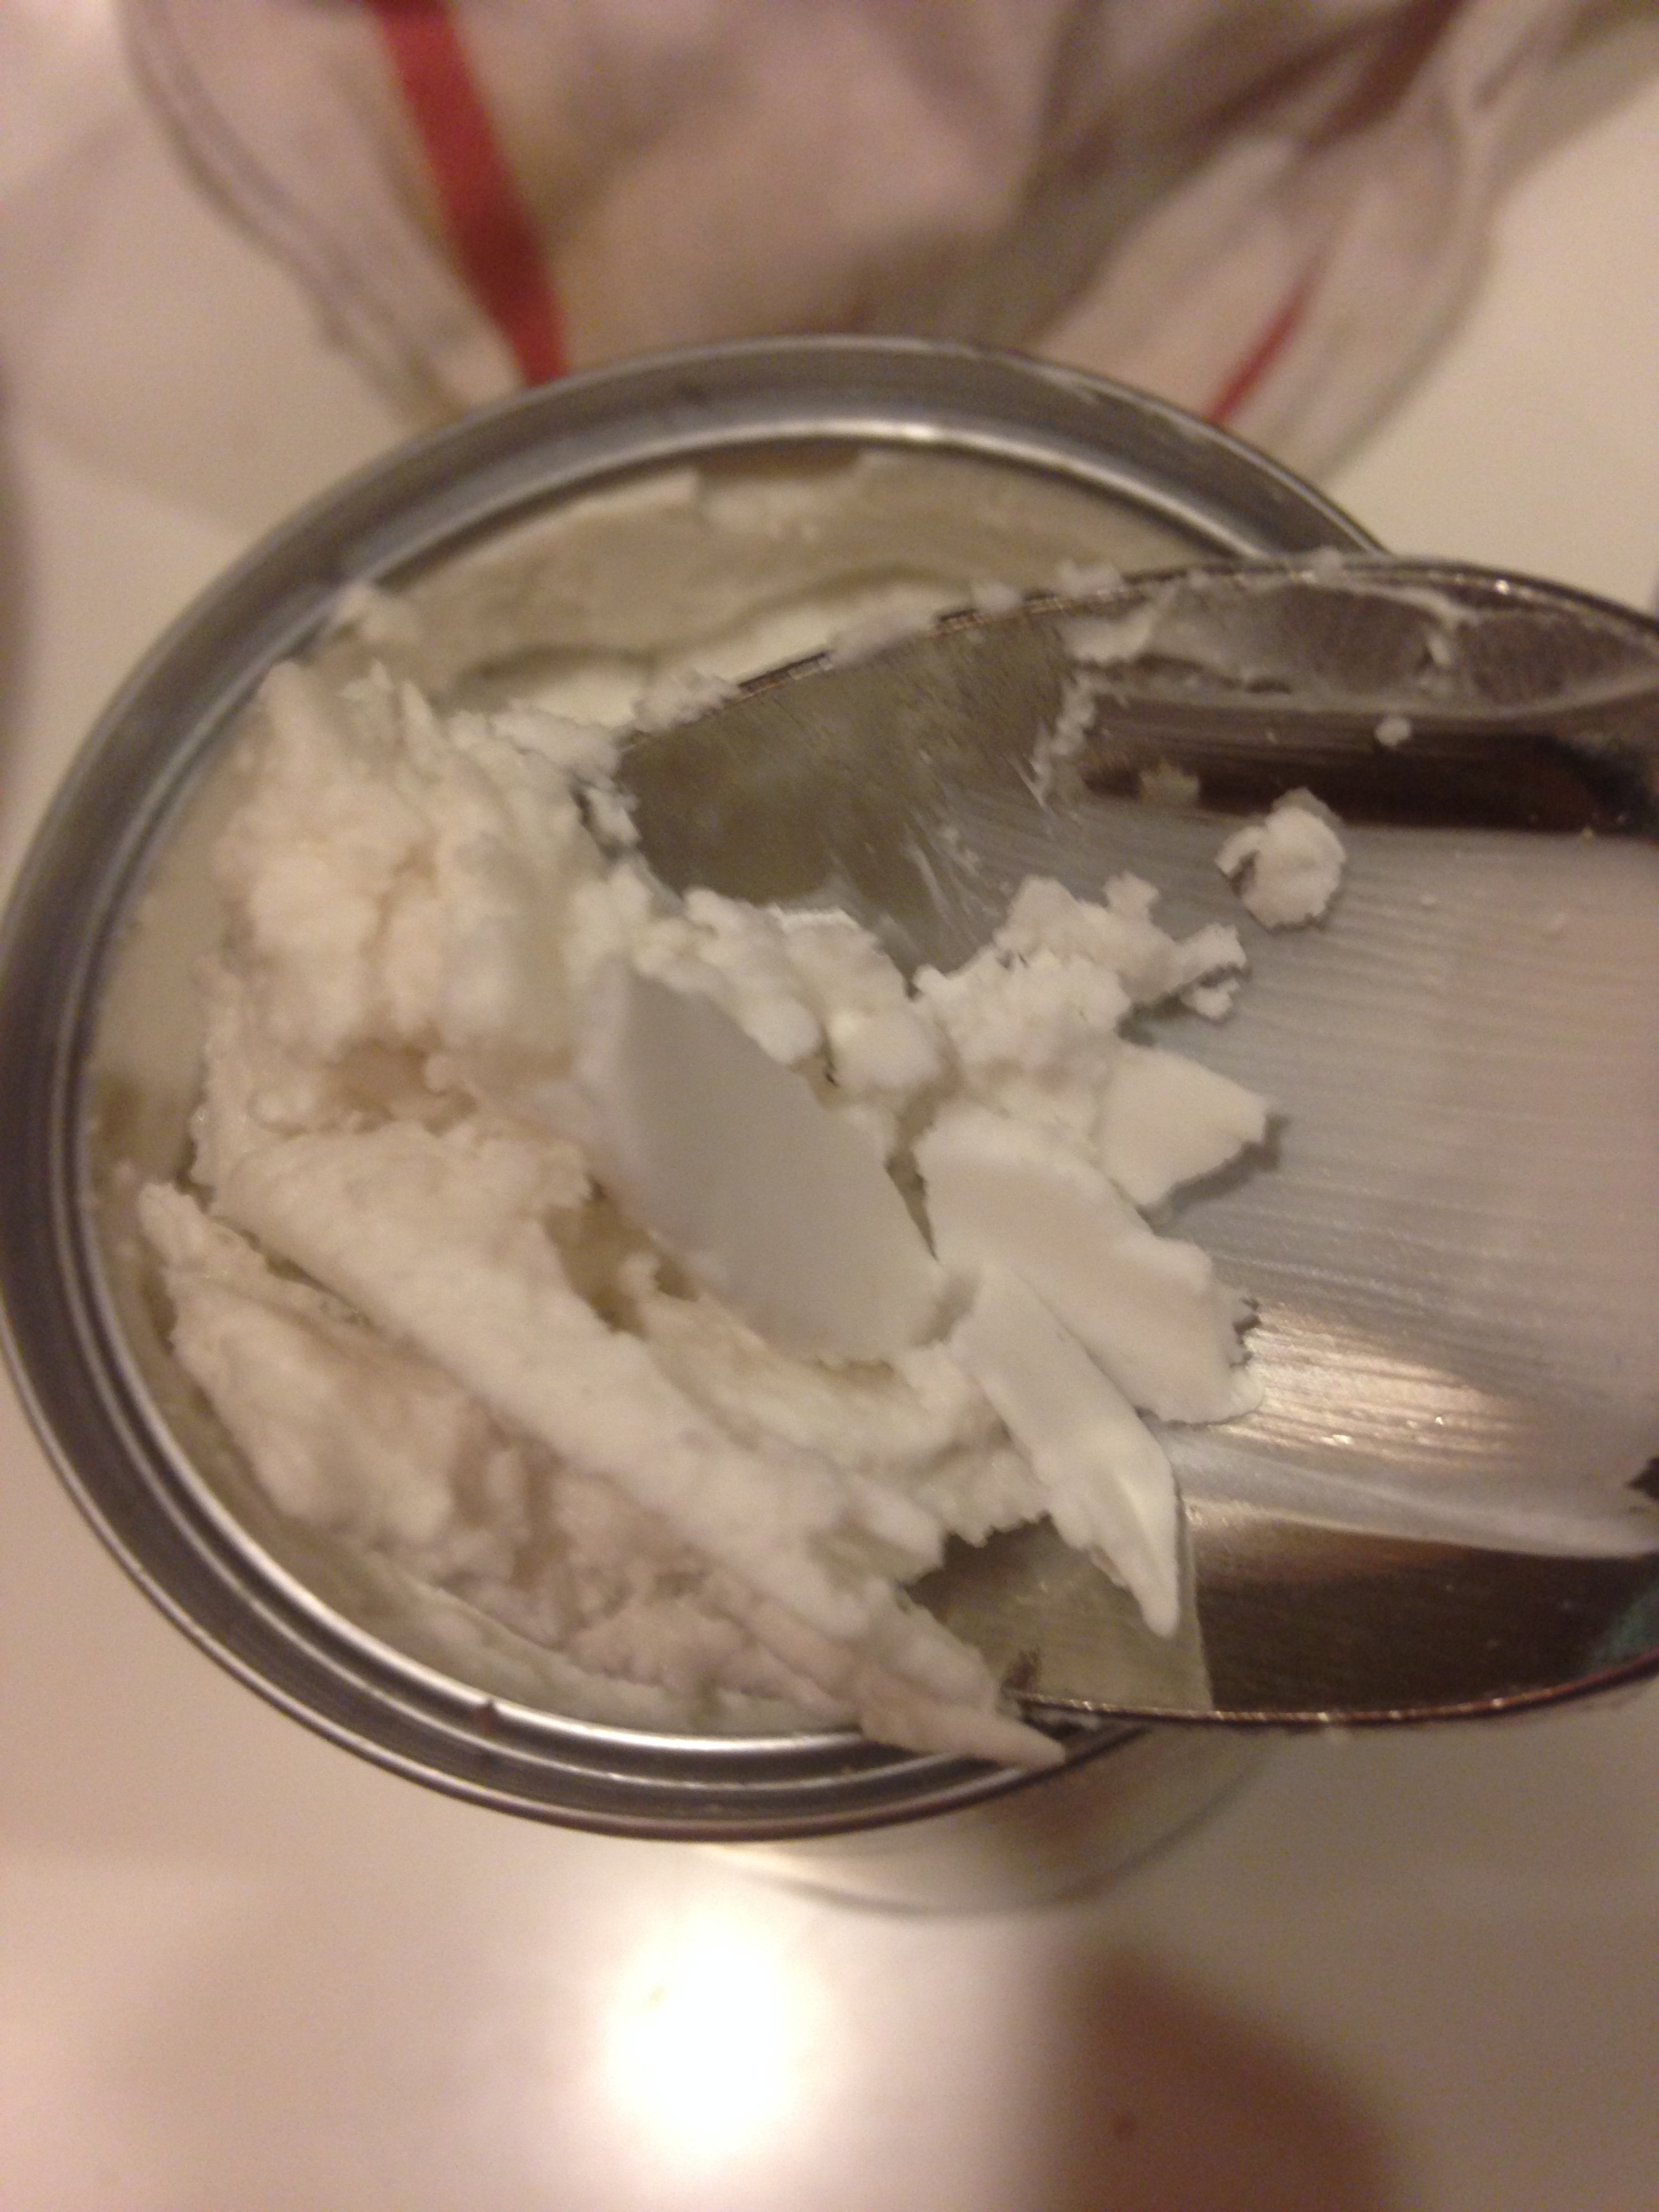
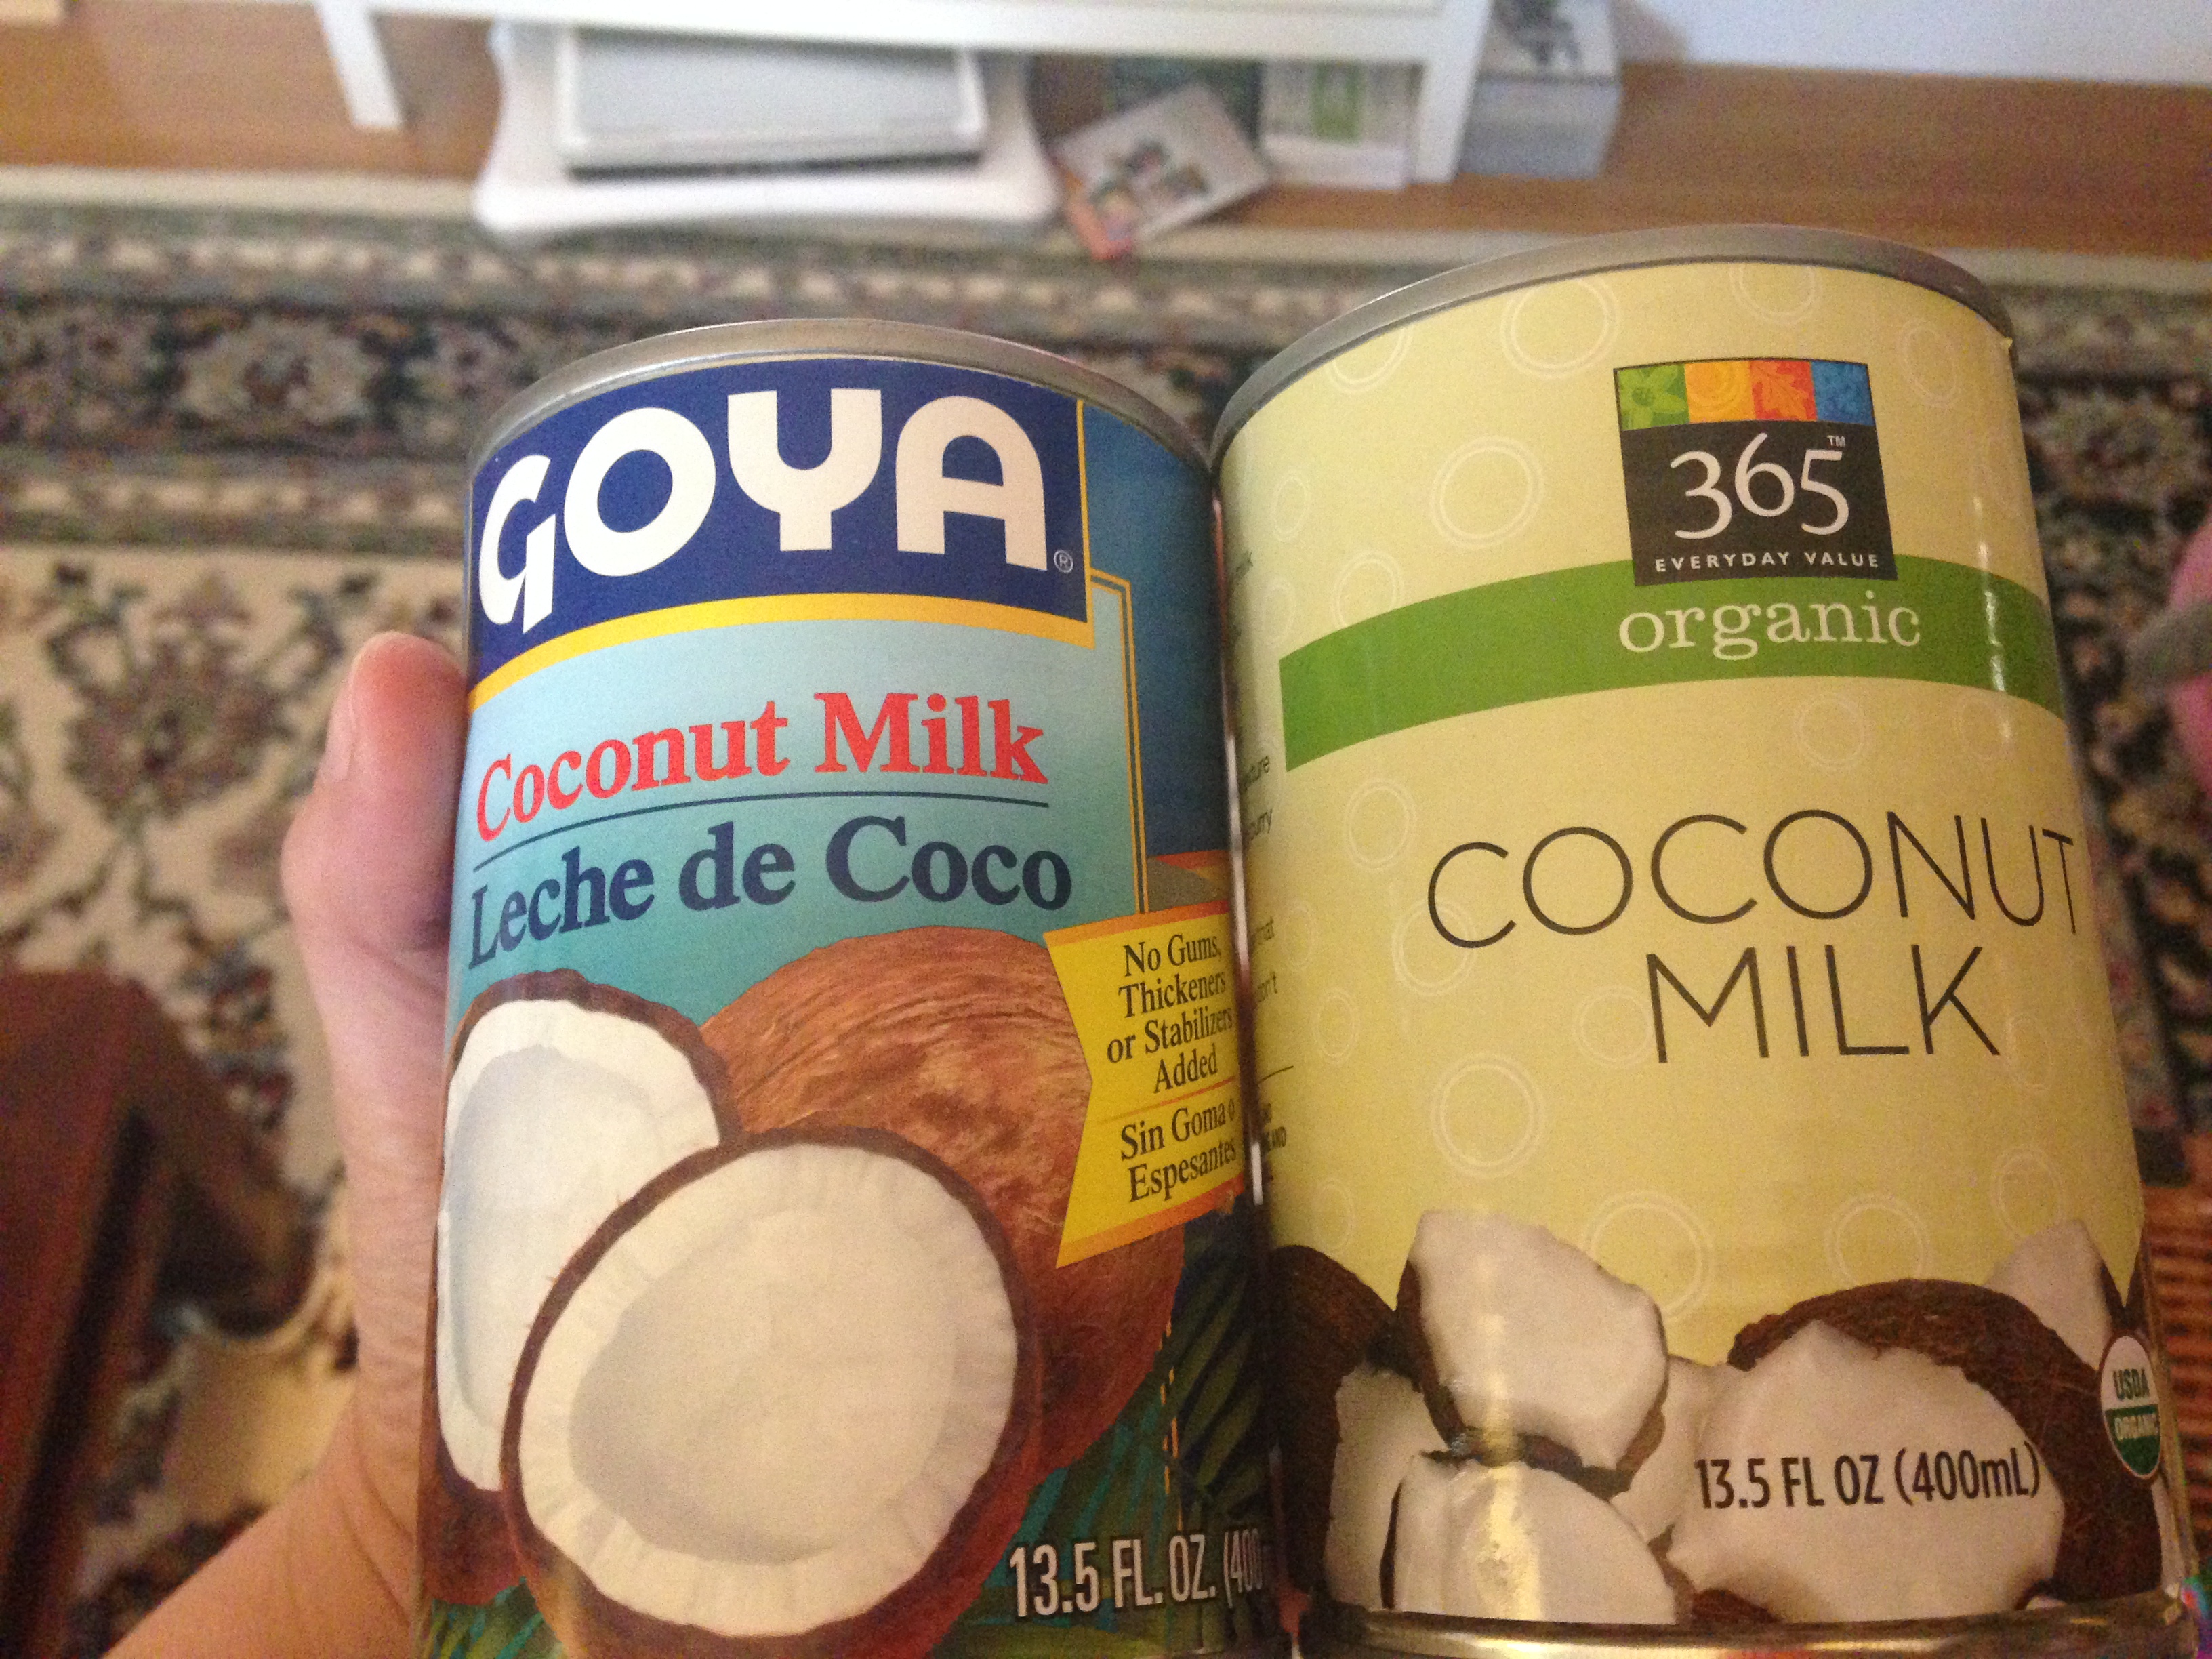
- 2 cans of Coconut Milk (refrigerated overnight or longer to separate)
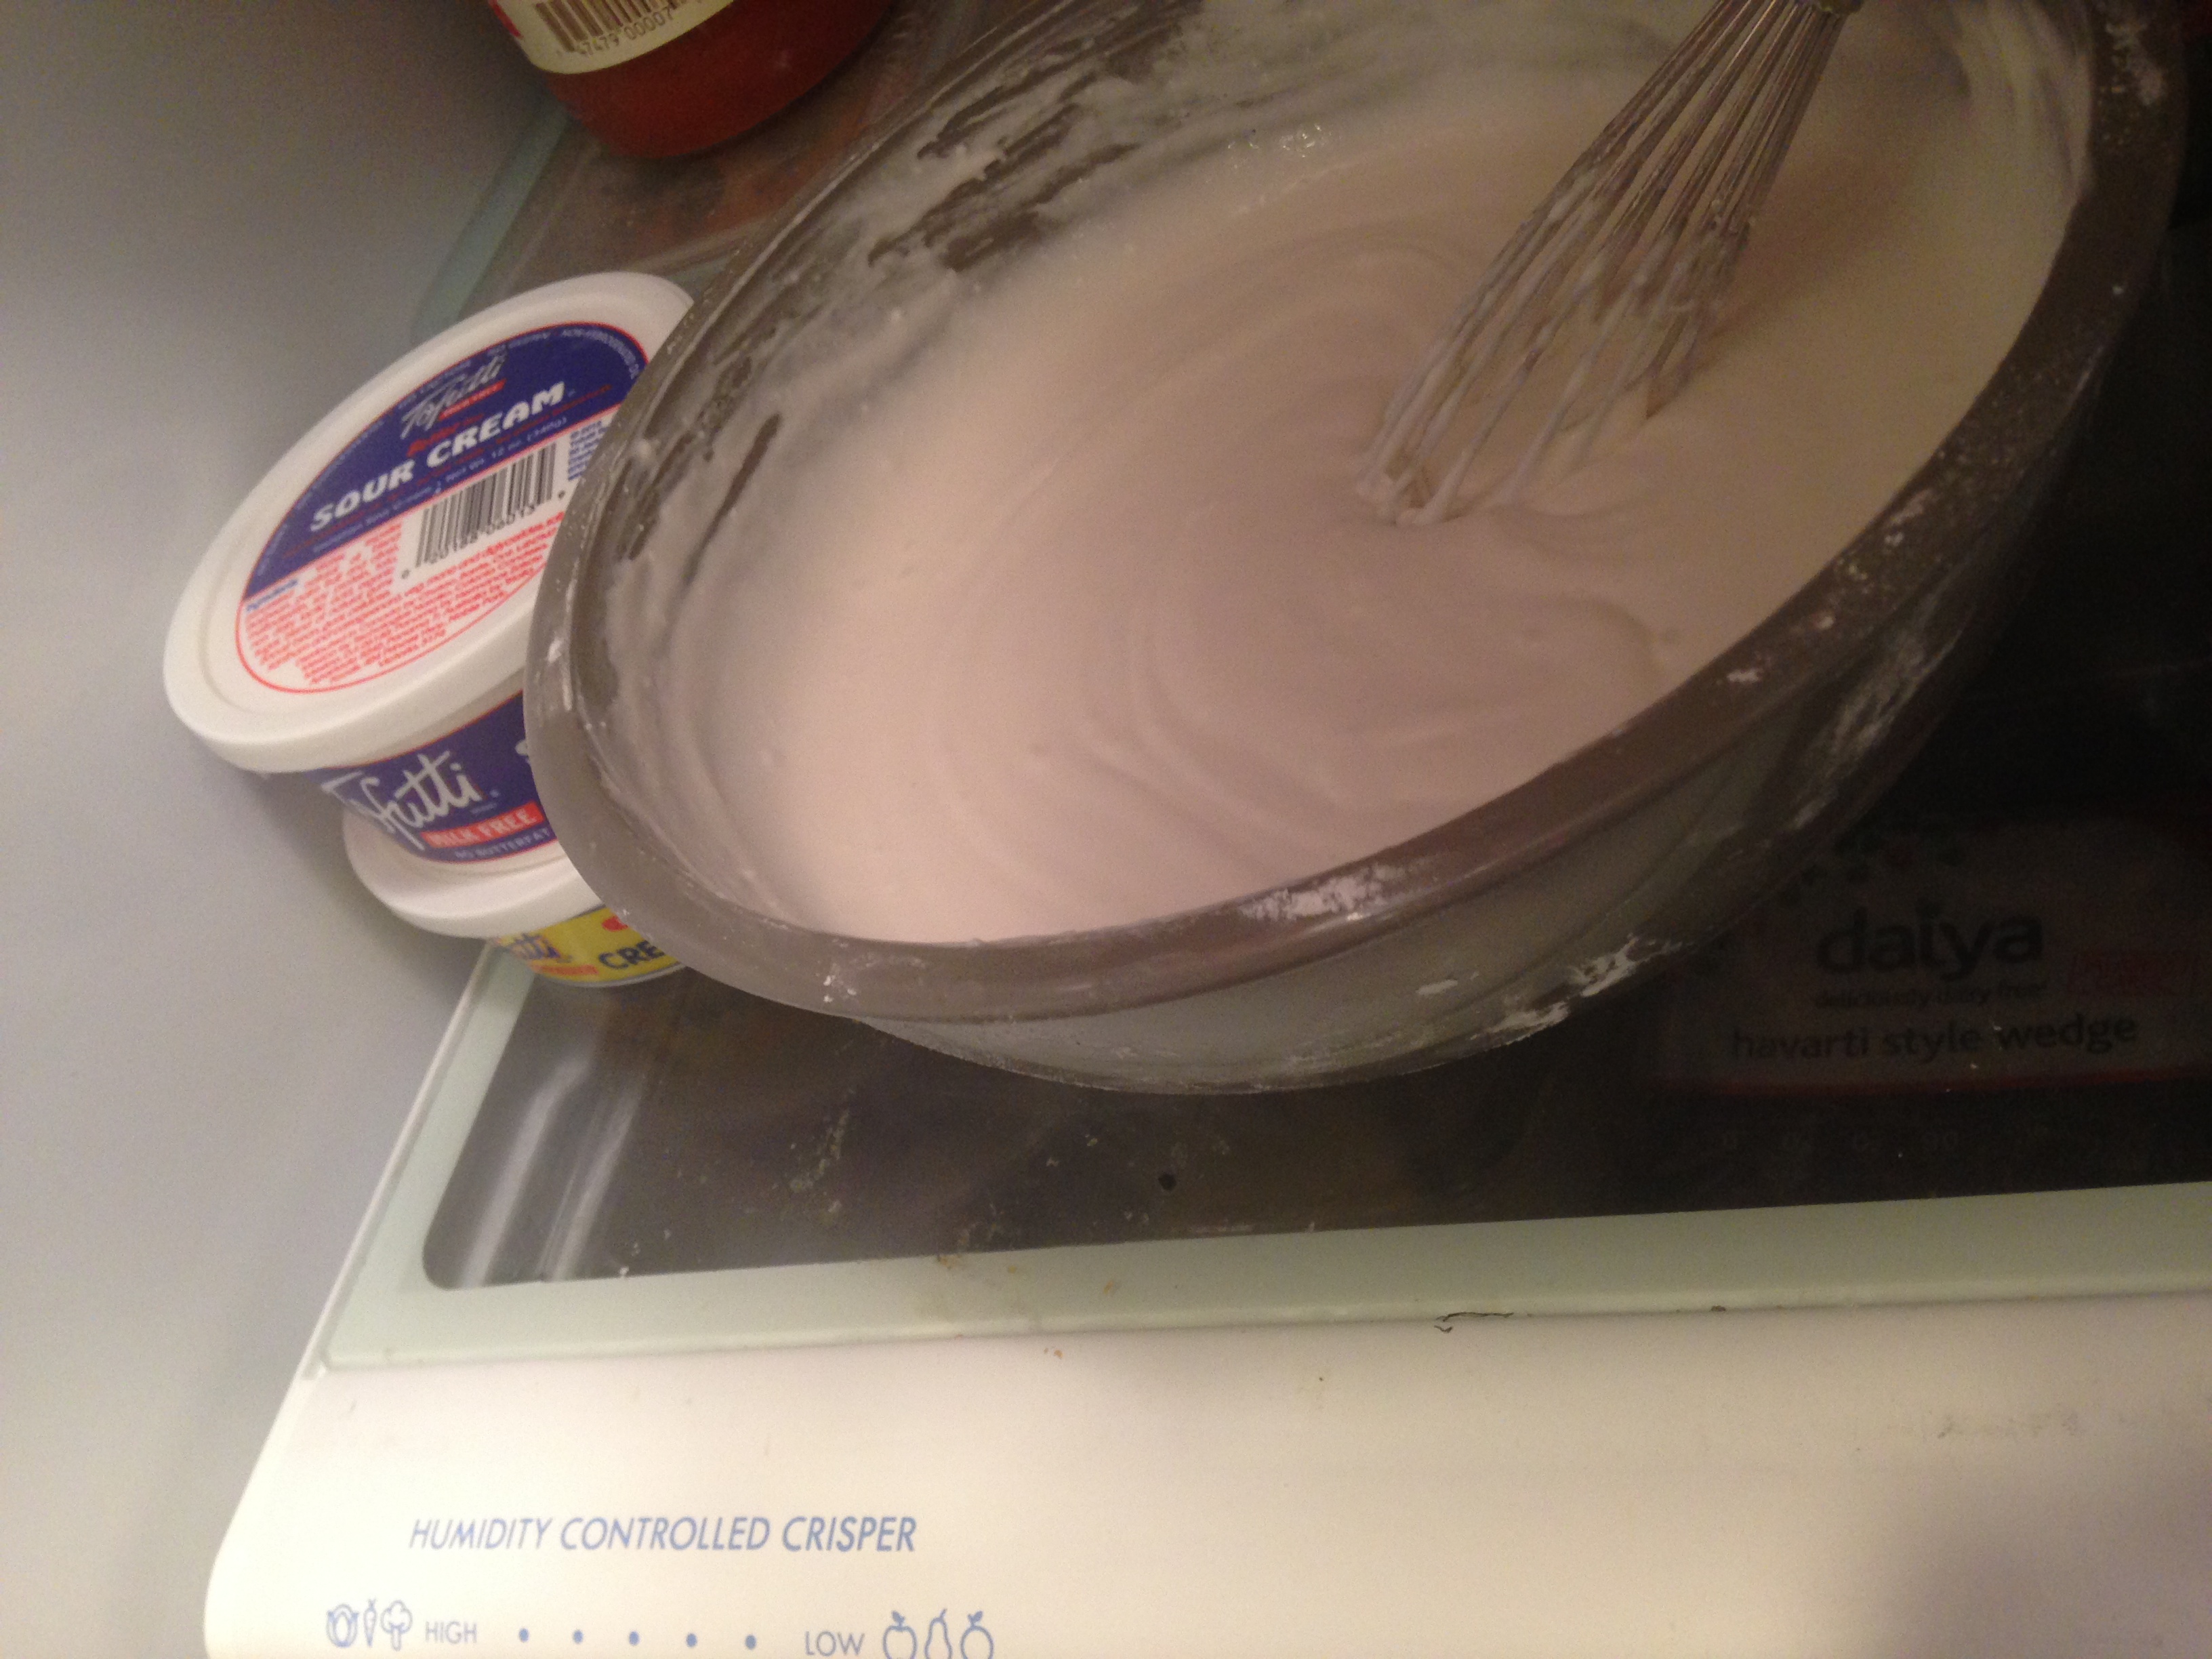
- 1 cup powdered organic vegan sugar
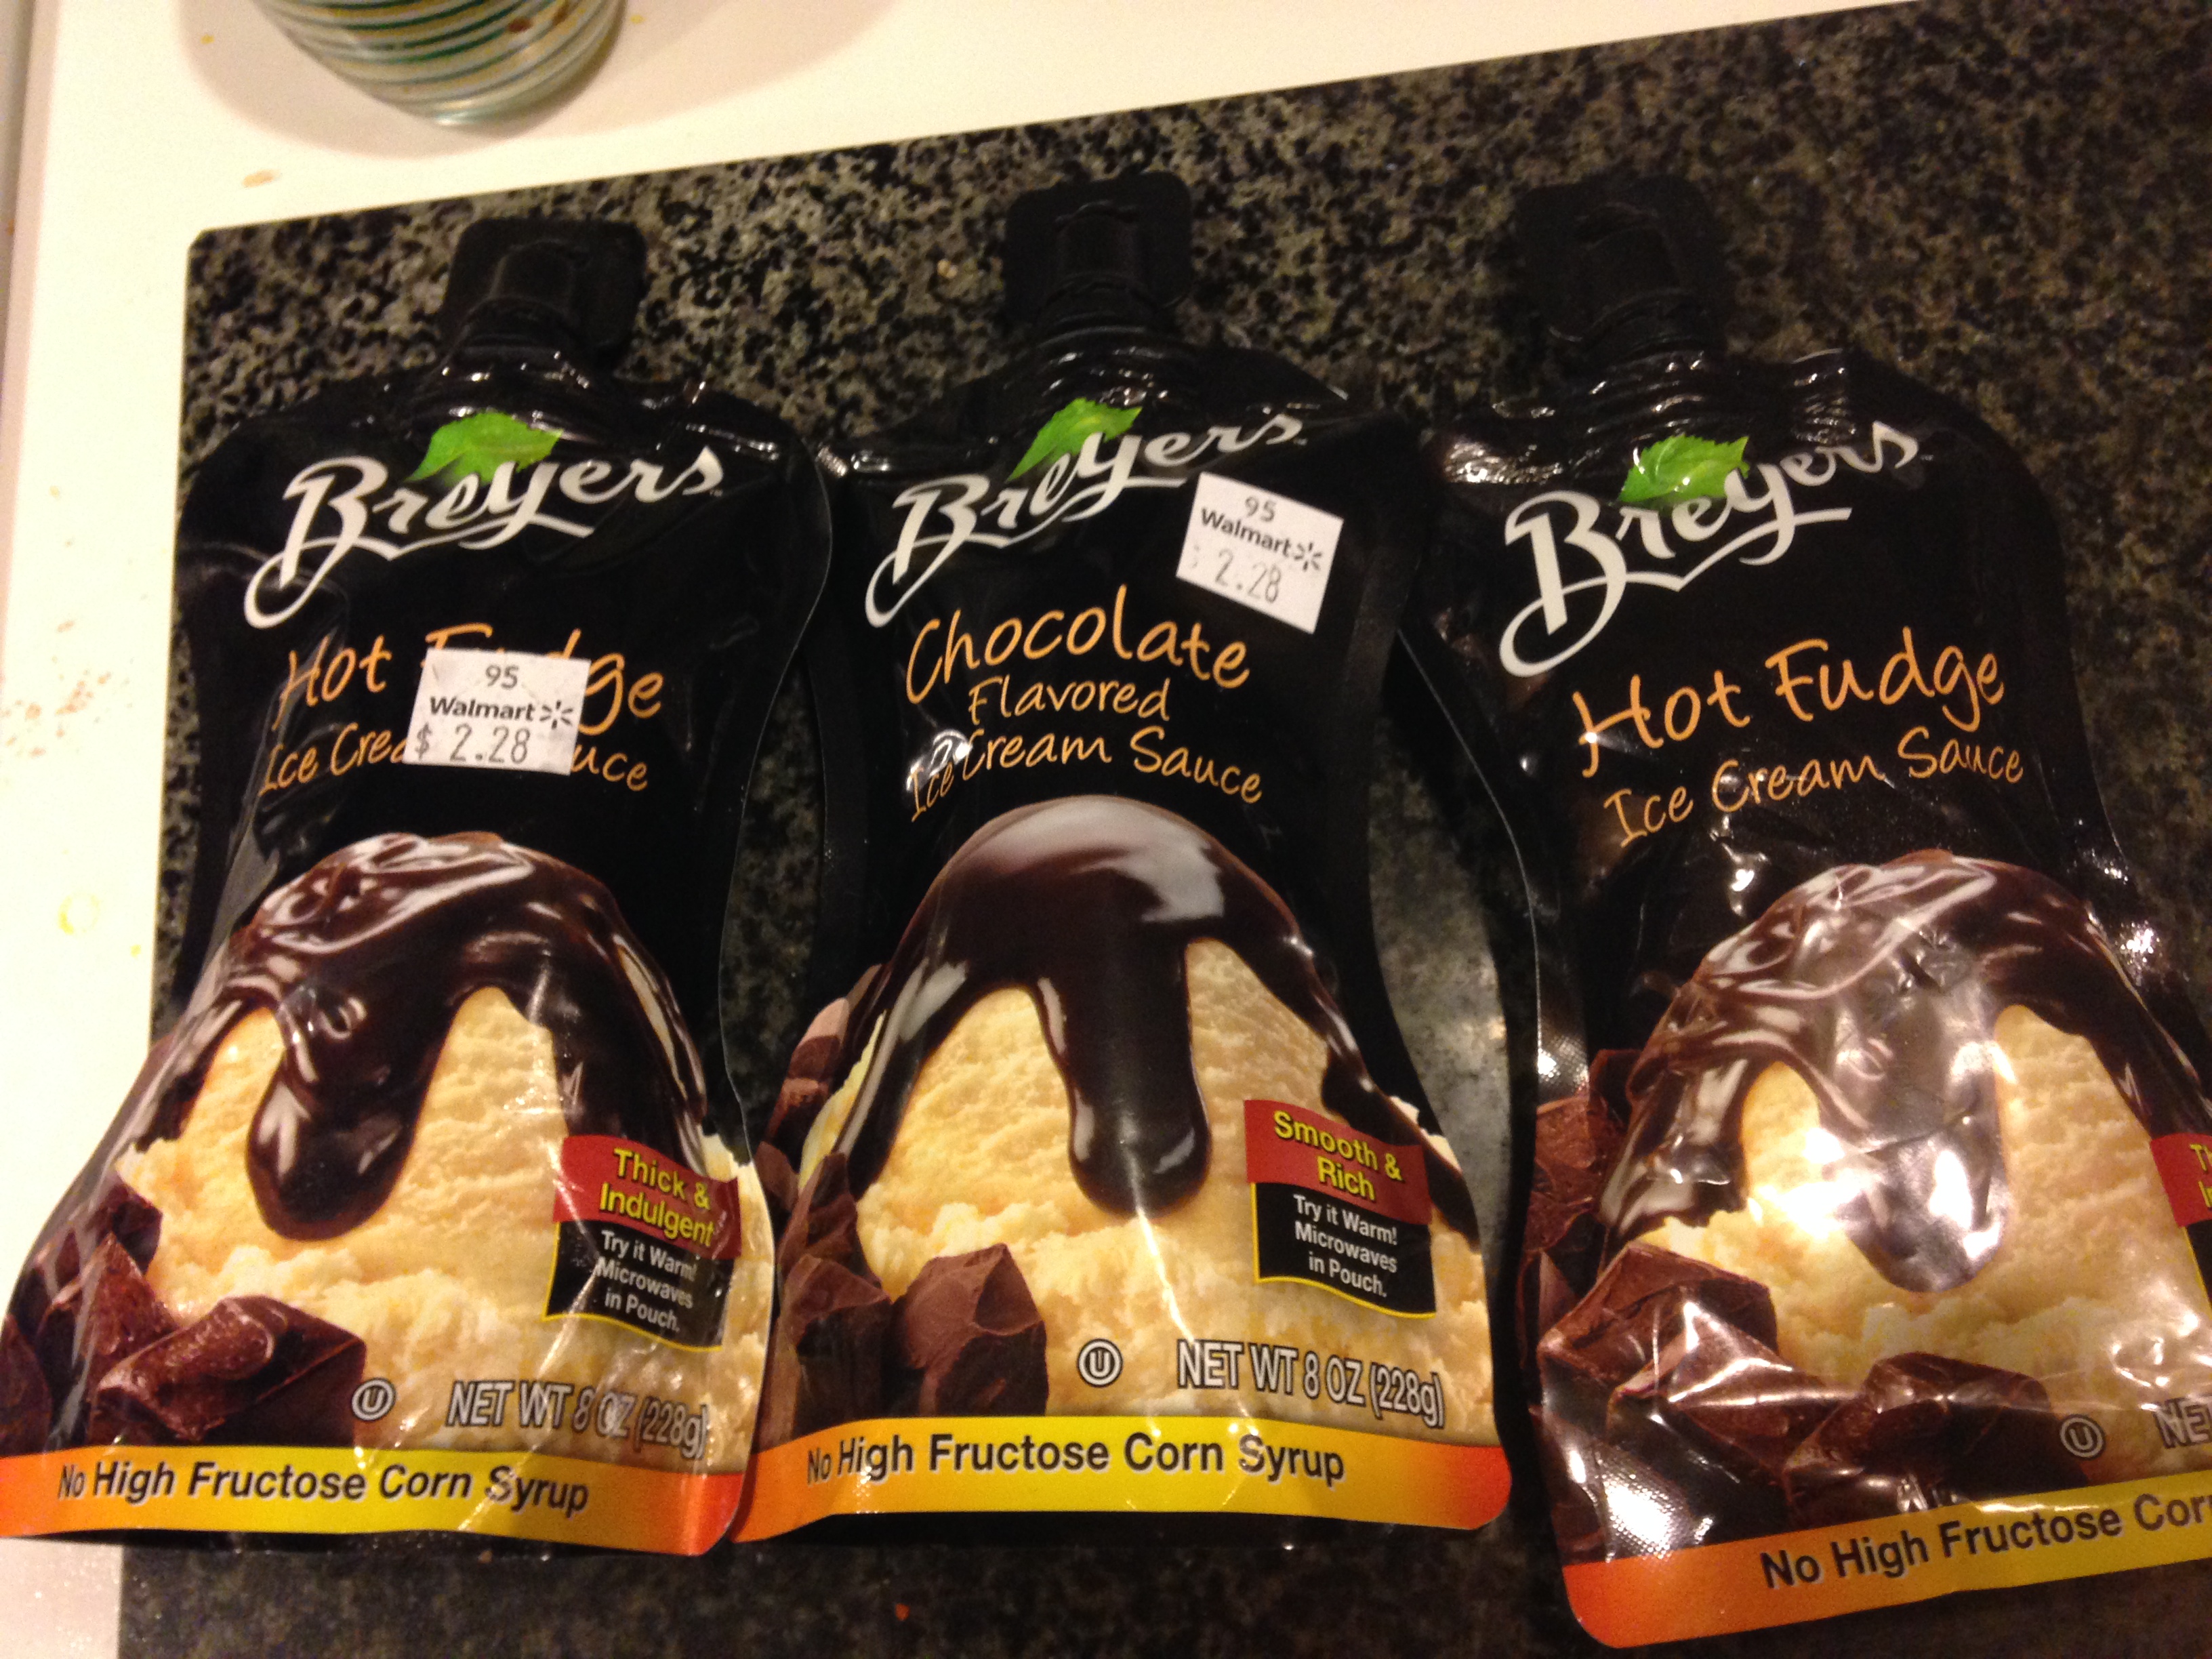
- 1 squeeze bottle of Breyer’s Hot Fudge Sauce (vegan and sold at Walmart)
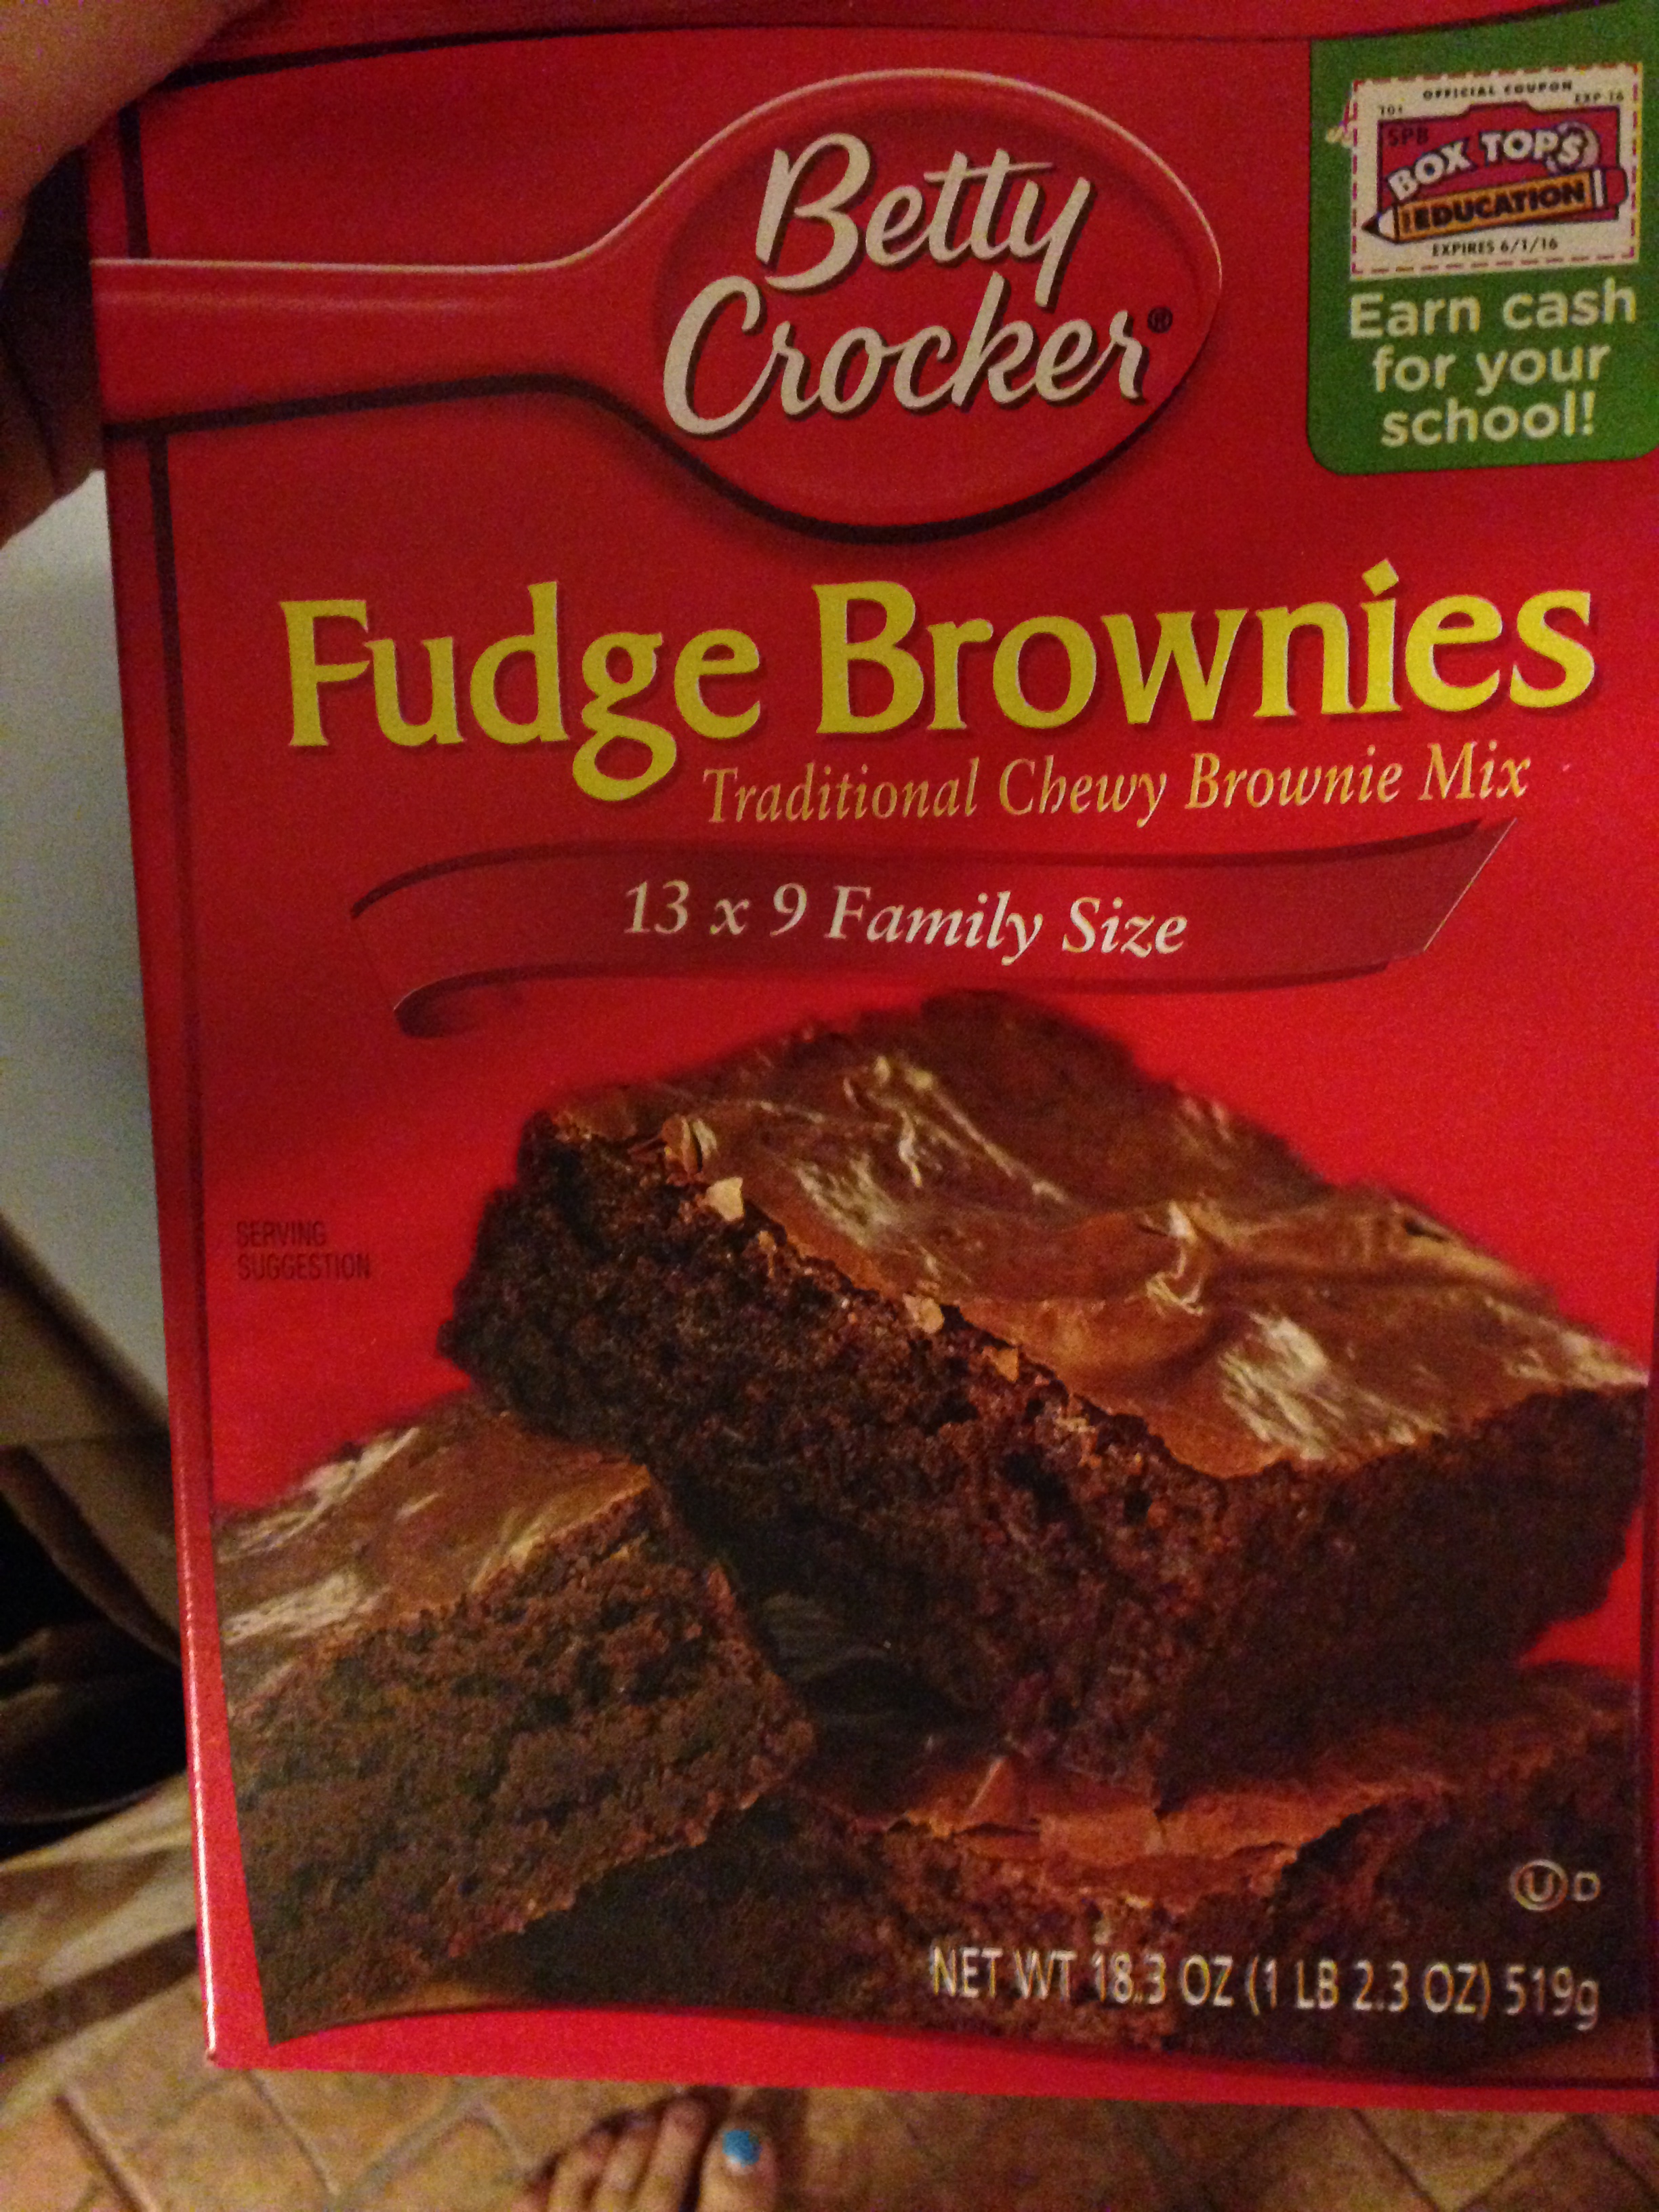
- 1 box of Fudge Brownie Mix (Betty Crocker is vegan)
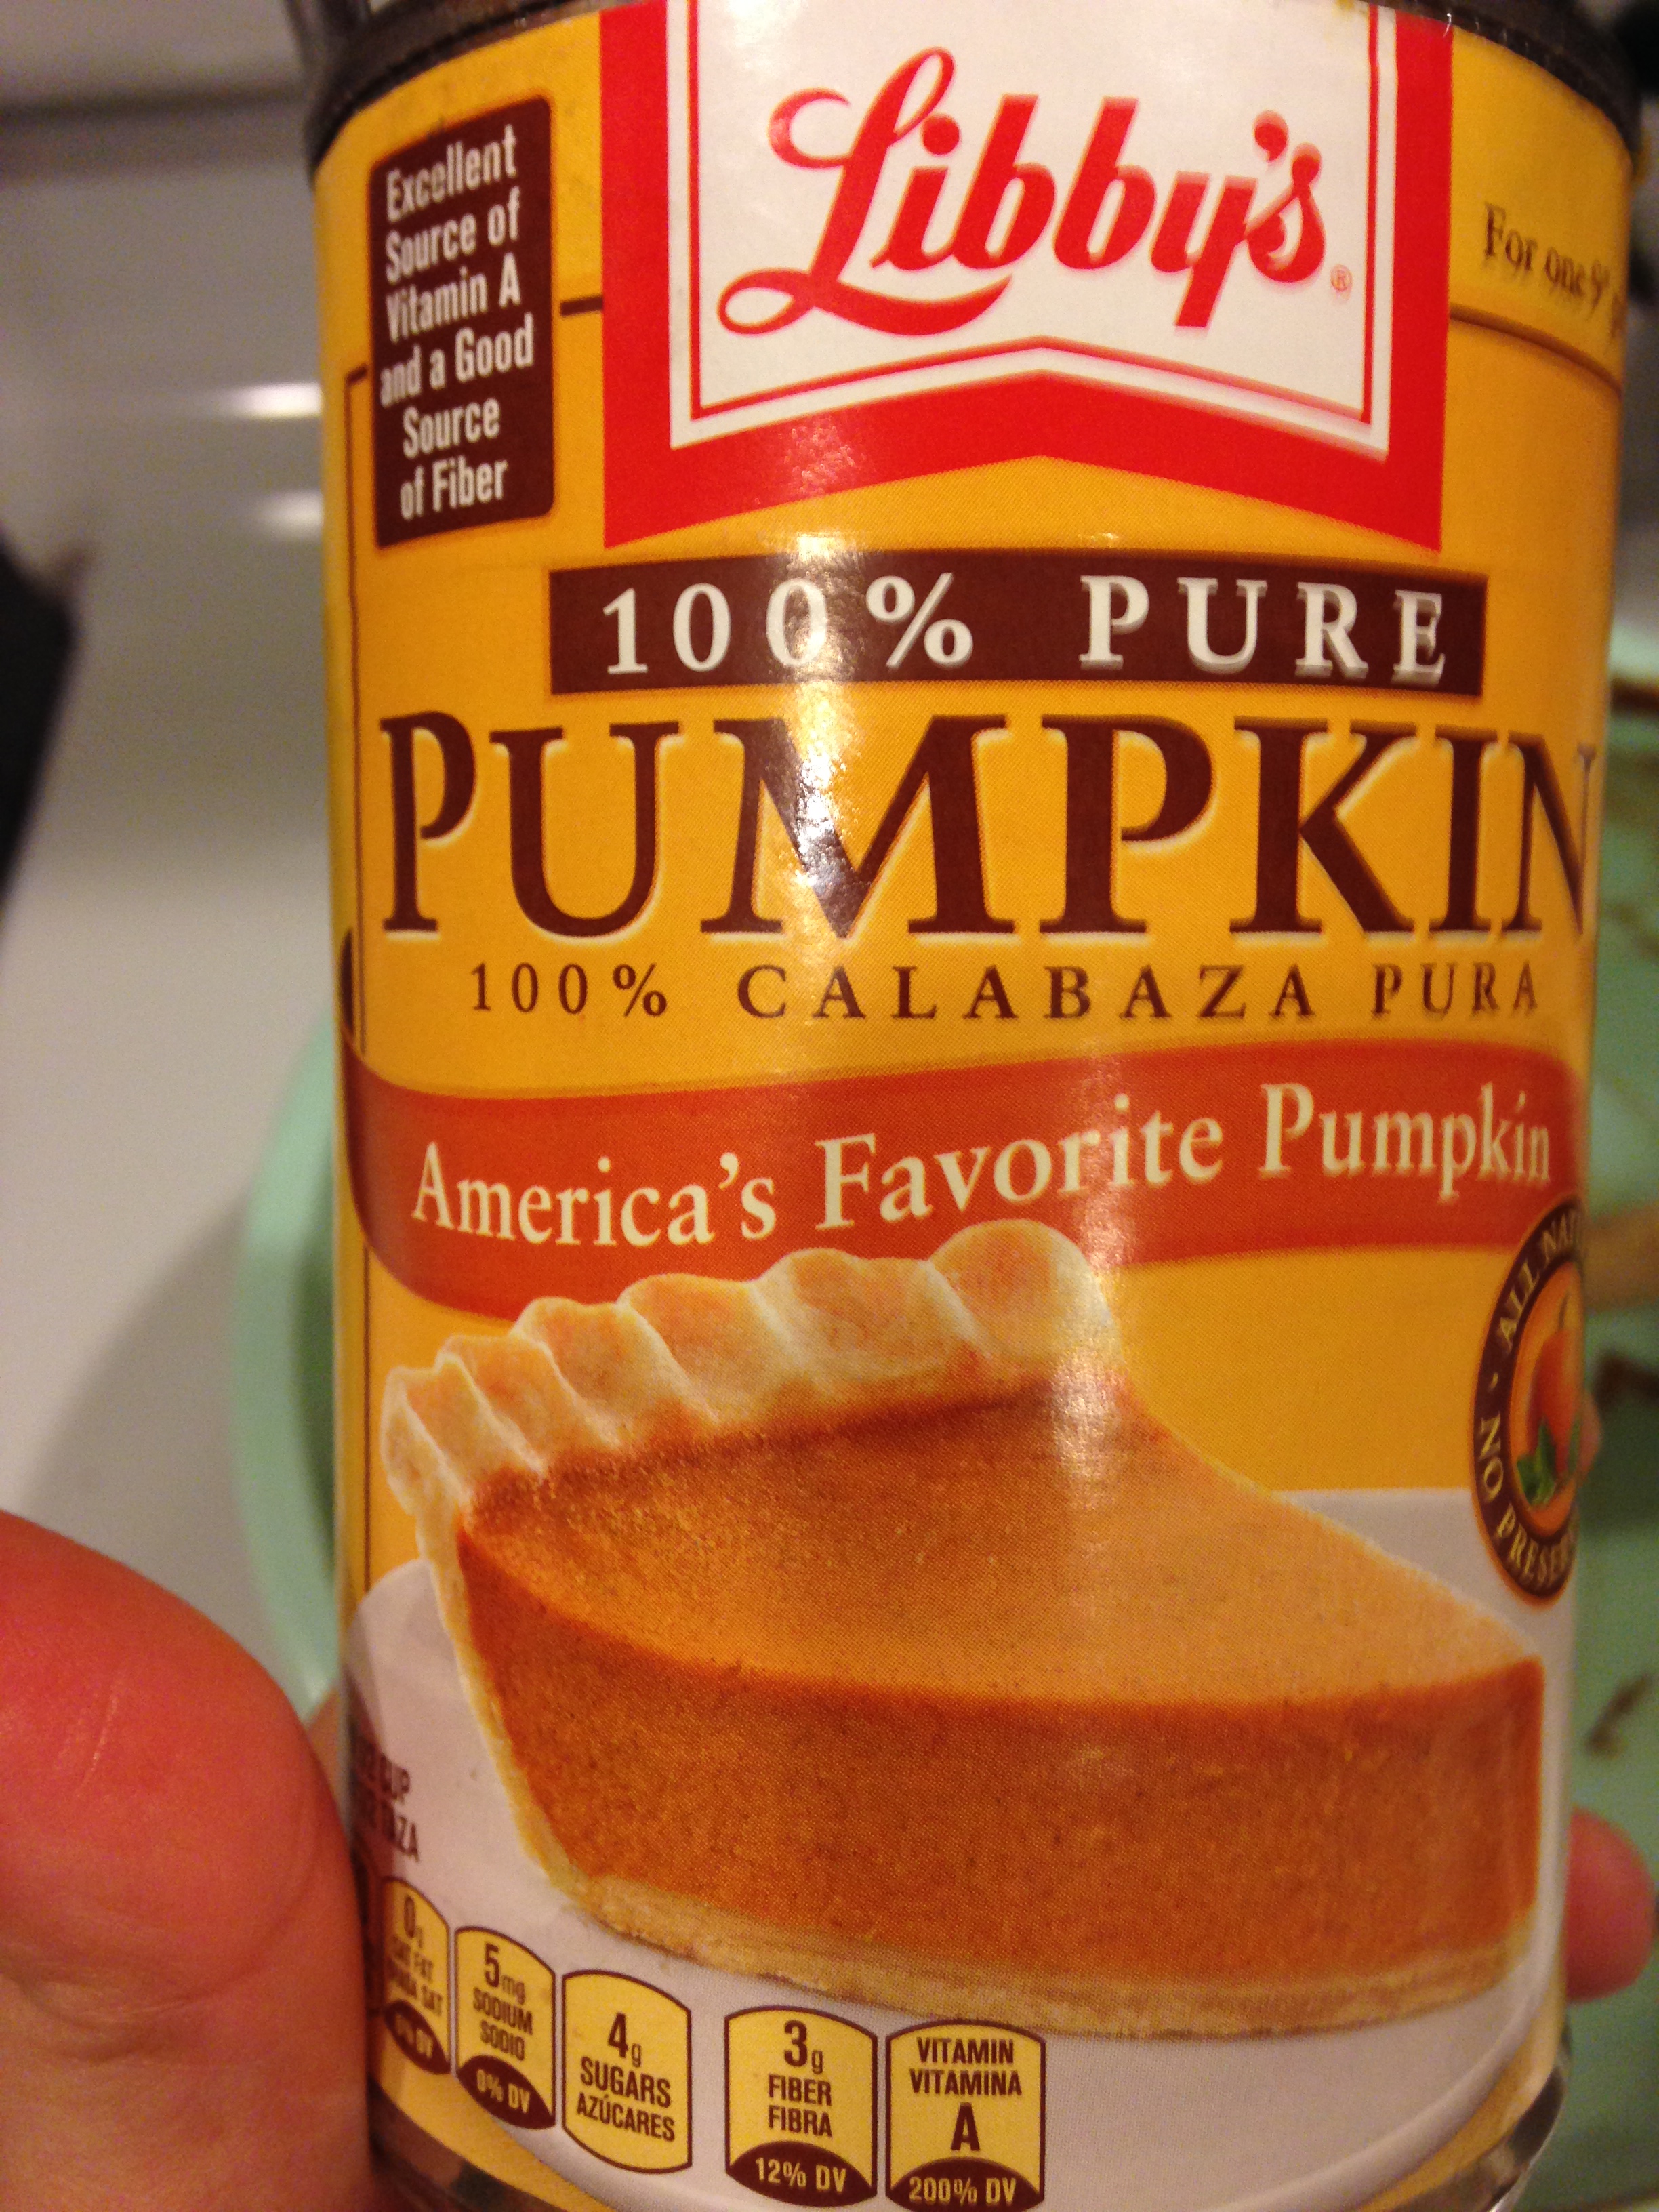
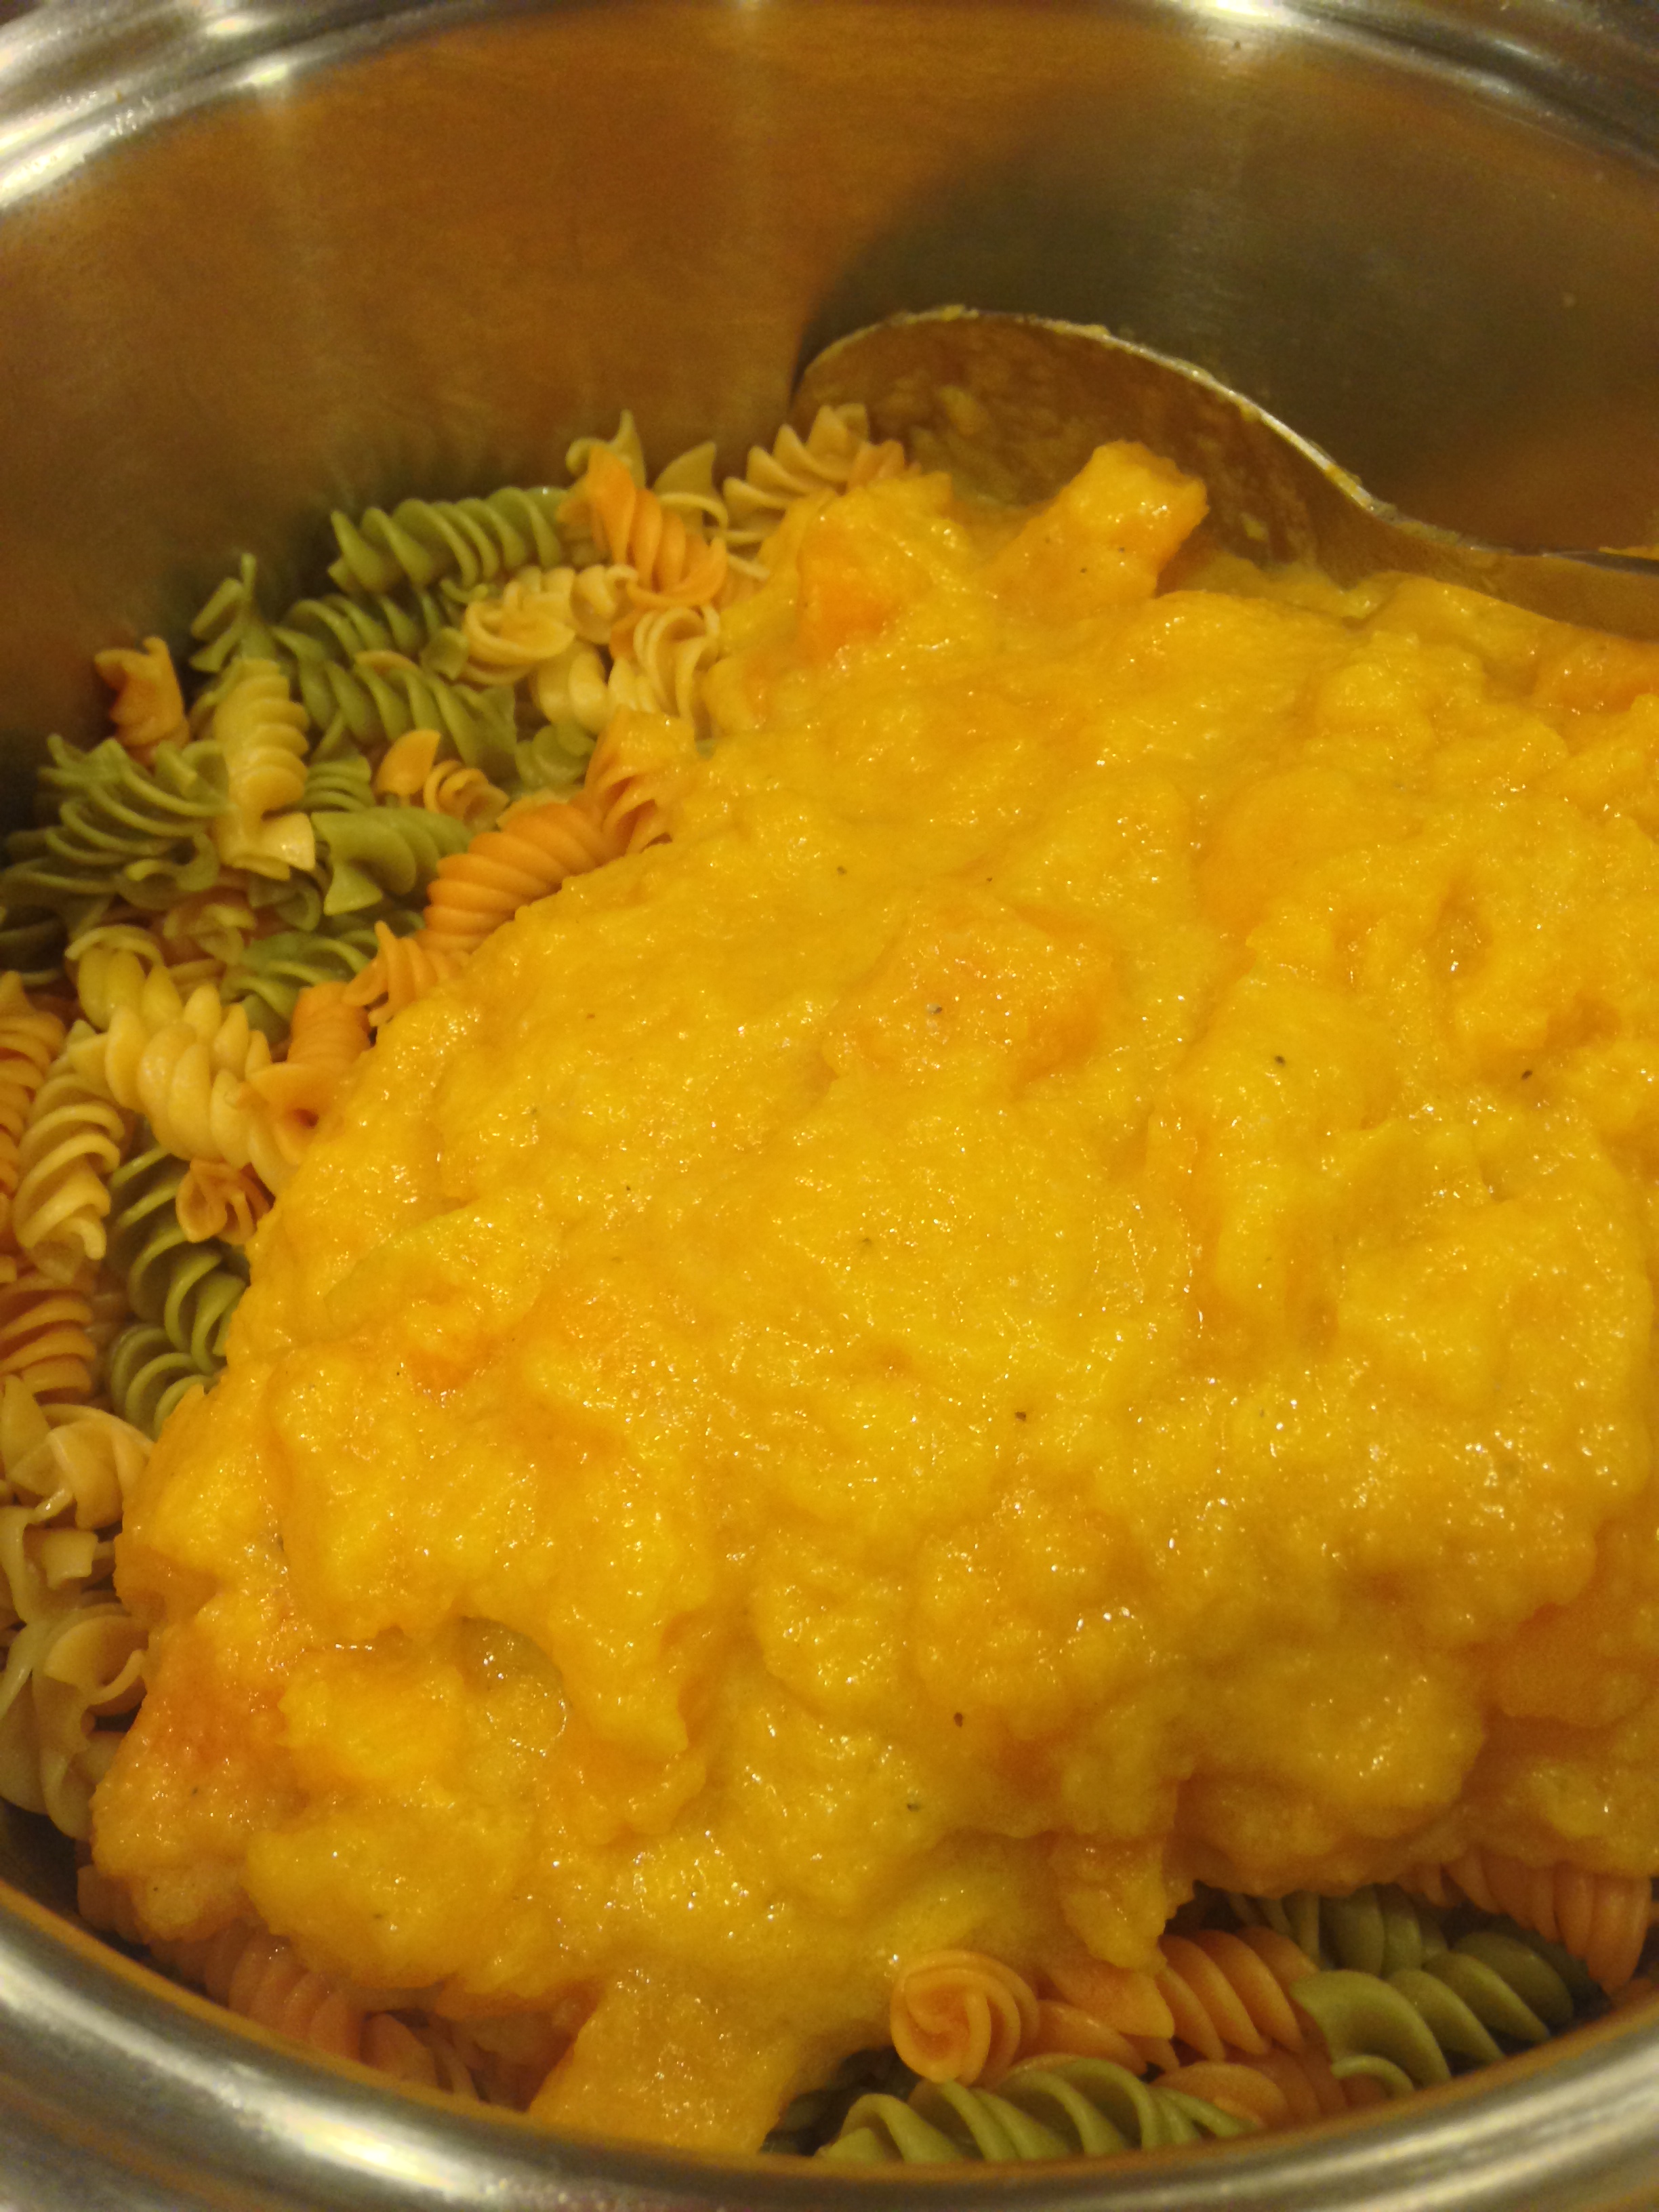
- 2 cans of pureed pumpkin
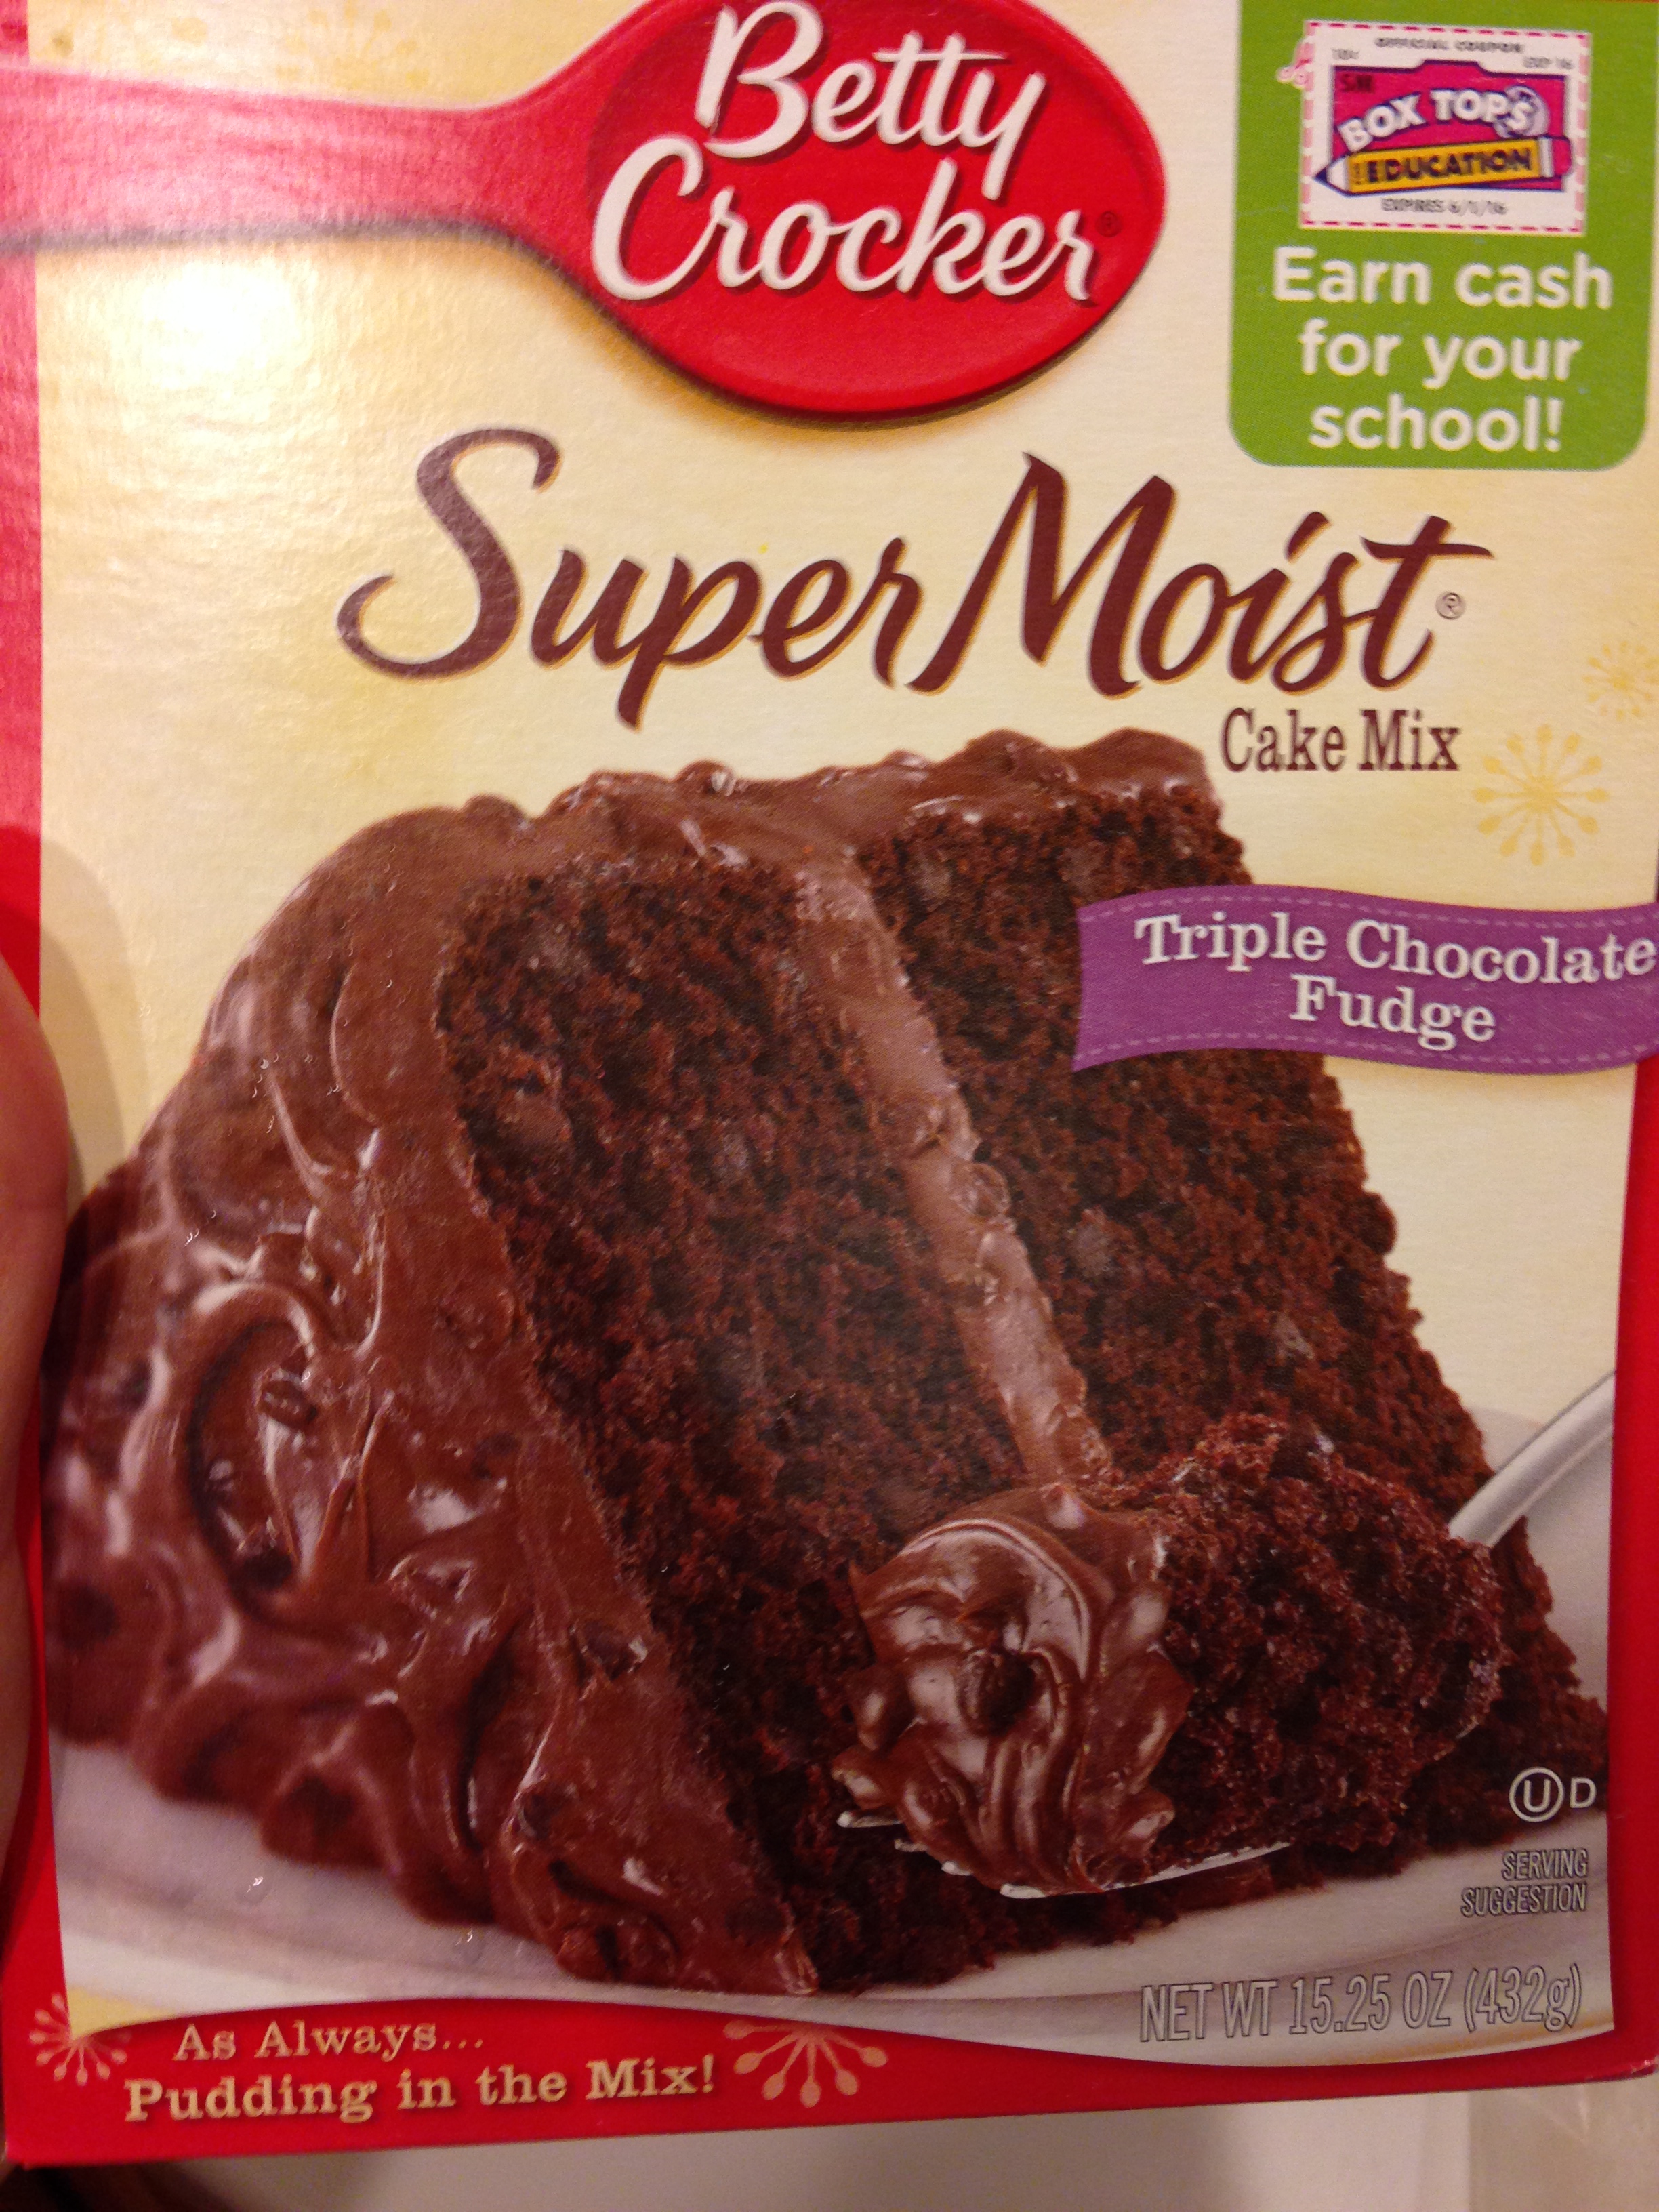
- 1 box Chocolate Cake Mix (many vegan varieties are available)
- 1 package of graham crackers
______________________________________________________________________________________________________
Preparation:
- Preheat your oven to 350 degrees.

- Get out (2) medium mixing bowls.
- Get 1 smaller pie pan and 1 regular sized cake pan.
- Get out your trifle container.

- Spray cake and pie pan with Coconut Oil spray or some Pam-type equivalent of canola oil.
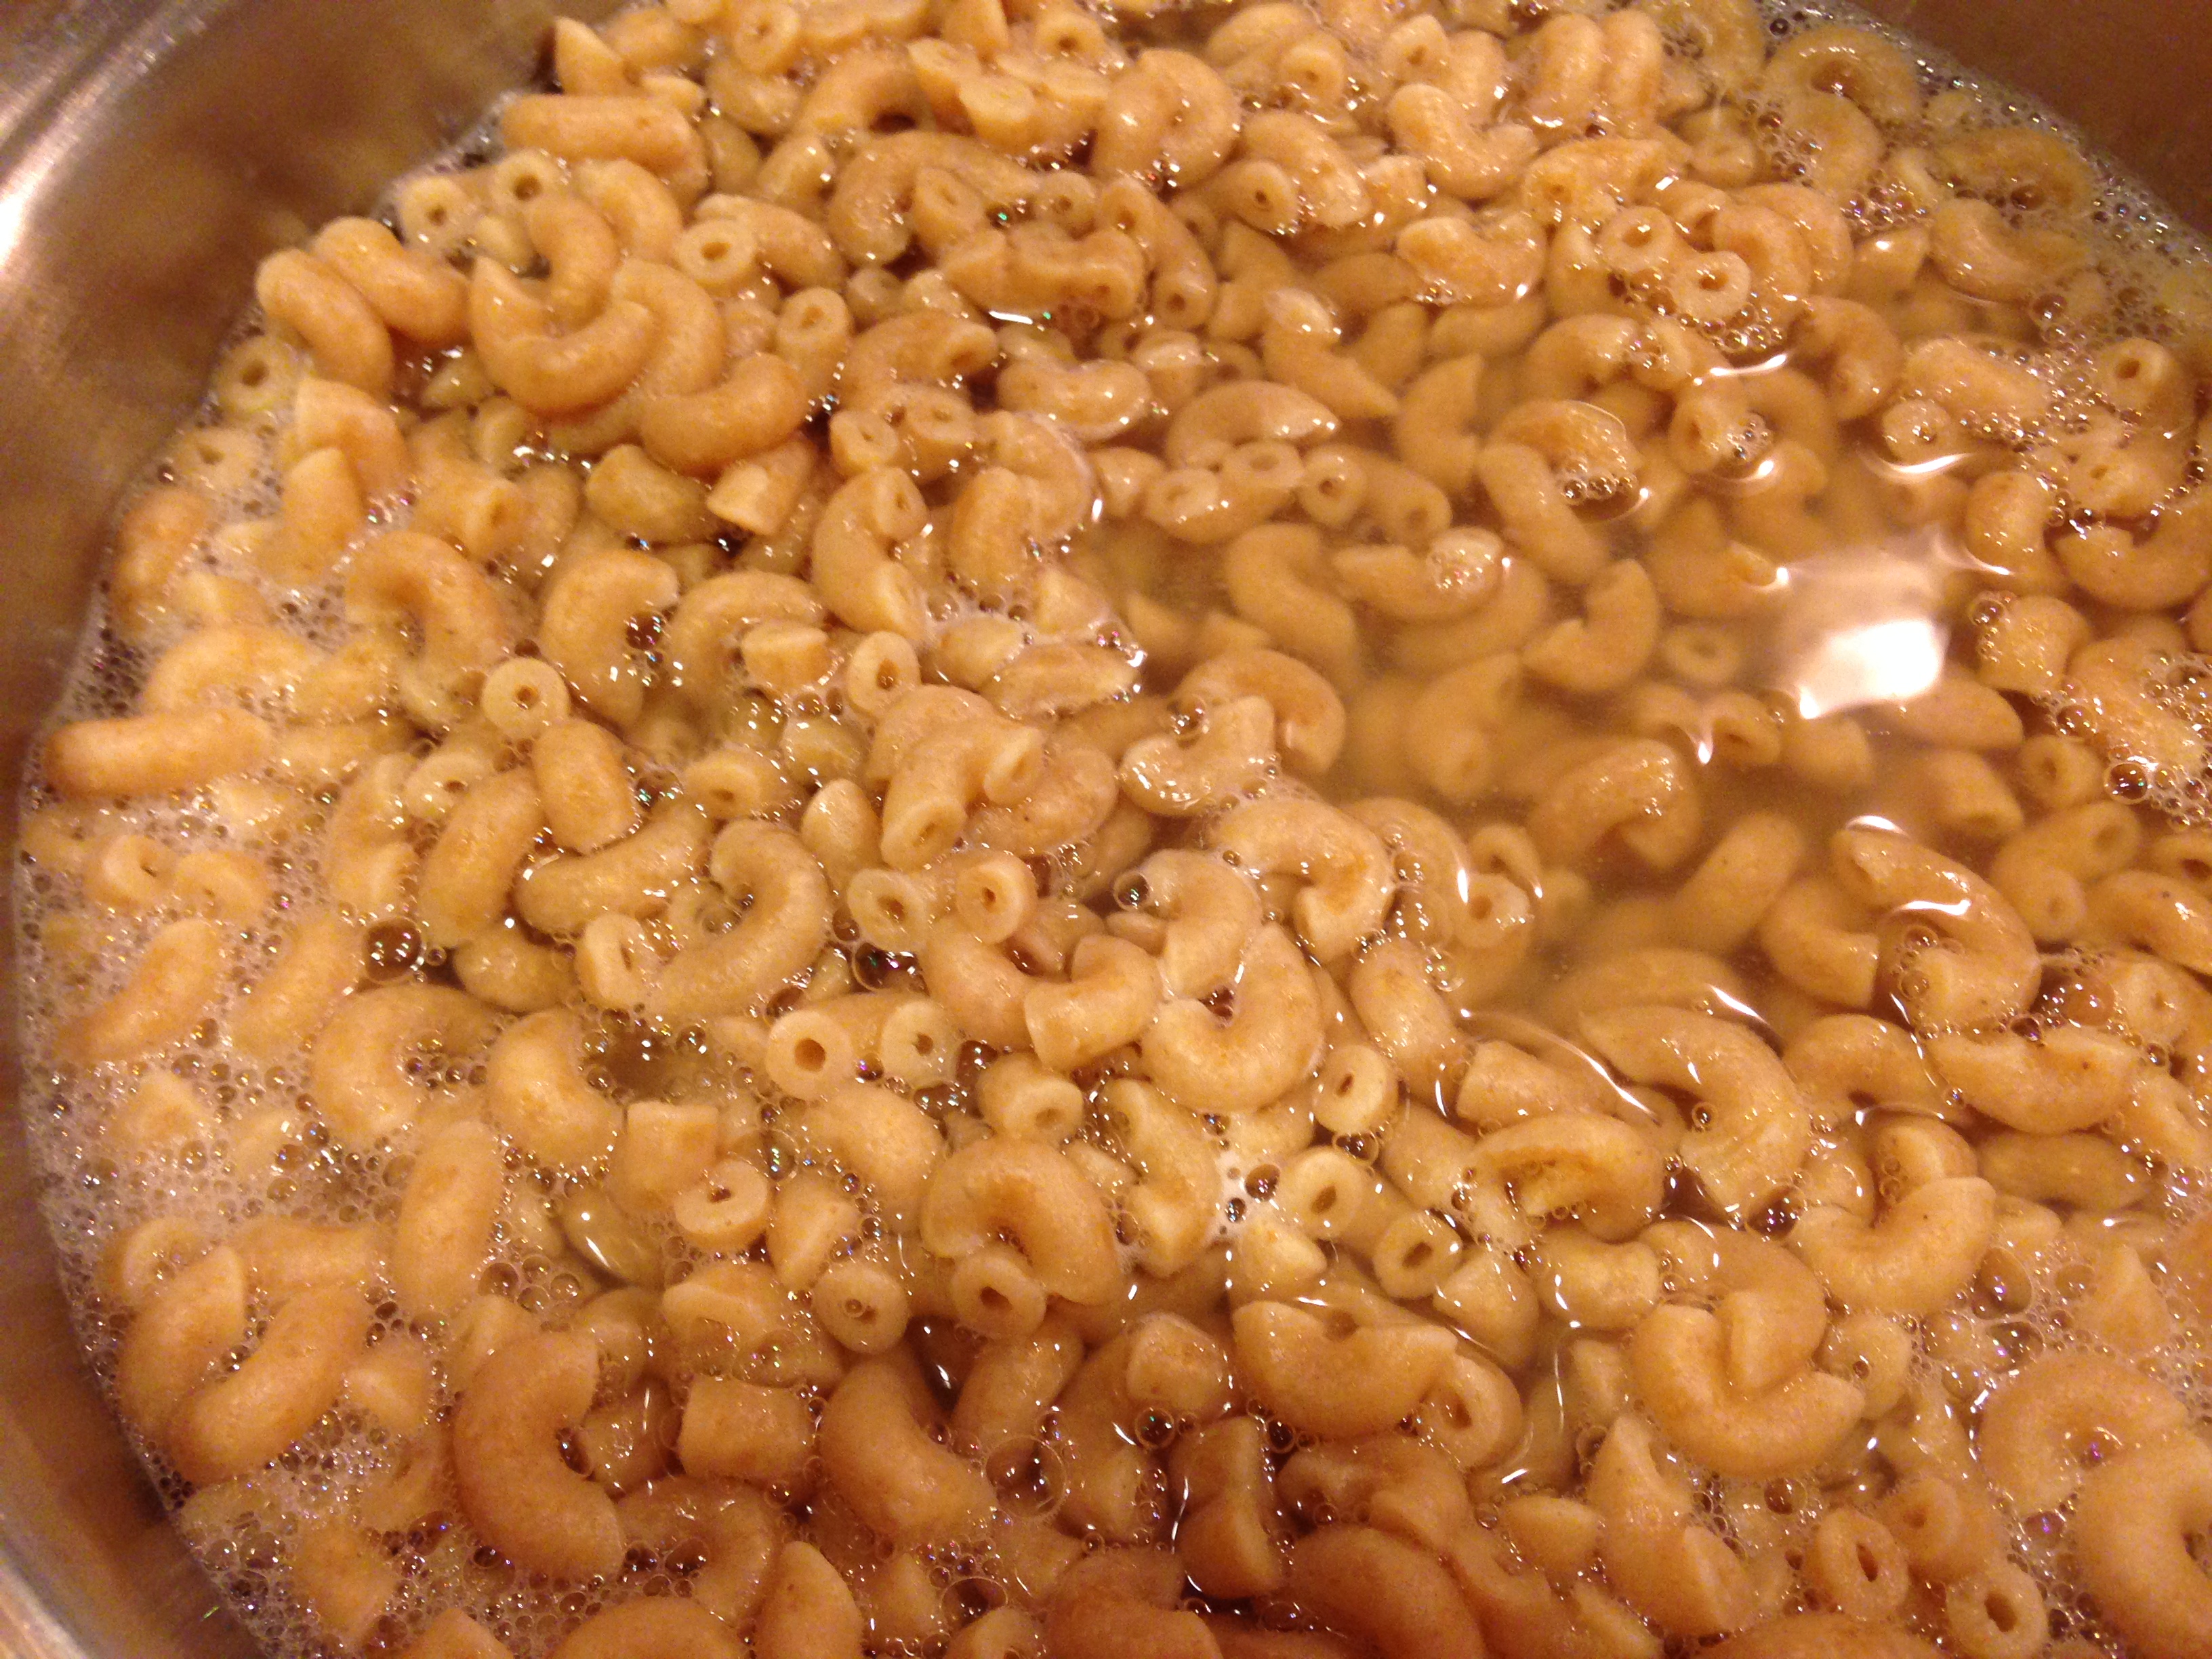
- Open cans of coconut milk and slowly remove top layer of coconut milk fat and leave coconut water at the bottom. Try to remove as little wet material as possible. Place in one mixing bowl with cream cheese. Mix until combined well. Sift in powdered sugar with a sieve or squeeze sifter. I use a plastic $1.99 sieve I got at the Chinese grocery store and it works great. No need for anything fancy! Place bowl of cream in refrigerator.


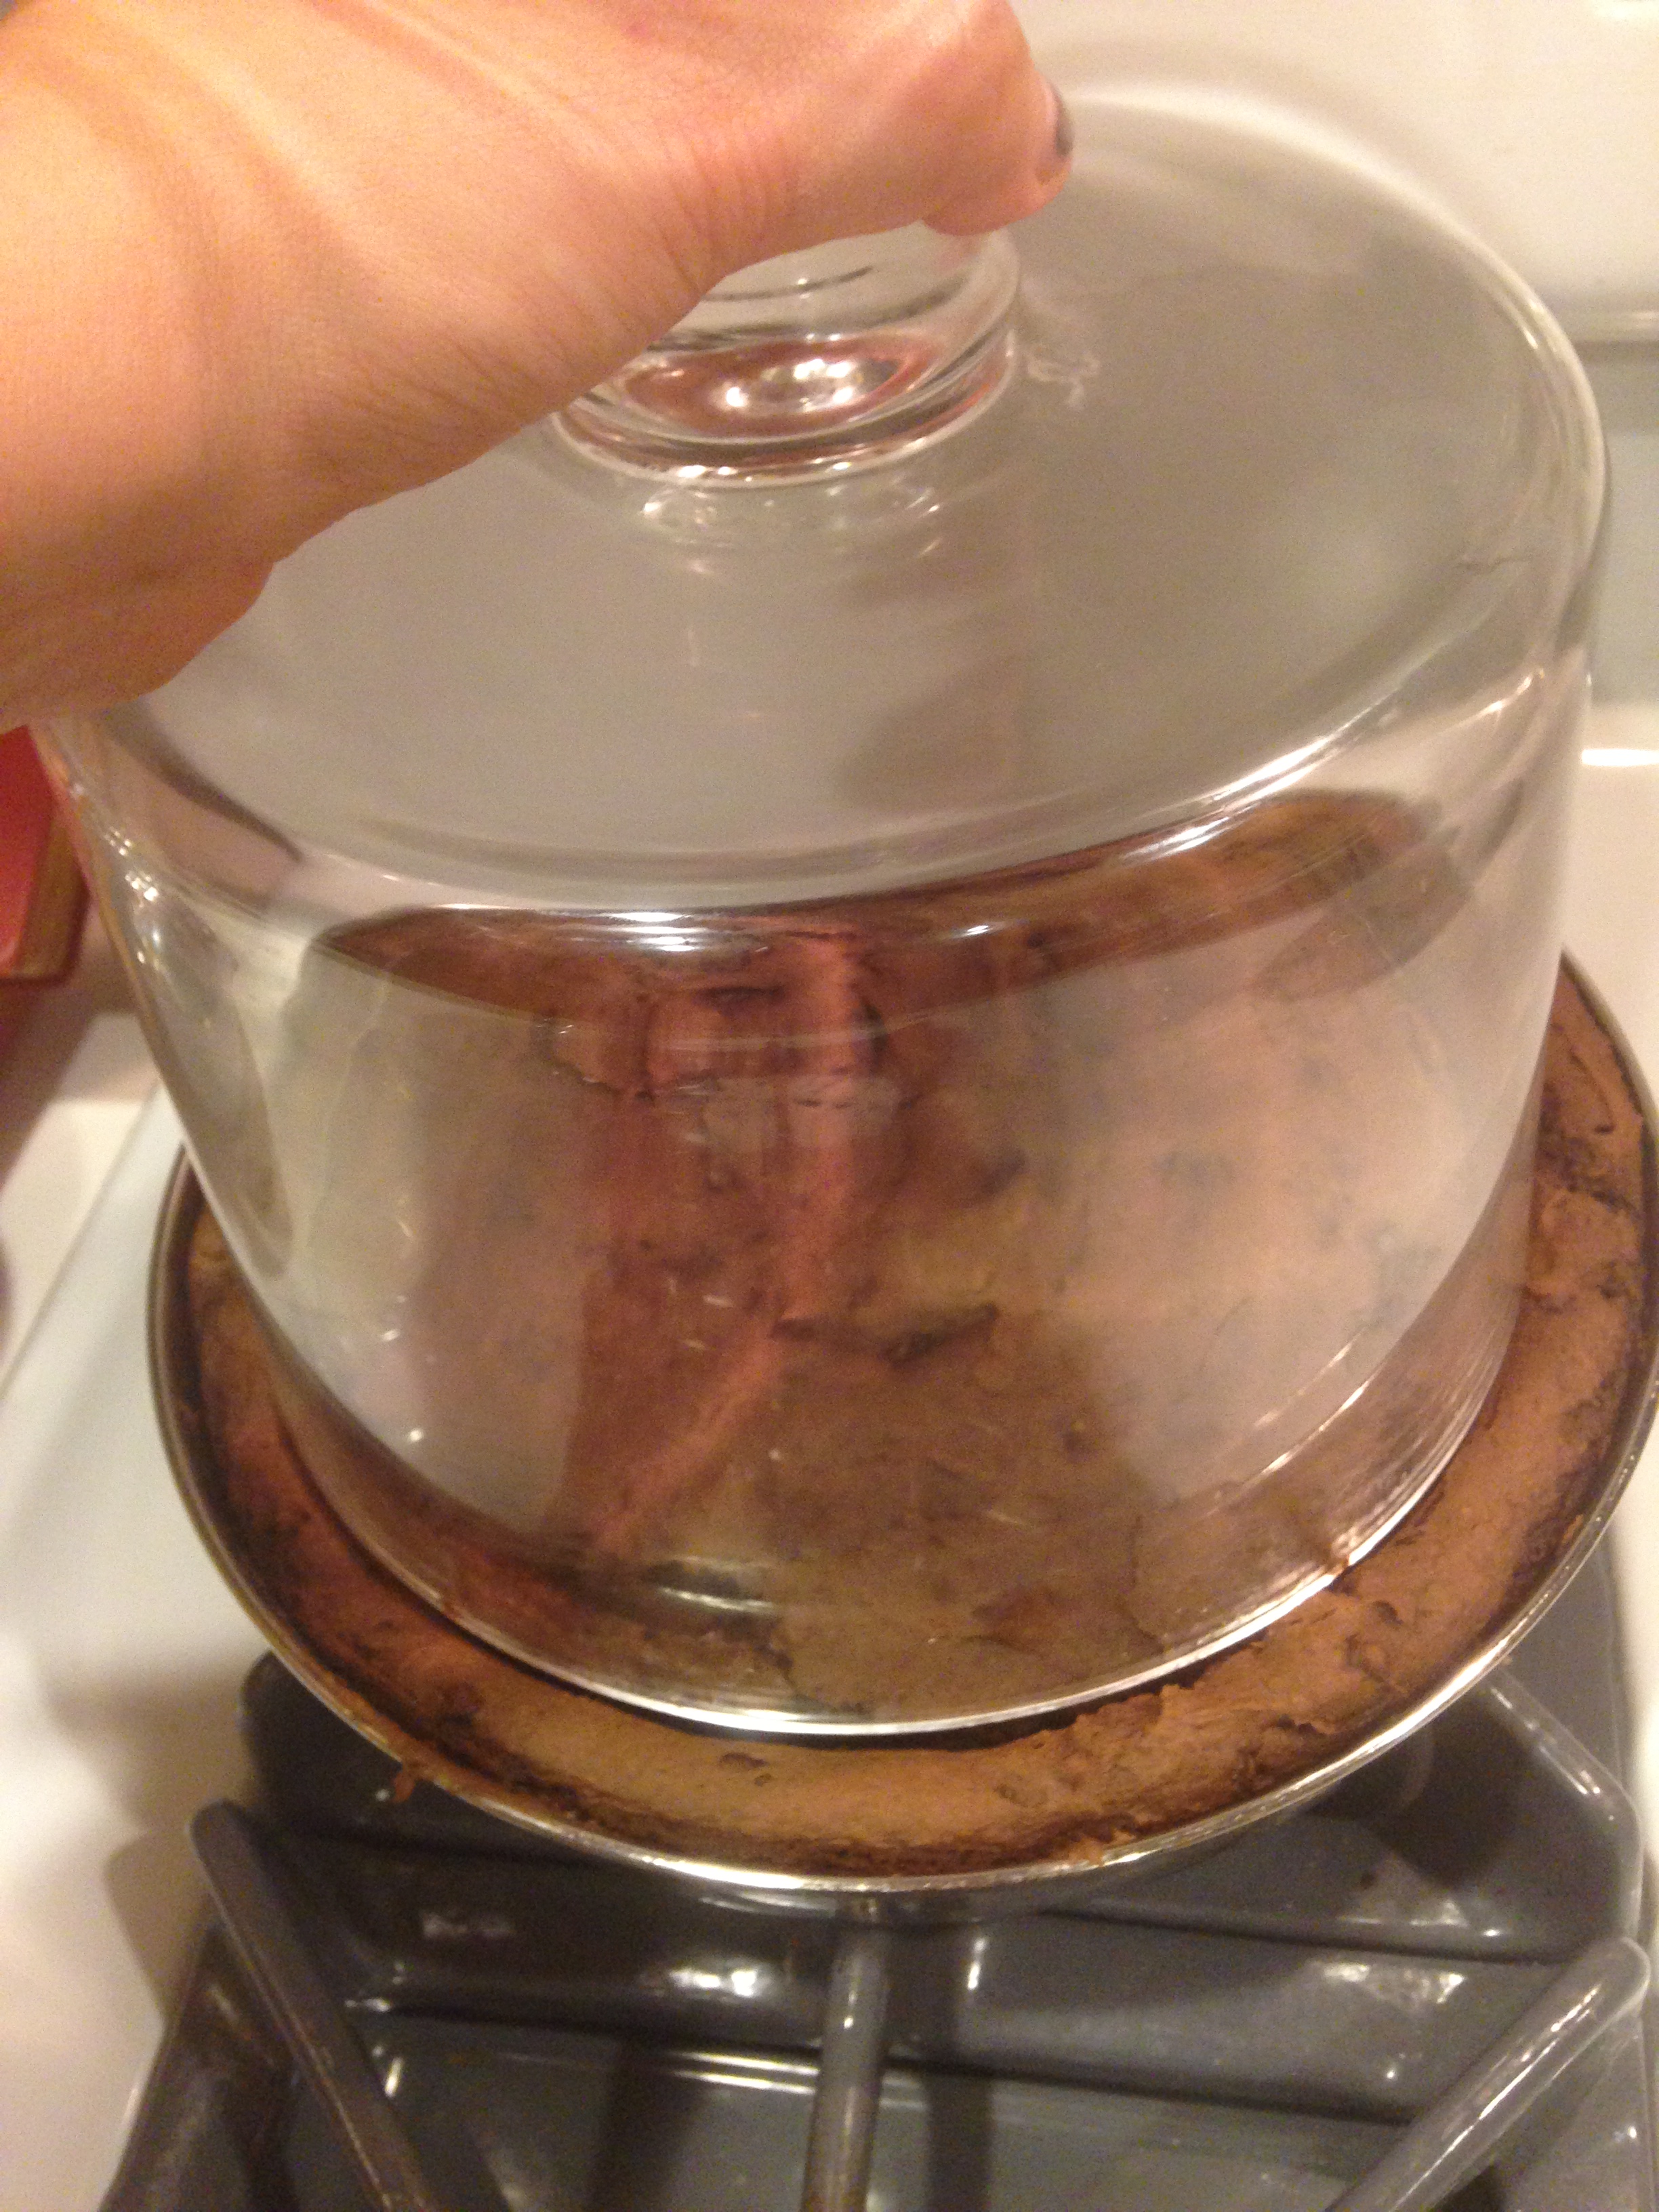
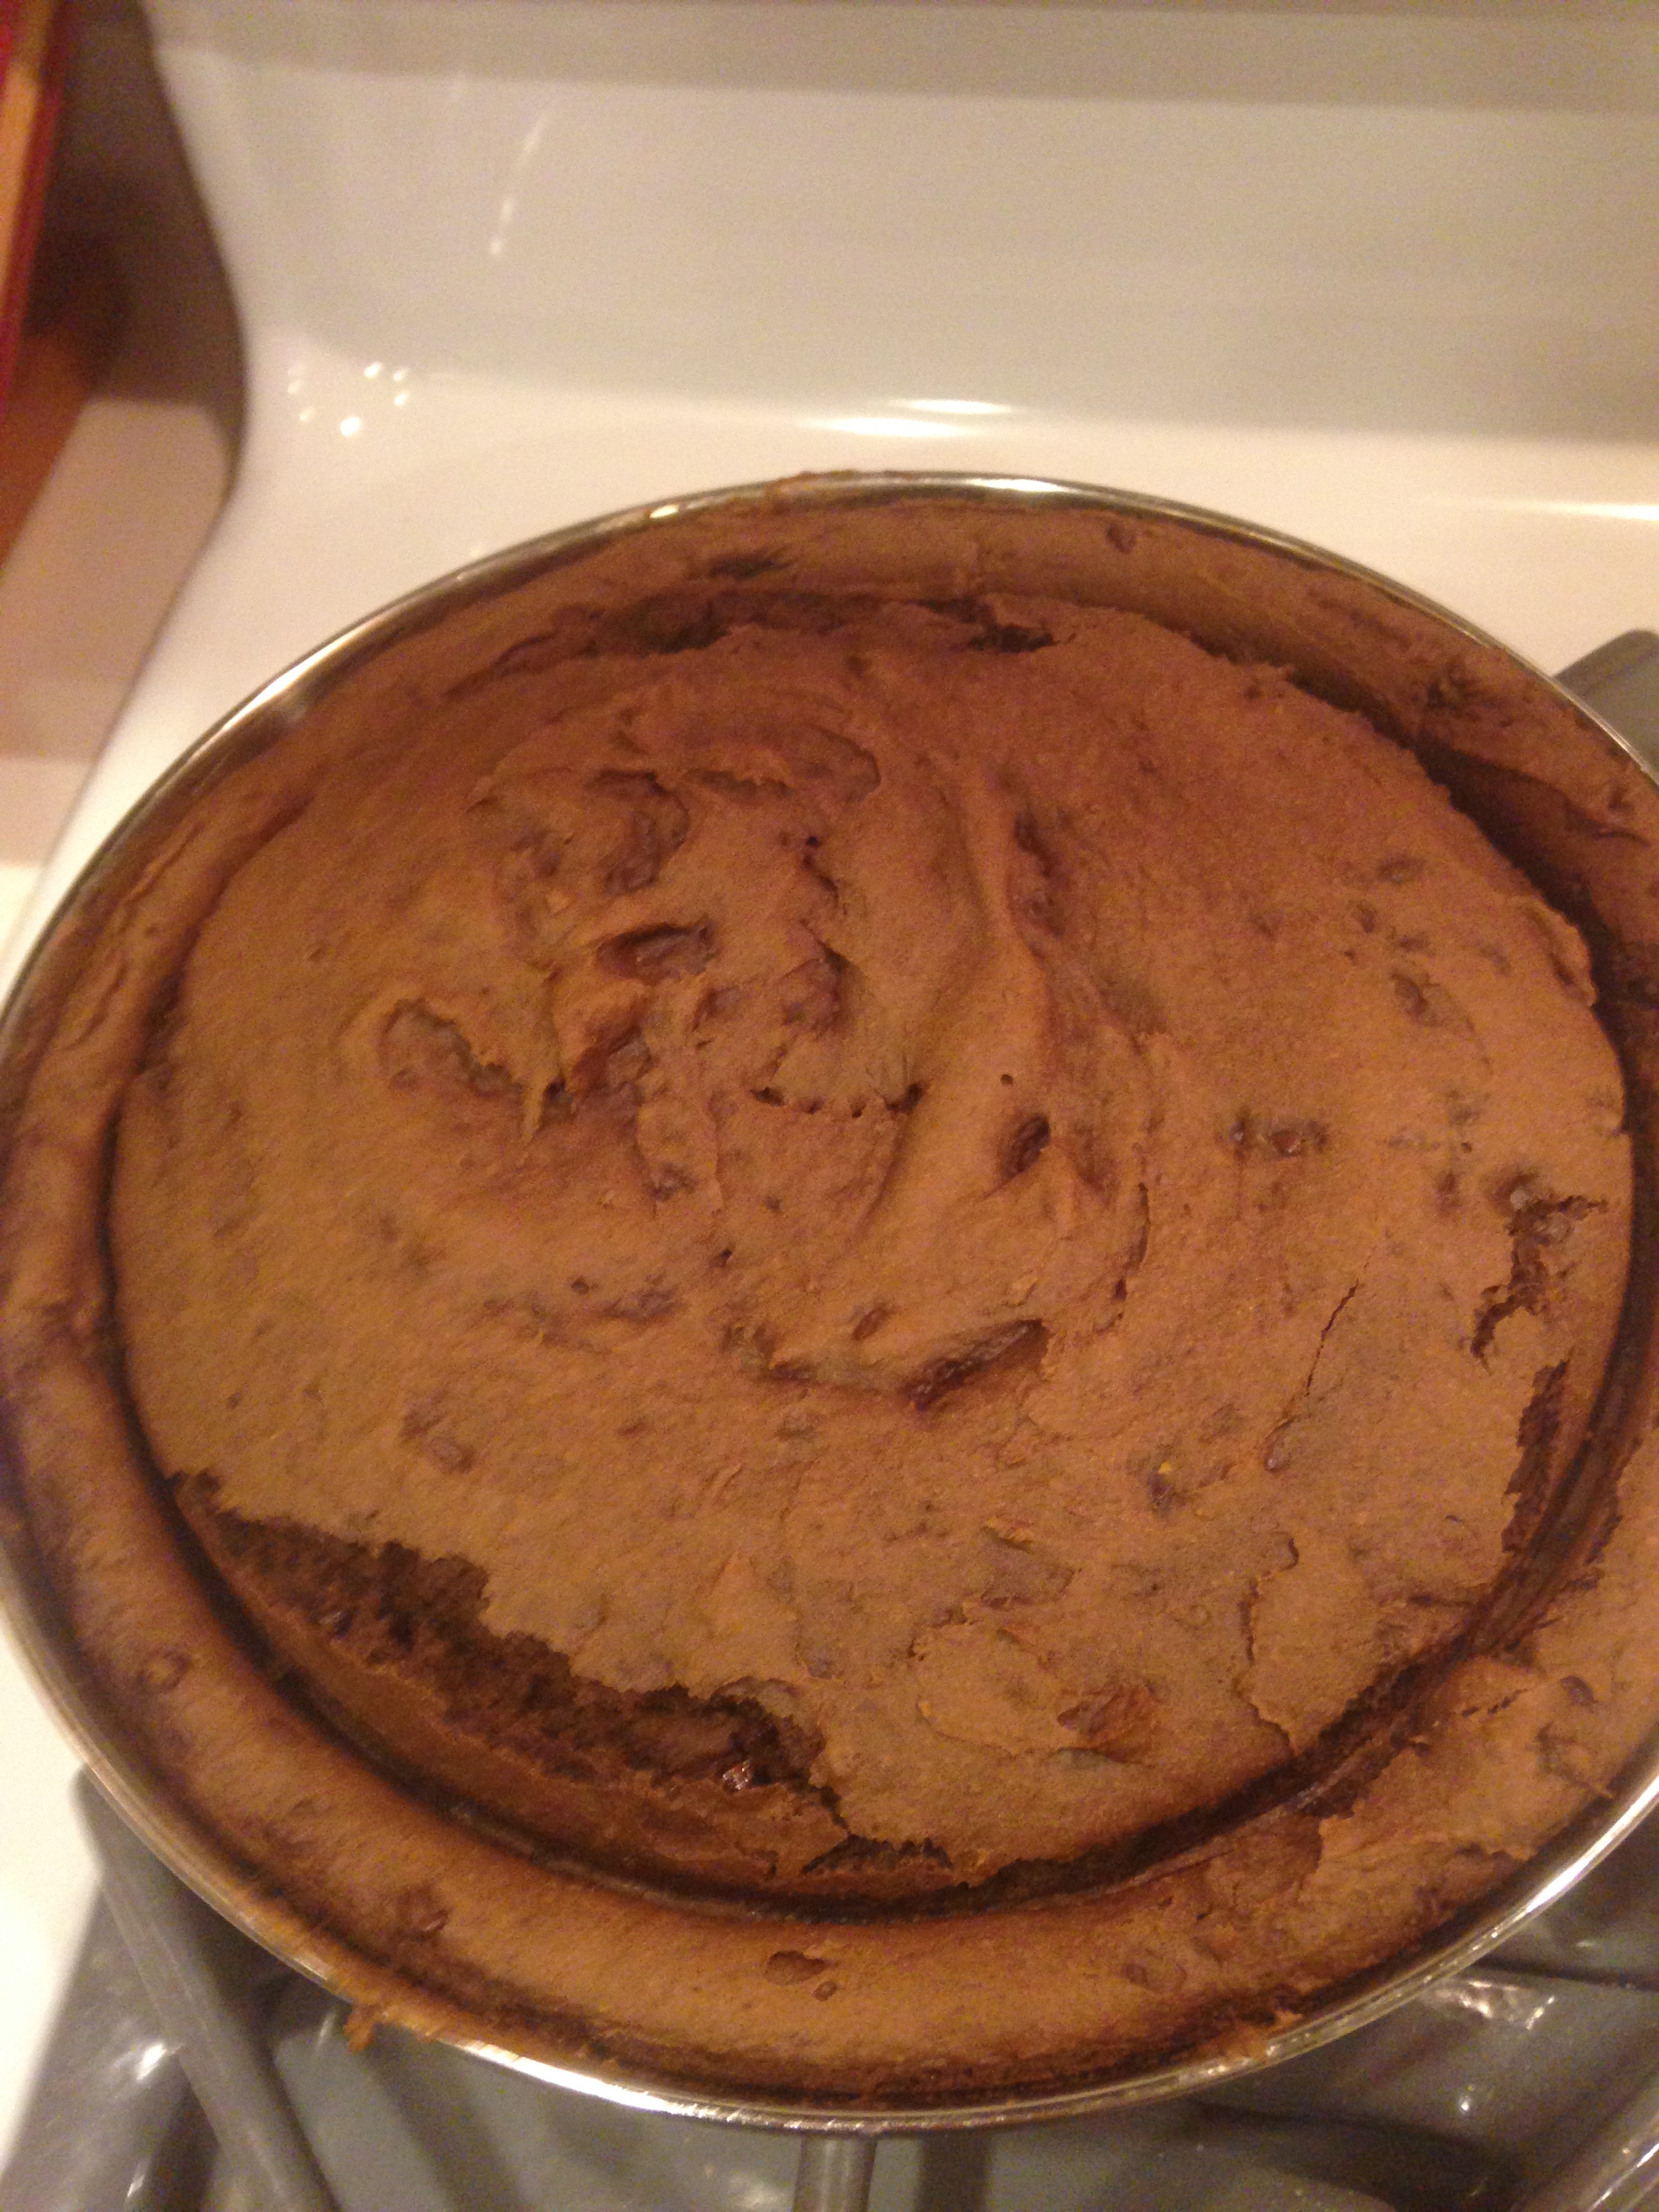
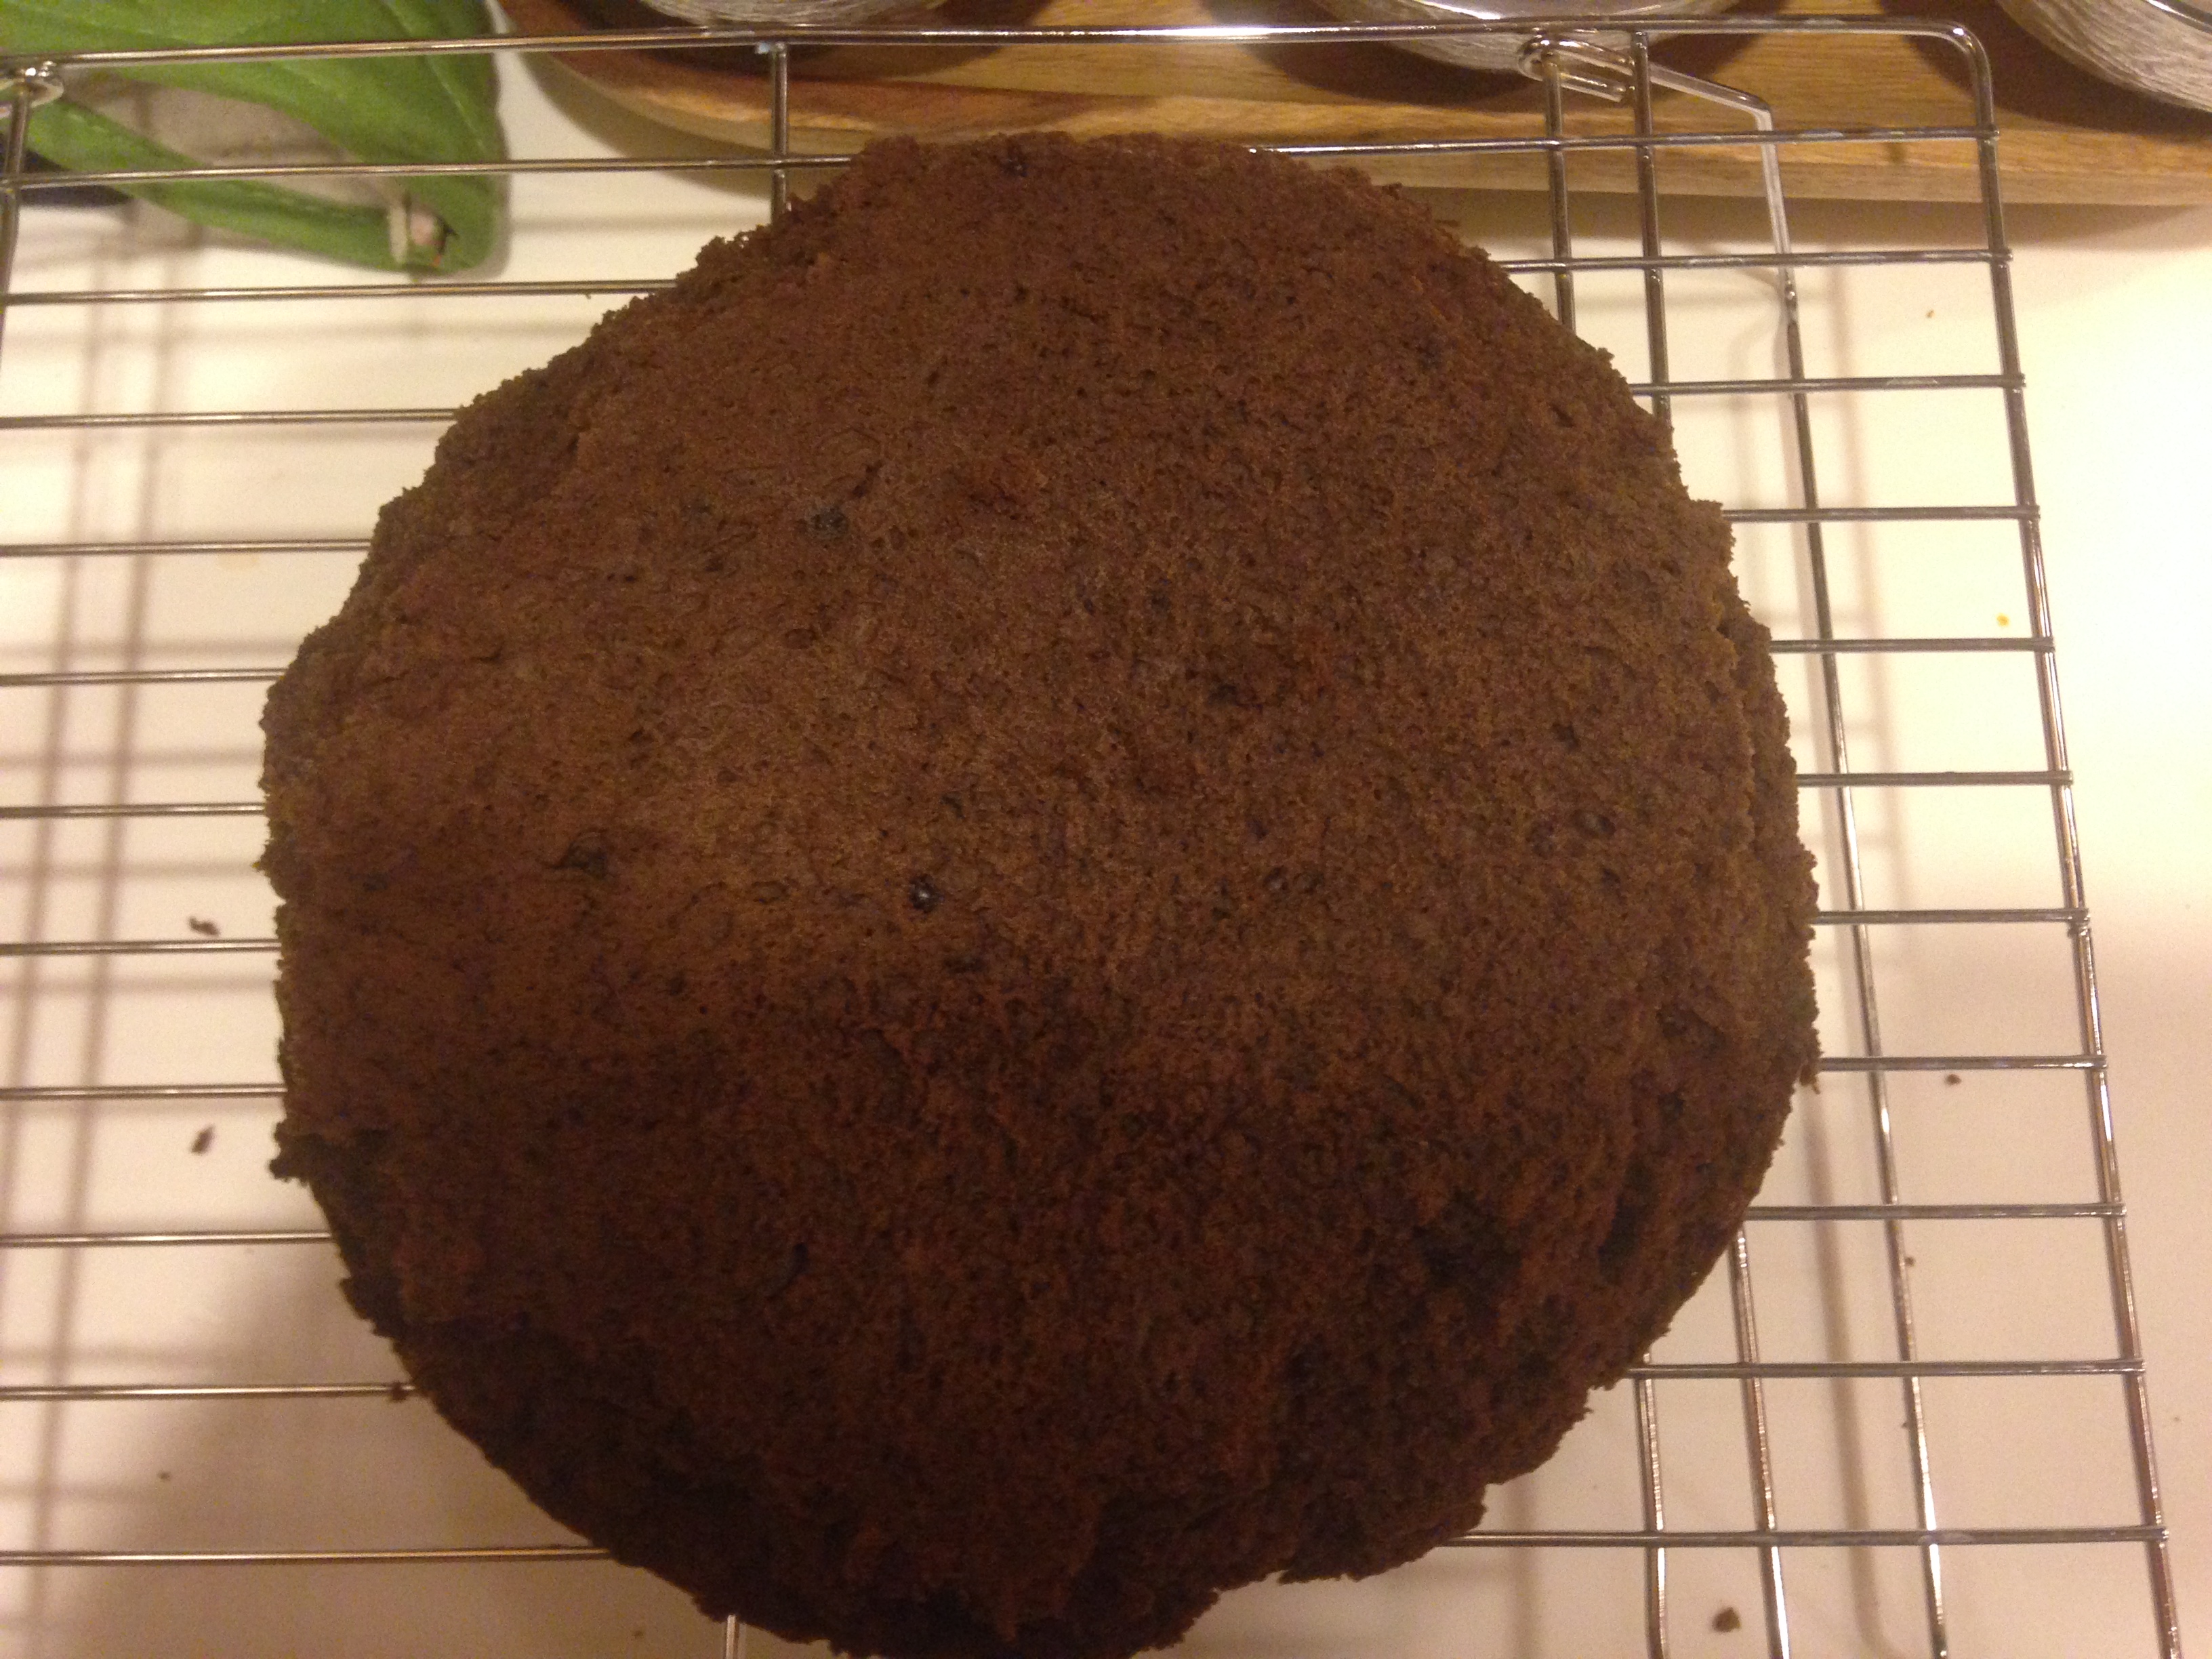
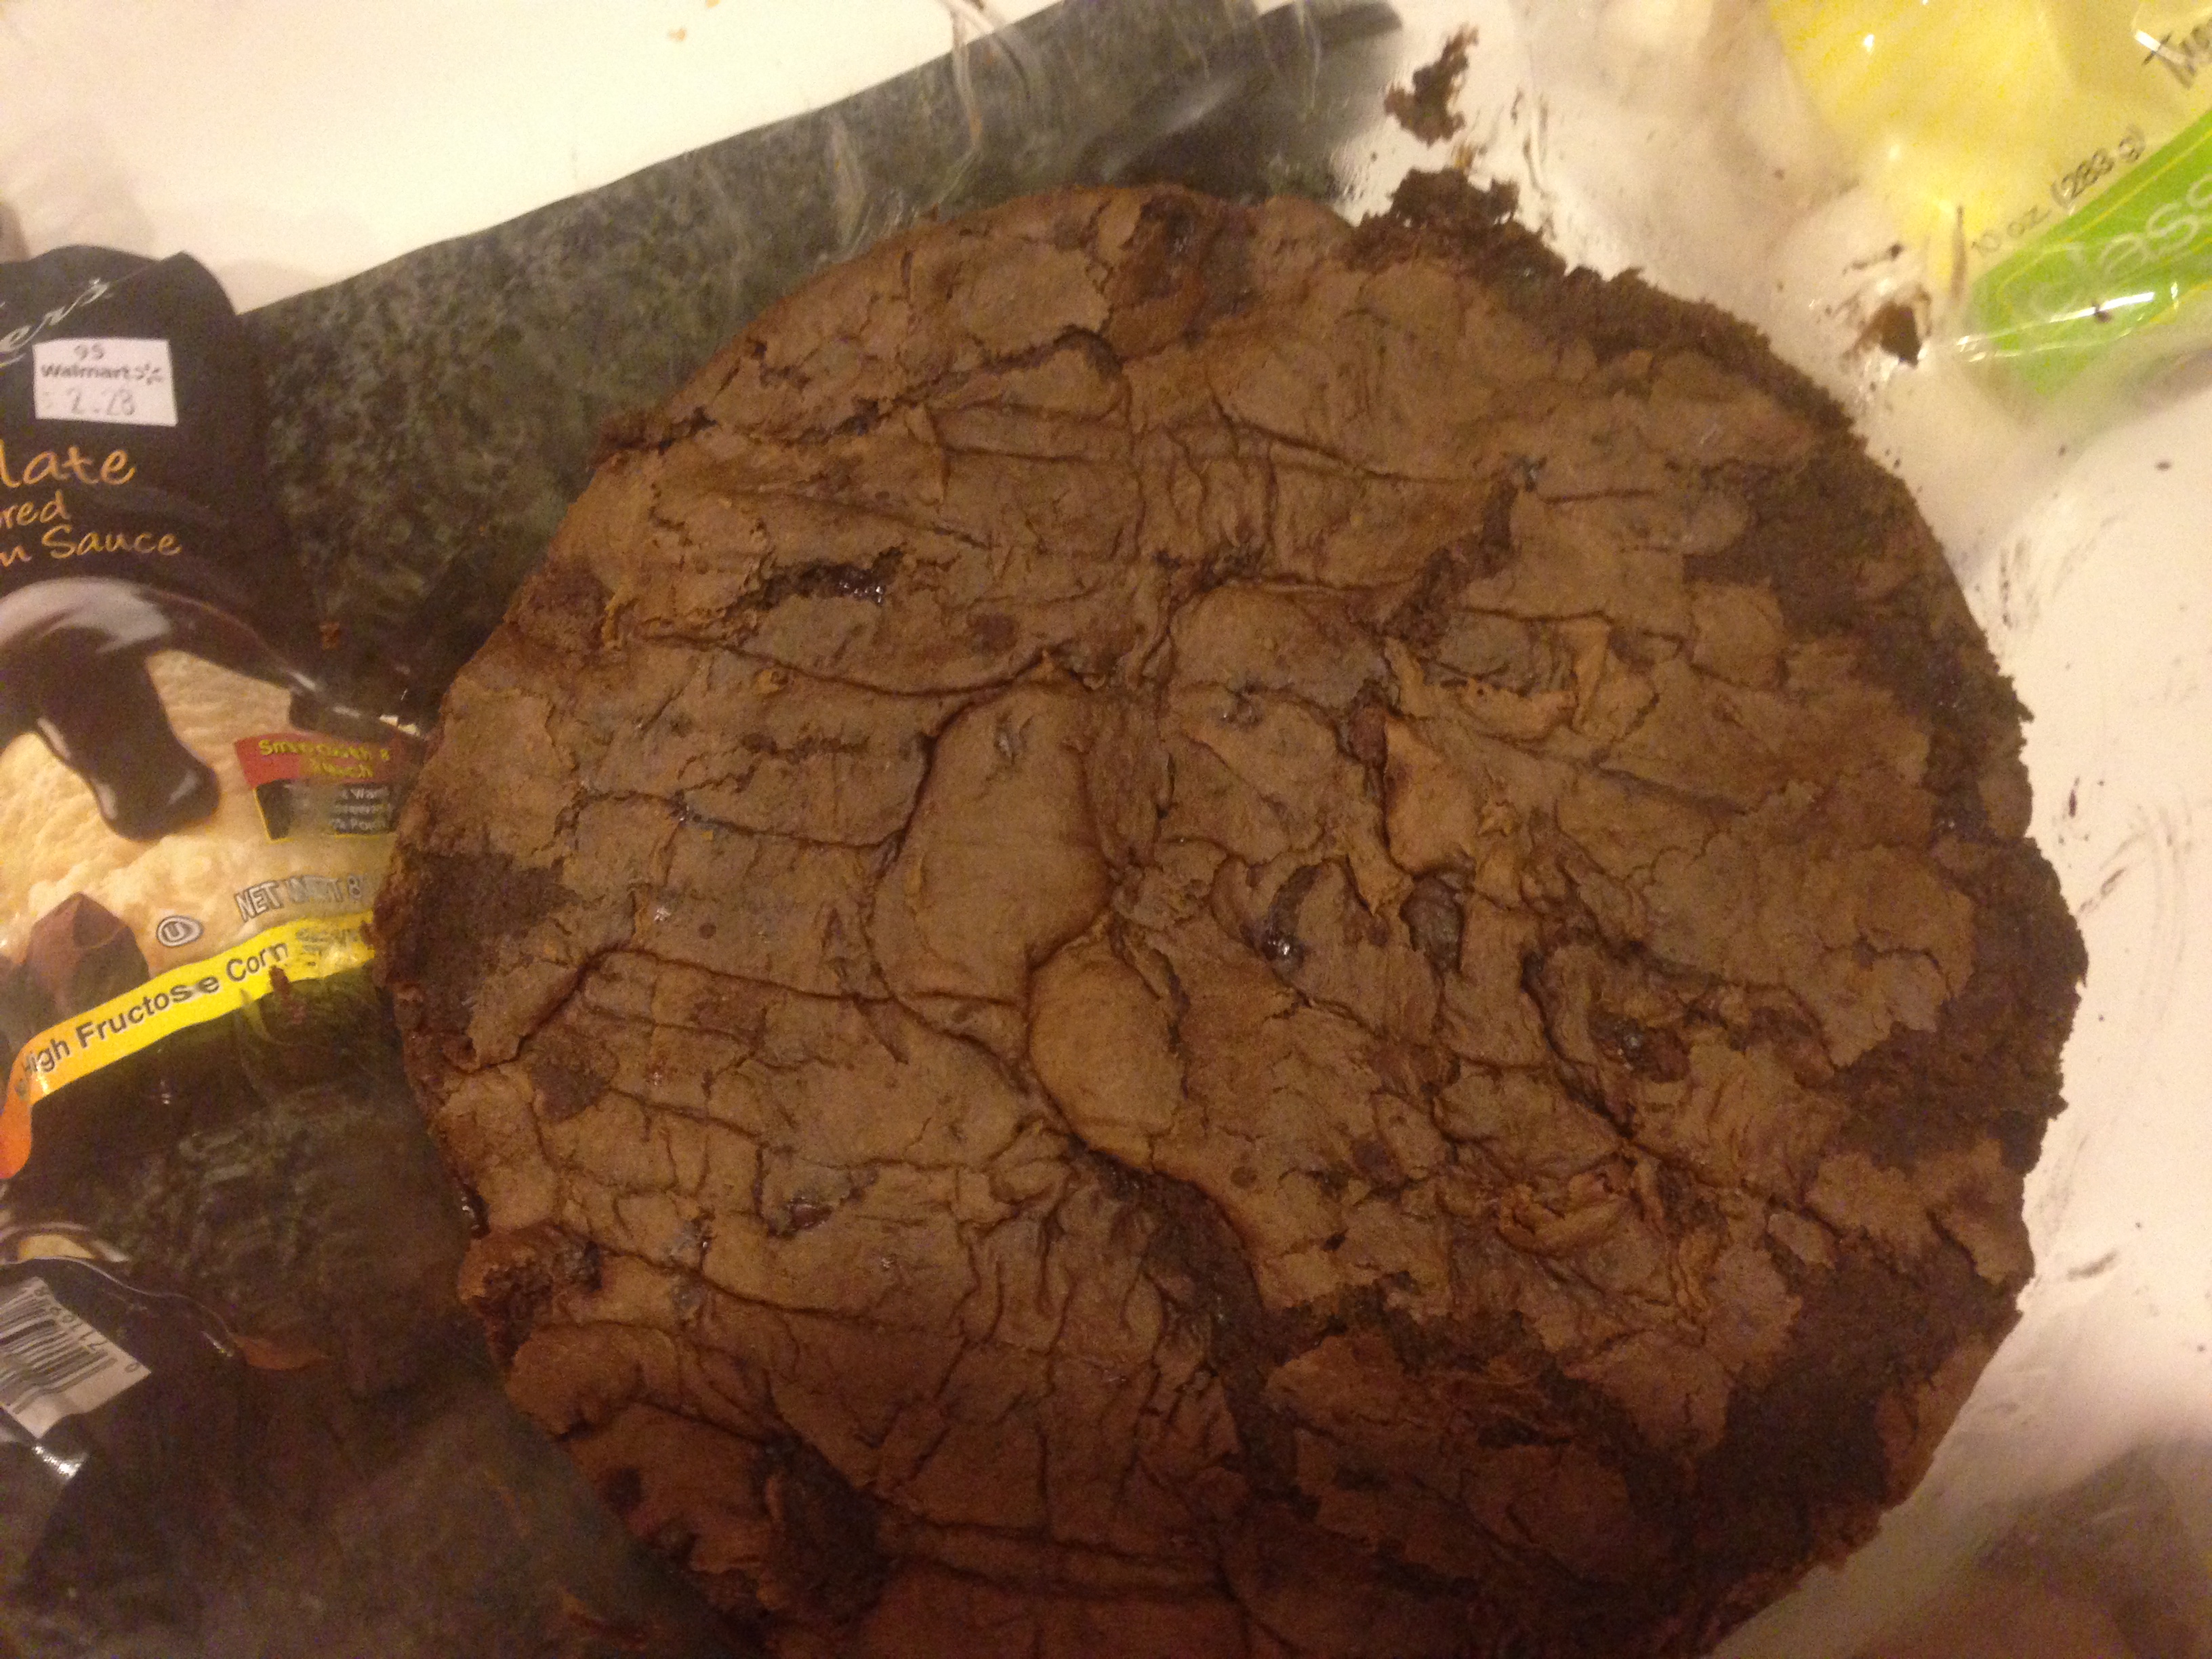
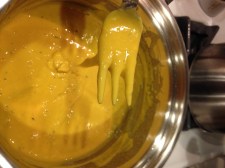
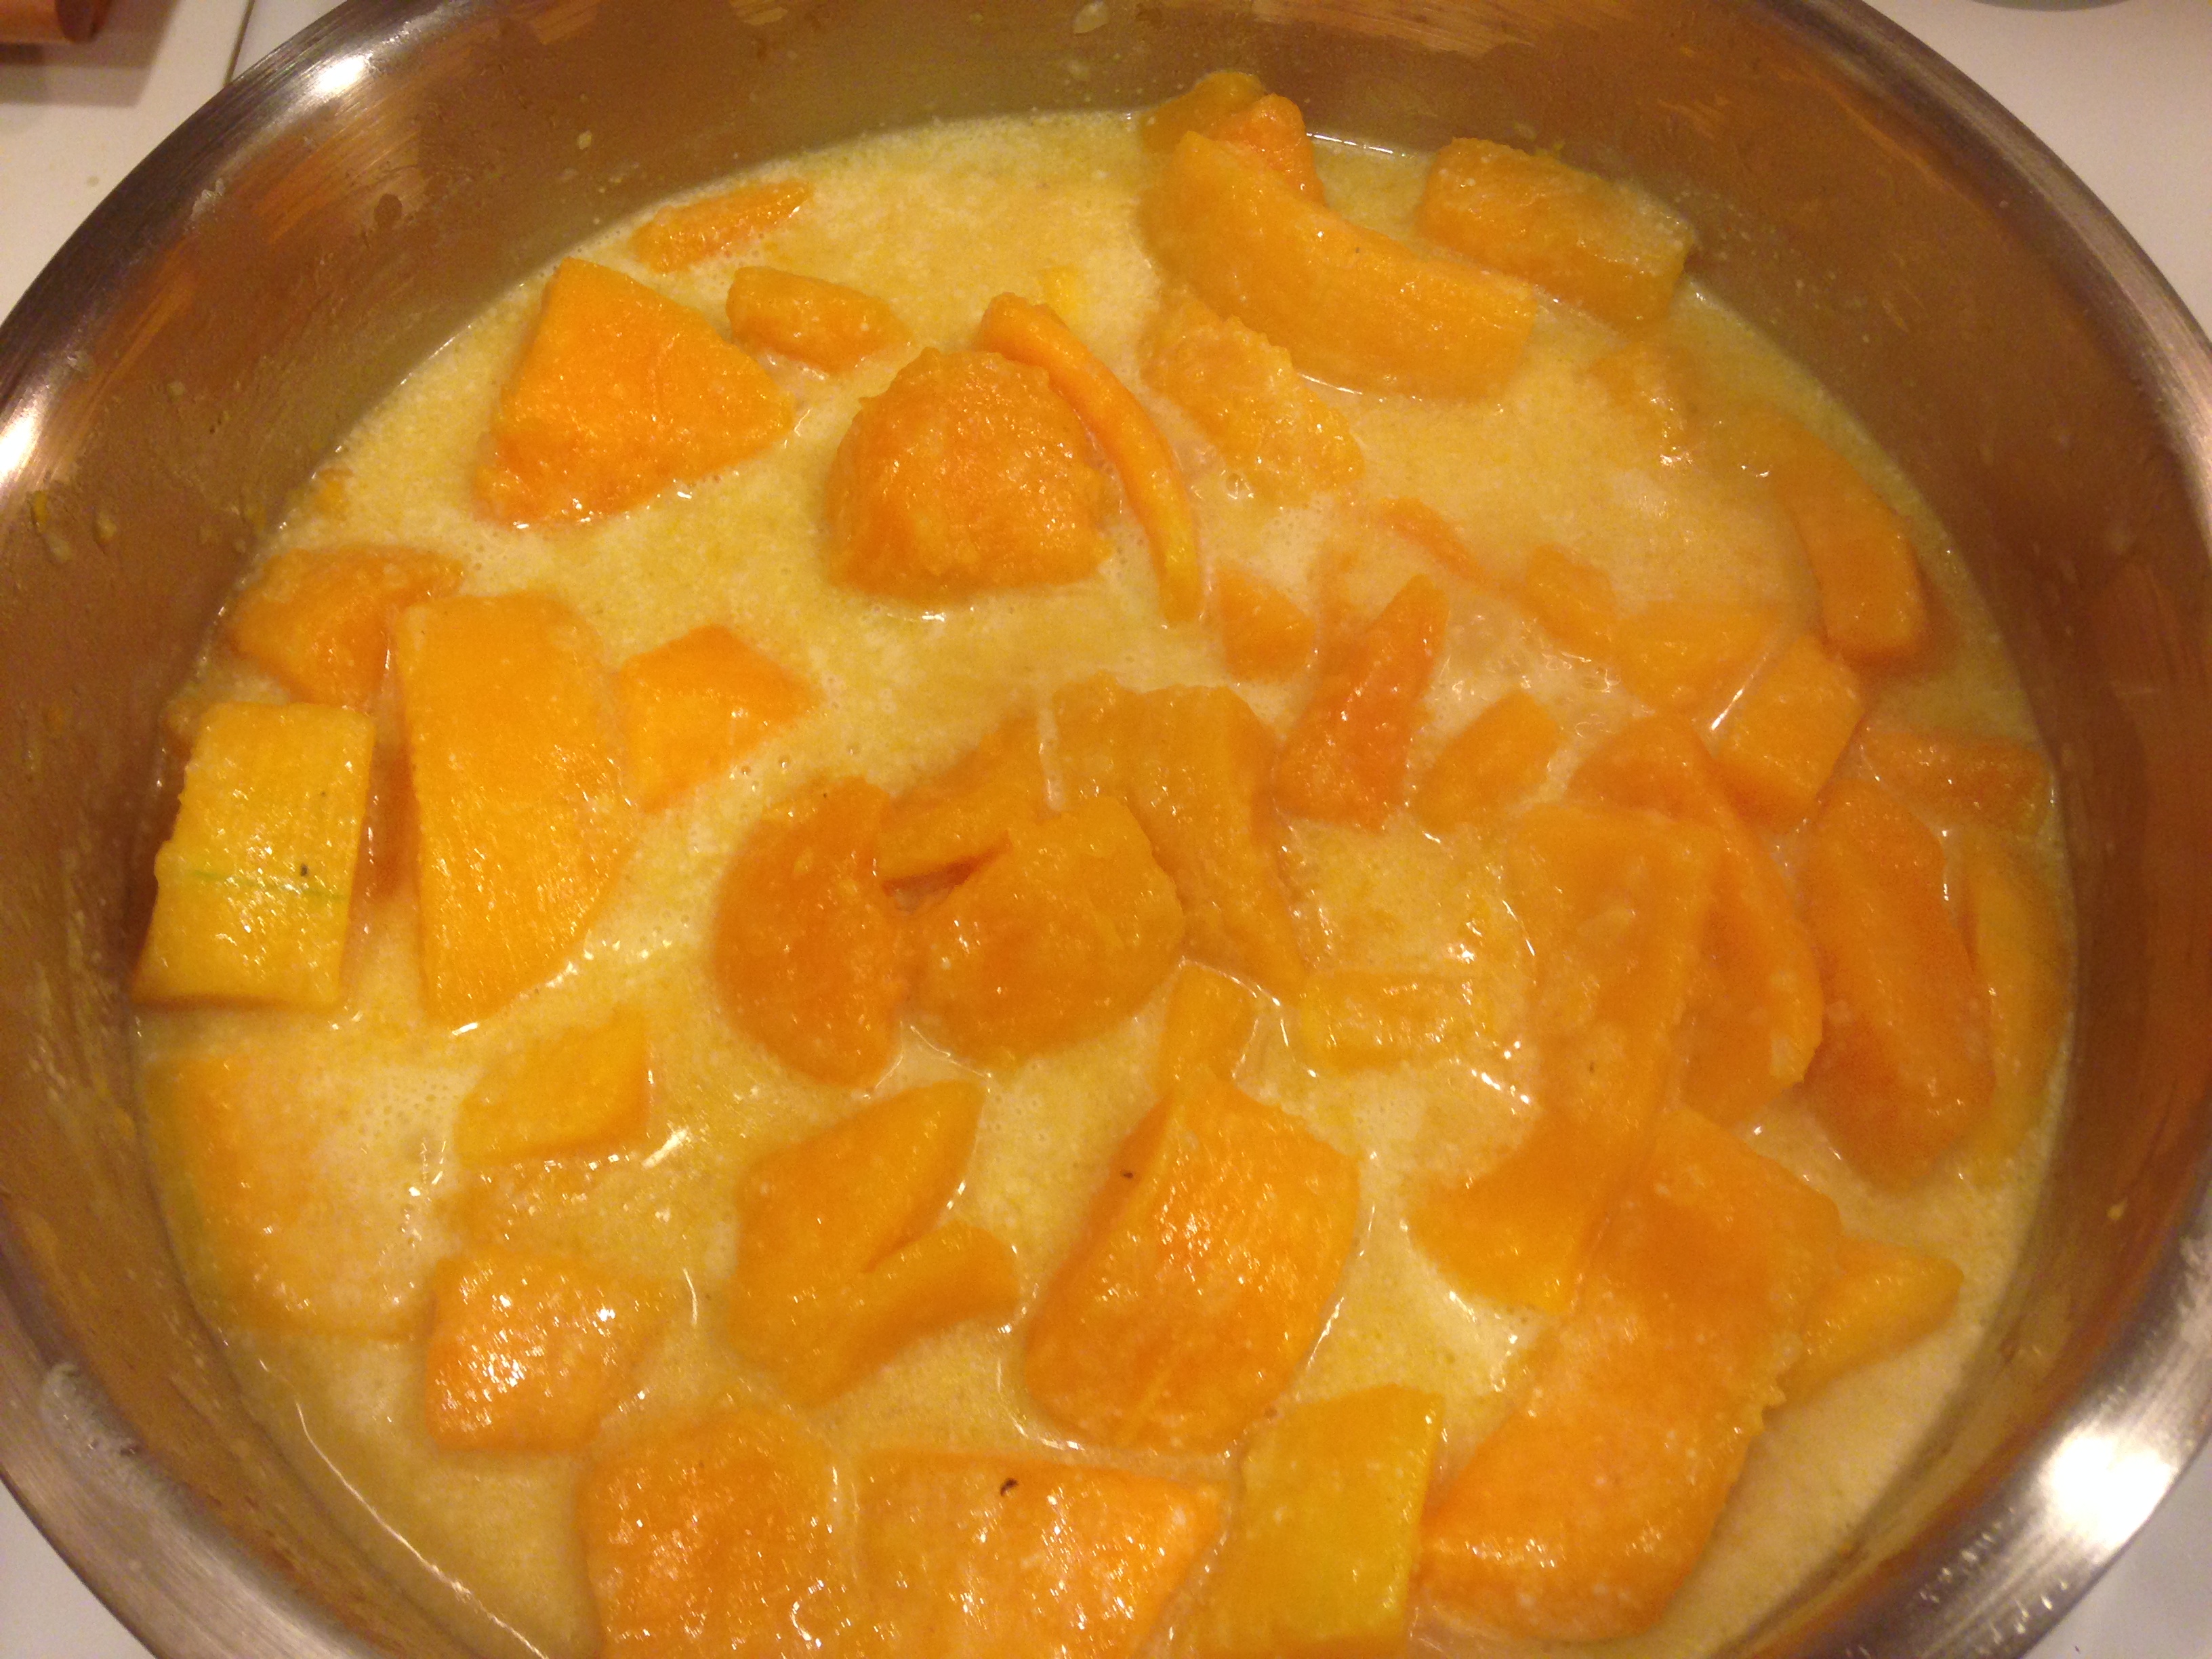
- In second bowl prepare brownie mix with one can of pureed pumpkin. Combine the two until smooth. Place in Pie Pan.


- In the second bowl (do not wipe) add cake mix and 2nd can of pureed pumpkin. Combine well until smooth and place batter in cake pan.


Cooking:
- Place both batters into oven. The cake will take approximately 30 minutes and the brownies will take approximately 50-55 minutes.

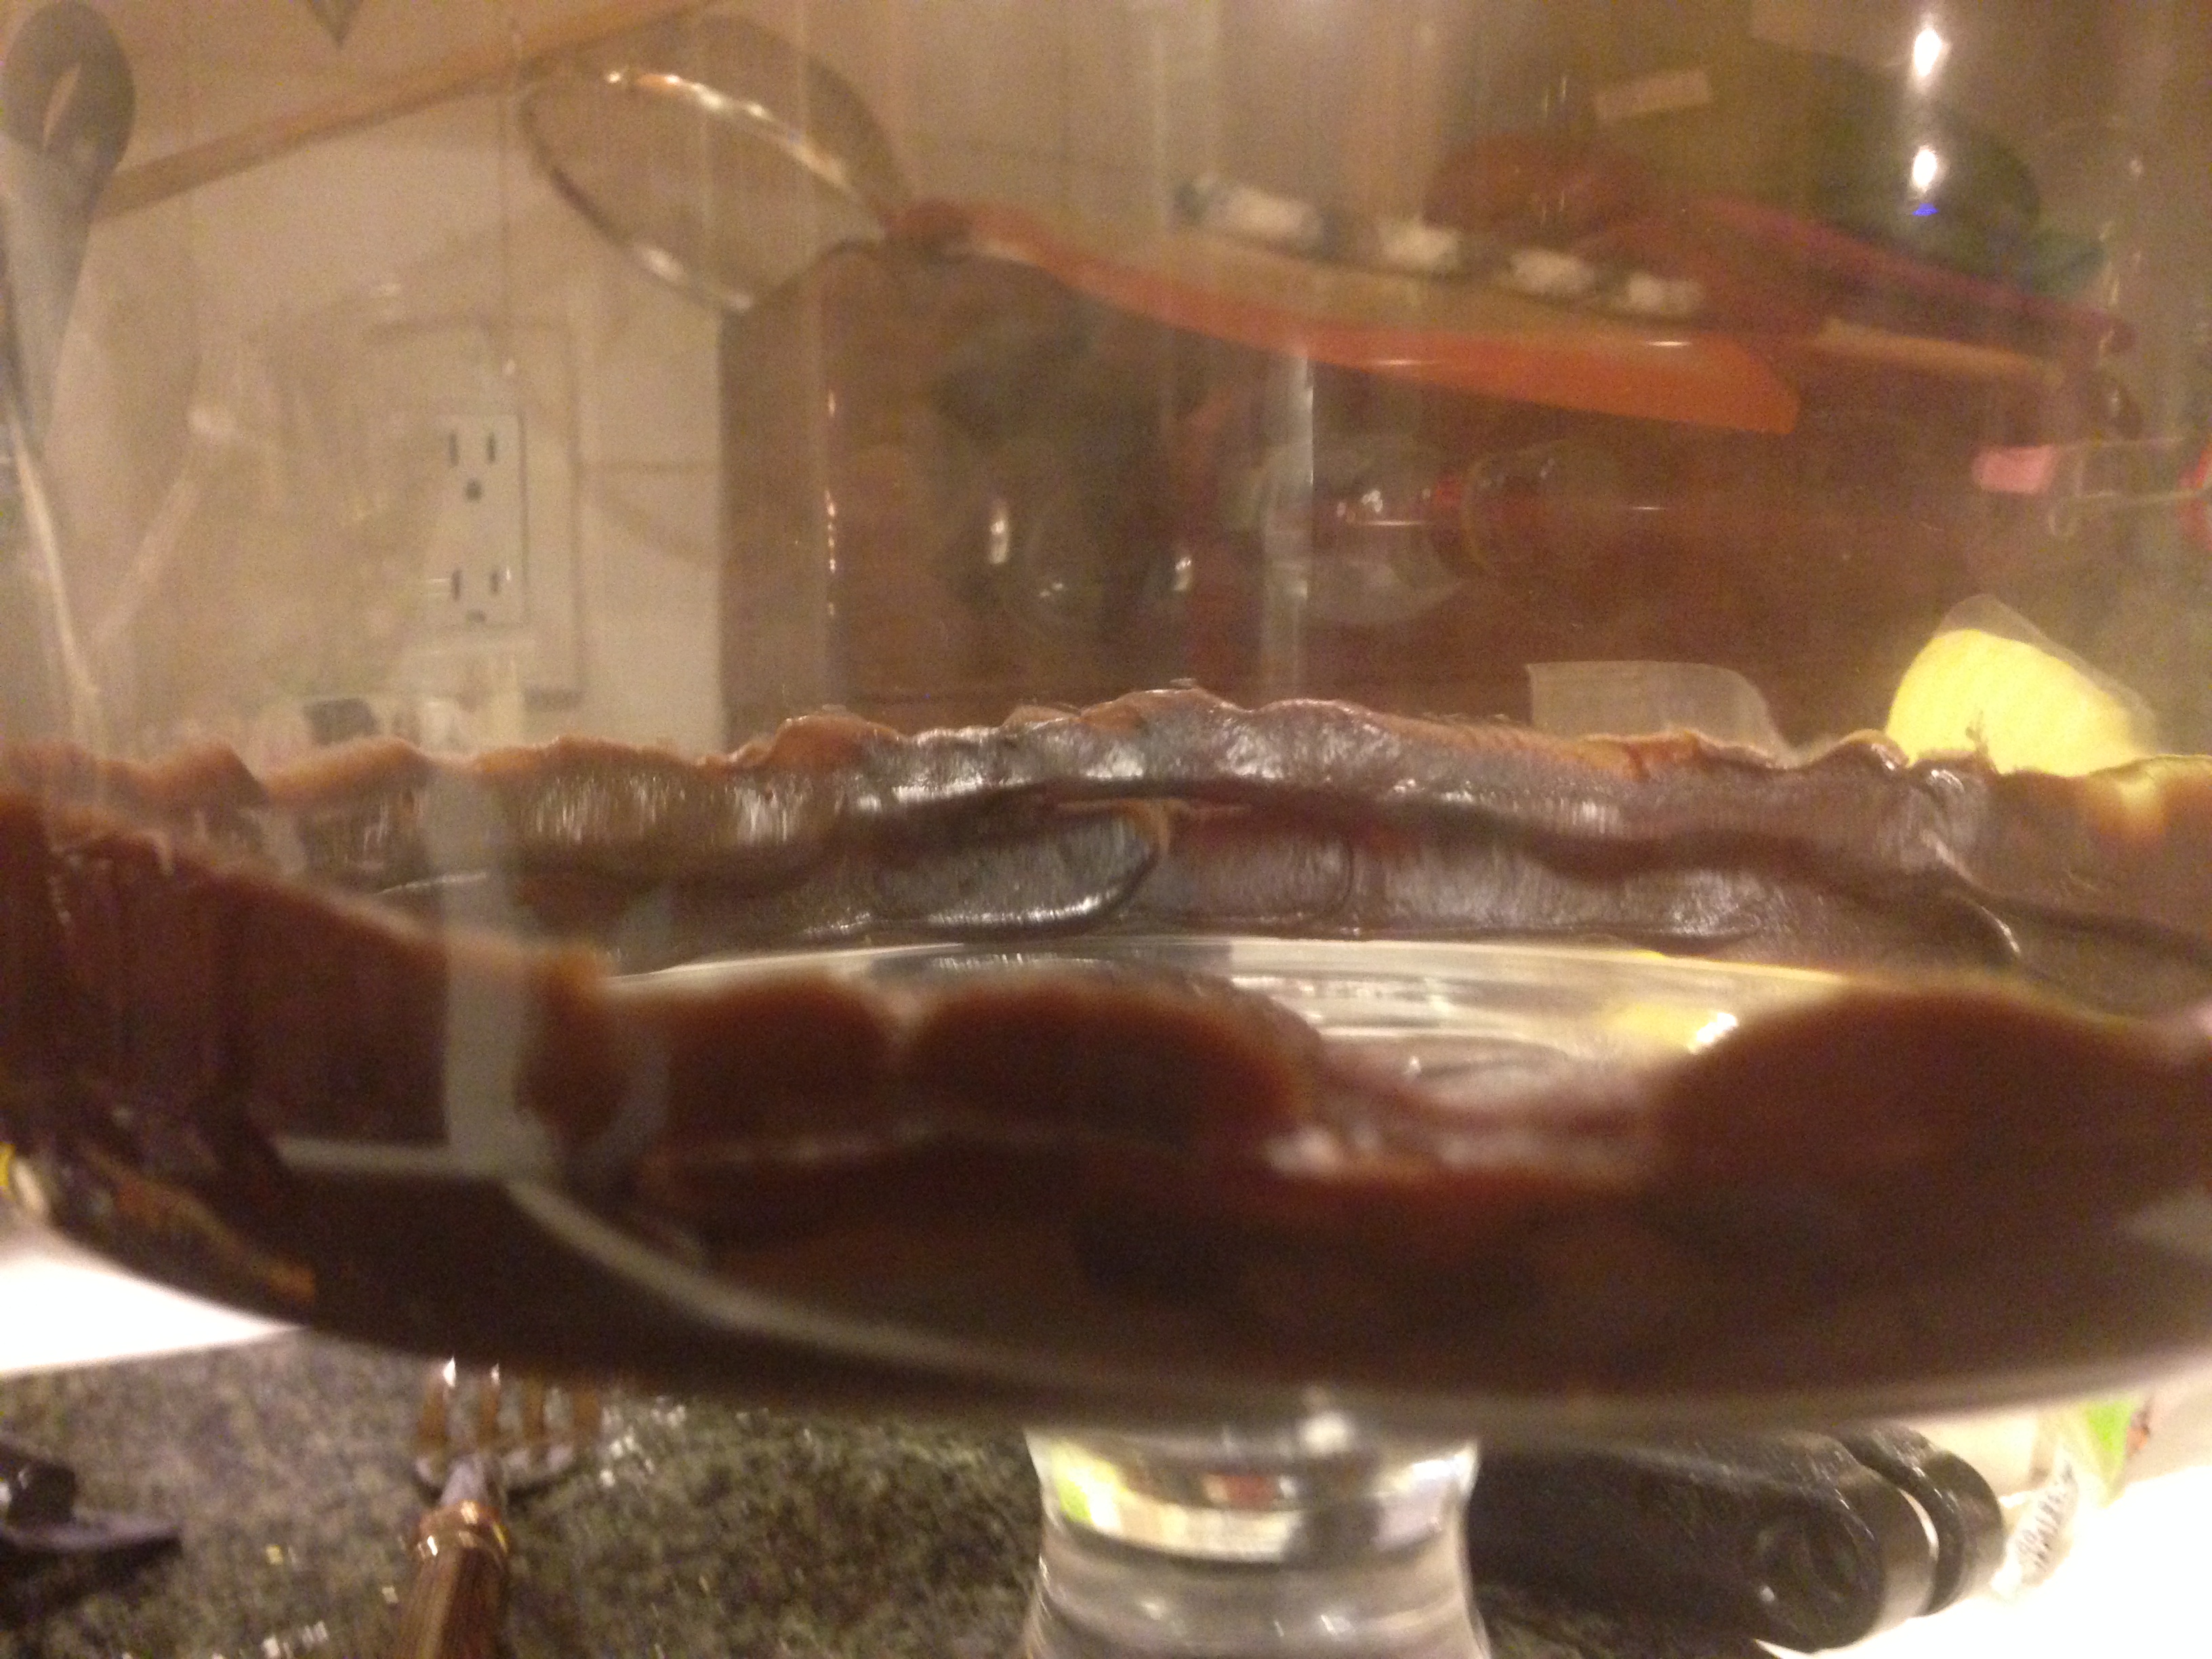
- Take squeeze fudge and line the bottom of the trifle bowl. The cake will be going in the bottom and tends to be crumbly. This will give the appearance on the exterior glass of a neat chocolate line while also keeping the moisture of the cake in.


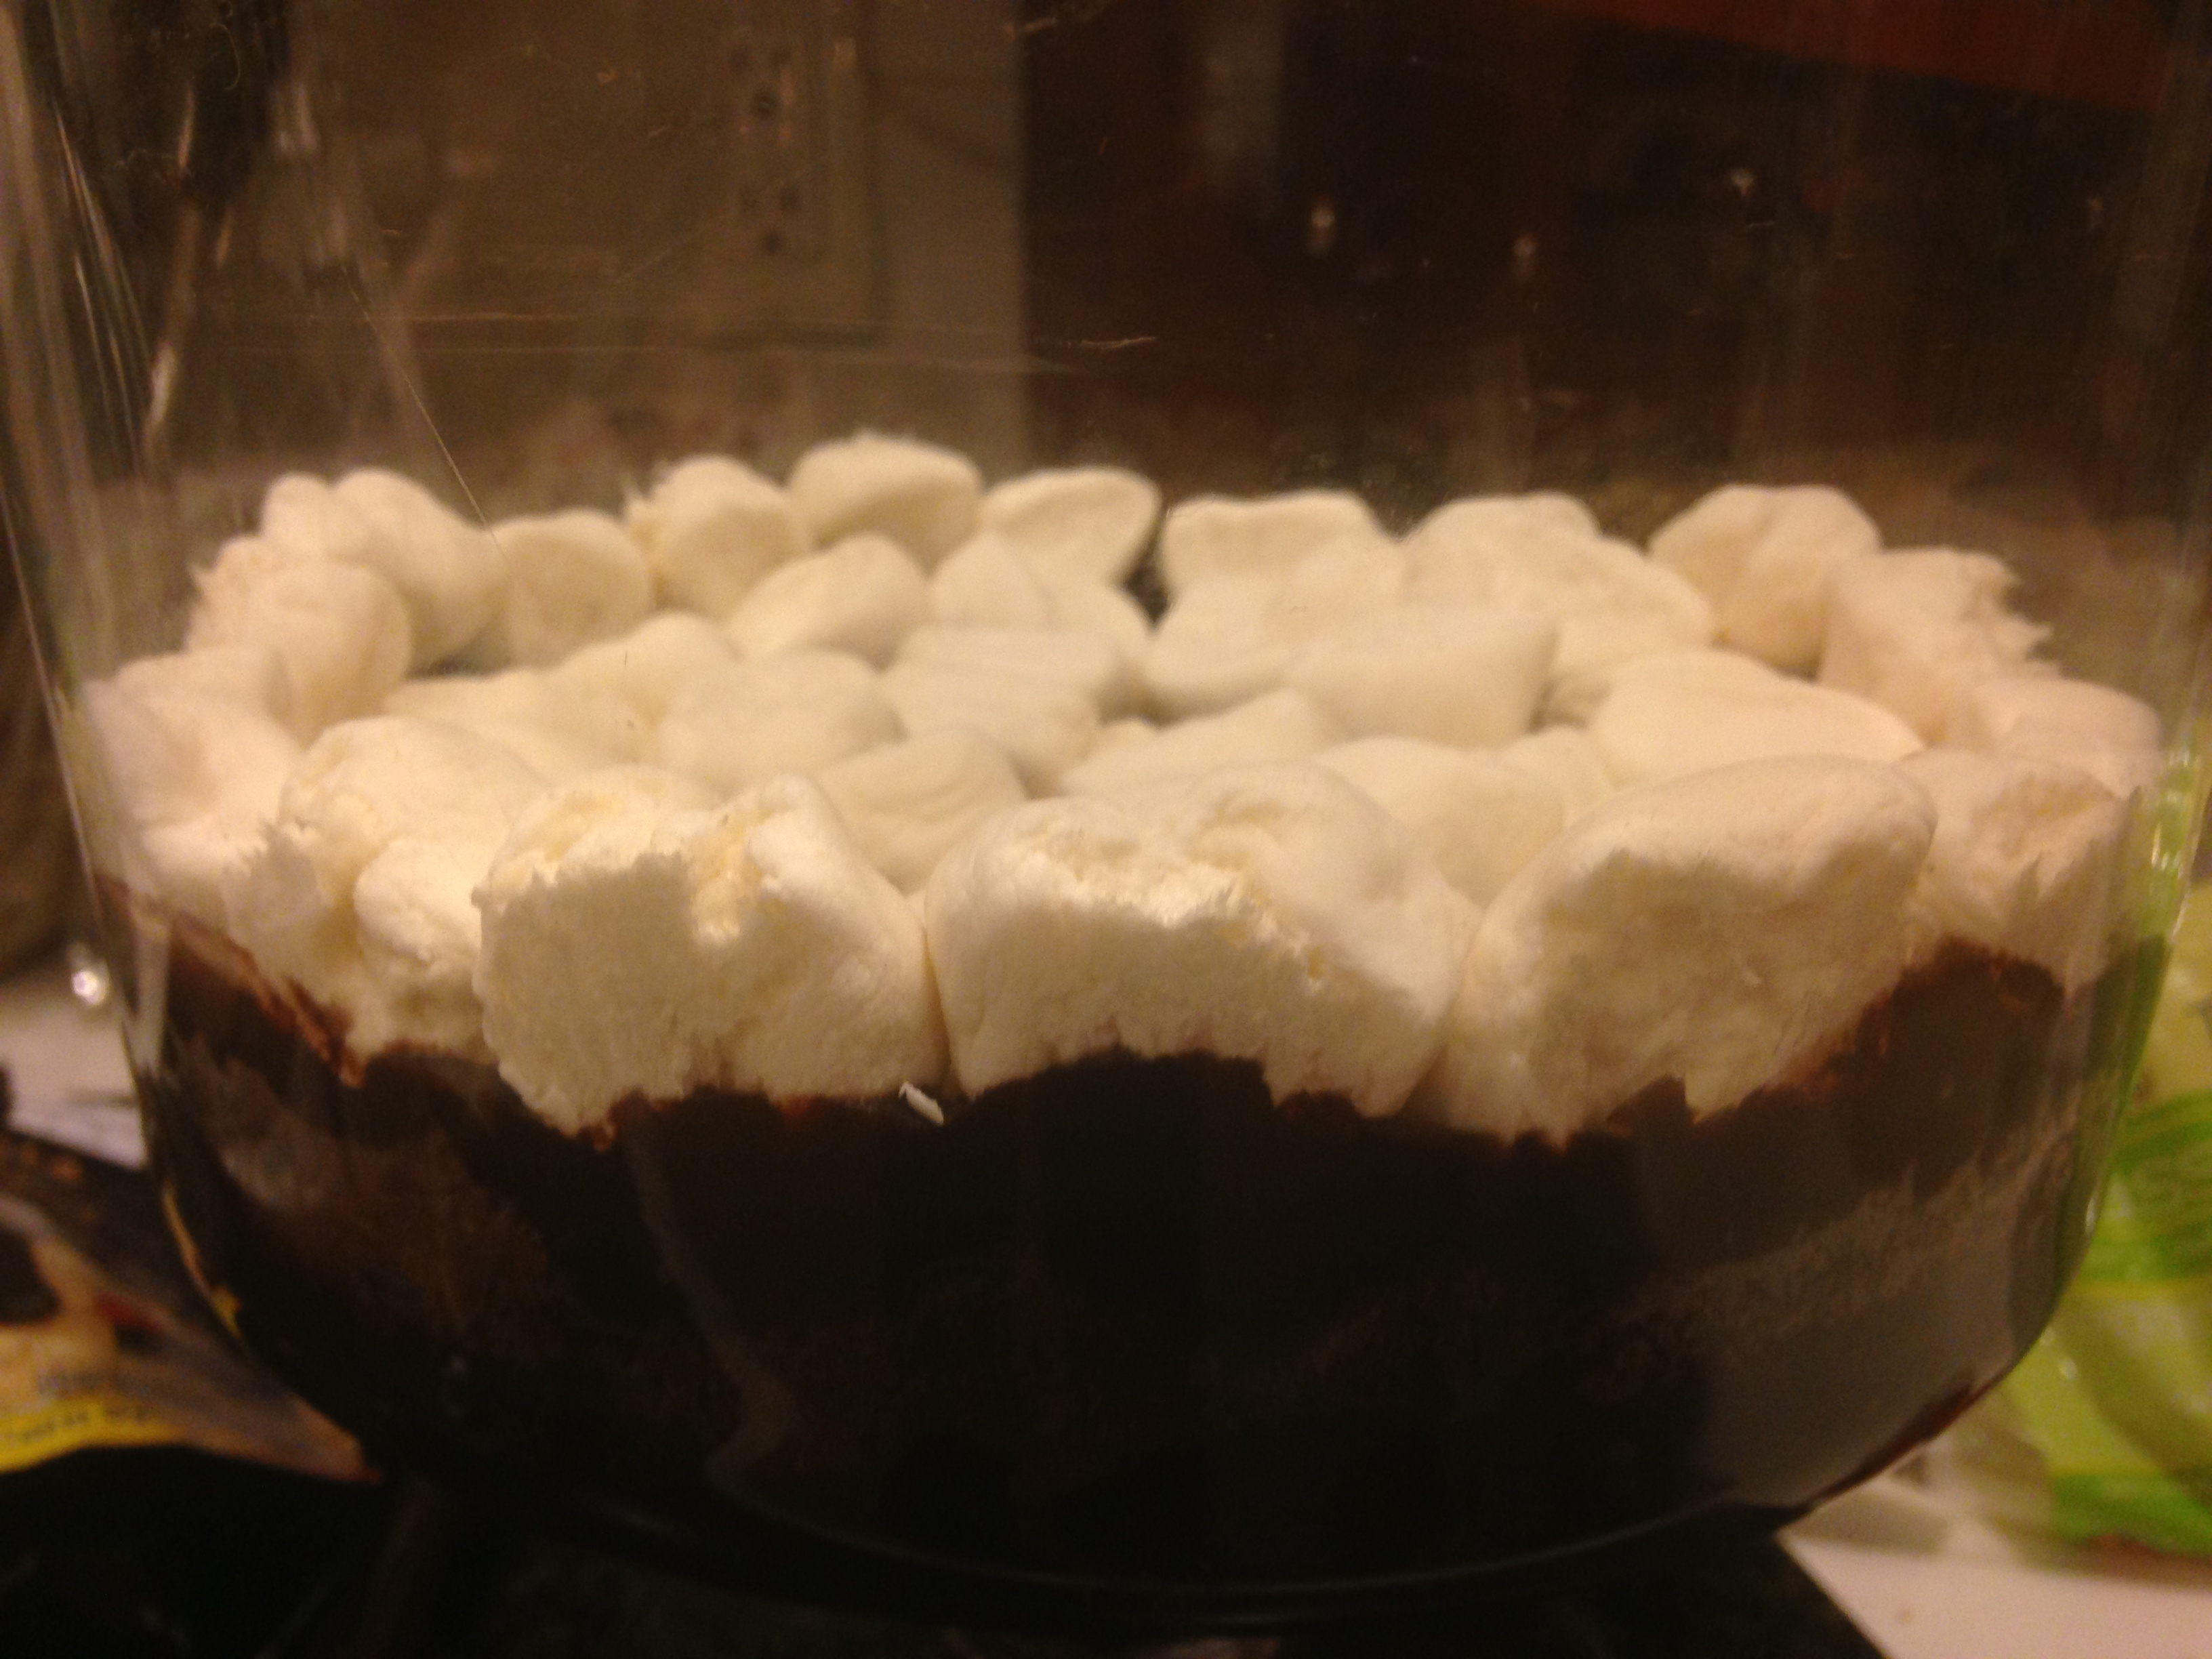
- Next, cut or tear marshmallows in half. This will allow for them to be stuck to the glass and cake when layering.
- When the cake comes out. Take the trifle bowl and press through to the bottom of the pan. This will create a circular indent. Most trifle bowls are smaller on the bottom than the top. That is why you place the cake and not brownie in the bottom. Cake will squish down and together so it will fit despite the slight size difference.
-


- Flip the pan over on a wire rack to unlodge from pan and cool.

- Once cool, tear away edges from the circular imprint and press down into the trifle bowl.
-


- The fudge will make up for any imperfections. Feel free to add more fudge in a circle on top to finish the layer. Then place a few dots on top of the cake to prepare for marshmallows.

- Press marshmallows up against the glass all around the bowl and then on top of the cake/fudge layer.
-


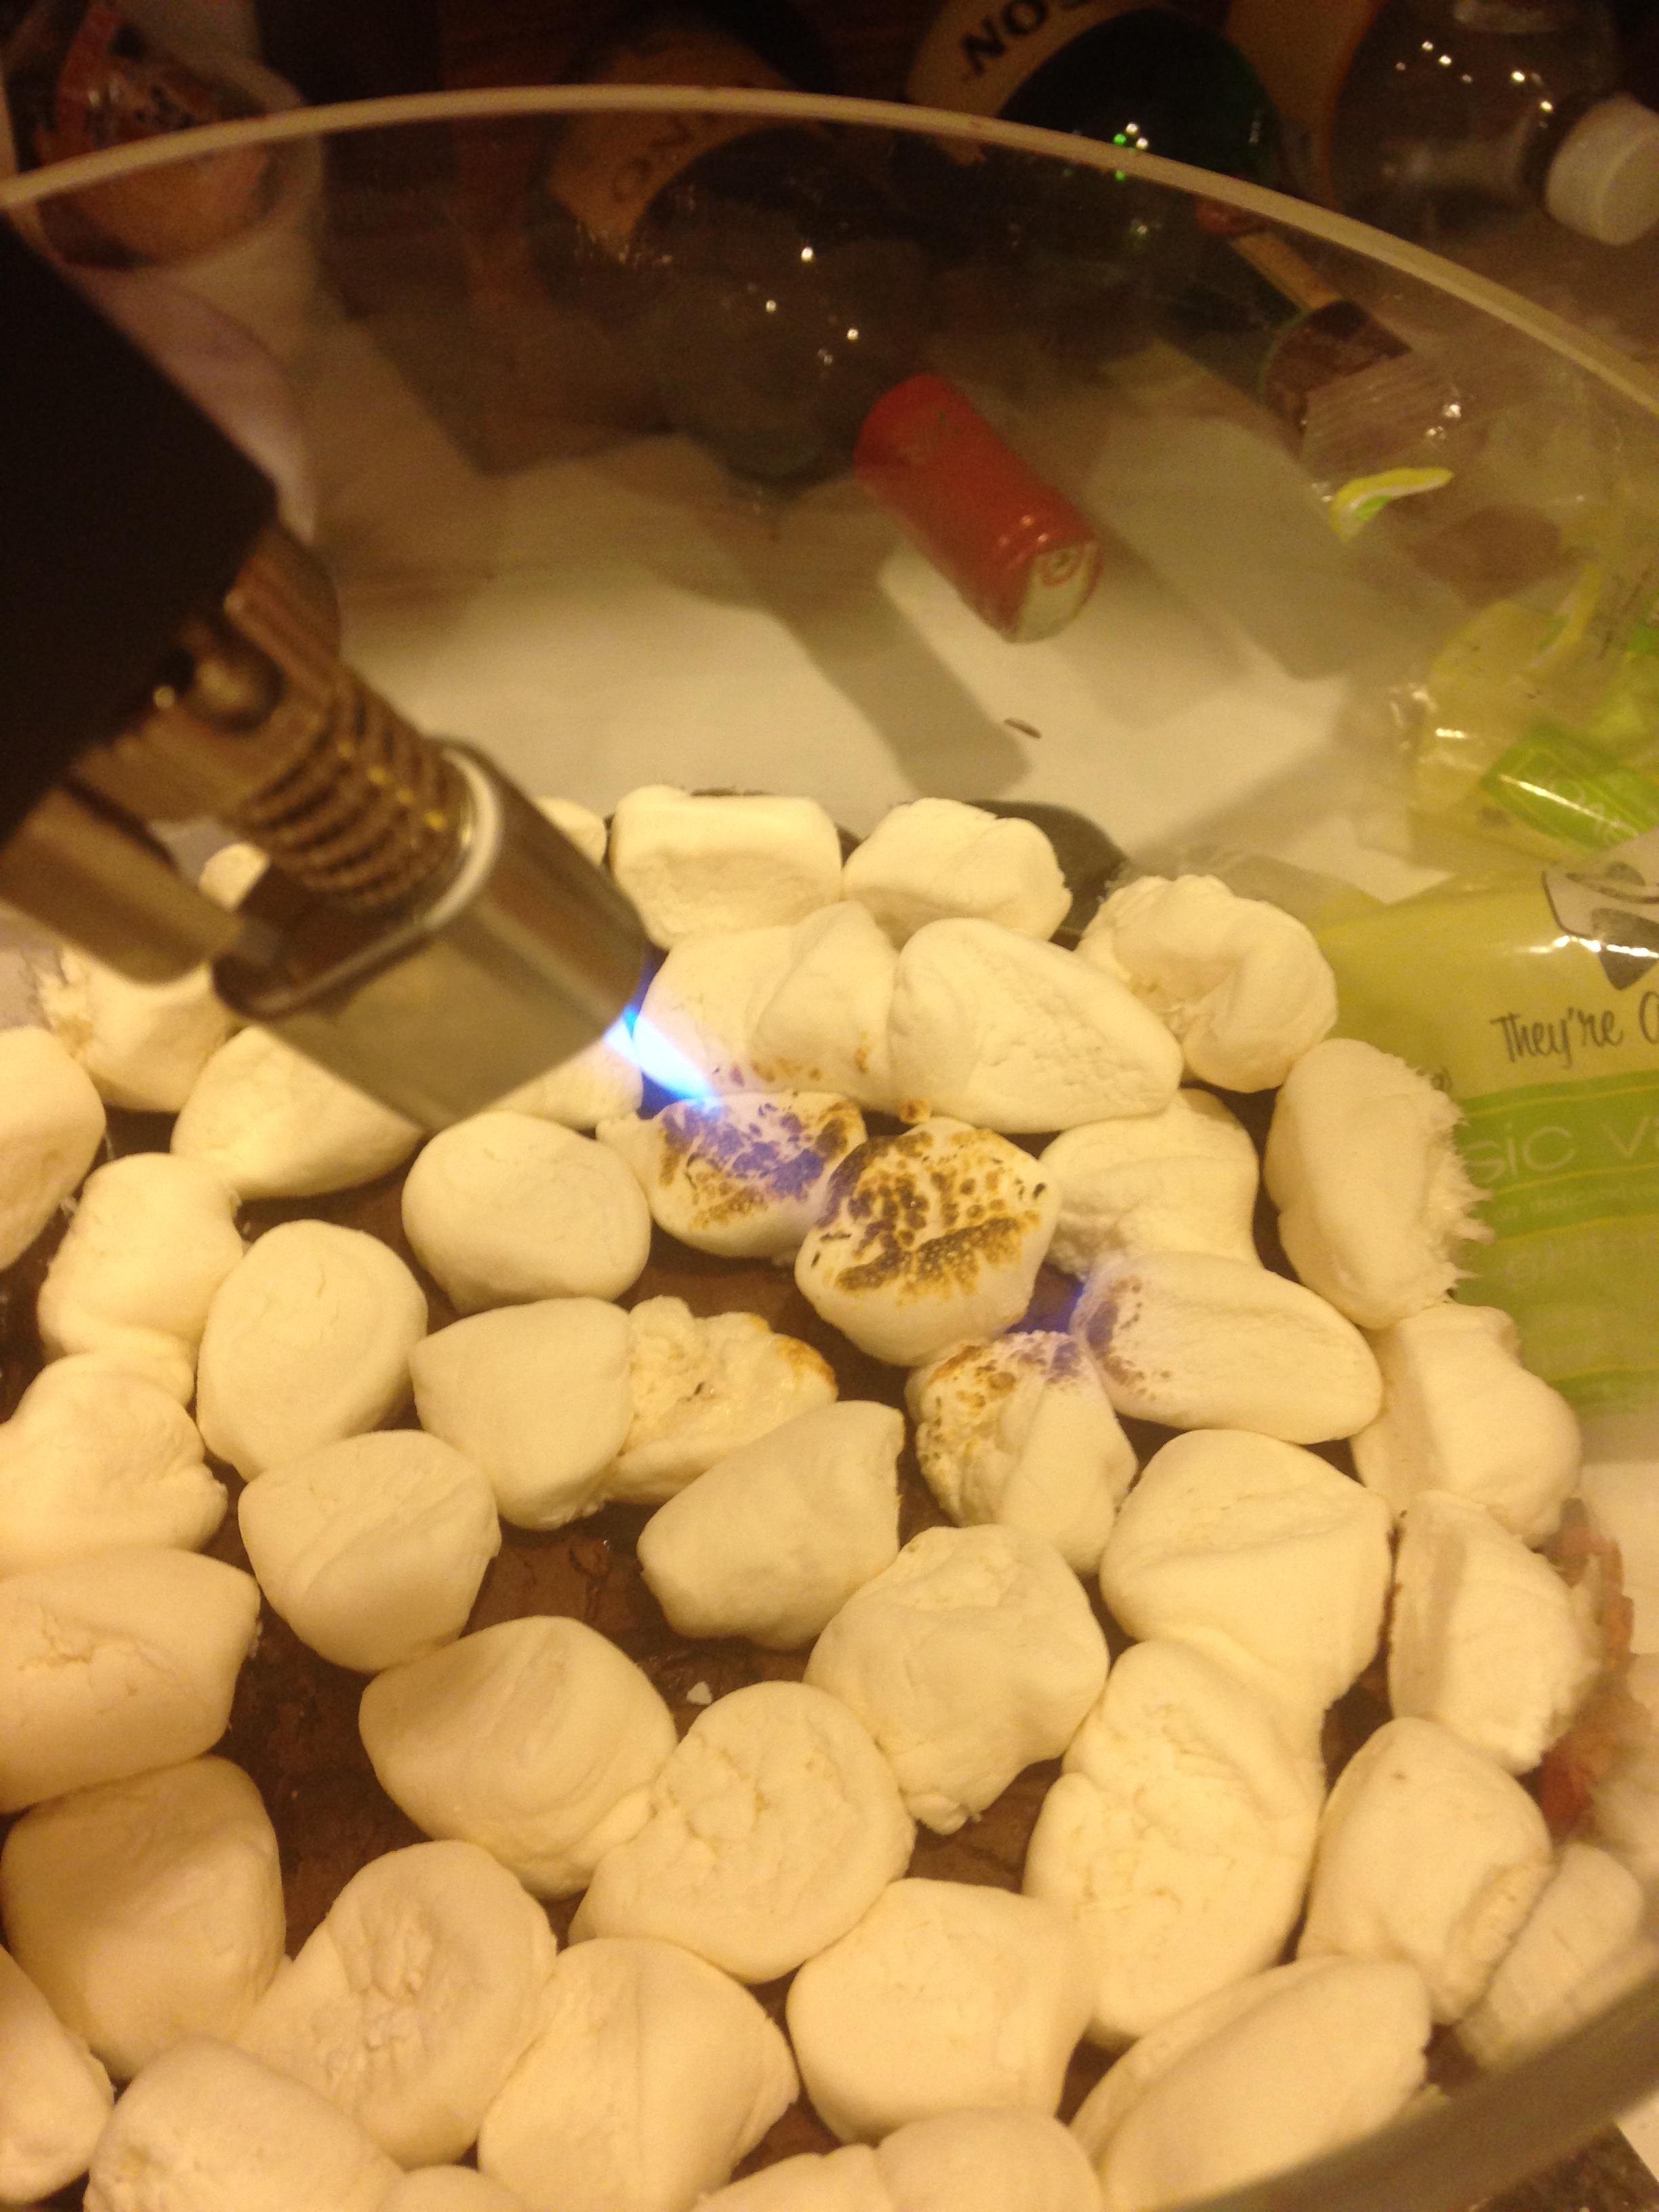
- Take out a creme brulee style kitchen torch and brown the cake layers. Be careful lot to get too close the the glass. Not all glass is heat friendly.


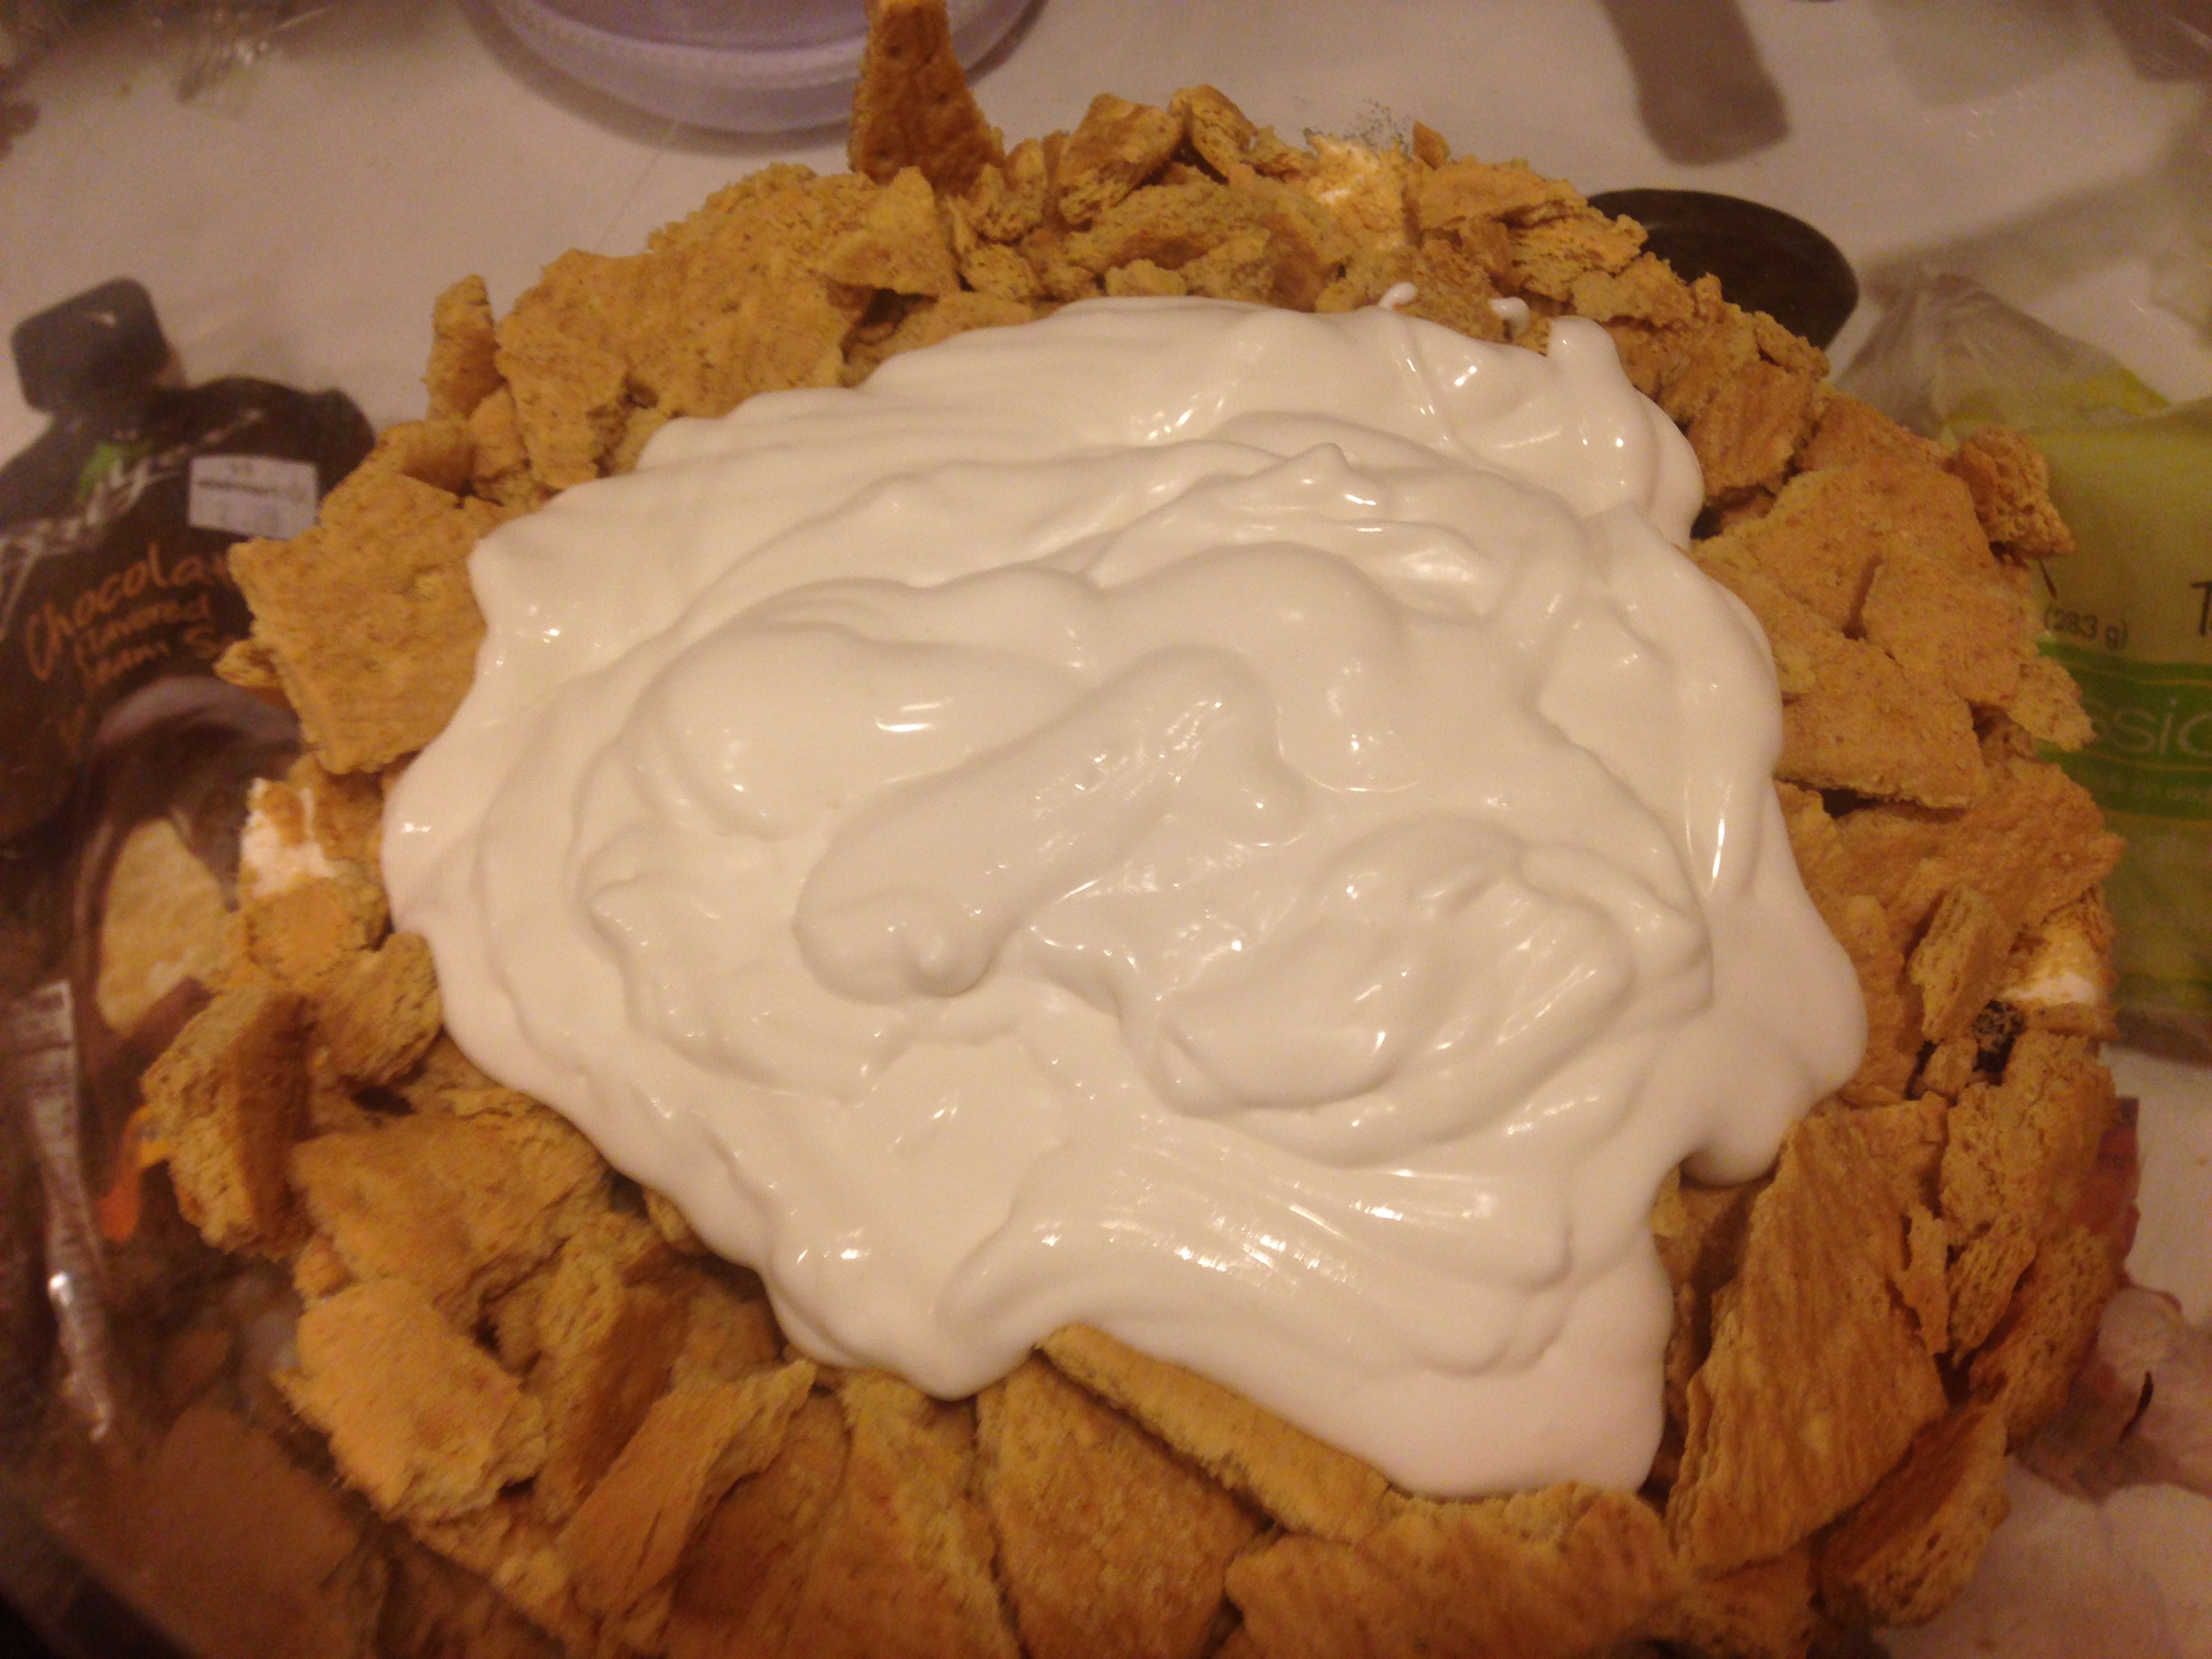
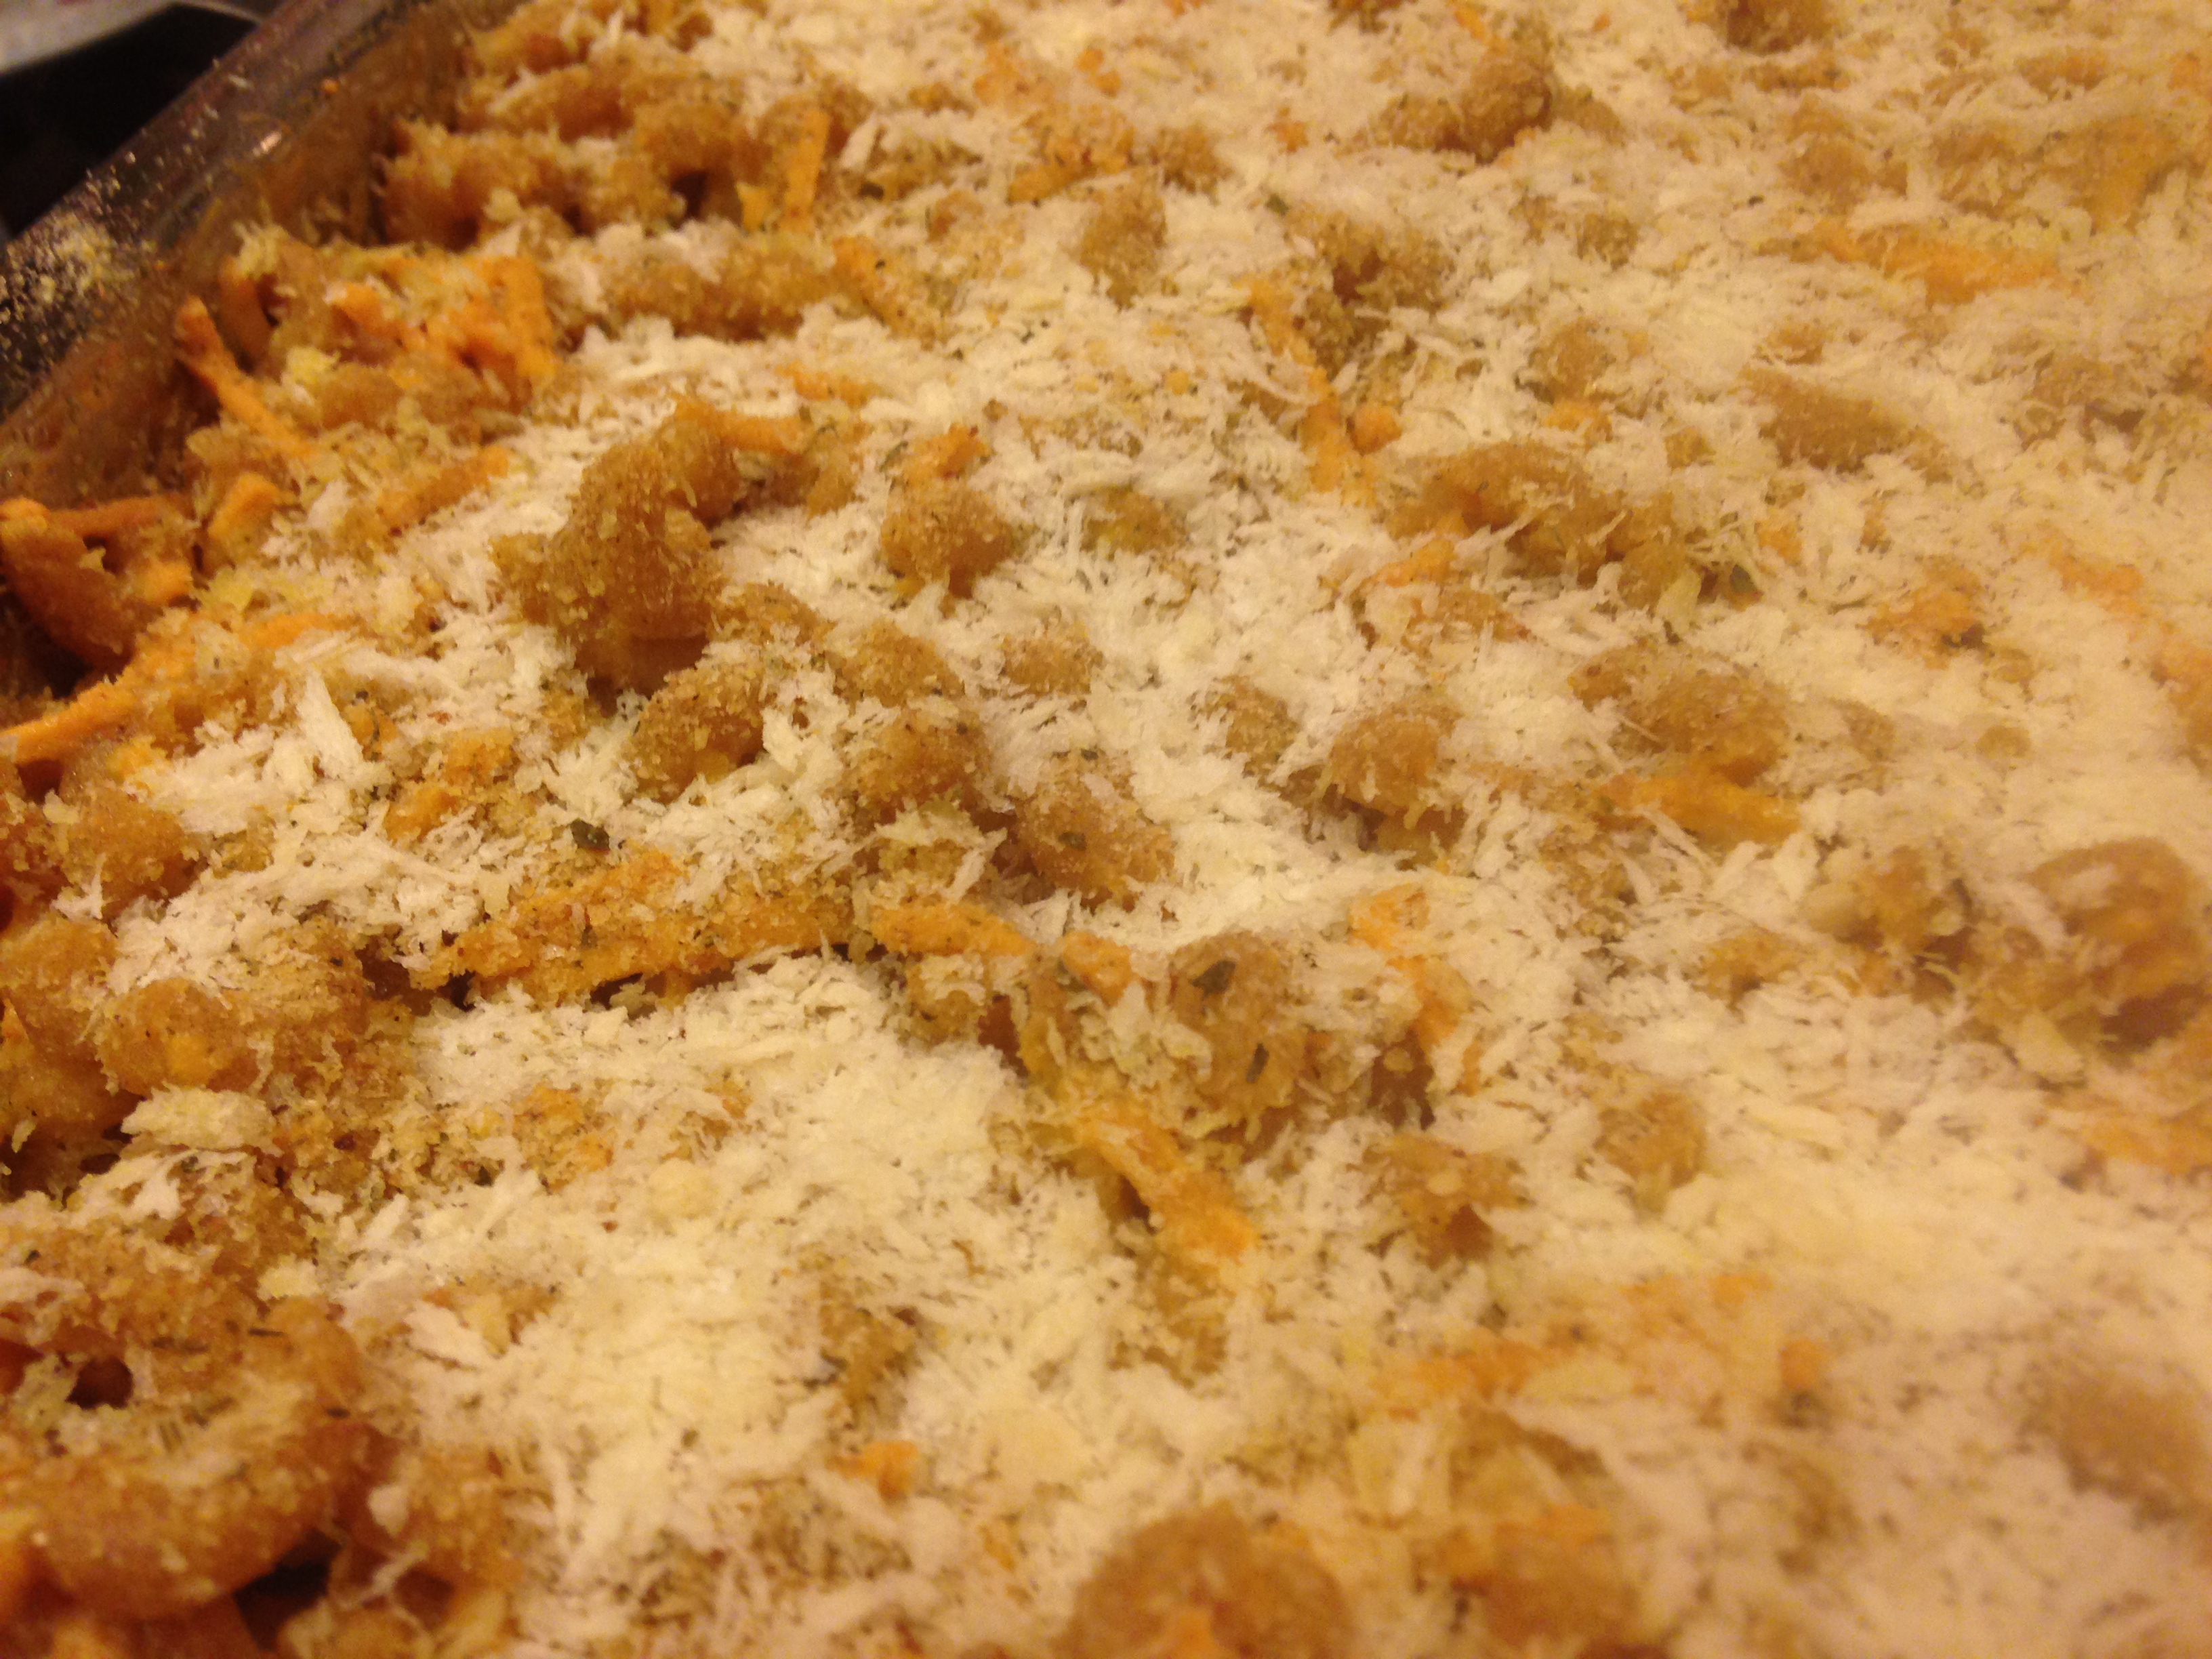
- Fill in holes between marshmallows with some fudge. Then crumble graham crackers on top. I used 1 package from a box. Approximately 8 sheets (you can reserve some for top layer if you want or just use more!).


- Next place 1/3 of the cheesecake cream in the center of the crackers but try to avoid bringing the liquid too close to the edges.
-


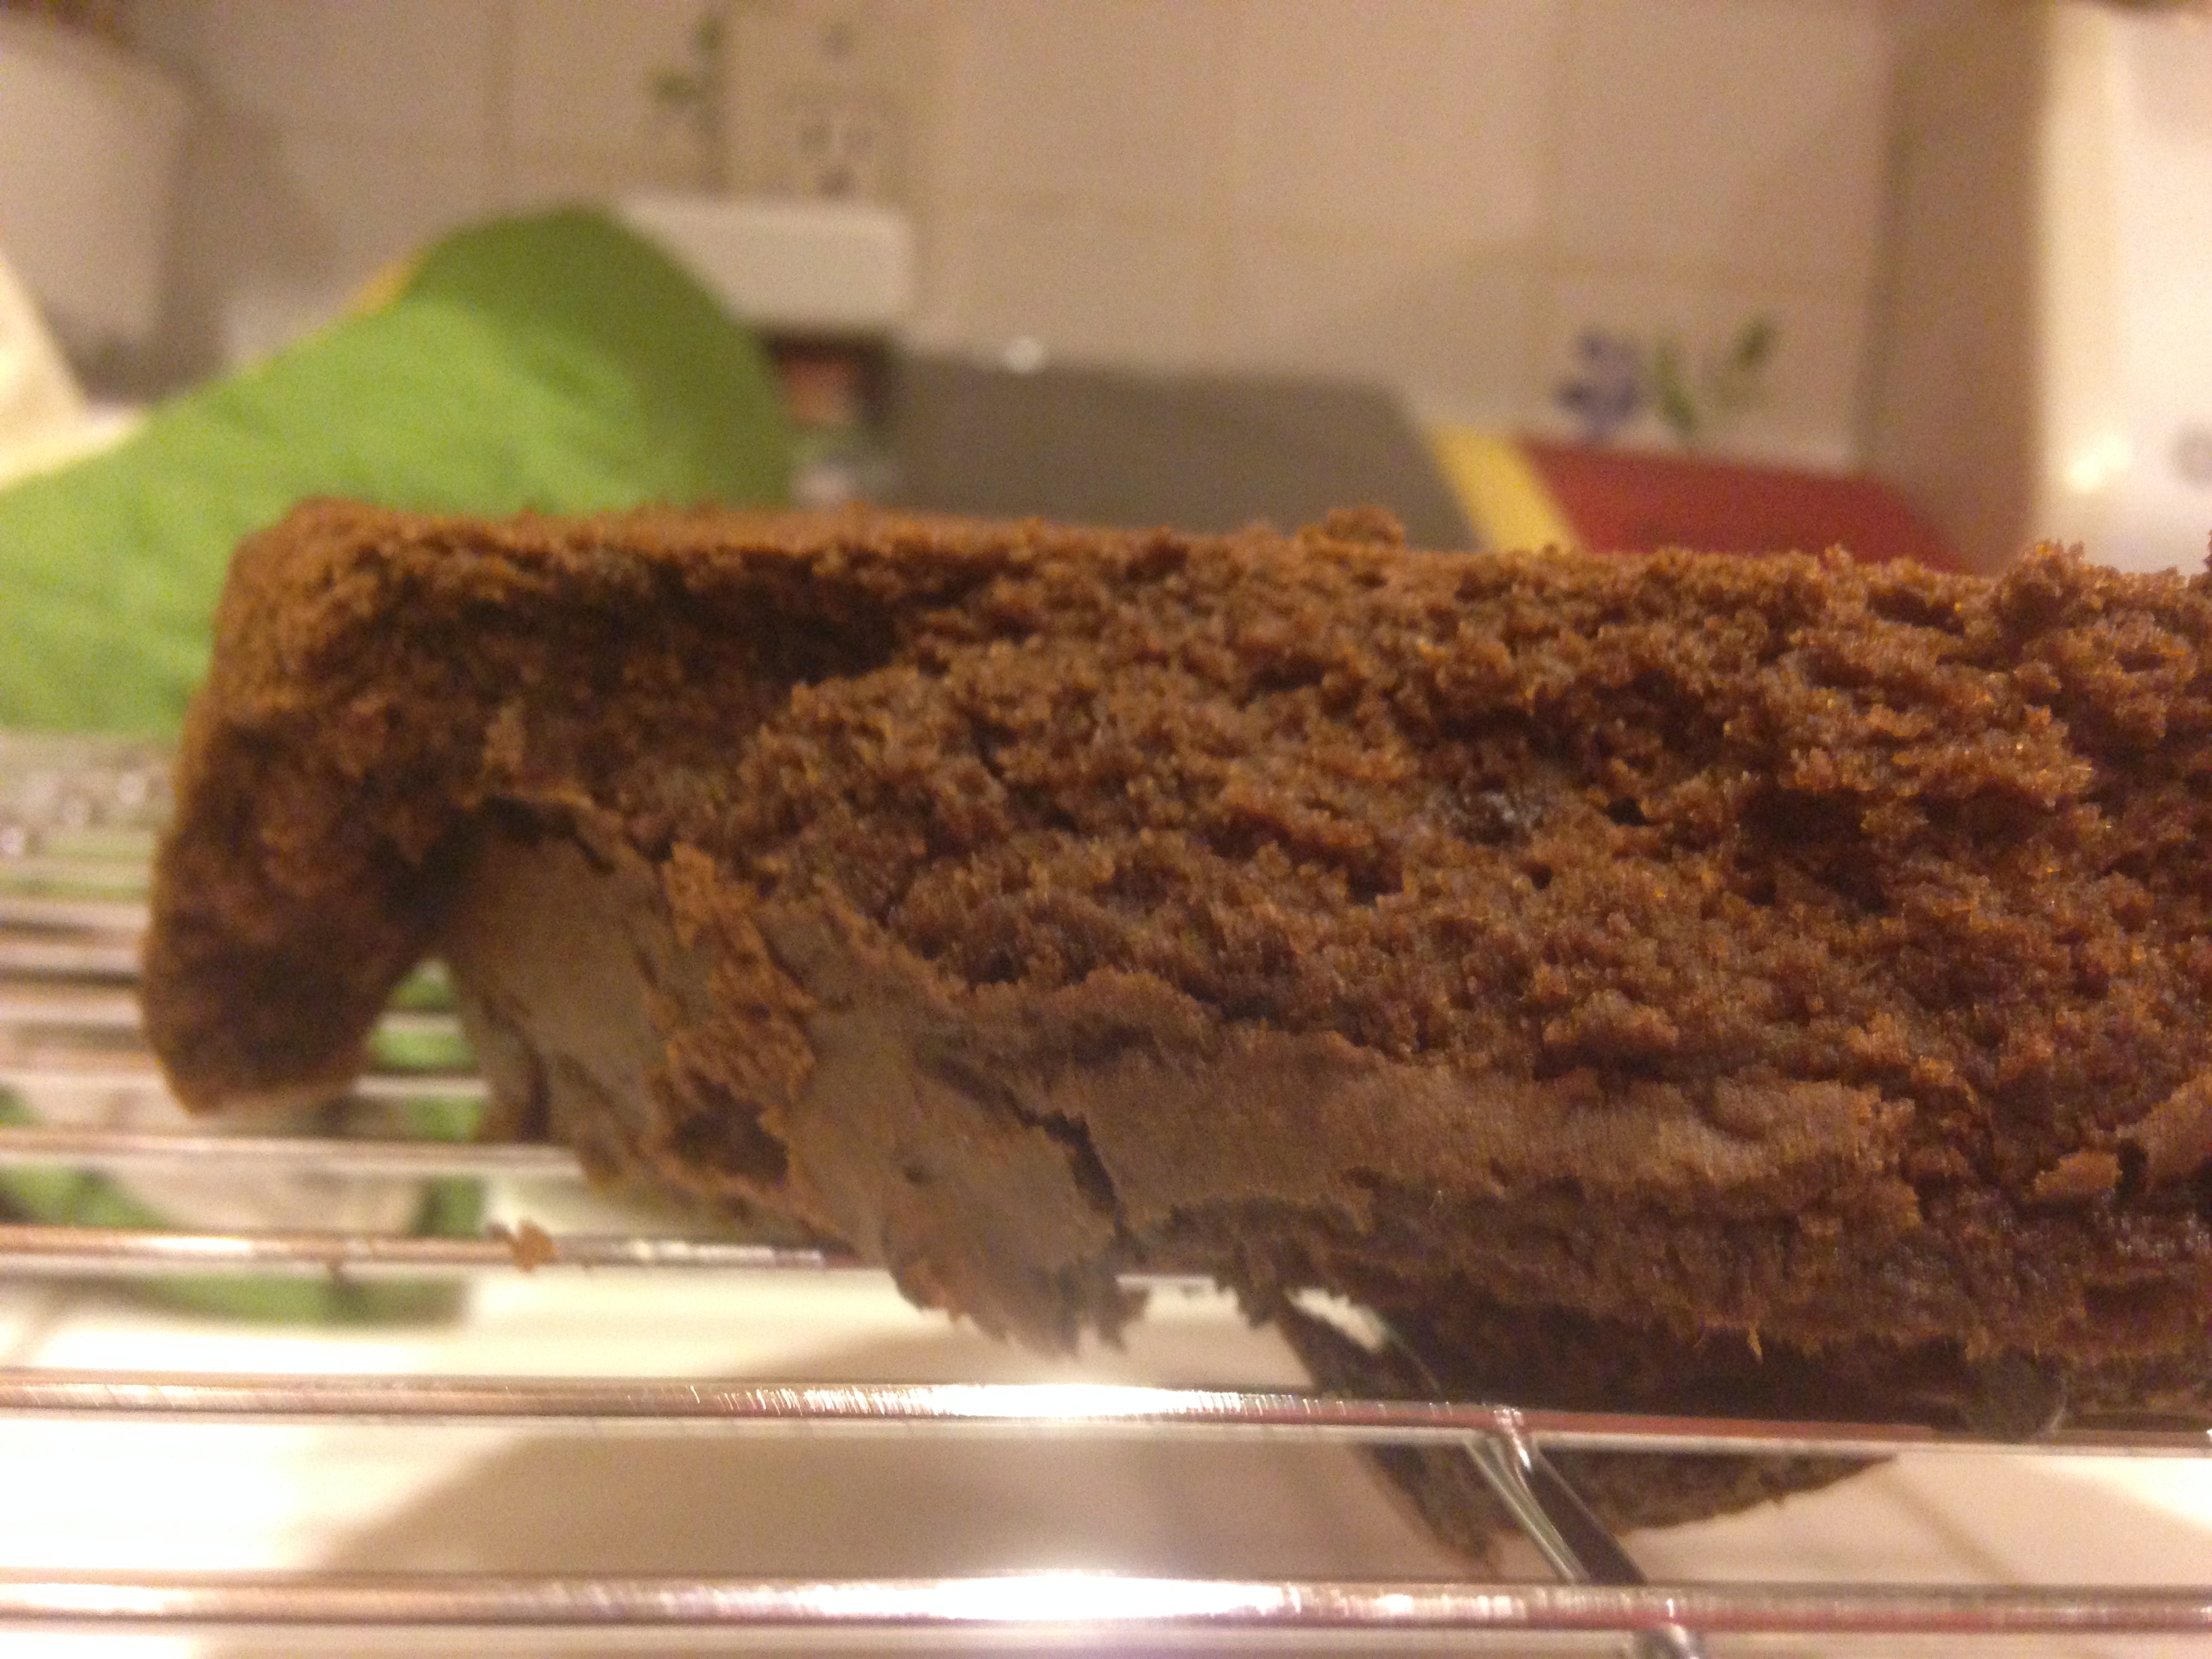
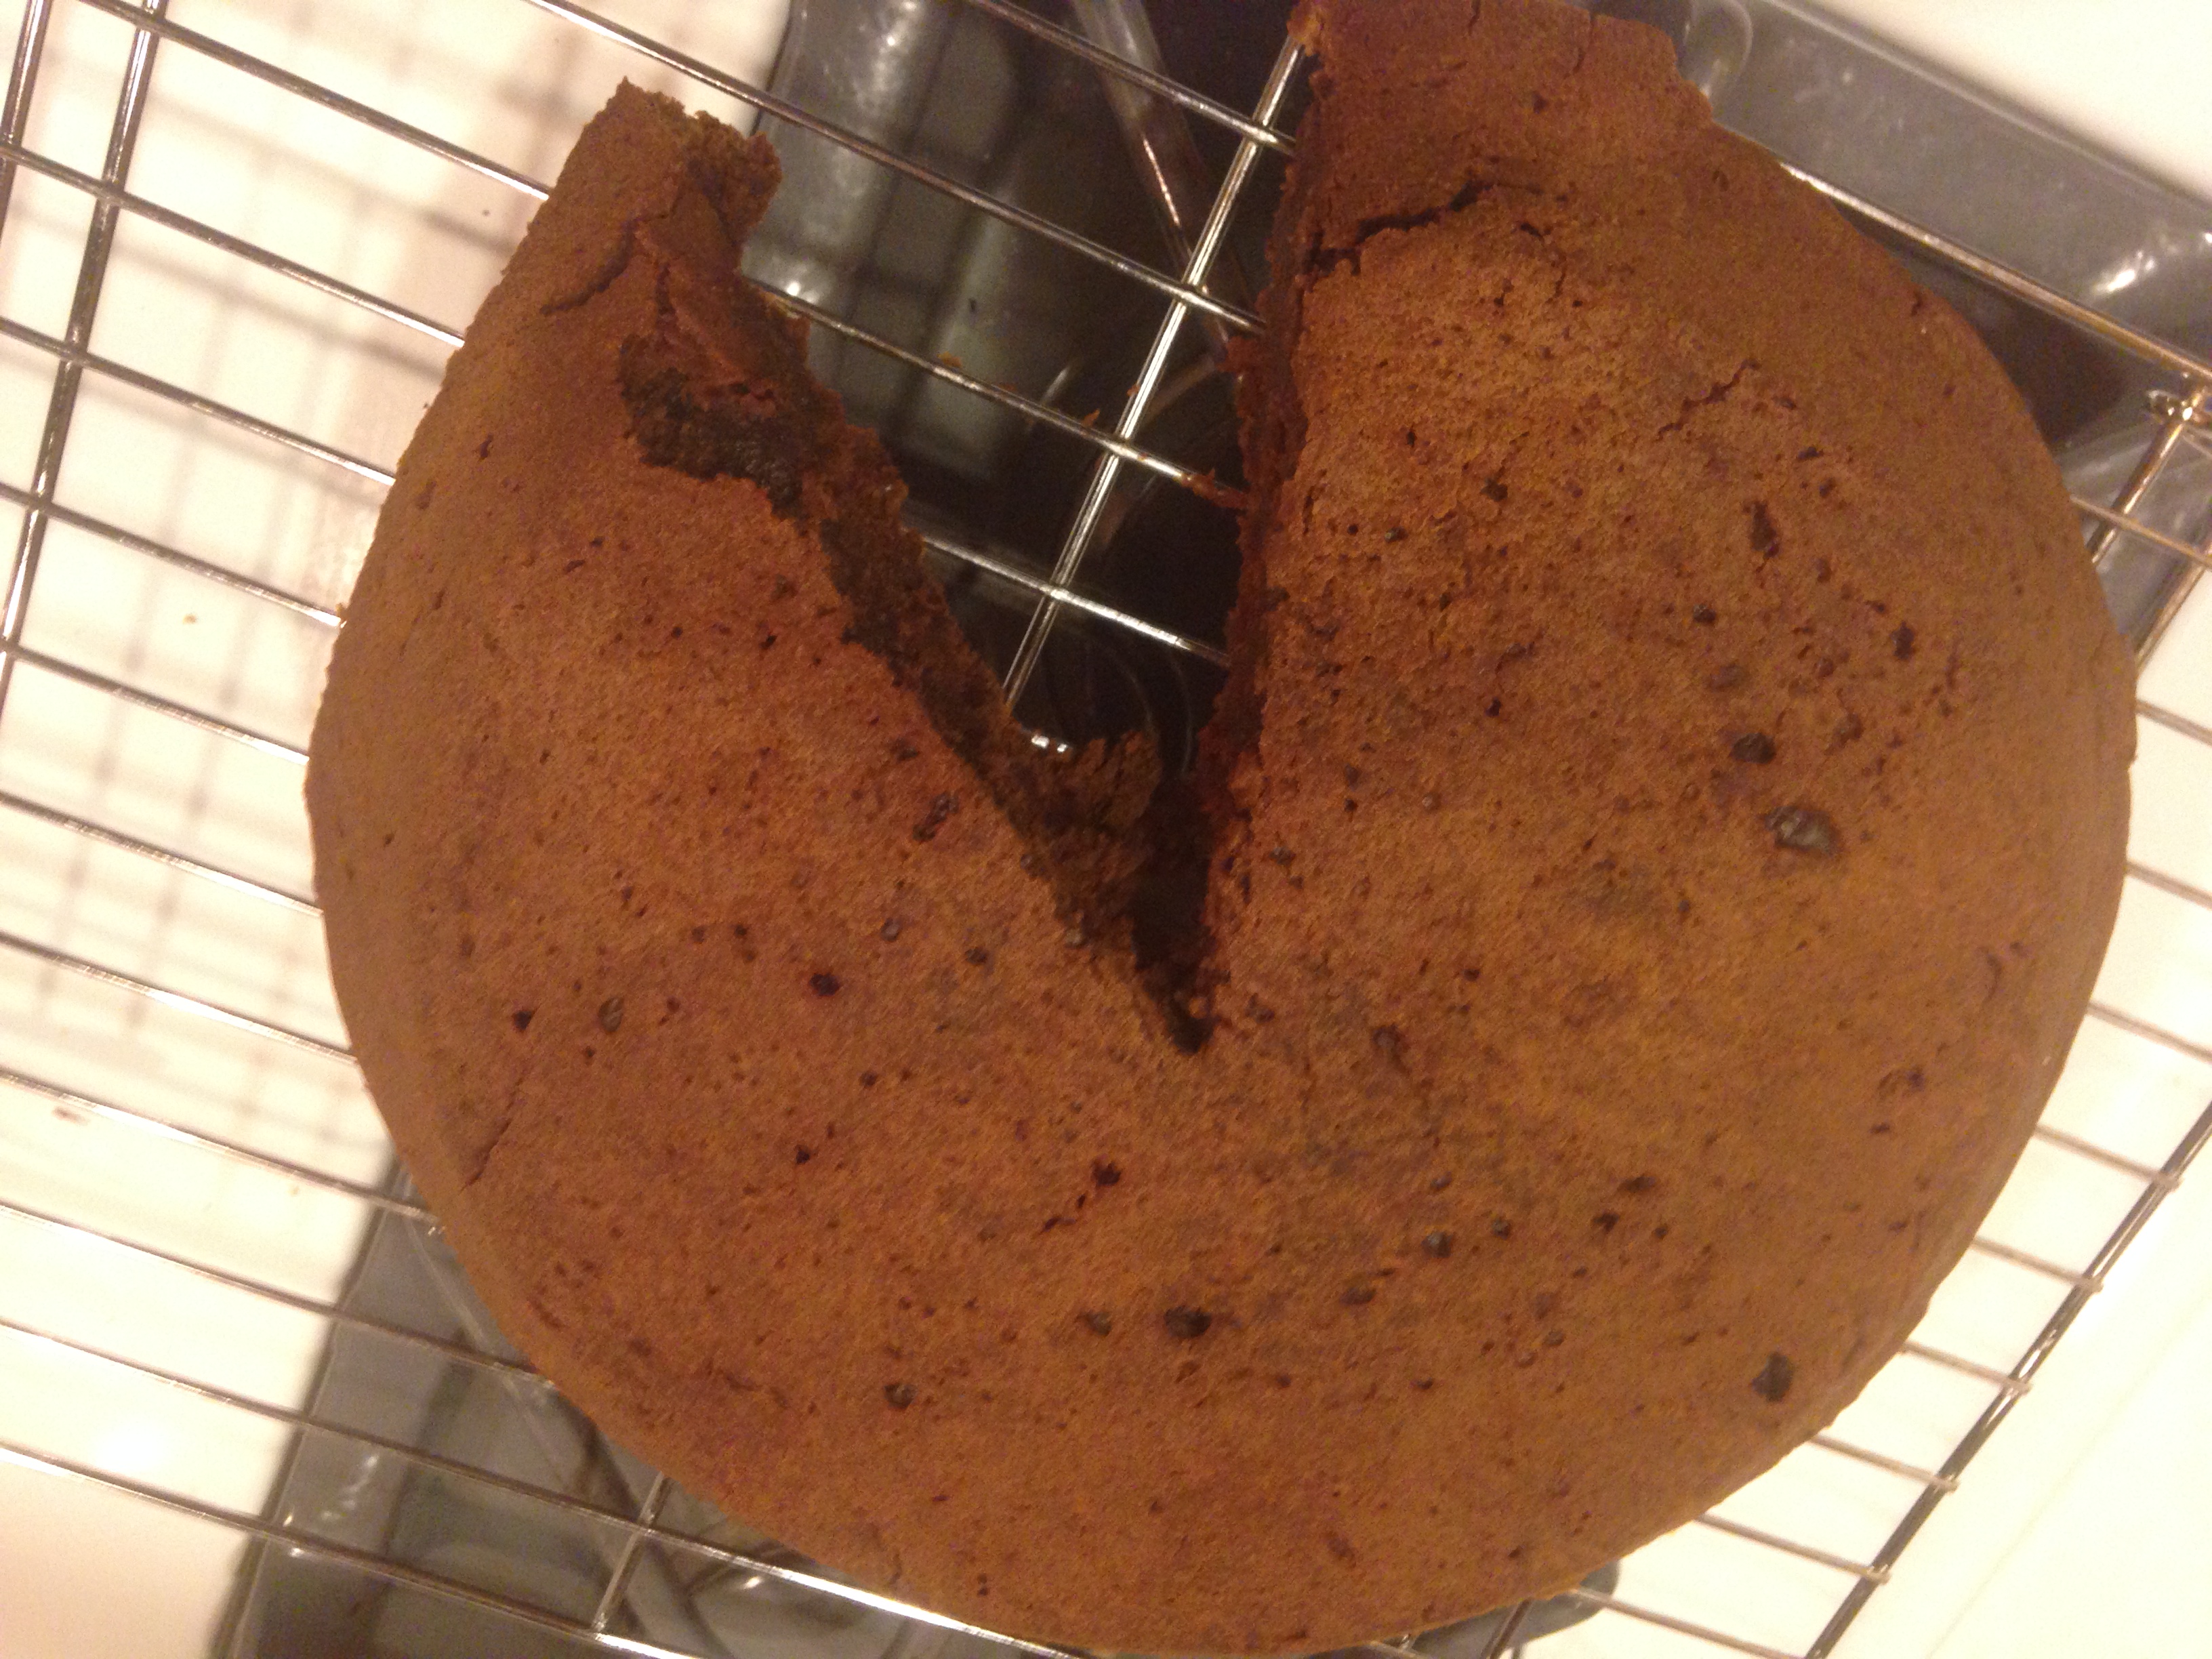
- Now add the brownie layer once it has been removed from the oven and cooled on a wire rack. You do not need to make a circular cut on this. Simply cut a triangular piece of brownie out of the “pie” and then it will allow for you to fold it into the trifle bowl by almost overlapping the edges where the cut was made. It also allows for you to have a snack 🙂


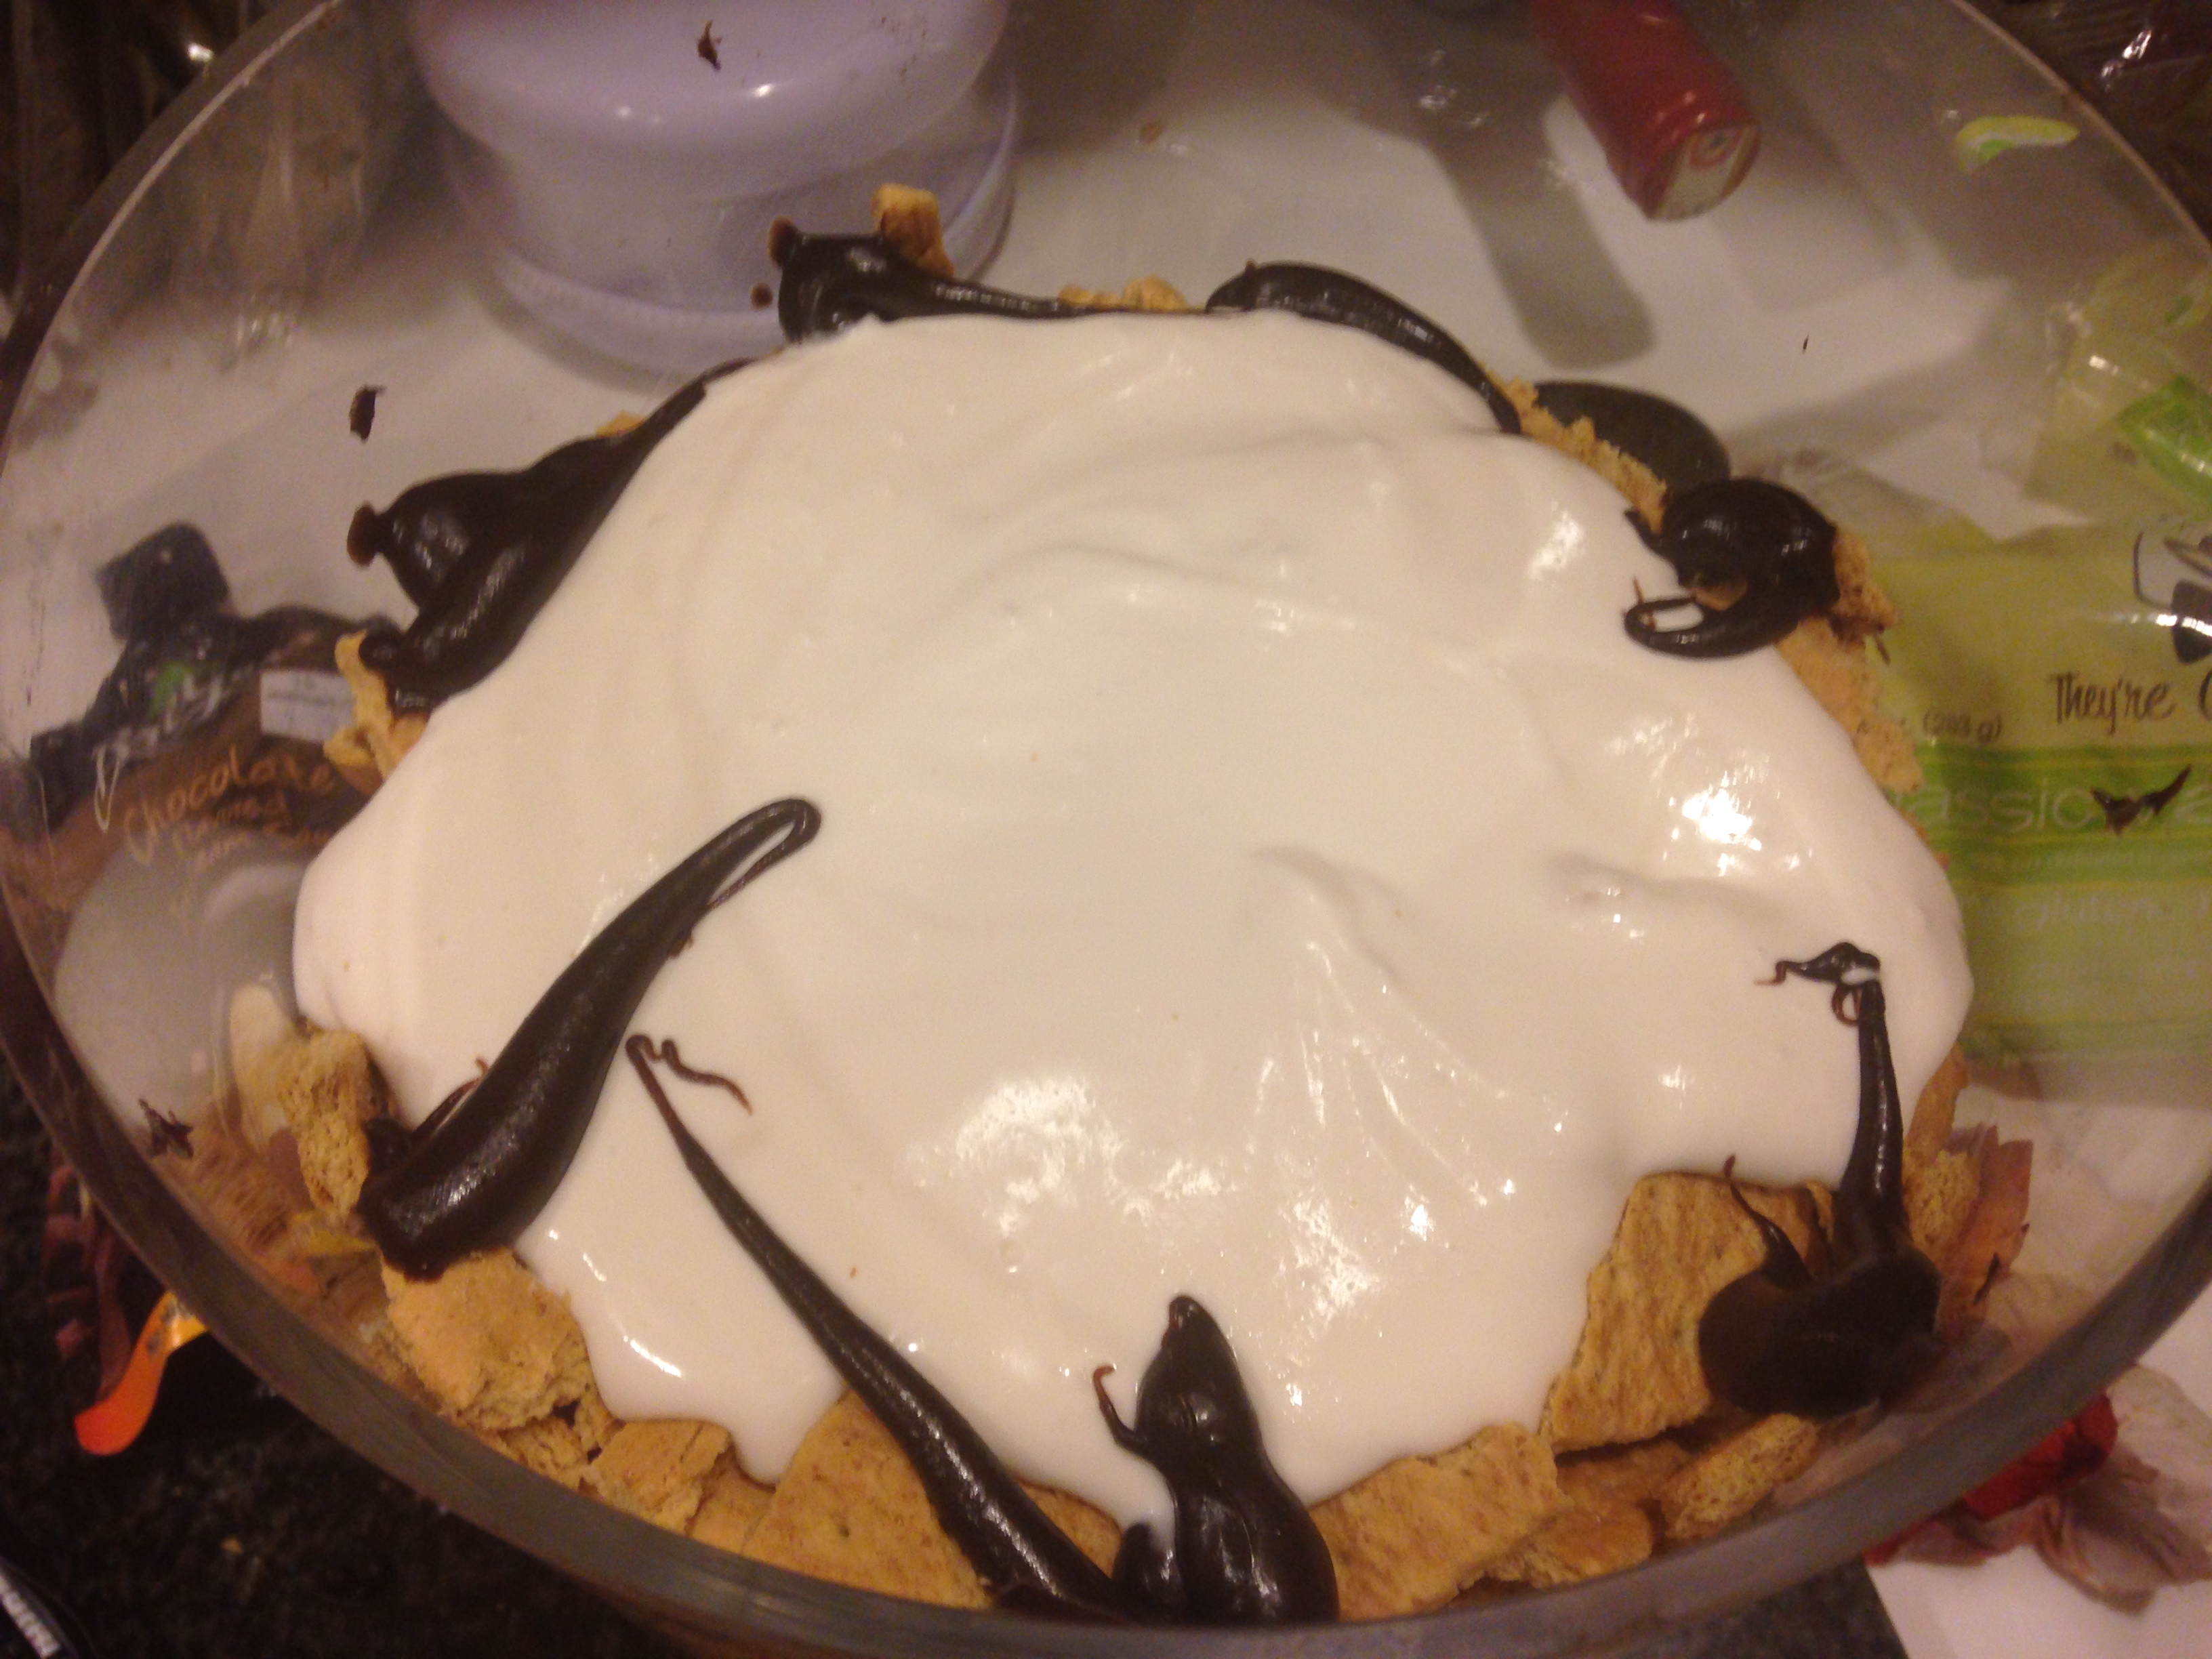
- Next add the rest of the cheesecake cream and decorate with marshmallows, fudge, and crumbled grahams. I like to line the edge again with marshmallows and place a dollop of fudge between for a nice finish on it 🙂
-


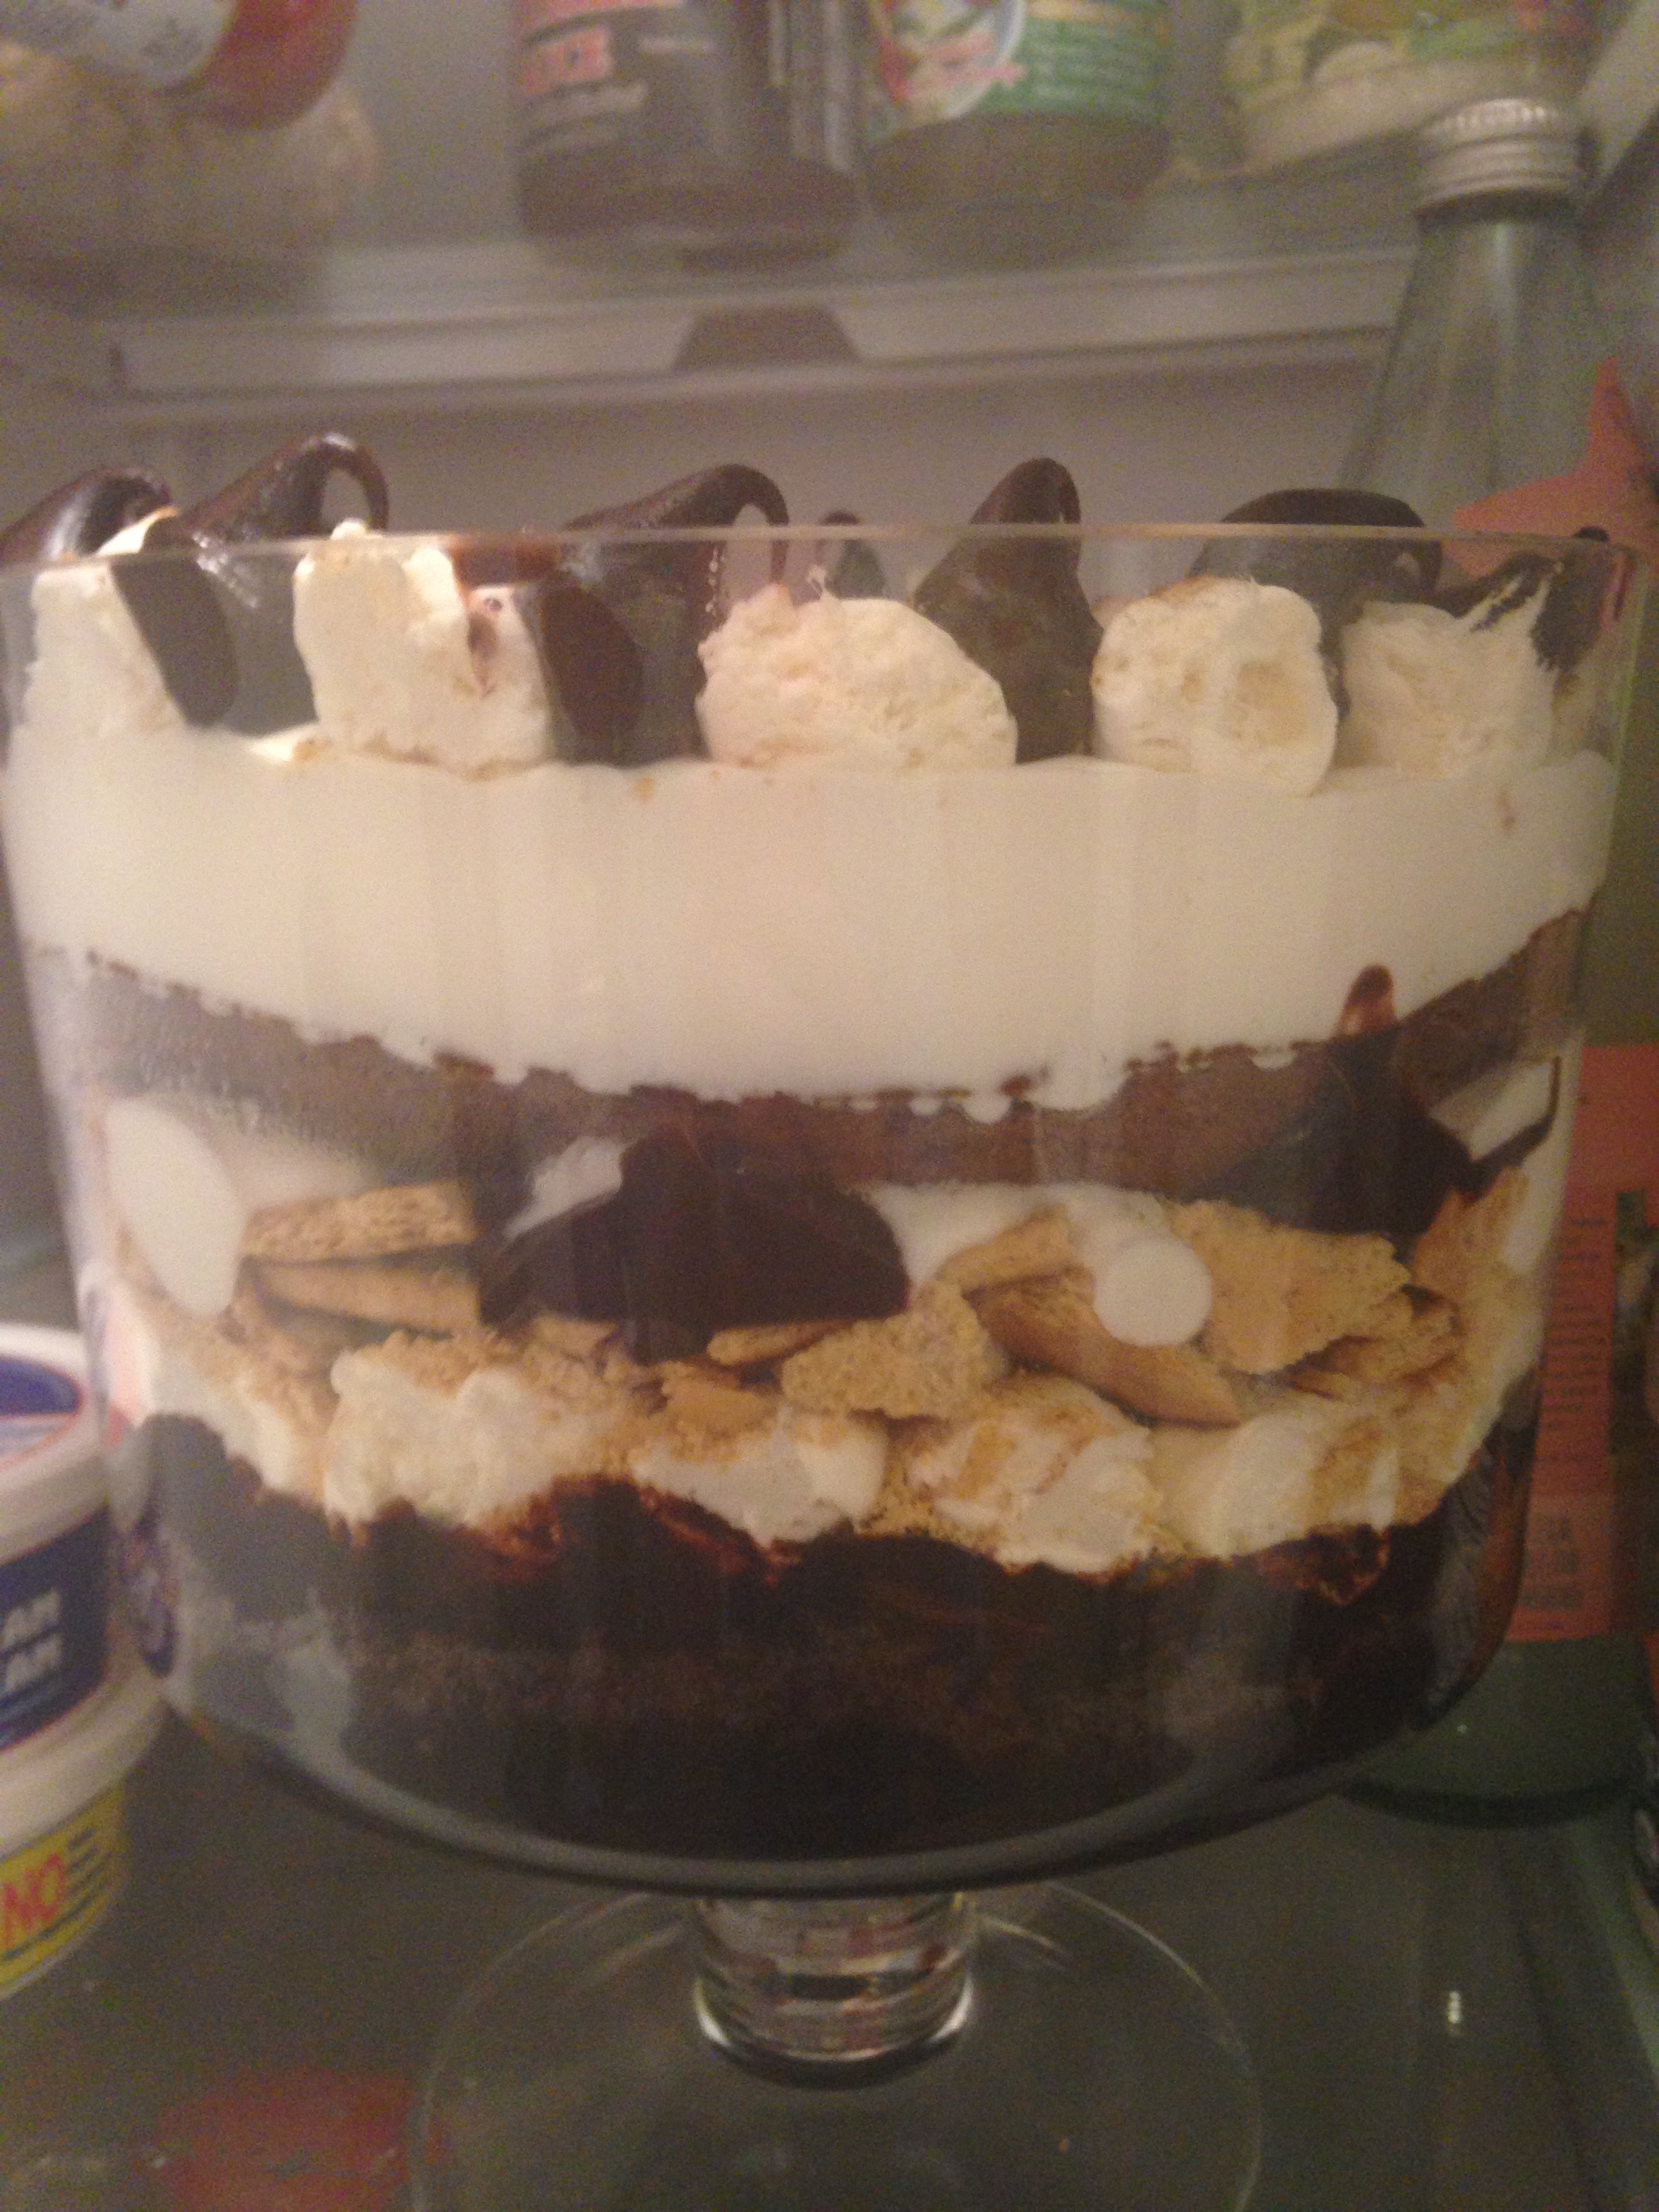
- Refrigerate overnight to settle. Serve cold. Enjoy!


______________________________________________________________________________________________________
Food is Love.
The Hippie Gypsy
—————————————————–
Check My Recipe Out on Tofutti.com also!
https://twitter.com/tofuttibrand/status/412642439371816960/photo/1


