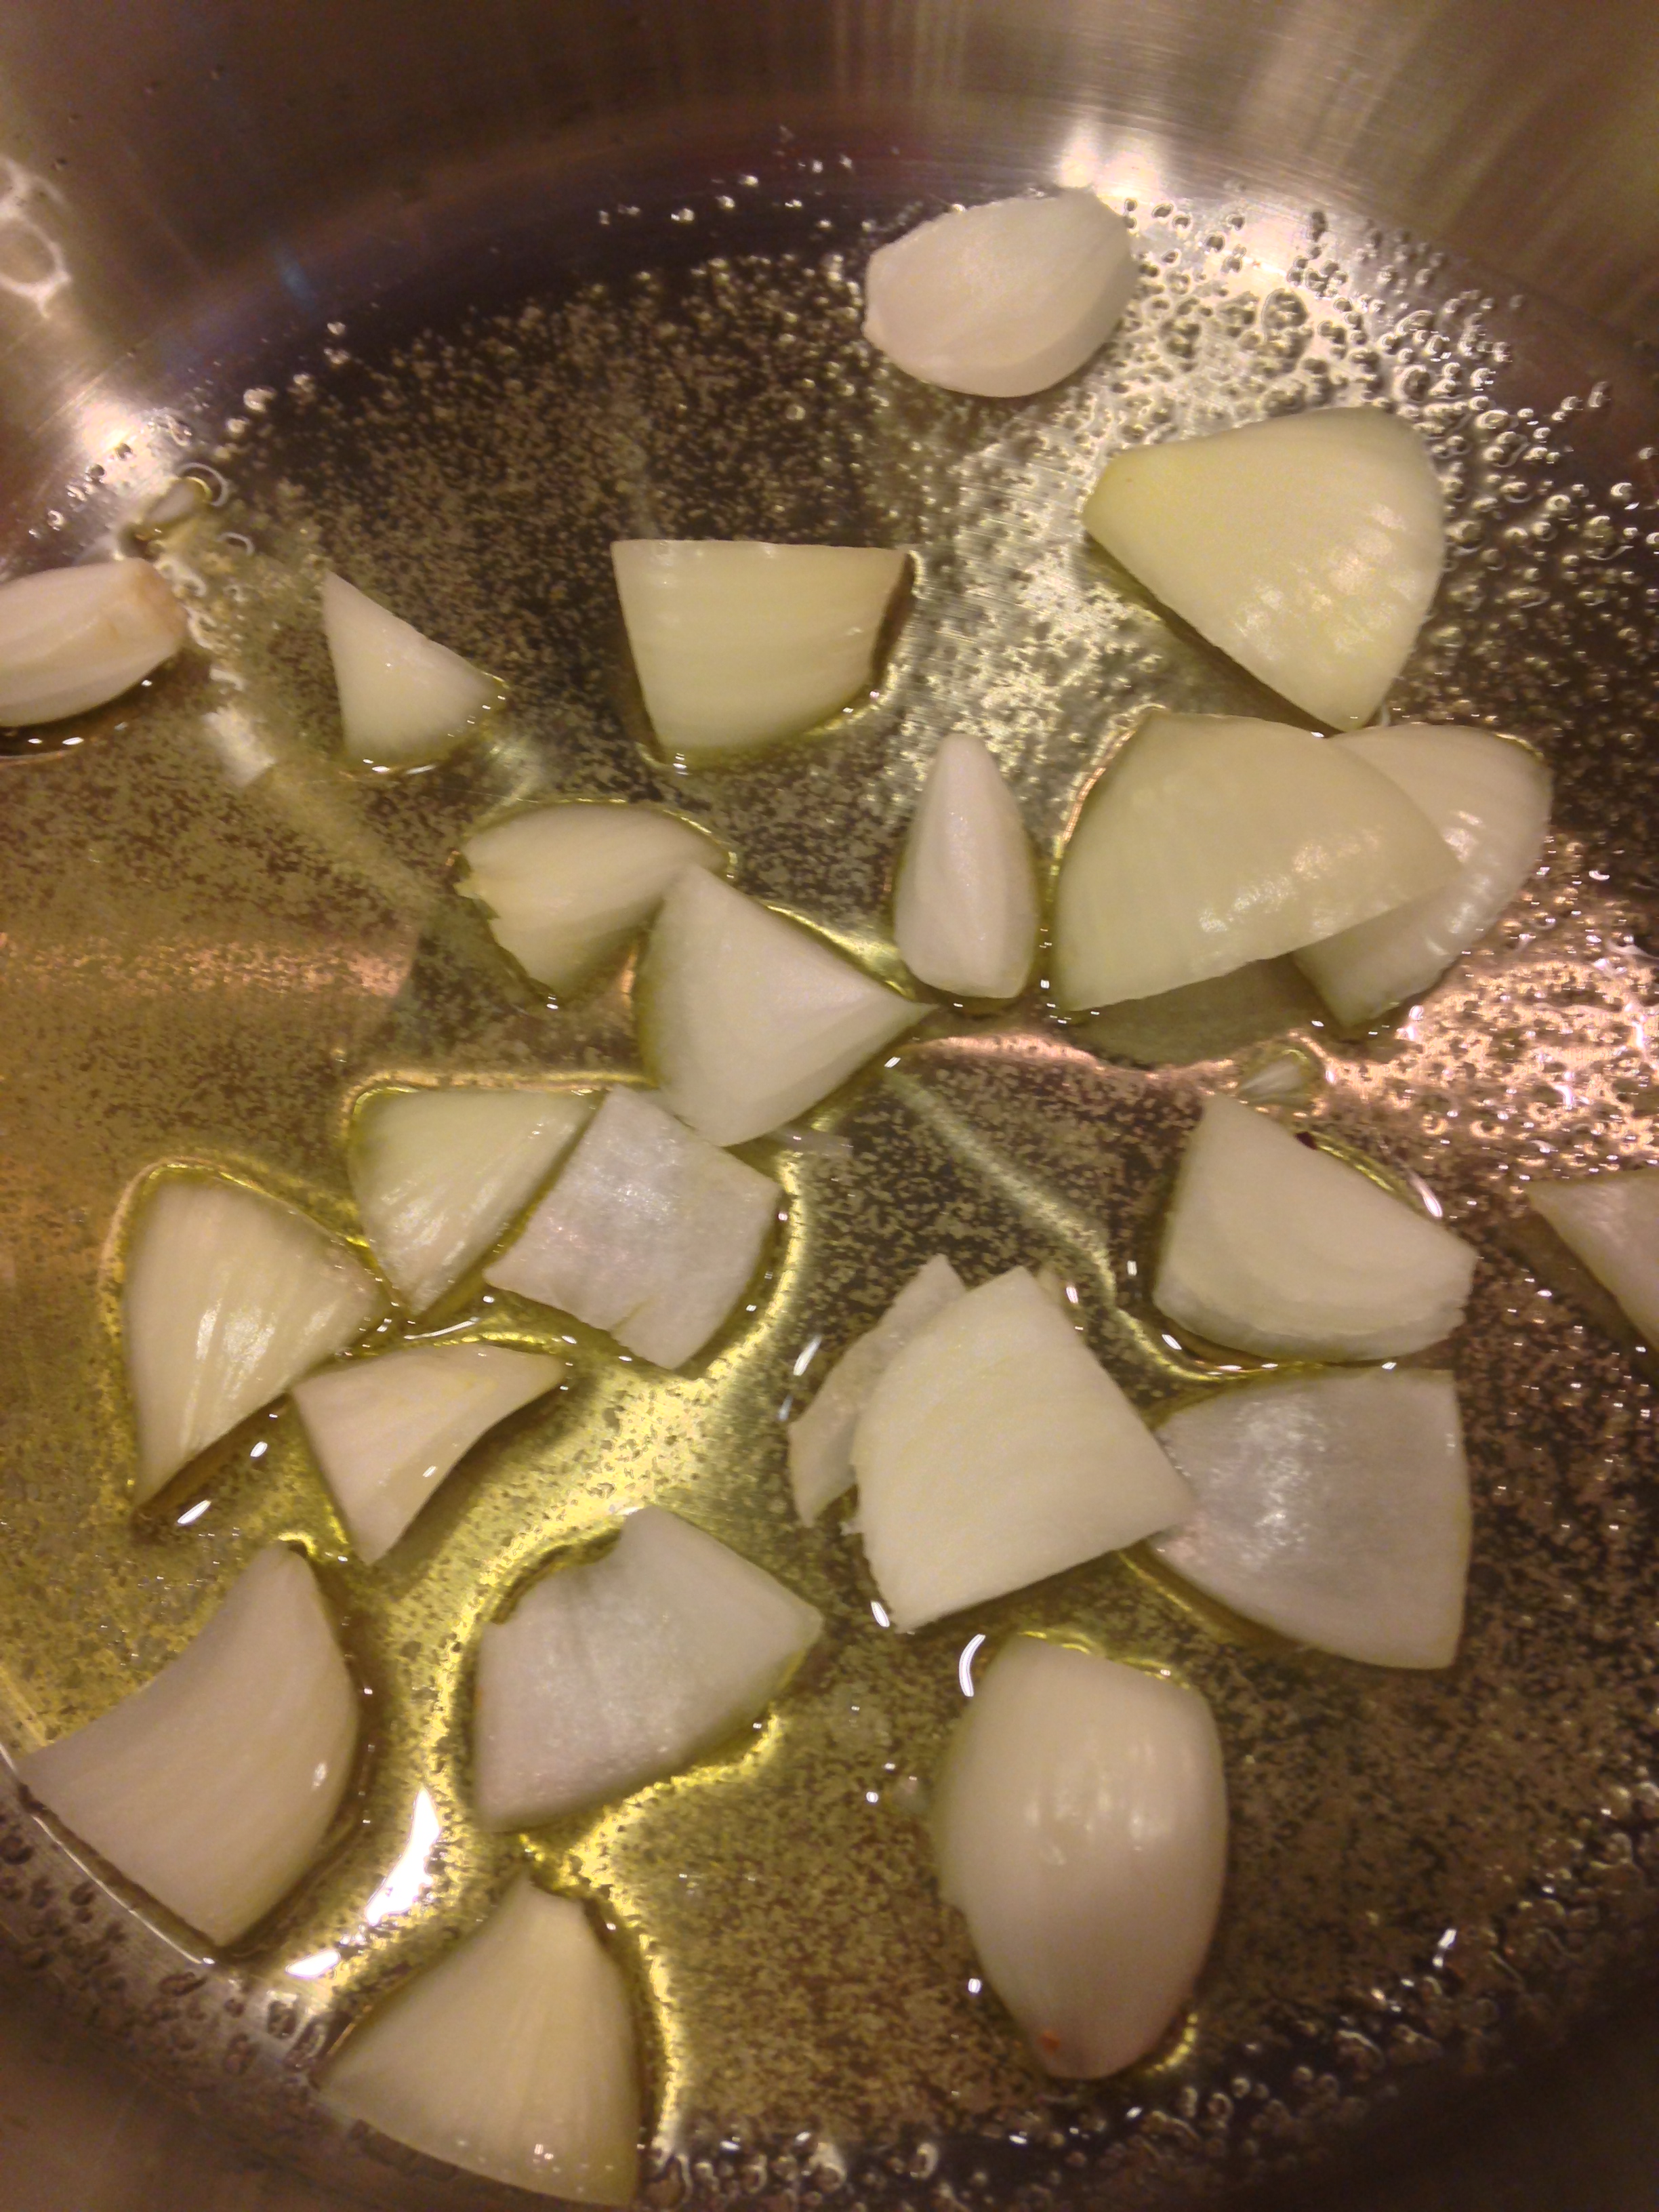
I learned how to cook lentils last year from a girl who was born and raised in Ethiopia, Africa. She made the most delicious garlicy tomato infused lentils I had ever eaten with this flatbread made of Teff. I thought I had died and gone to heaven. It was at a vegan cooking demonstration on a Friday night in the hall of a church in the Fenway area of Boston that we all call “The Fens”. I had somehow persuaded my otherwise unwilling husband to attend. I knew he would probably want to skip the whole thing but luckily he was loving me enough that night to suck it up and attend. He ended up leaving happy because he liked most of the food and met another omnivore there dragged by his wife as well. After that I decided I must learn to cook lentils and incorporate them in my diet. They have so many good qualities and I am a sucker for a bean of any sort. So In my steamer I dumped water, salt, garlic, and tomato paste and started cooking my lentils. They take a while and I have learned to pick through them for stones and soak them in water to soften them. But my new favorite thing to do is take them and layer them in pasta or lasagna or any sort of casserole. It adds protein and heartiness without any strange new flavors or weird textures. Even the kids like them and the youngest is pretty much against all bean varieties except canned green beans. So this was the biggest hit of the summer in terms of my use of lentils: Vegan Cheesy, Tomato, Pasta, and Lentil Bake. I think even the mixture over rice would go well but I will try that at Christmas break 🙂
Enjoy!
___________________________________________________________________________________________________
Cheesy Tomato, Pasta, and Lentil Bake
Lentil Mixture
- 1 Bag of Lentils (Green French Lentils or Plain Lentils Work Well)
- 1-2 cans of Tomato Paste
- Water
- Salt
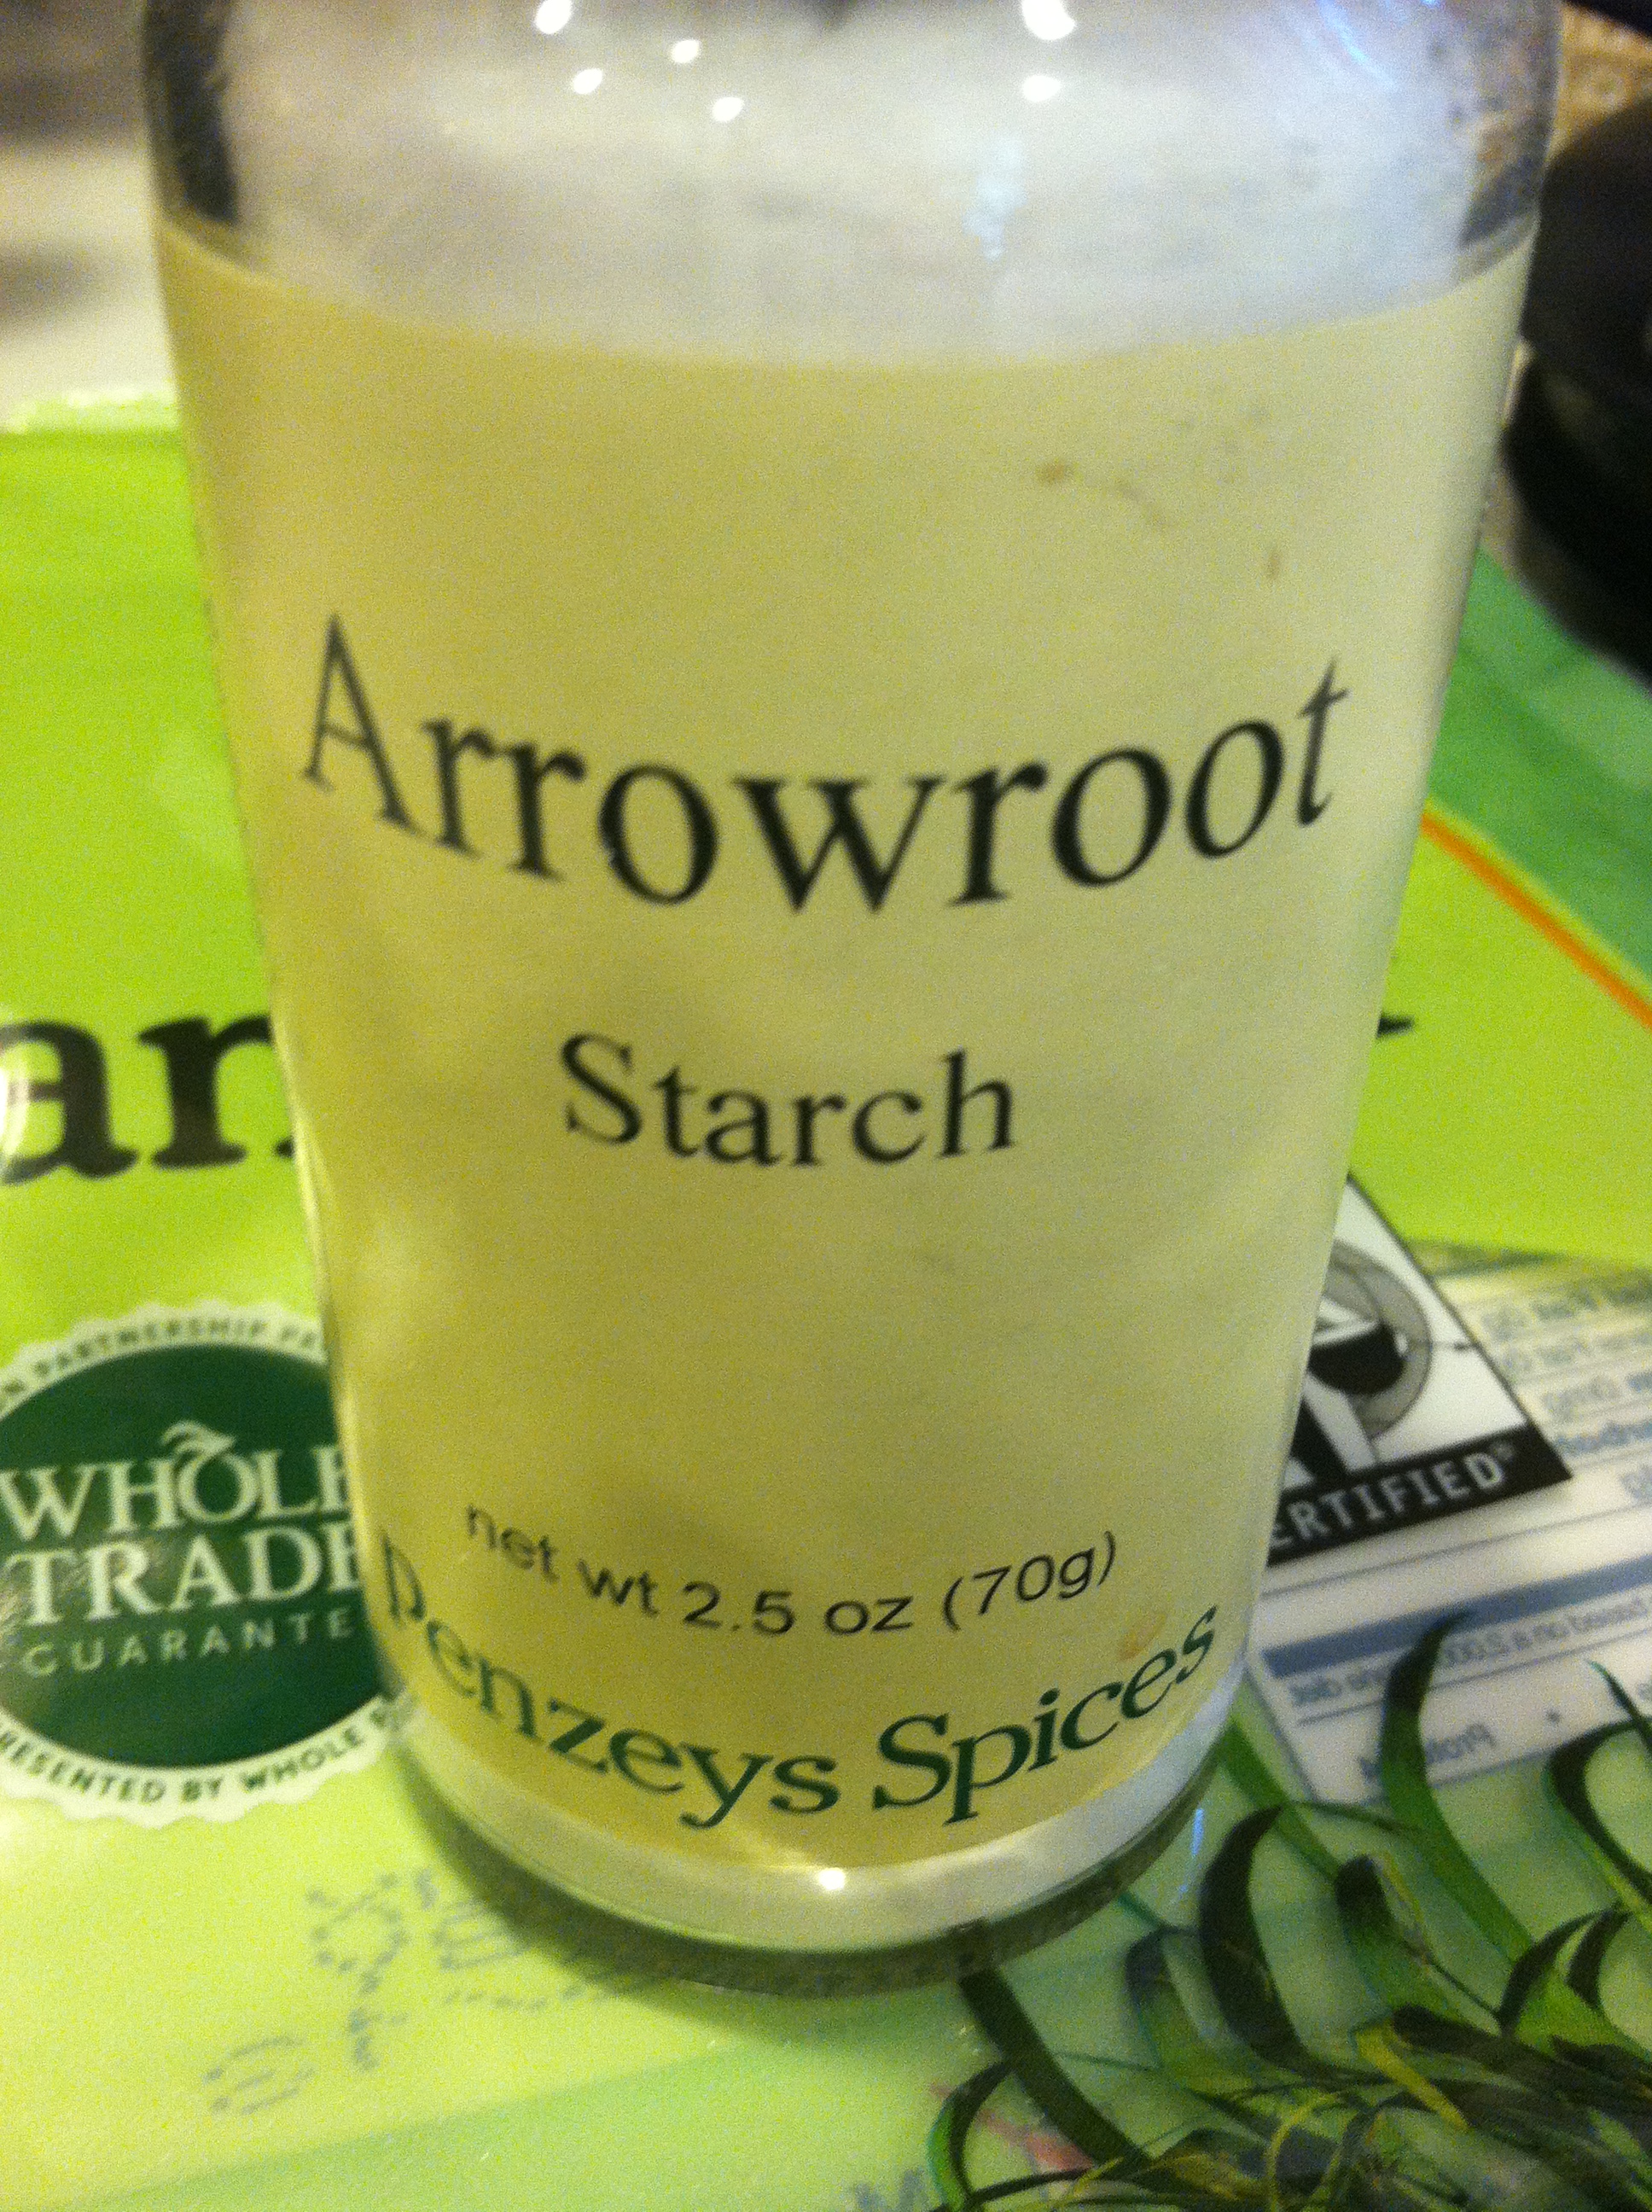
- Granulated Garlic Powder
Pasta:
- (2) lbs of Rotini Pasta (I use the vegetable kind)
Cheesy Tomato Sauce Layers:
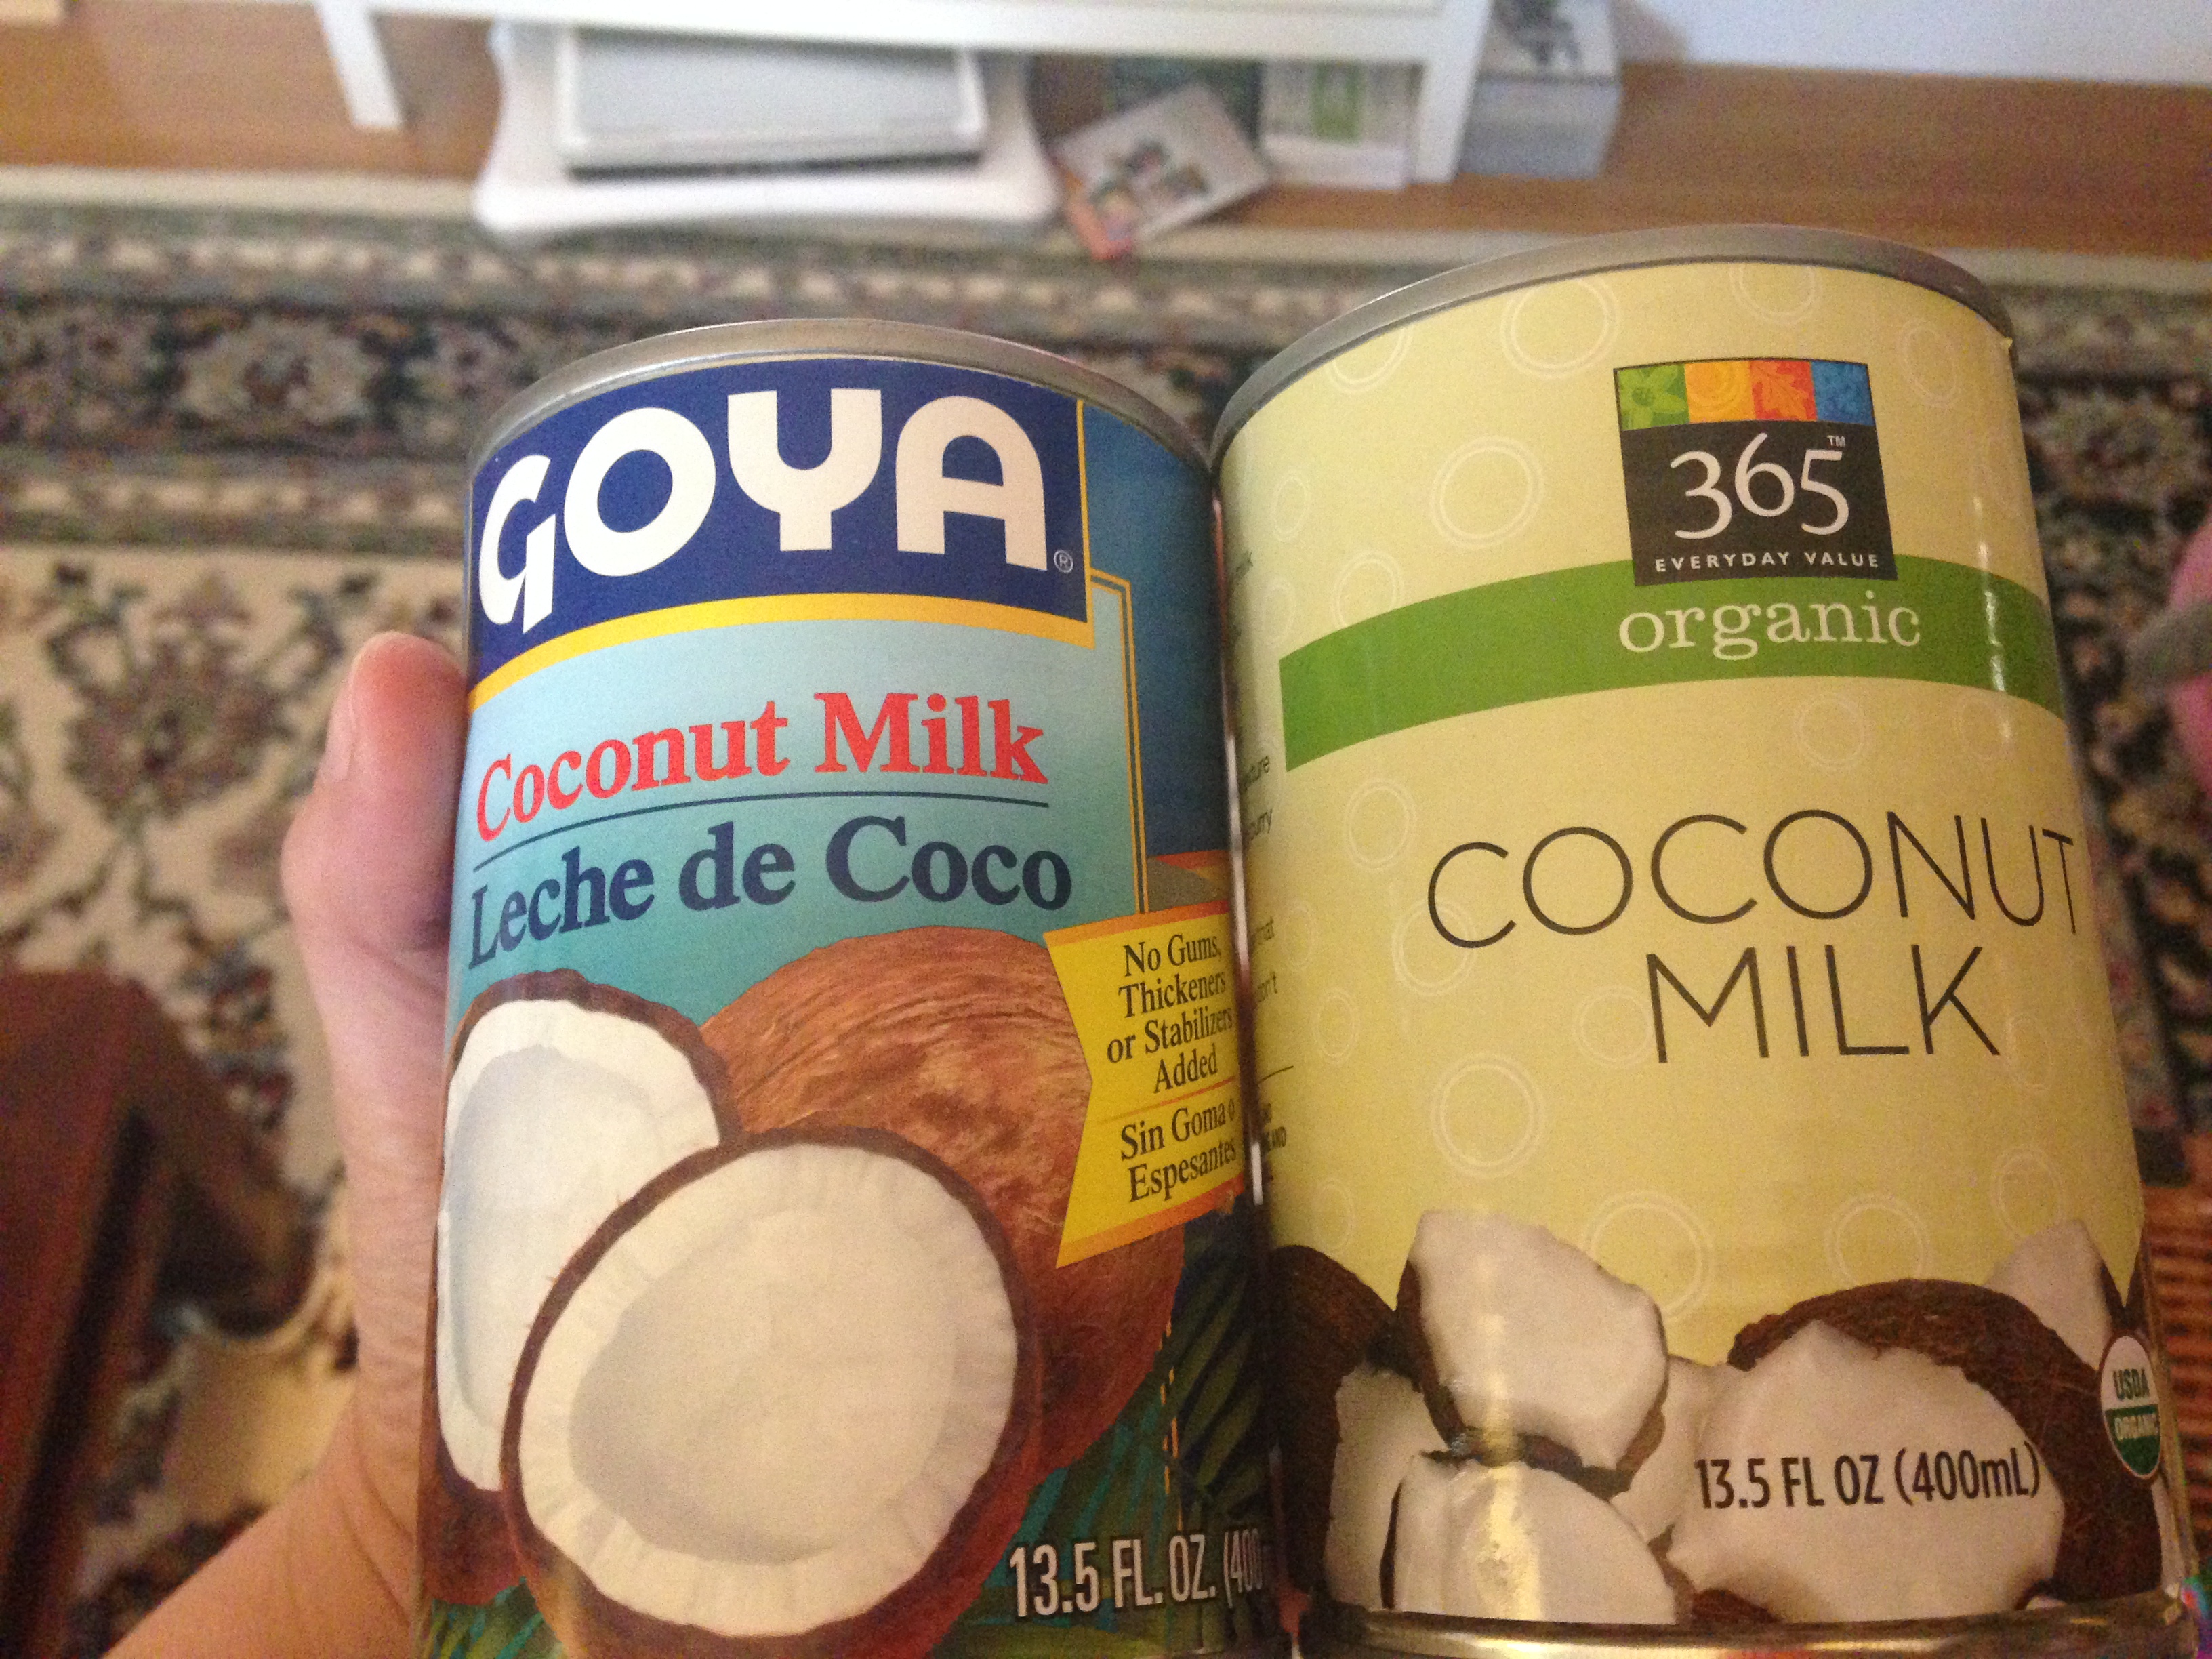
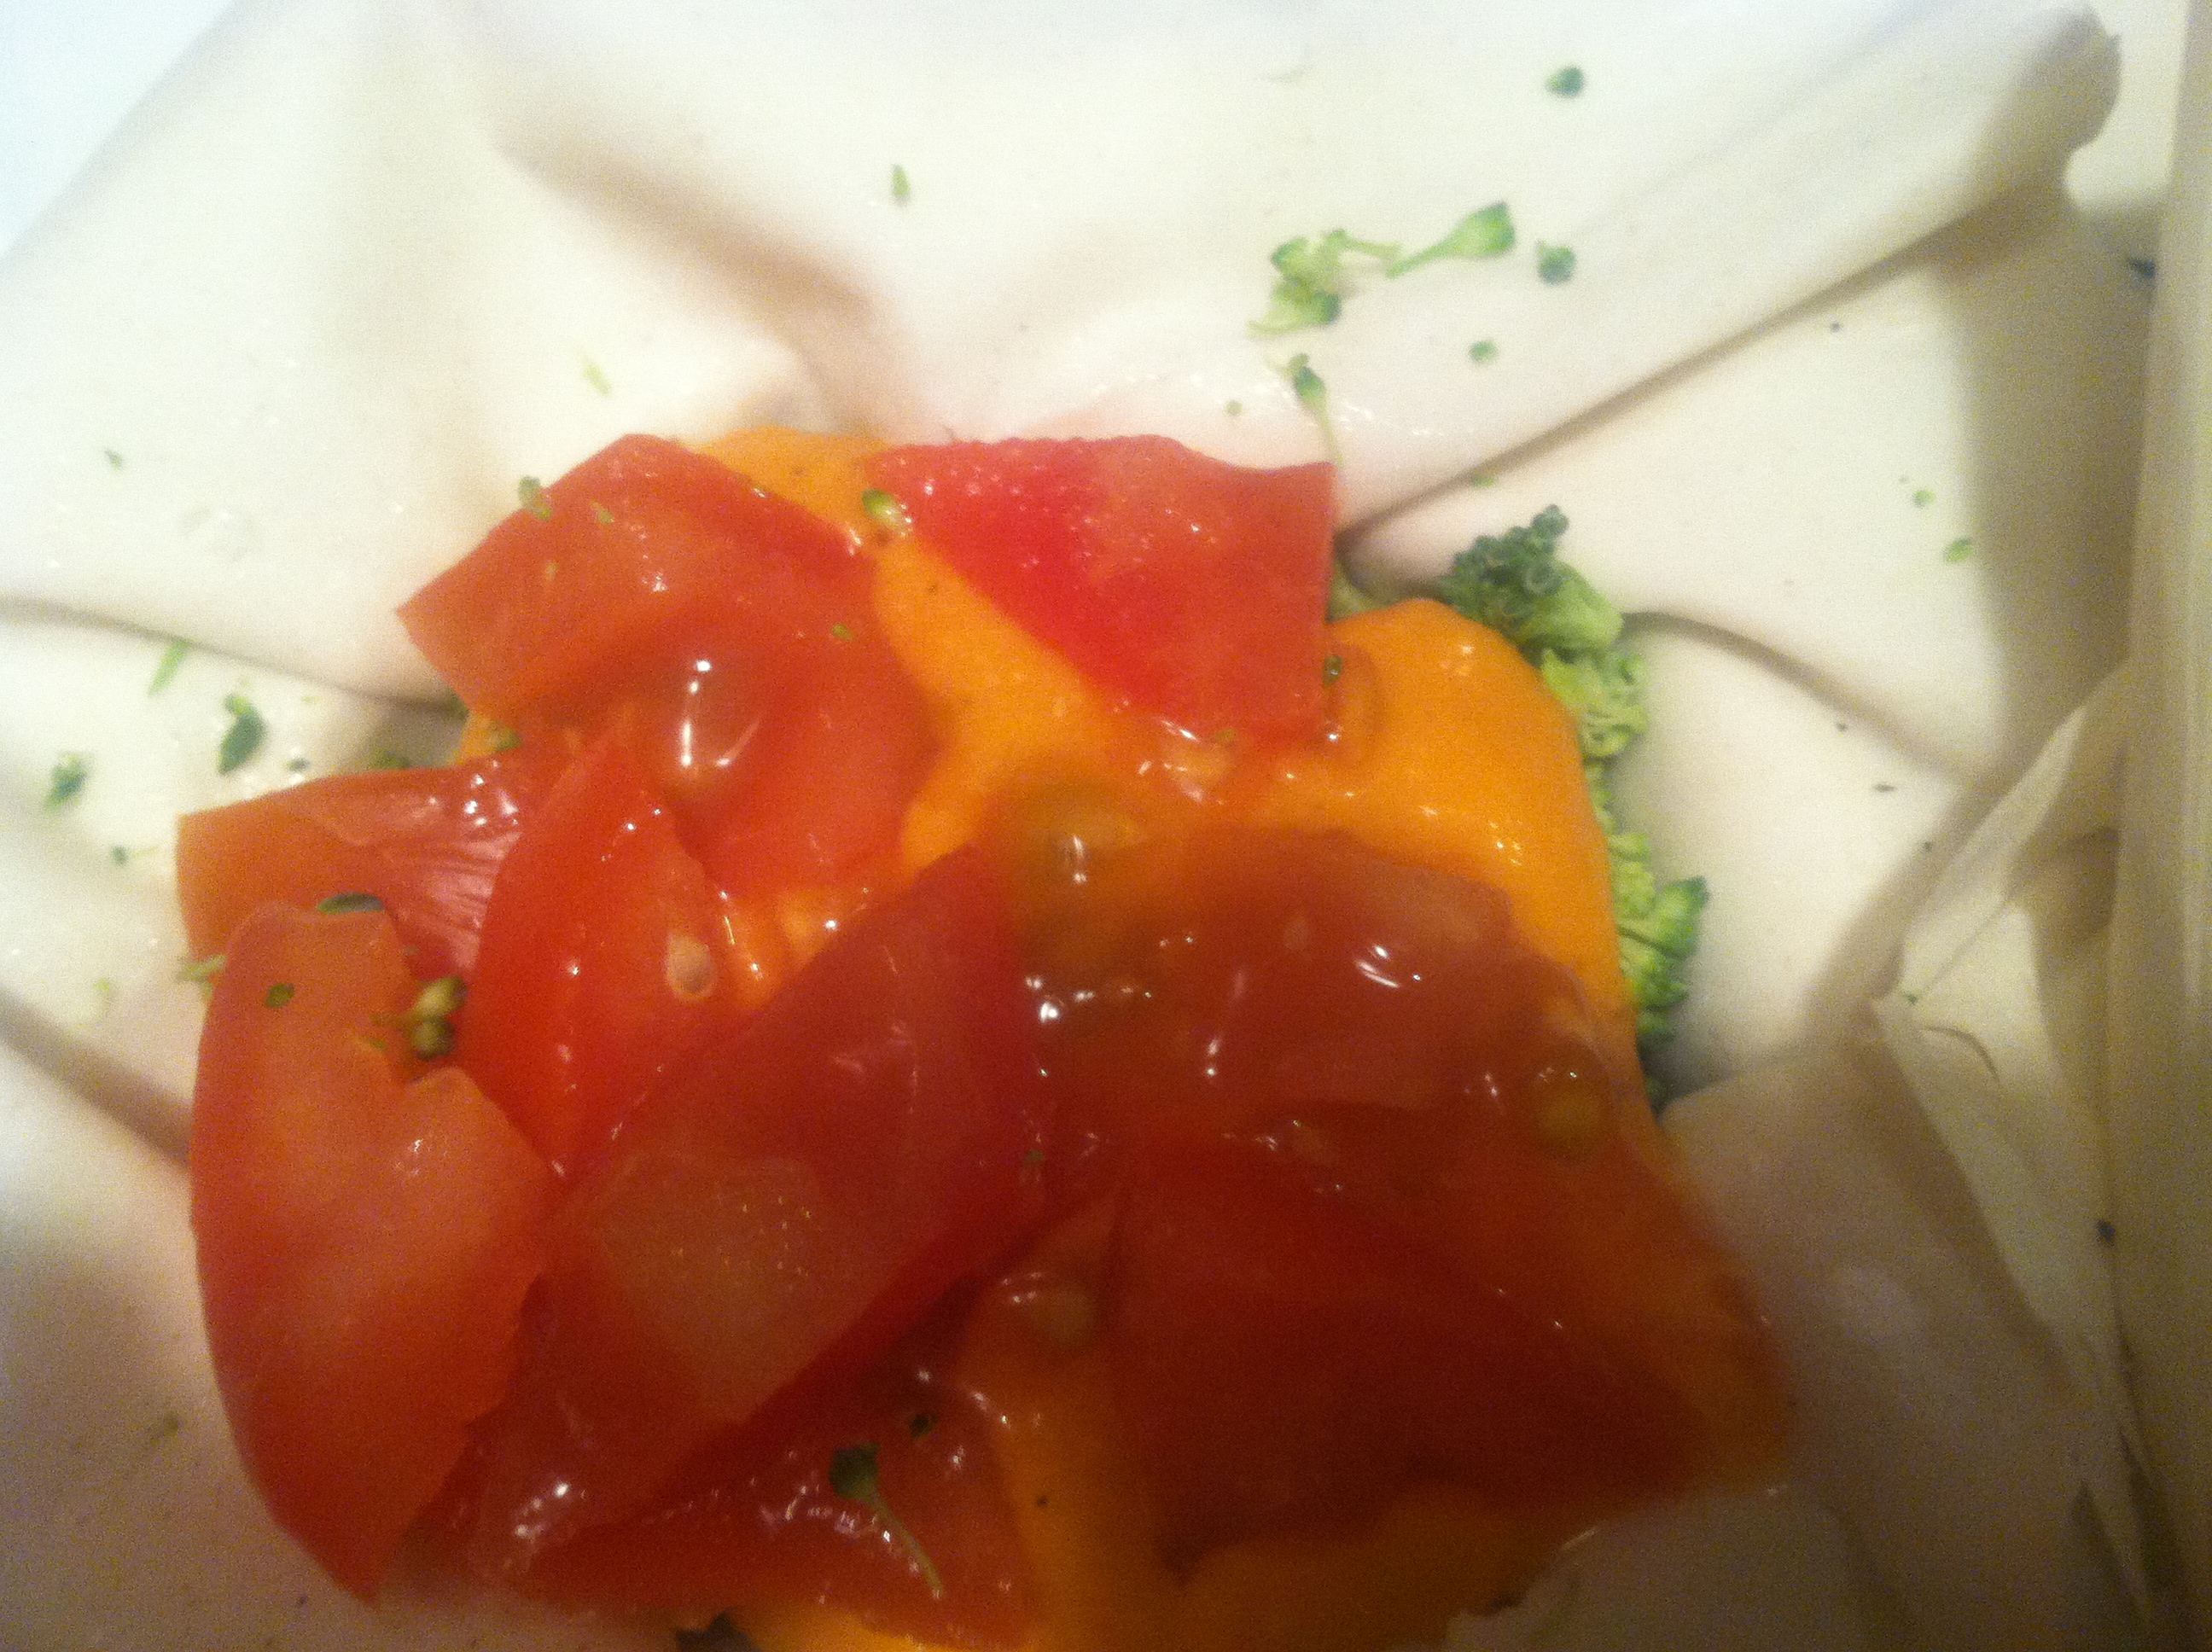
- 4 cans diced tomatoes
- 1/2 cup of Daiya Mozzarella
- 1/8 cup of Galaxy Foods Parmesan
- 1/2 block Daiya Havarti
- Salt
- Ground Pepper
- Granulated Garlic Powder
Preparation:
- Preheat Oven to 425 degrees.
- Boil Salted Water for Pasta. Add pasta at rapid boil. Cook until Al dente, Drain and set aside.
- Open all Tomato cans.
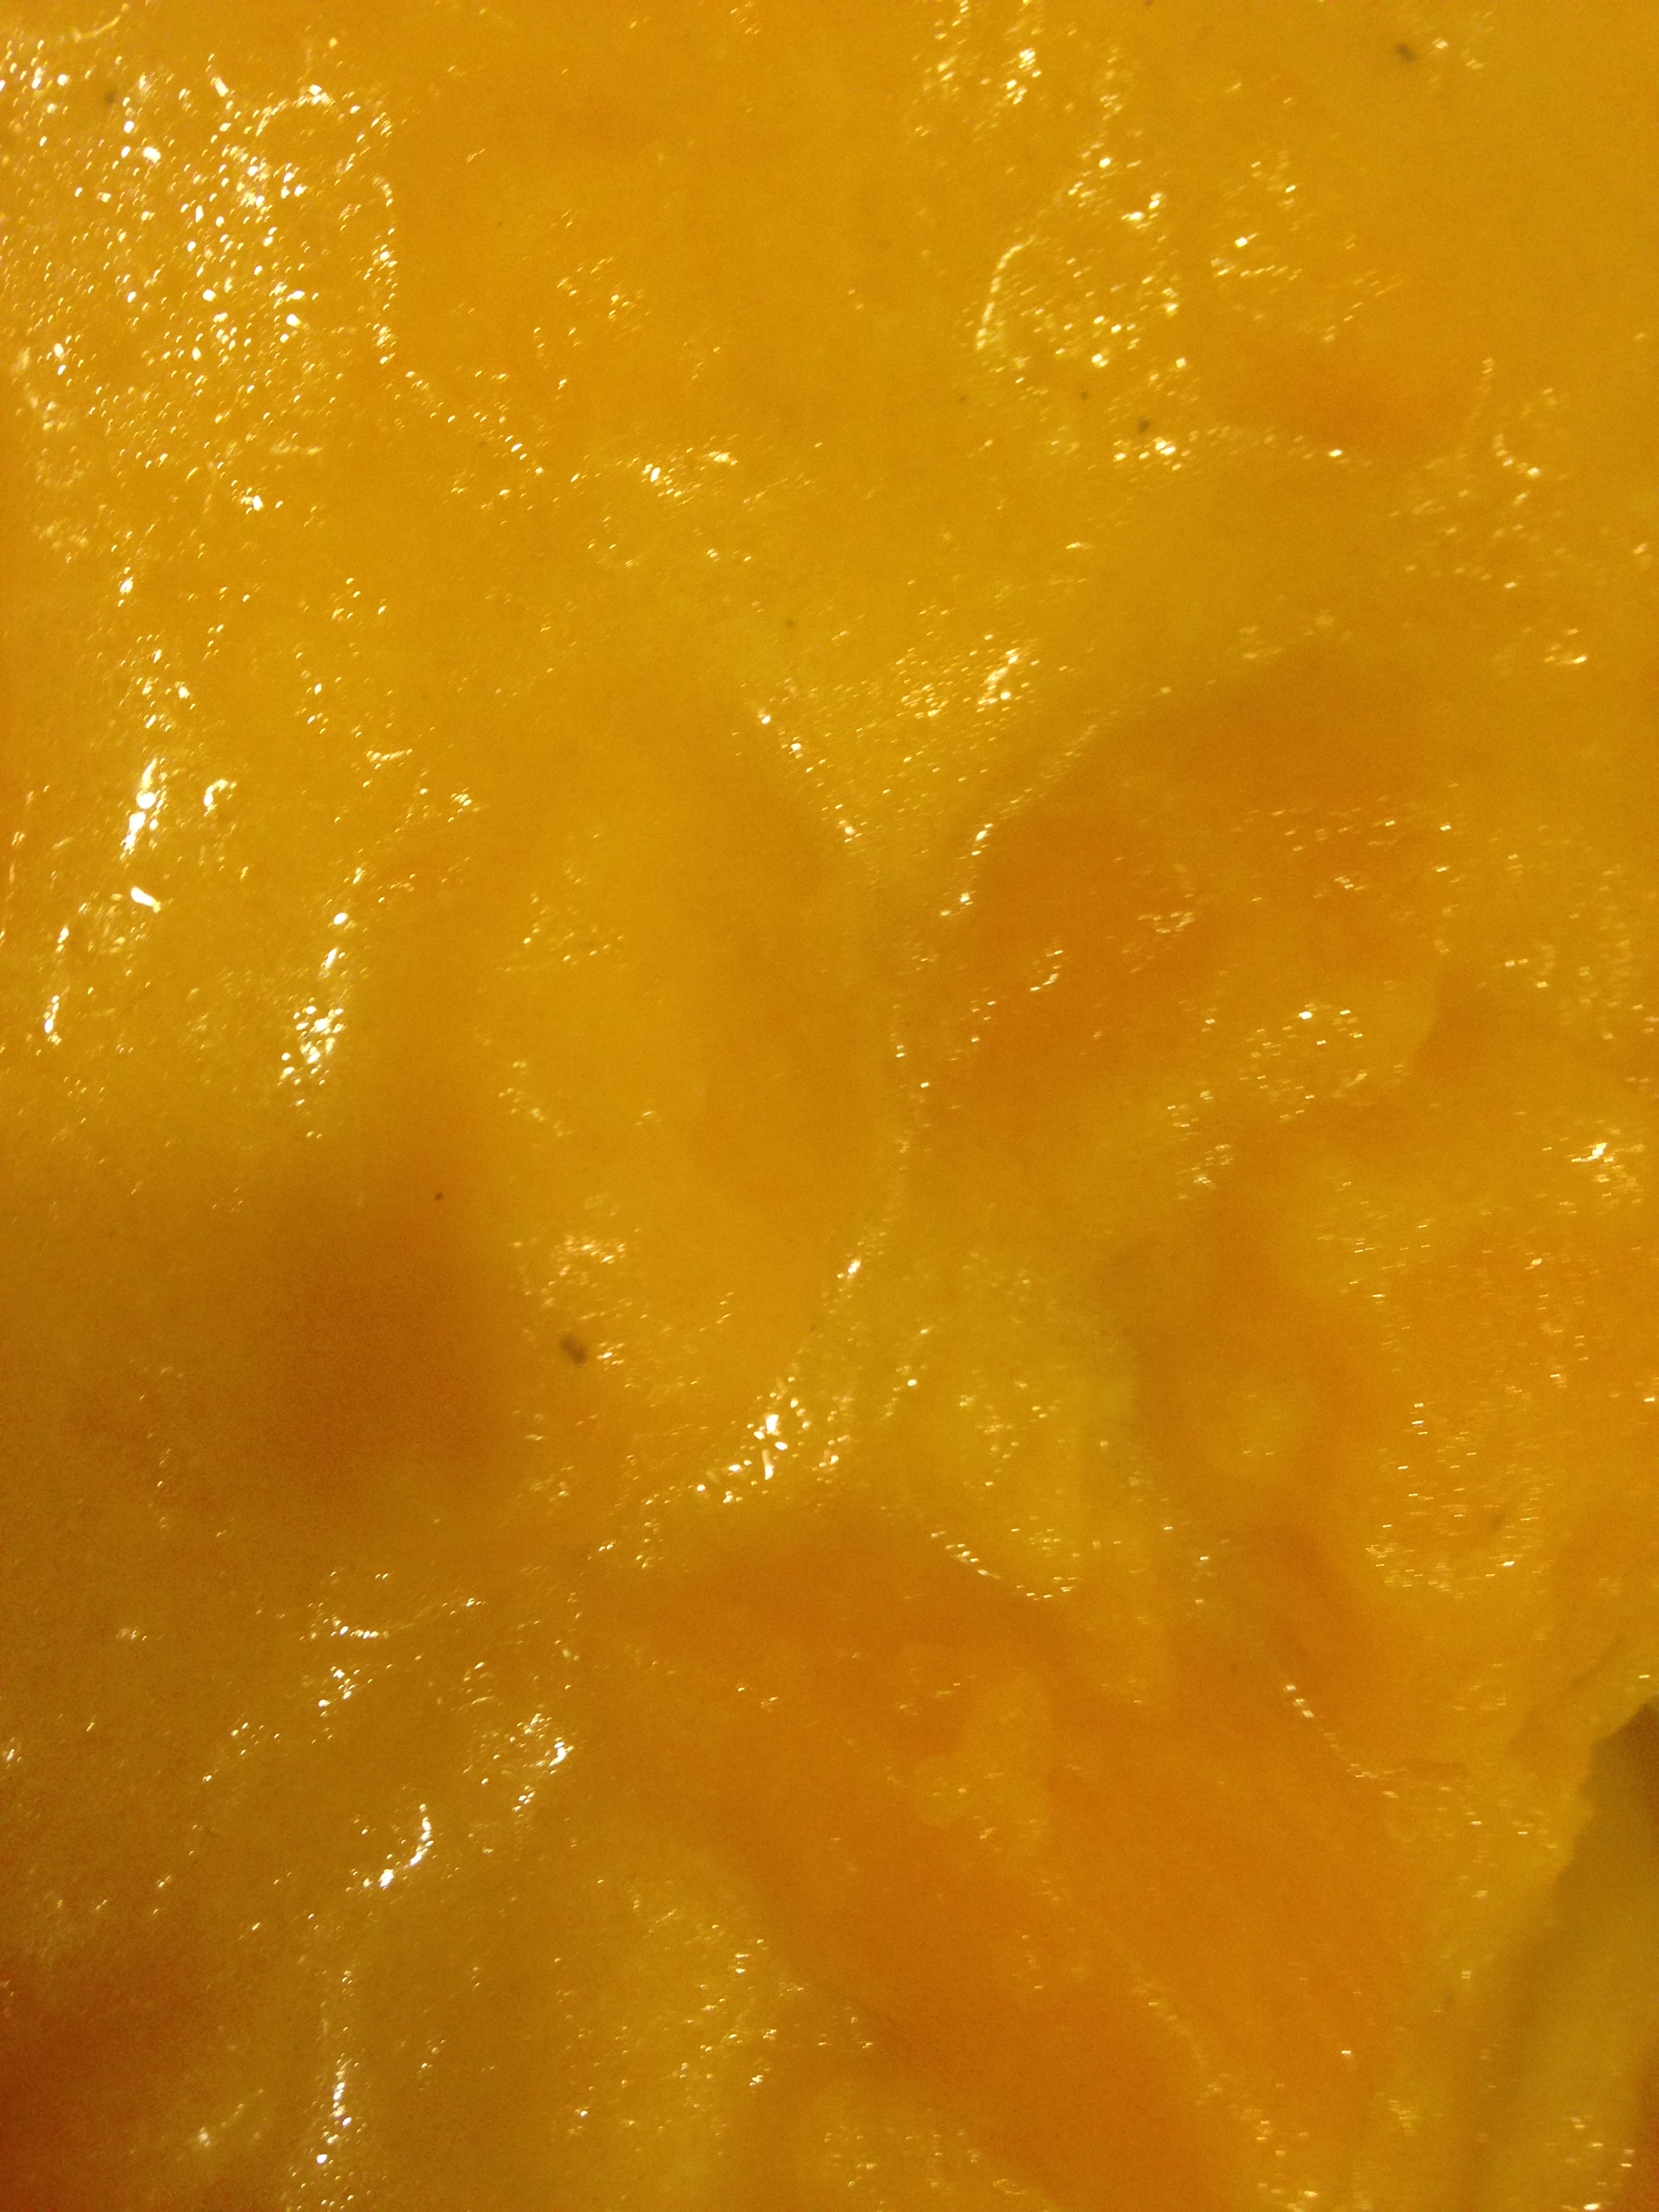
- Fill Steamer with lentils after rinsed and picked through. You can presoak them for 30minutes to aid in the cooking process.
- Add water, a healthy amount of salt, and several shakes of garlic to the mixture. Place on Brown Rice setting and begin steaming. You may need to add additional time so check on the lentils for softness and mix 2-3 times during steaming. It may start to get thick so add extra water if needed.
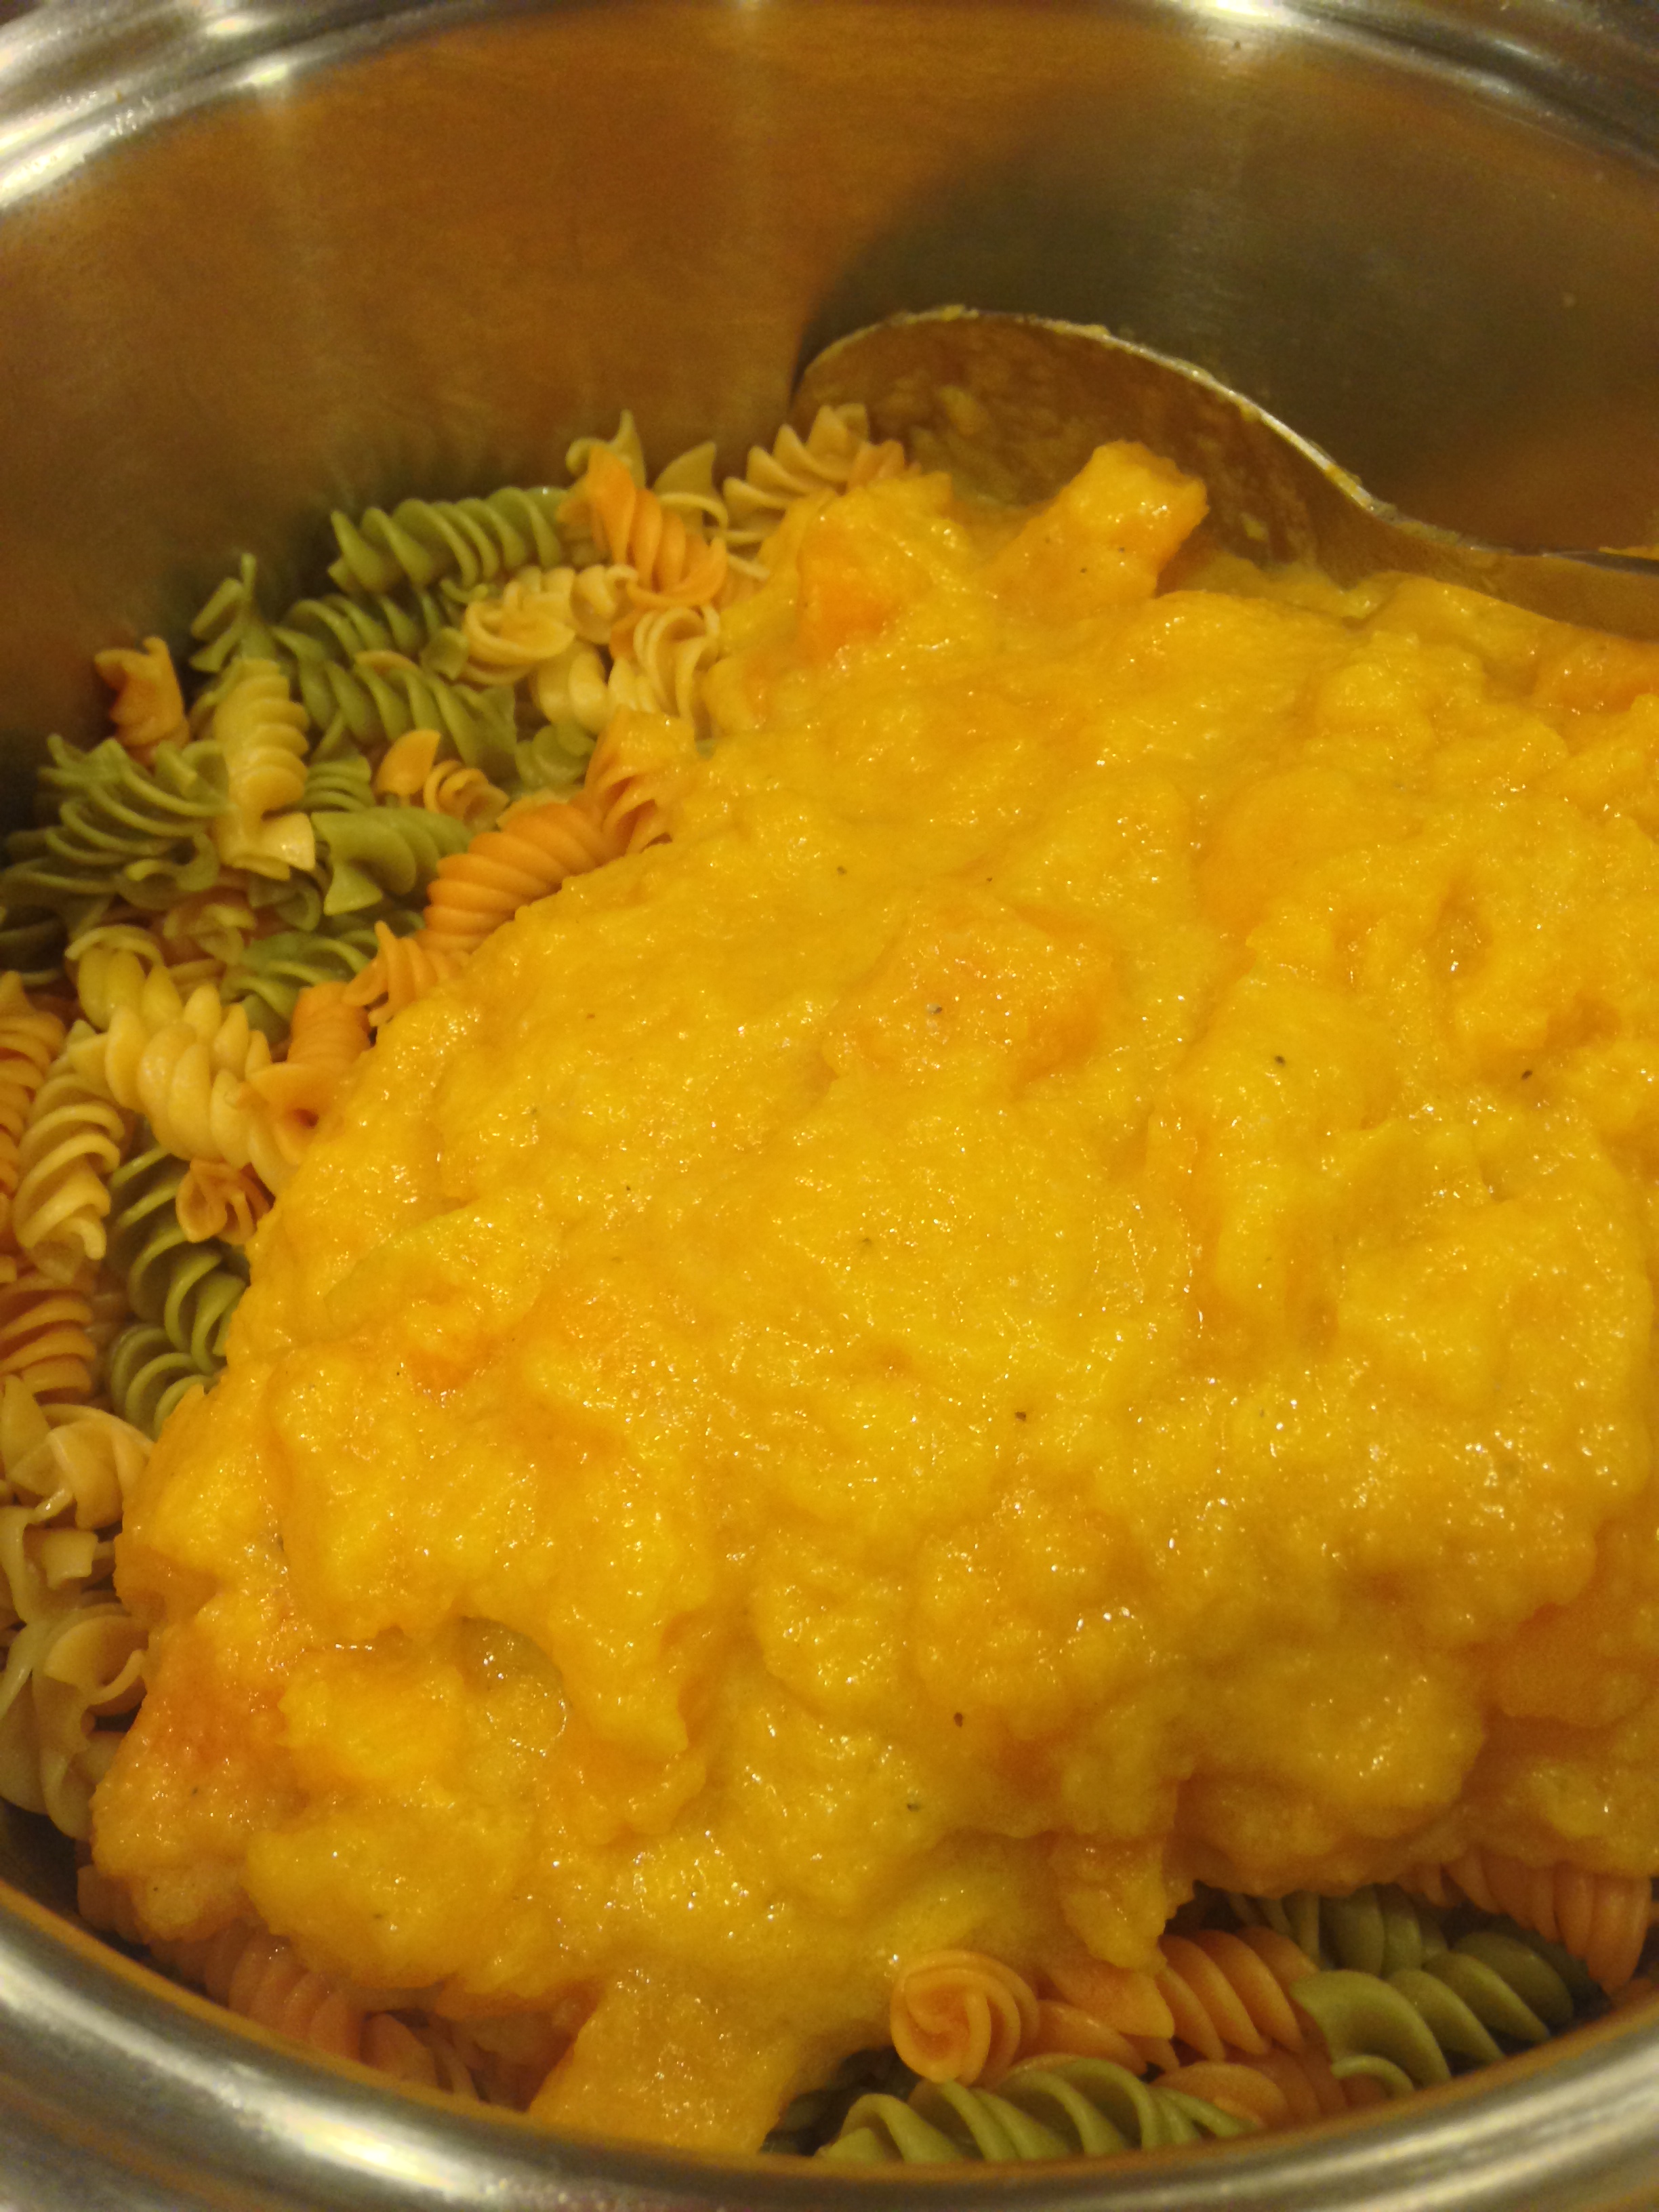
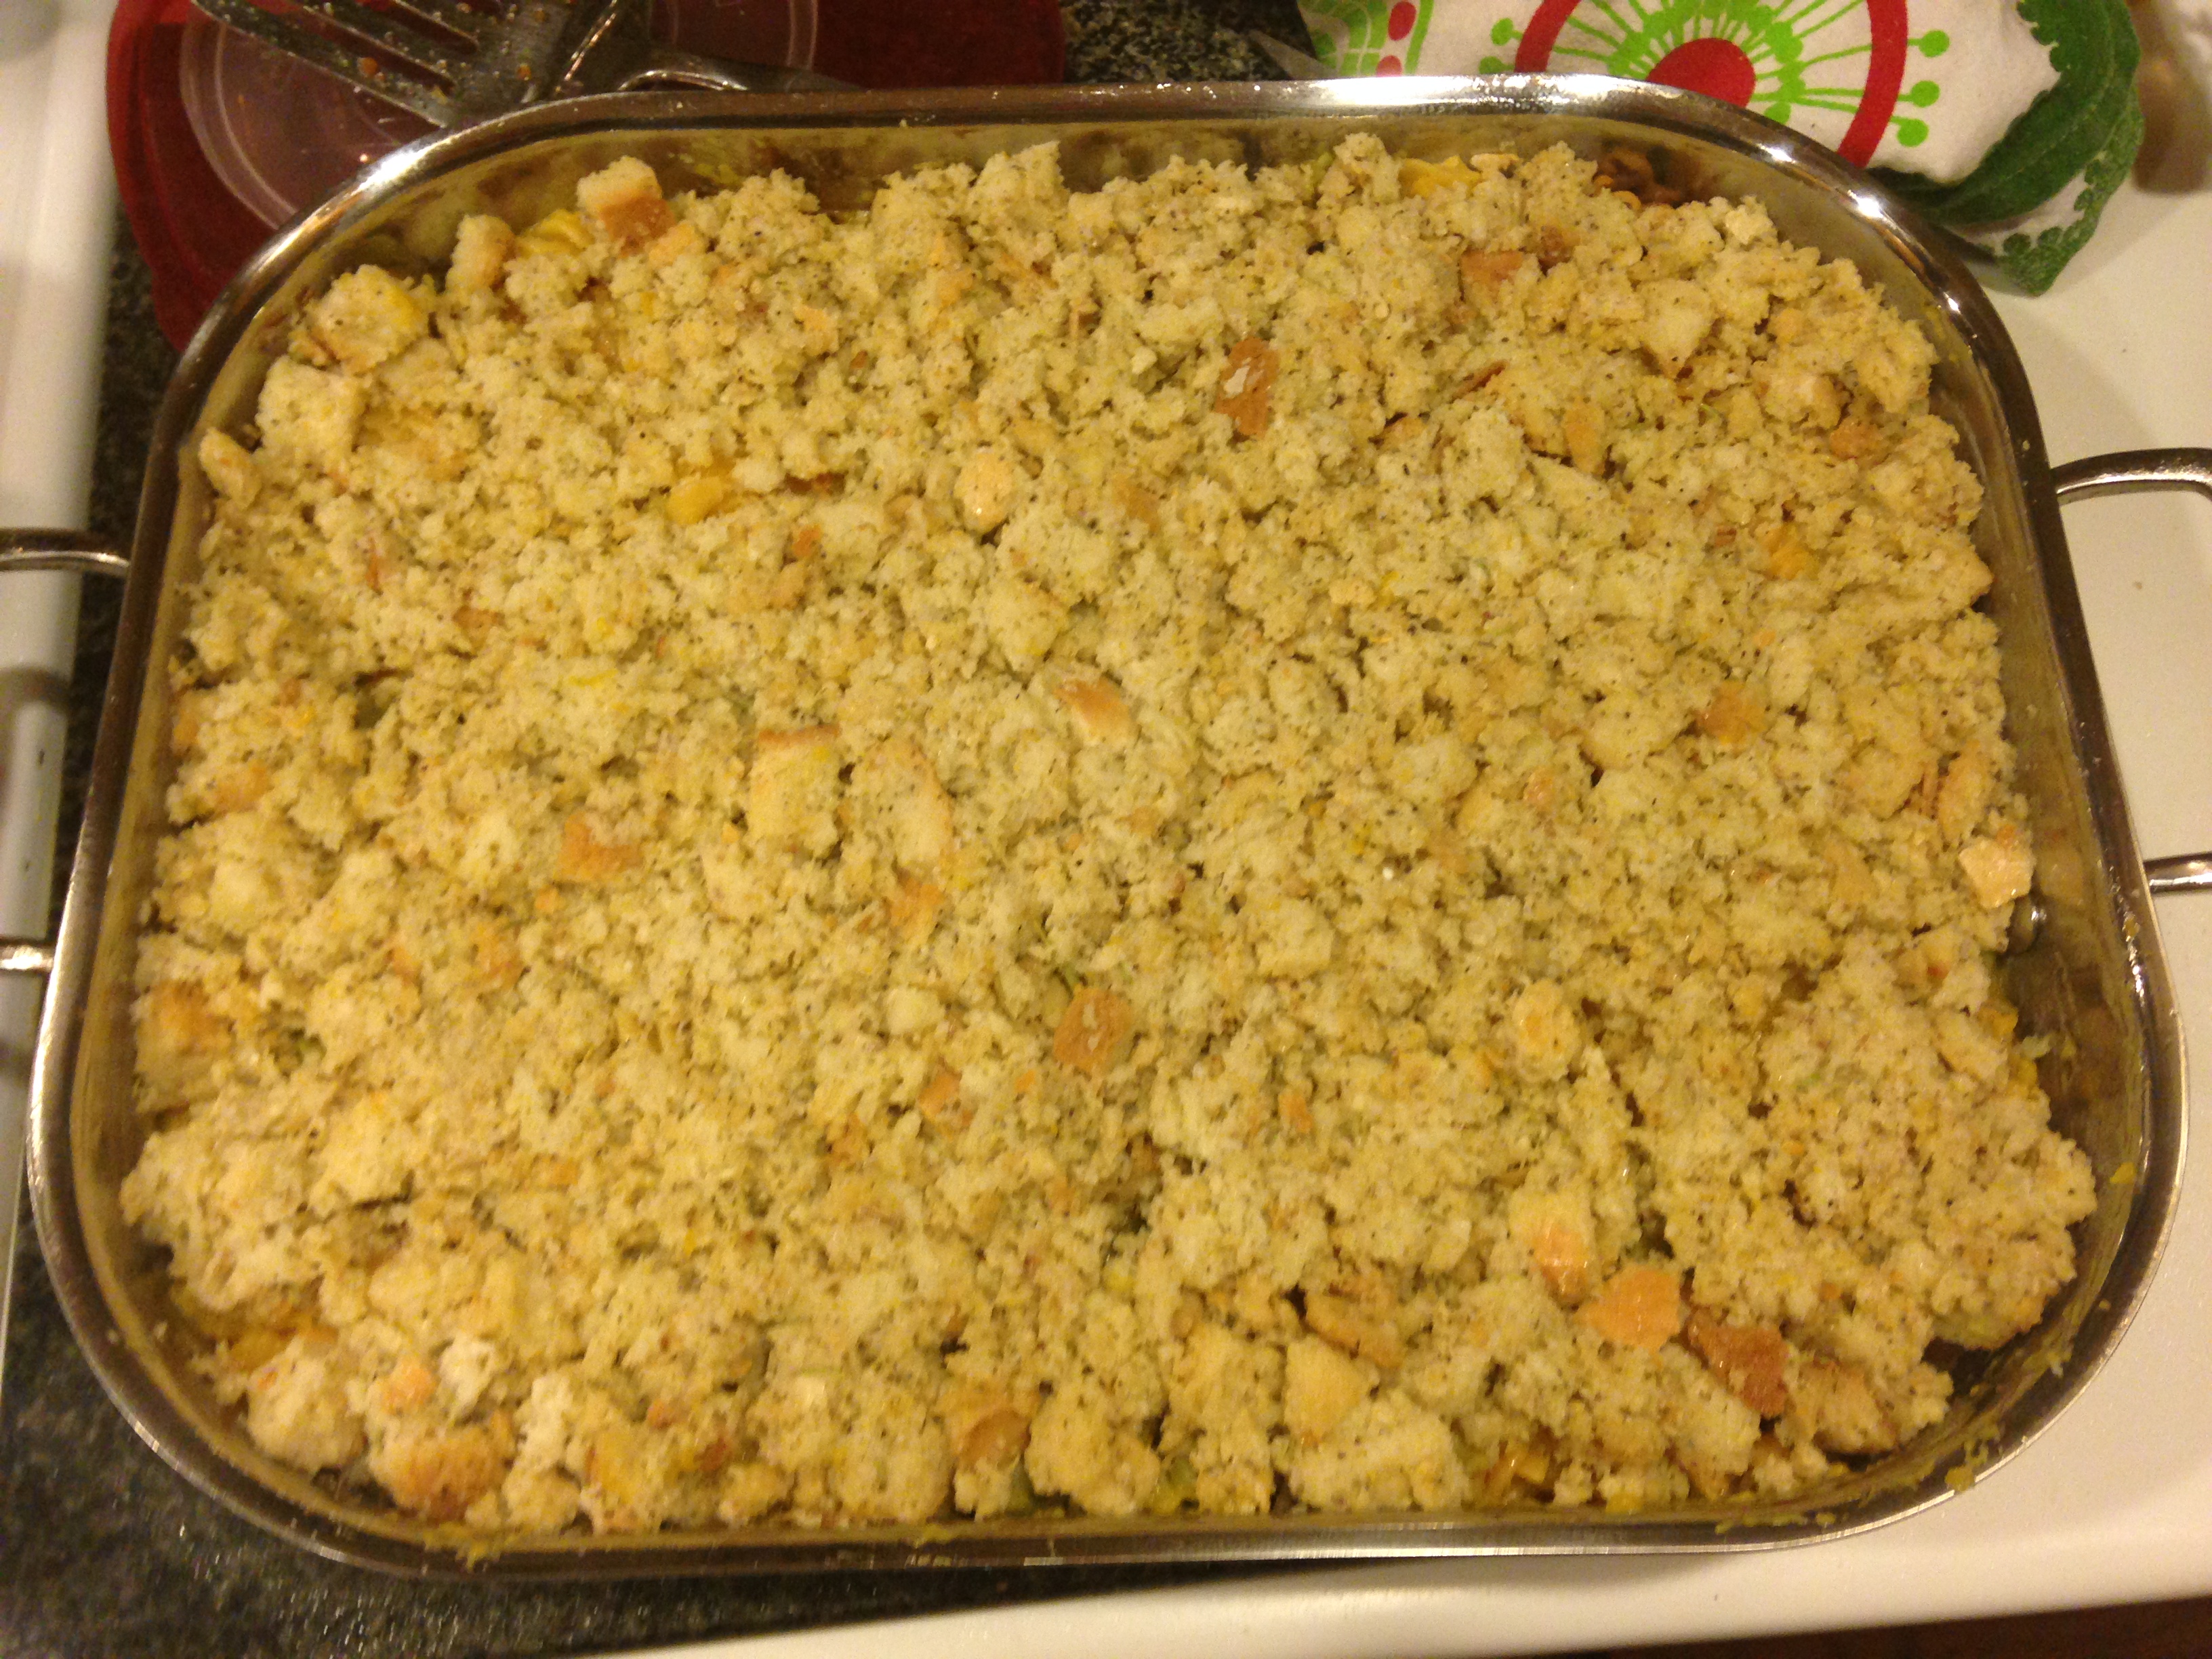
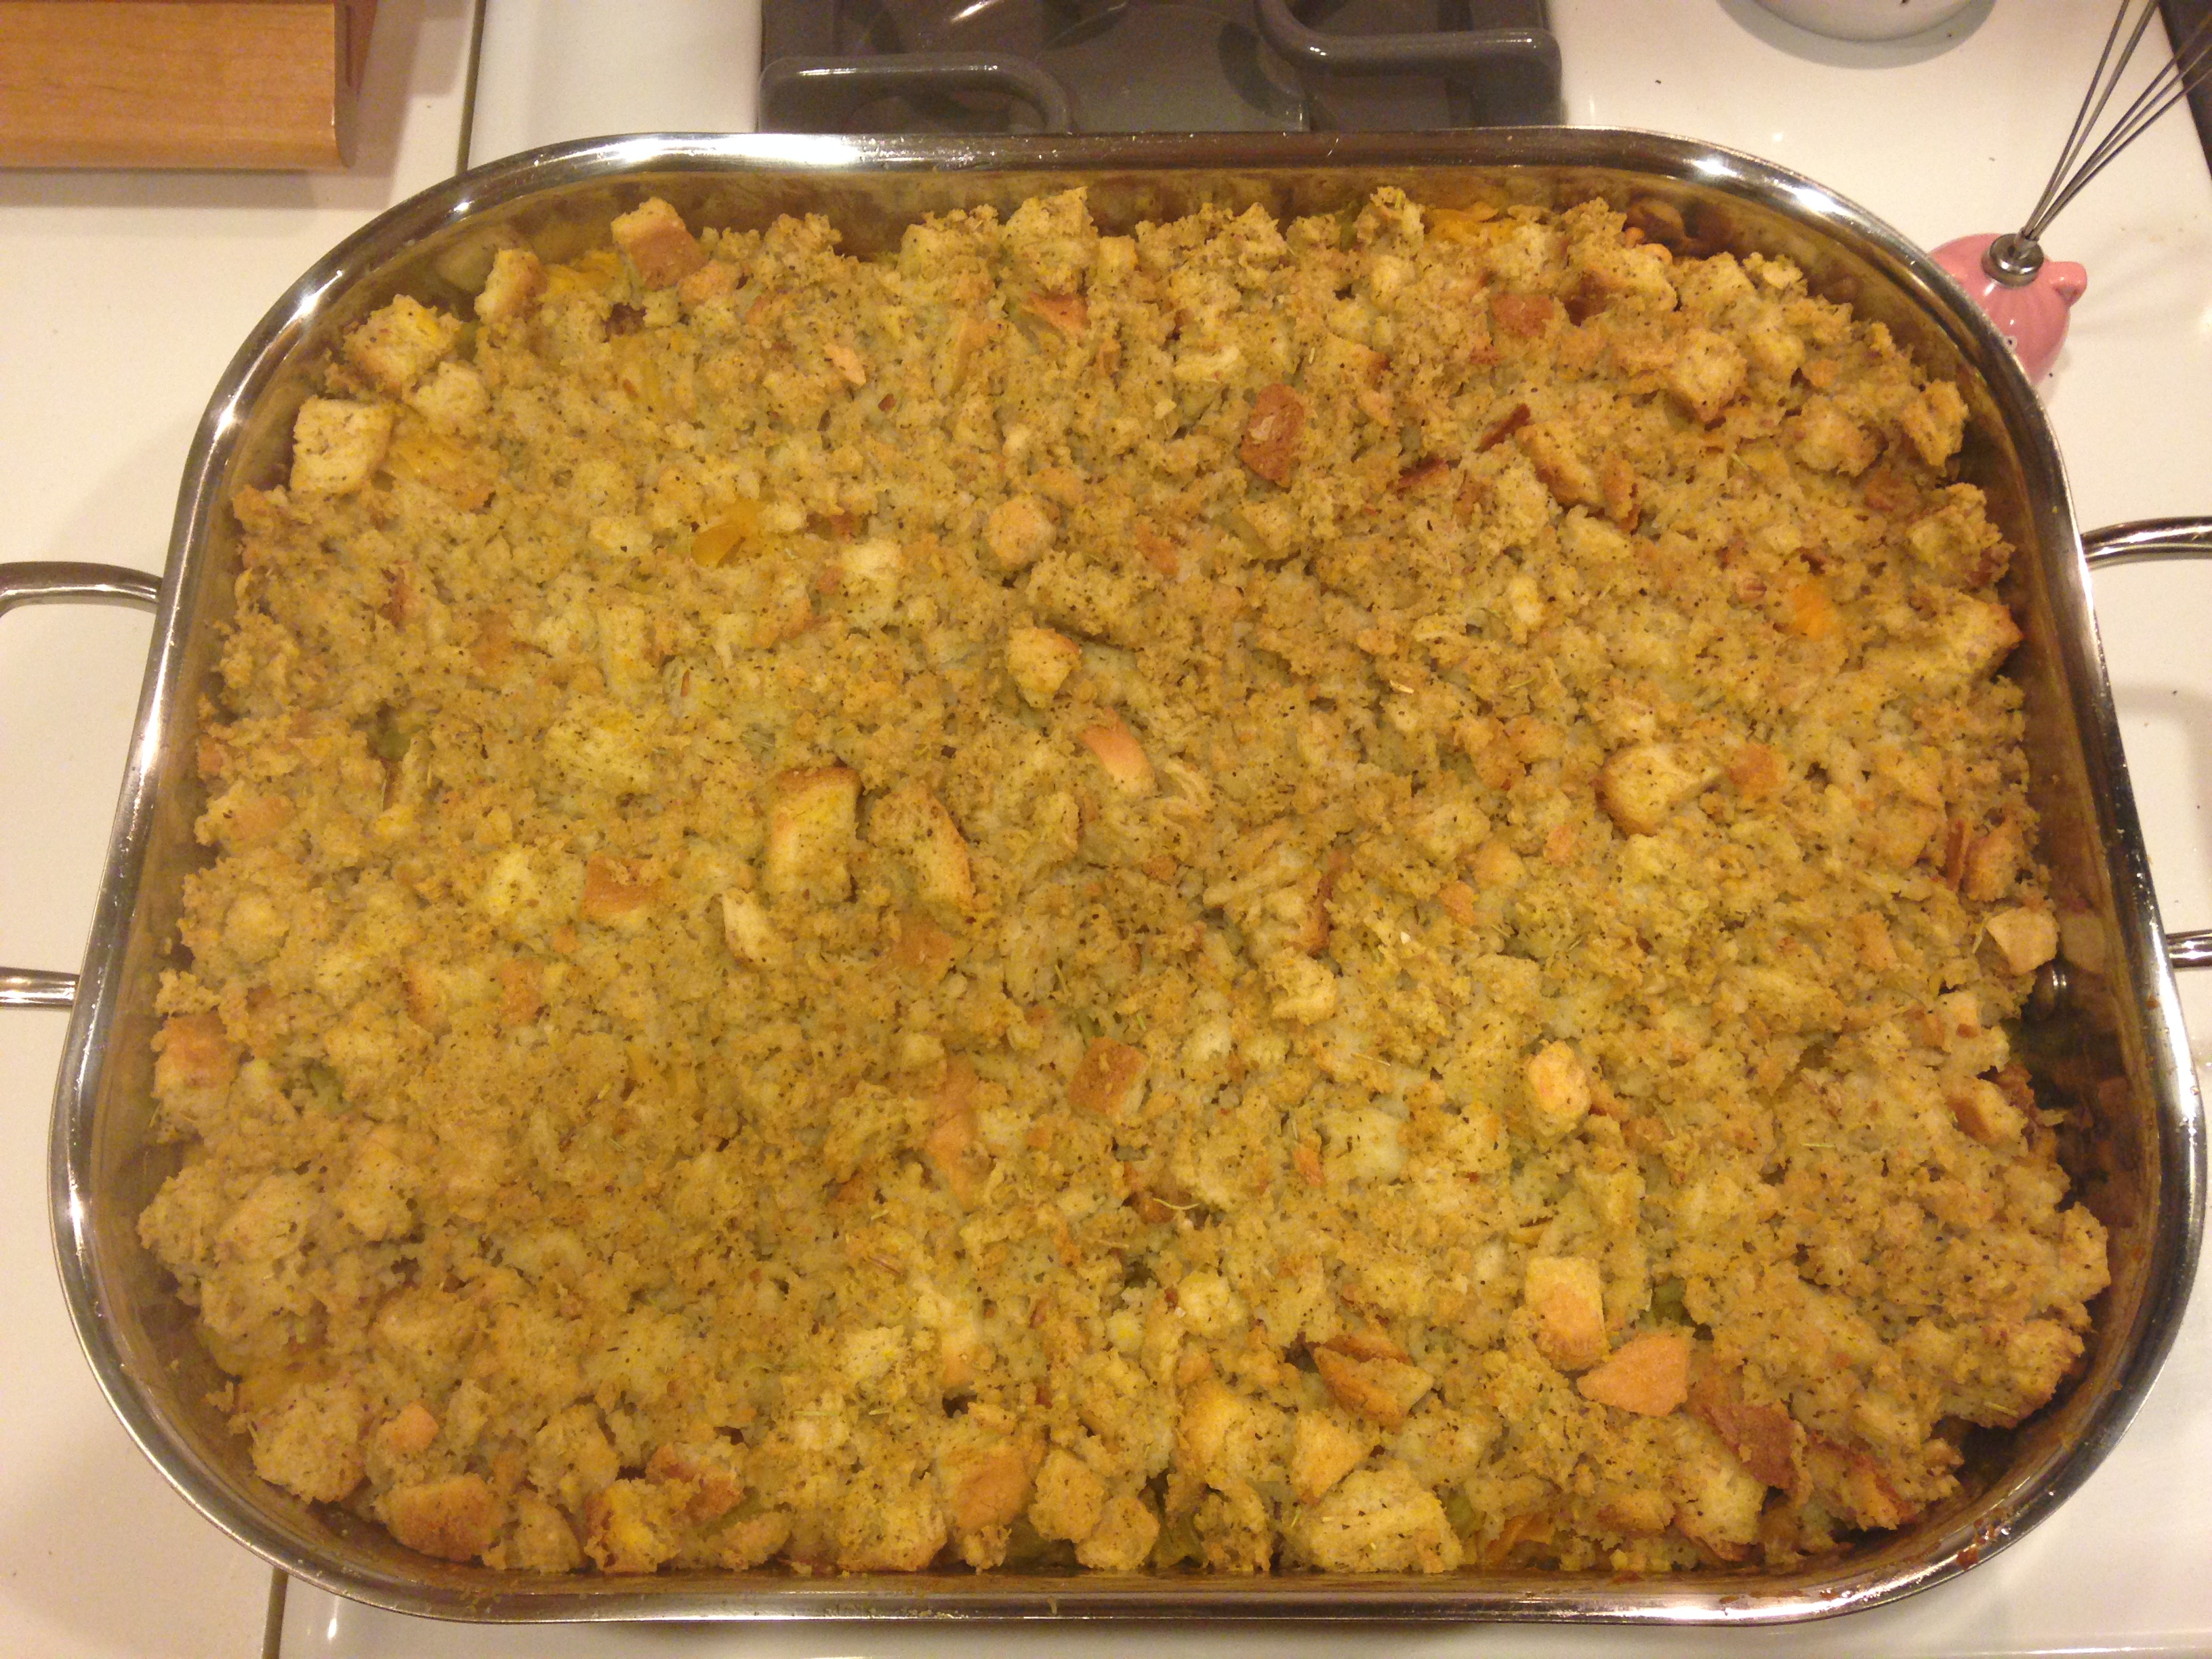
Layering the Pasta Bake!
- Once your lentils are prepared and pasta is cooked. Spray a casserole pan with Pam or Olive Oil Spray.
- Sprinkle bottom with salt and layer with pasta, 2 cans of diced tomatoes*, sprinkle on a layer of parmesan cheese, salt, pepper, and garlic, then lentils.

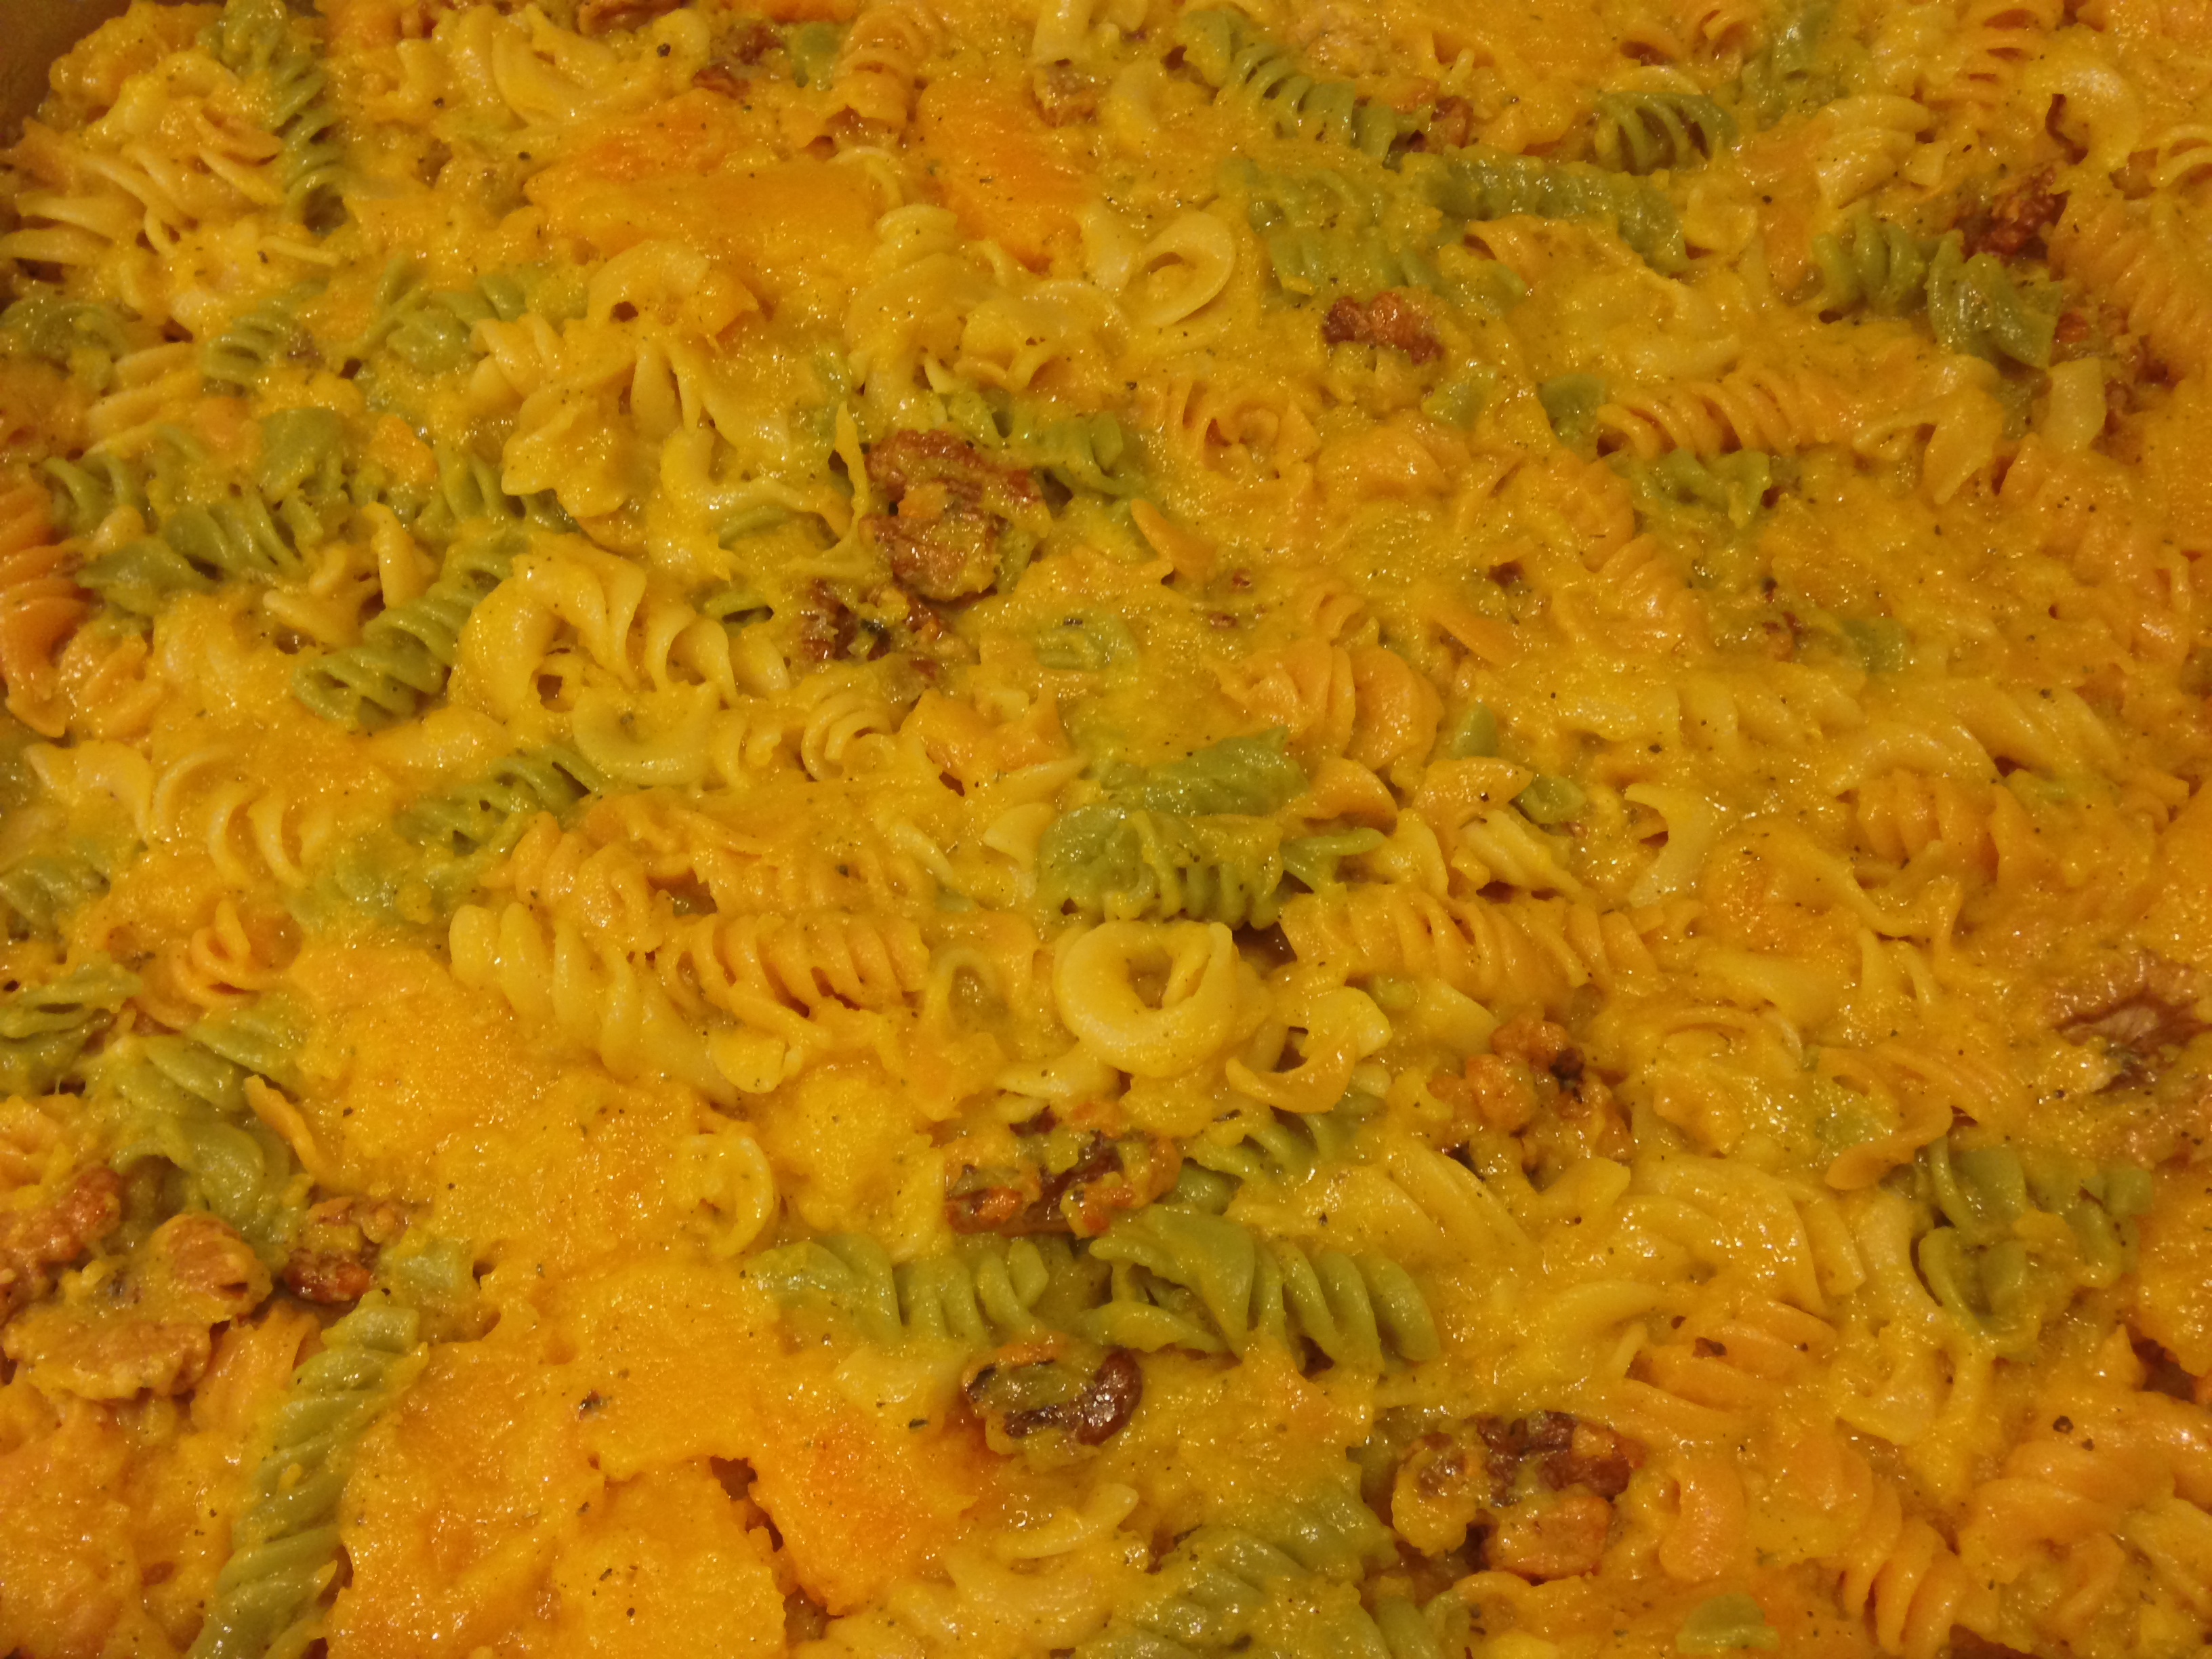
- Top with Havarti broken into small crumbled pieces like a feta cheese would be.
- Then repeat but top with mozarella.


Bake!
- Bake at 425 degrees for at least 30 minutes but no more than 45 minutes. The top should brown slightly.
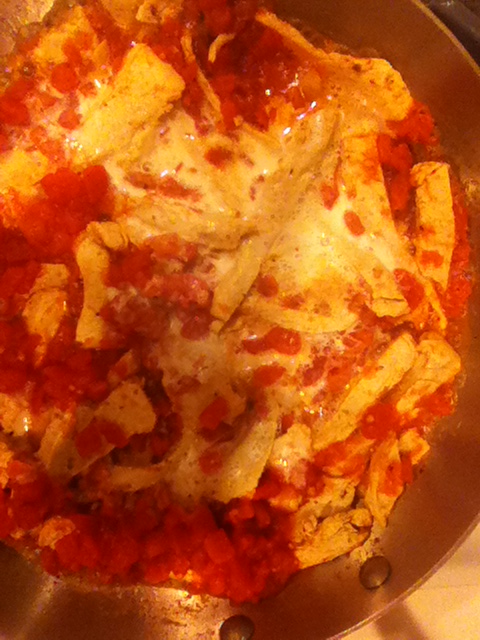
- The layers will have meted together and form a yummy cheesy sauce.
- Serve hot! Feeds 8-12.
*Optional: Add chopped zucchini or Beyond Meat Chicken Strips to the layers before or after the tomatoes.
___________________________________________________________________________________________________________________________
Food is Love.
The Hippie Gypsy